Hello Simon,
These items are widely available and good quality for vibration damping. I think backing your mount plate with dynamat or equal could help you with keeping the noise and vibration within reason. Aircraft Spruce and Wick’s sell them.
Hello Simon,
These items are widely available and good quality for vibration damping. I think backing your mount plate with dynamat or equal could help you with keeping the noise and vibration within reason. Aircraft Spruce and Wick’s sell them.
Thanks guys, I appreciate the link and input. More details will be provided soon, hopefully you like what you’ll see from the other angles
Lord mounts that StressCraxx recommended are really good quality, but can be a bit pricey. A possible alternative that might be suitable are fuel pump vibration damper mounts for a Mercedes W113 (and other MB models). The Mercedes part number is 126 988 00 11. They’re available on eBay. Also search for 1269880011. I bought a set of three last week. Total cost was $15 including shipping.
Pro Tip: Click on the picture and zoom in ![]()
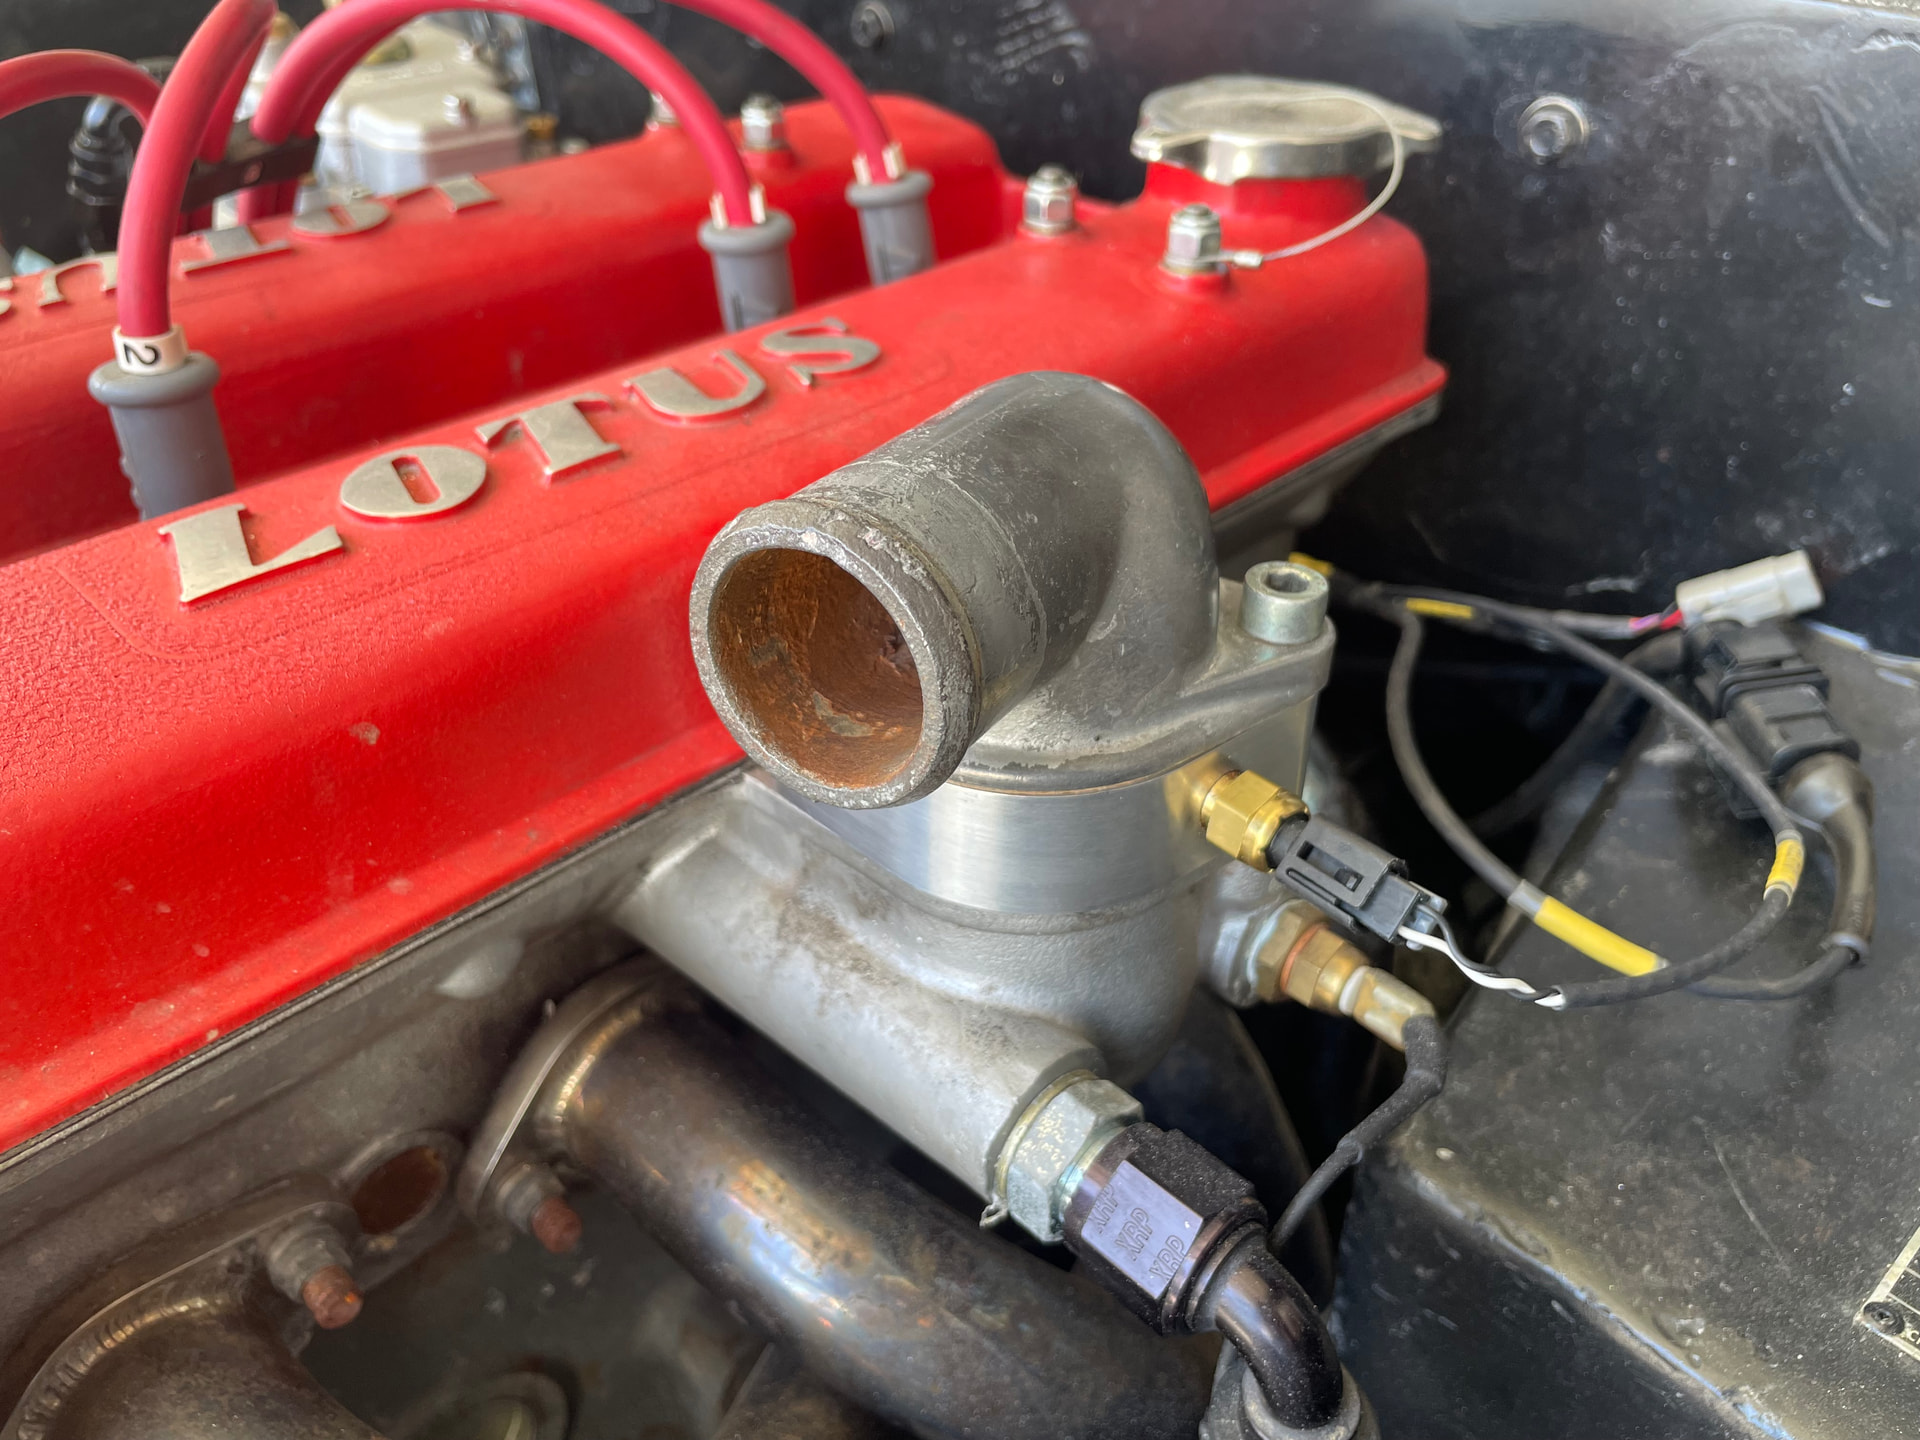
Calling it ‘done’ enough to wrap up the video. Check it out and LMK what you think. Only items left related to the fuel system is 3 minor items related to the fuel tank and the wiring. Didnt want to delay the video especially as Im at the one year mark of ownership… I cant believe it, but getting close to firing it up… probably not as close as my brain thinks, but its time to get back into the cockpit and finish up those last little projects.

Not sure why the audio sounds muffled… always something ![]()
@2mAn Hi Simon, nice “story! ![]()
Maybe use this for countdown to “start”.
Cut one centimeter per day from xx to zero!![]()
Success & best regards, Sam.
Thanks @samplomp I may do that… I have a Root Beer & a cigar waiting for the day the car is running again haha
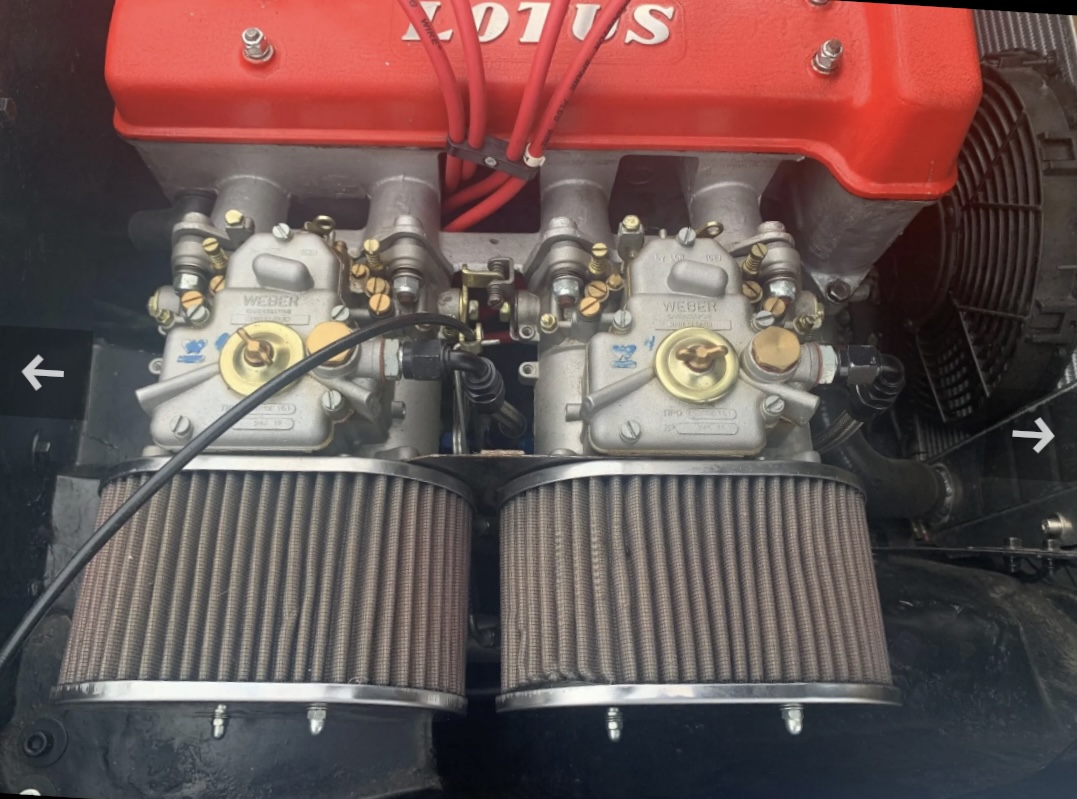
One area that I’ve run into a perceived problem (assuming based on the below pic) is the Jenvey supplied throttle cable mechanism.
I removed it thinking the original throttle cable setup should work, but I am wondering if a bicycle shop can have a way to mount this…
Figured I would defer to you guys for some ideas. Speaking of, I think I have a solution for the fuel return line, stay tuned for the K.I.S.S. method and I will be ready for your constructive criticism. Once these two areas have been addressed, its basically wrapping up the stuff inside the car!
I’ll just leave this suggestion here… Might be what you’re looking for.
Dan
Amazing, might be EXACTLY what I need. Thank you!
I’ve done a few custom cable linkages for throttles on various cars using the listed Pegasus quick release. To mate the cable to the 10/32 thread, I use a roughly 1” length of brass 10-32 all thread which I rifle drill with a hole that is very slightly larger in diameter than the cable being used. Then install the cable through the brass thread so about an 1/8” protrudes and “upset” or bend the very end of individual wires of the cable enough they don’t easily pull through, and solder those bent ends to the brass. Don’t forget to add a locknut. It’s a bit fiddly, but works great. The photo is one end of a cable throttle I made up for my E type Jaguar.
High quality cables, both pull type and push/pull type
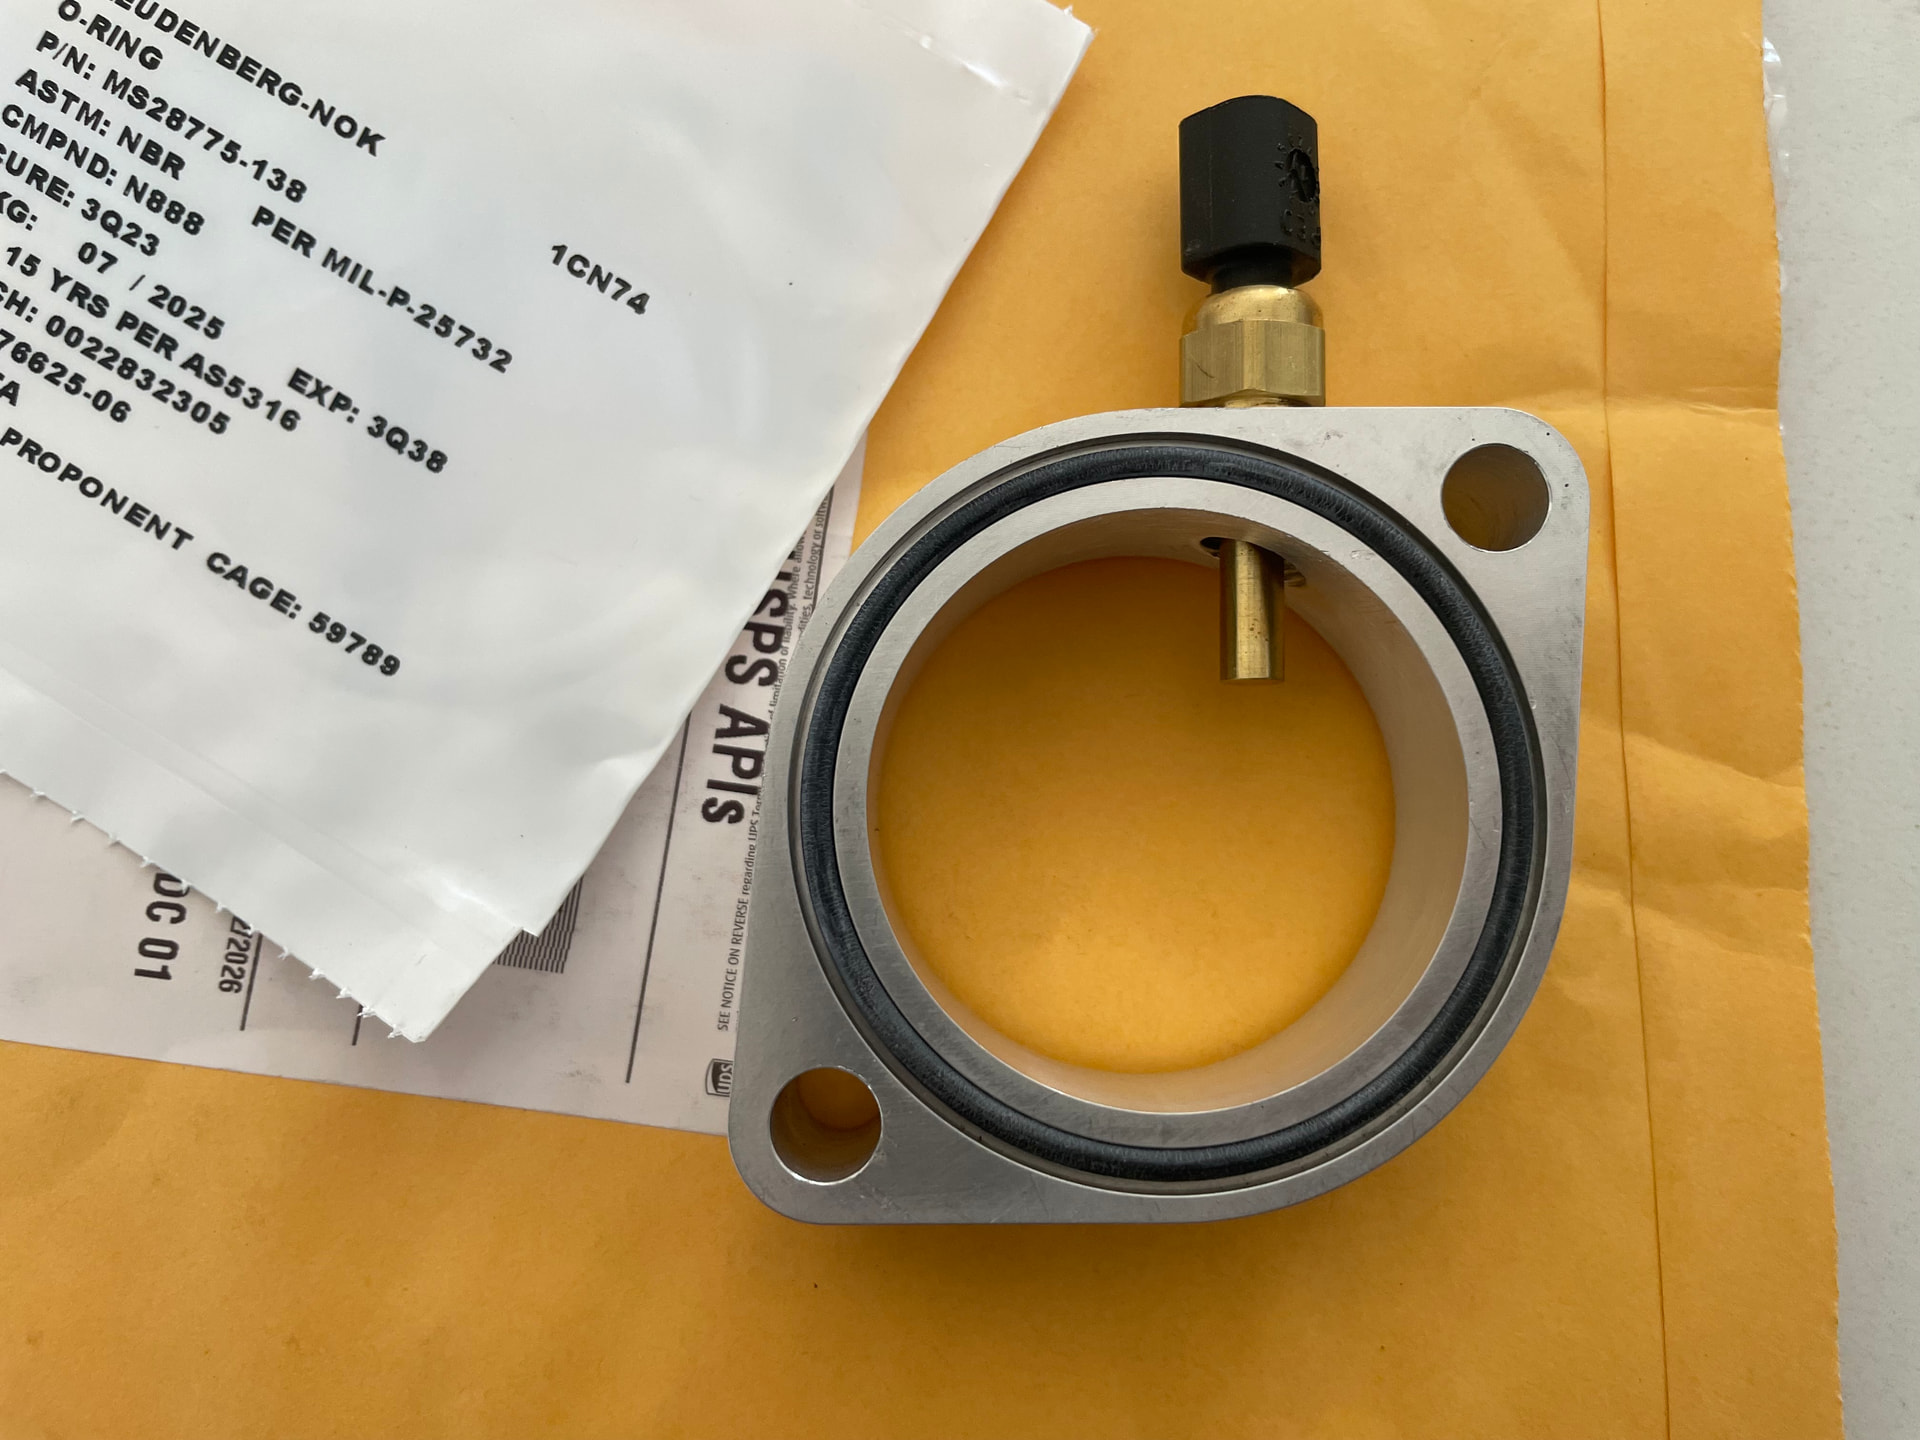
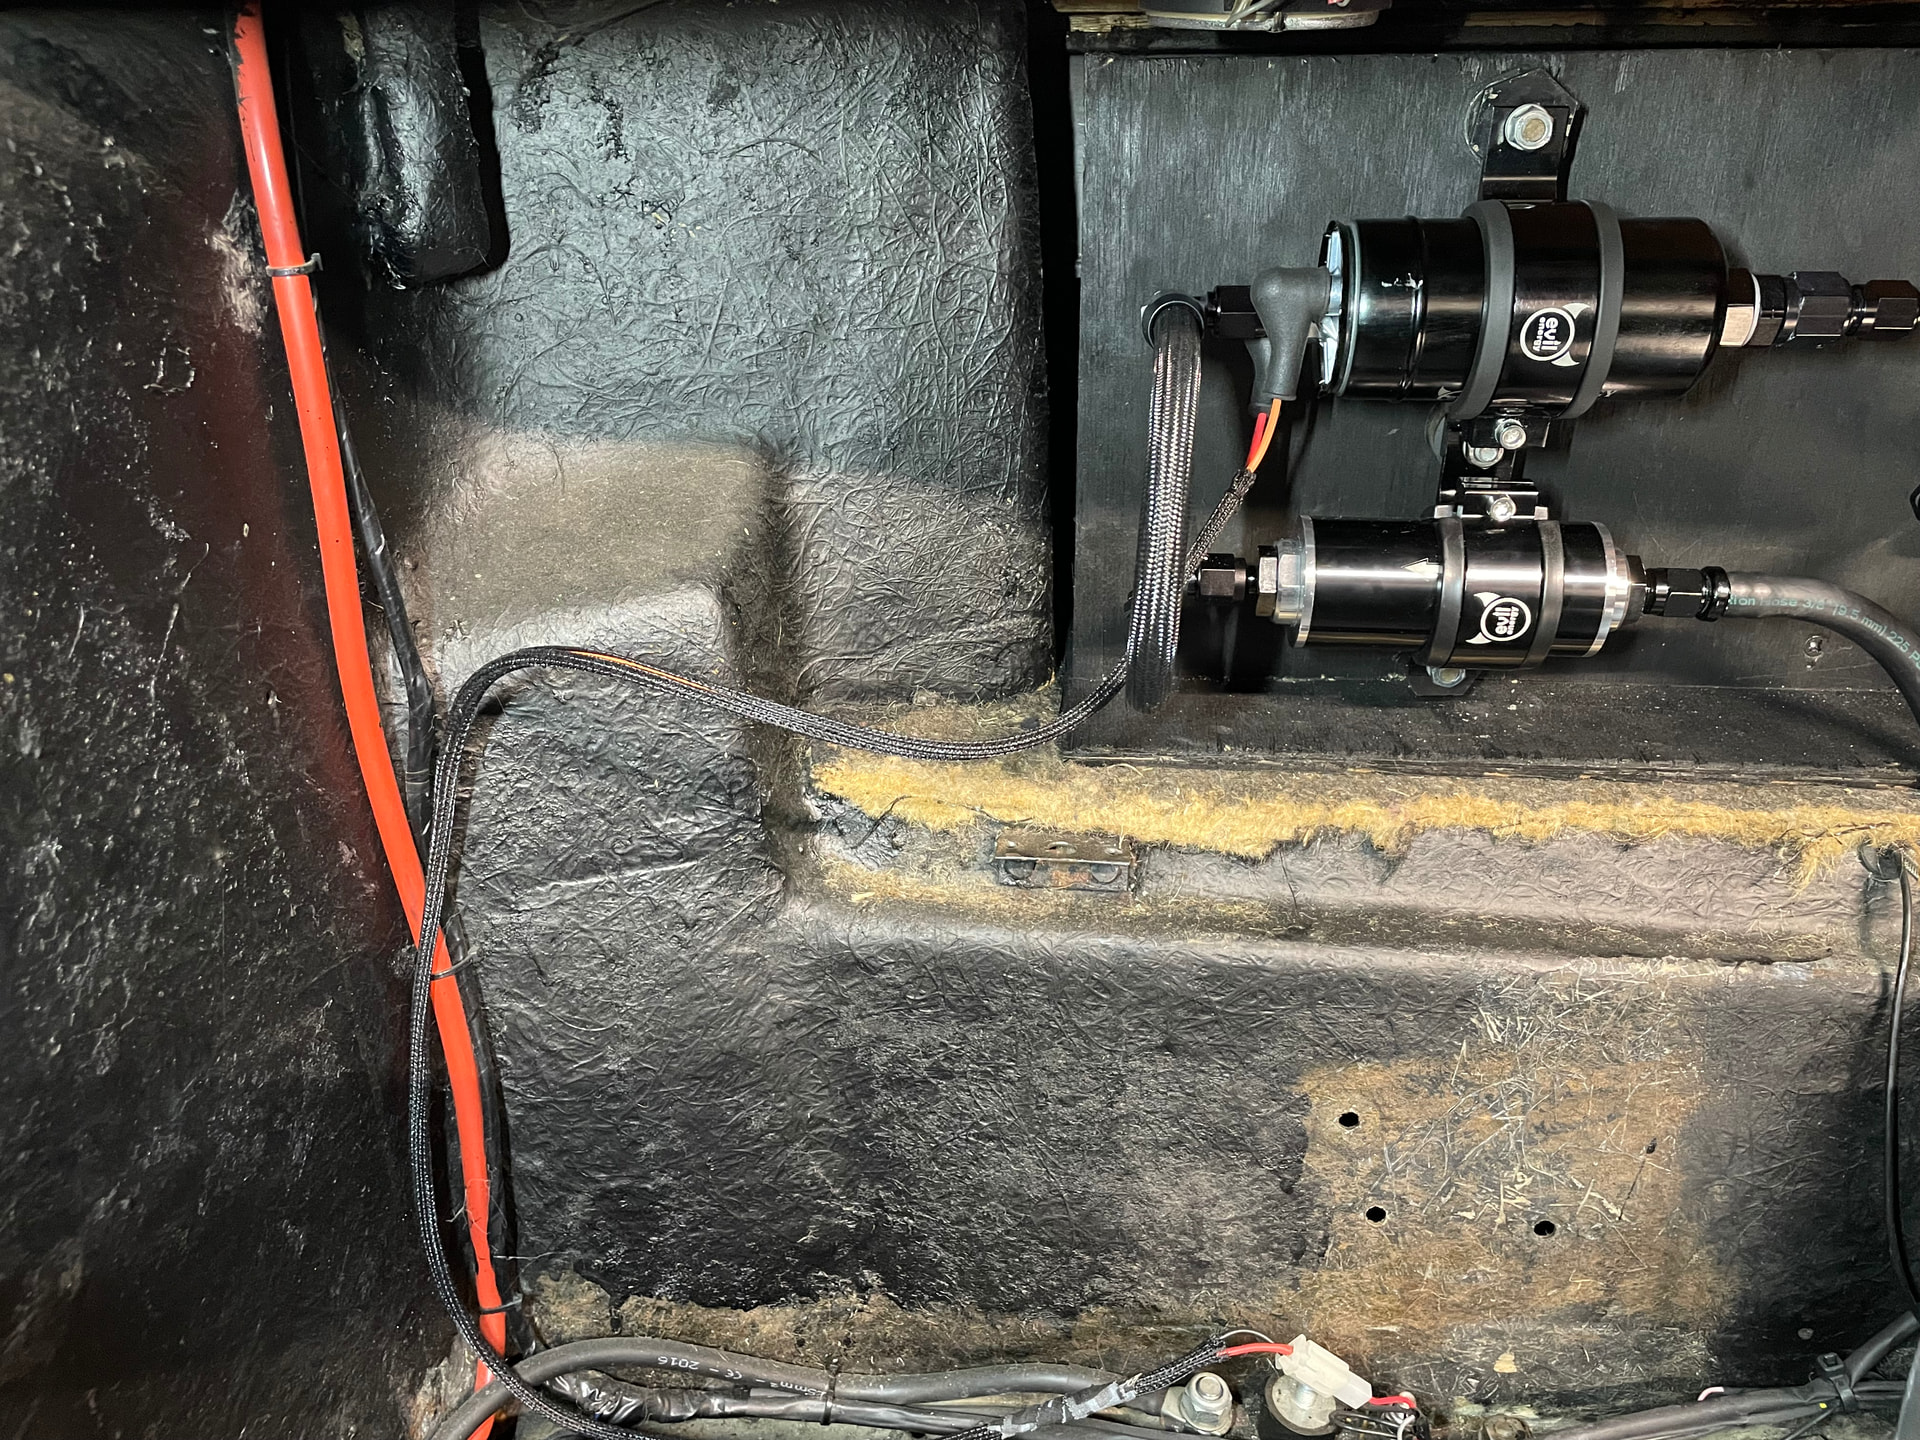
Crossed an item off the list after finally buying the o-ring I needed…
installed, tightened down and plugged in…
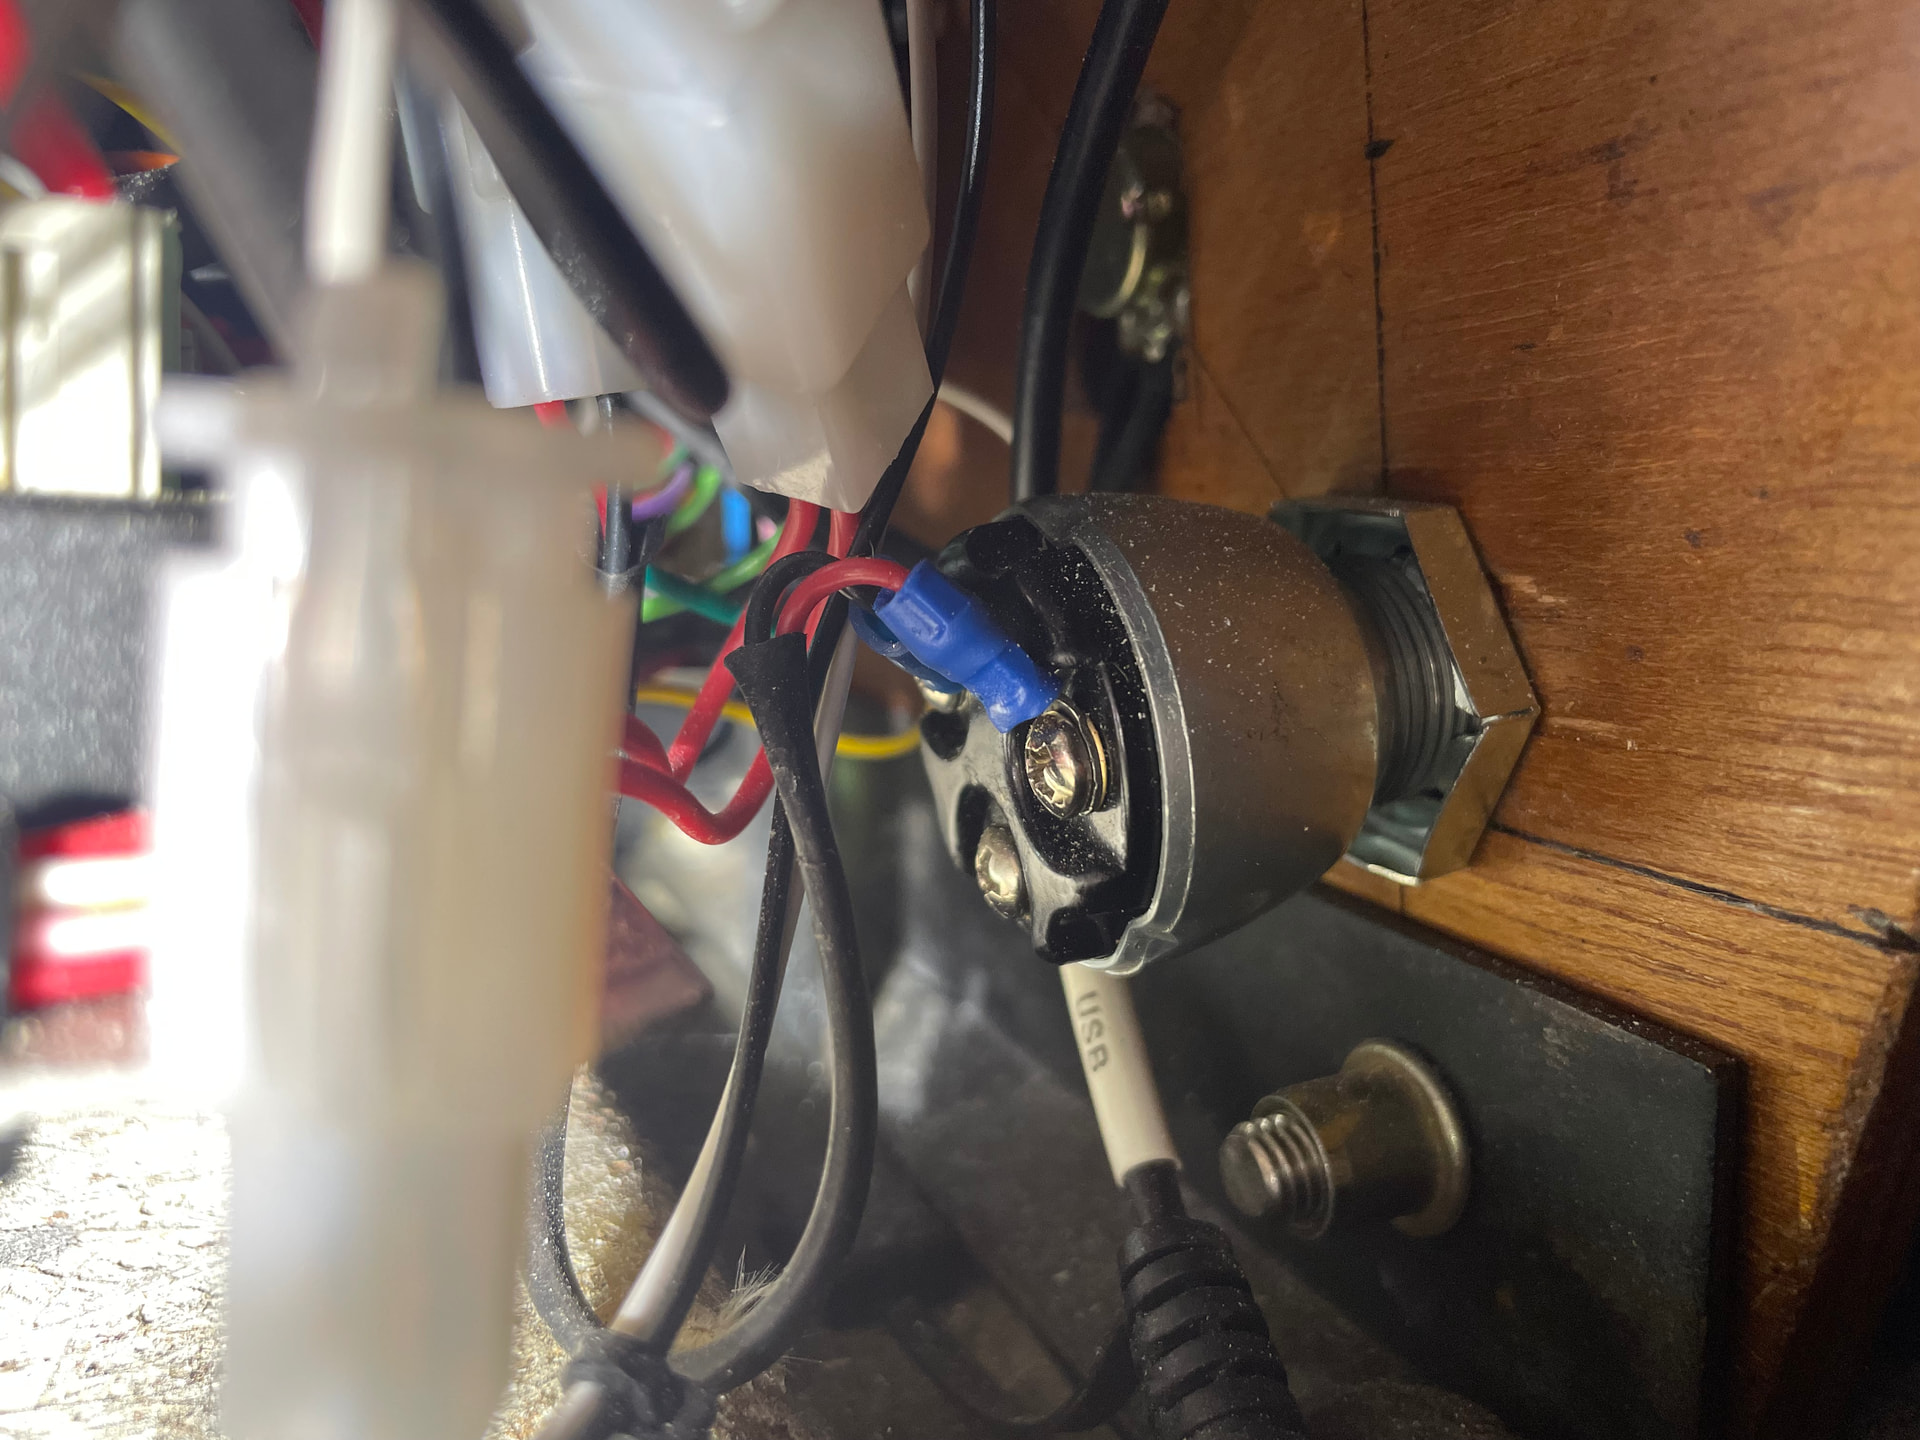
Trying to figure out the constant and switched 12v … asked in the EFI conversion thread but I’ll ask here too
Is the ignition a good source to get those 2 12v items to tap into??
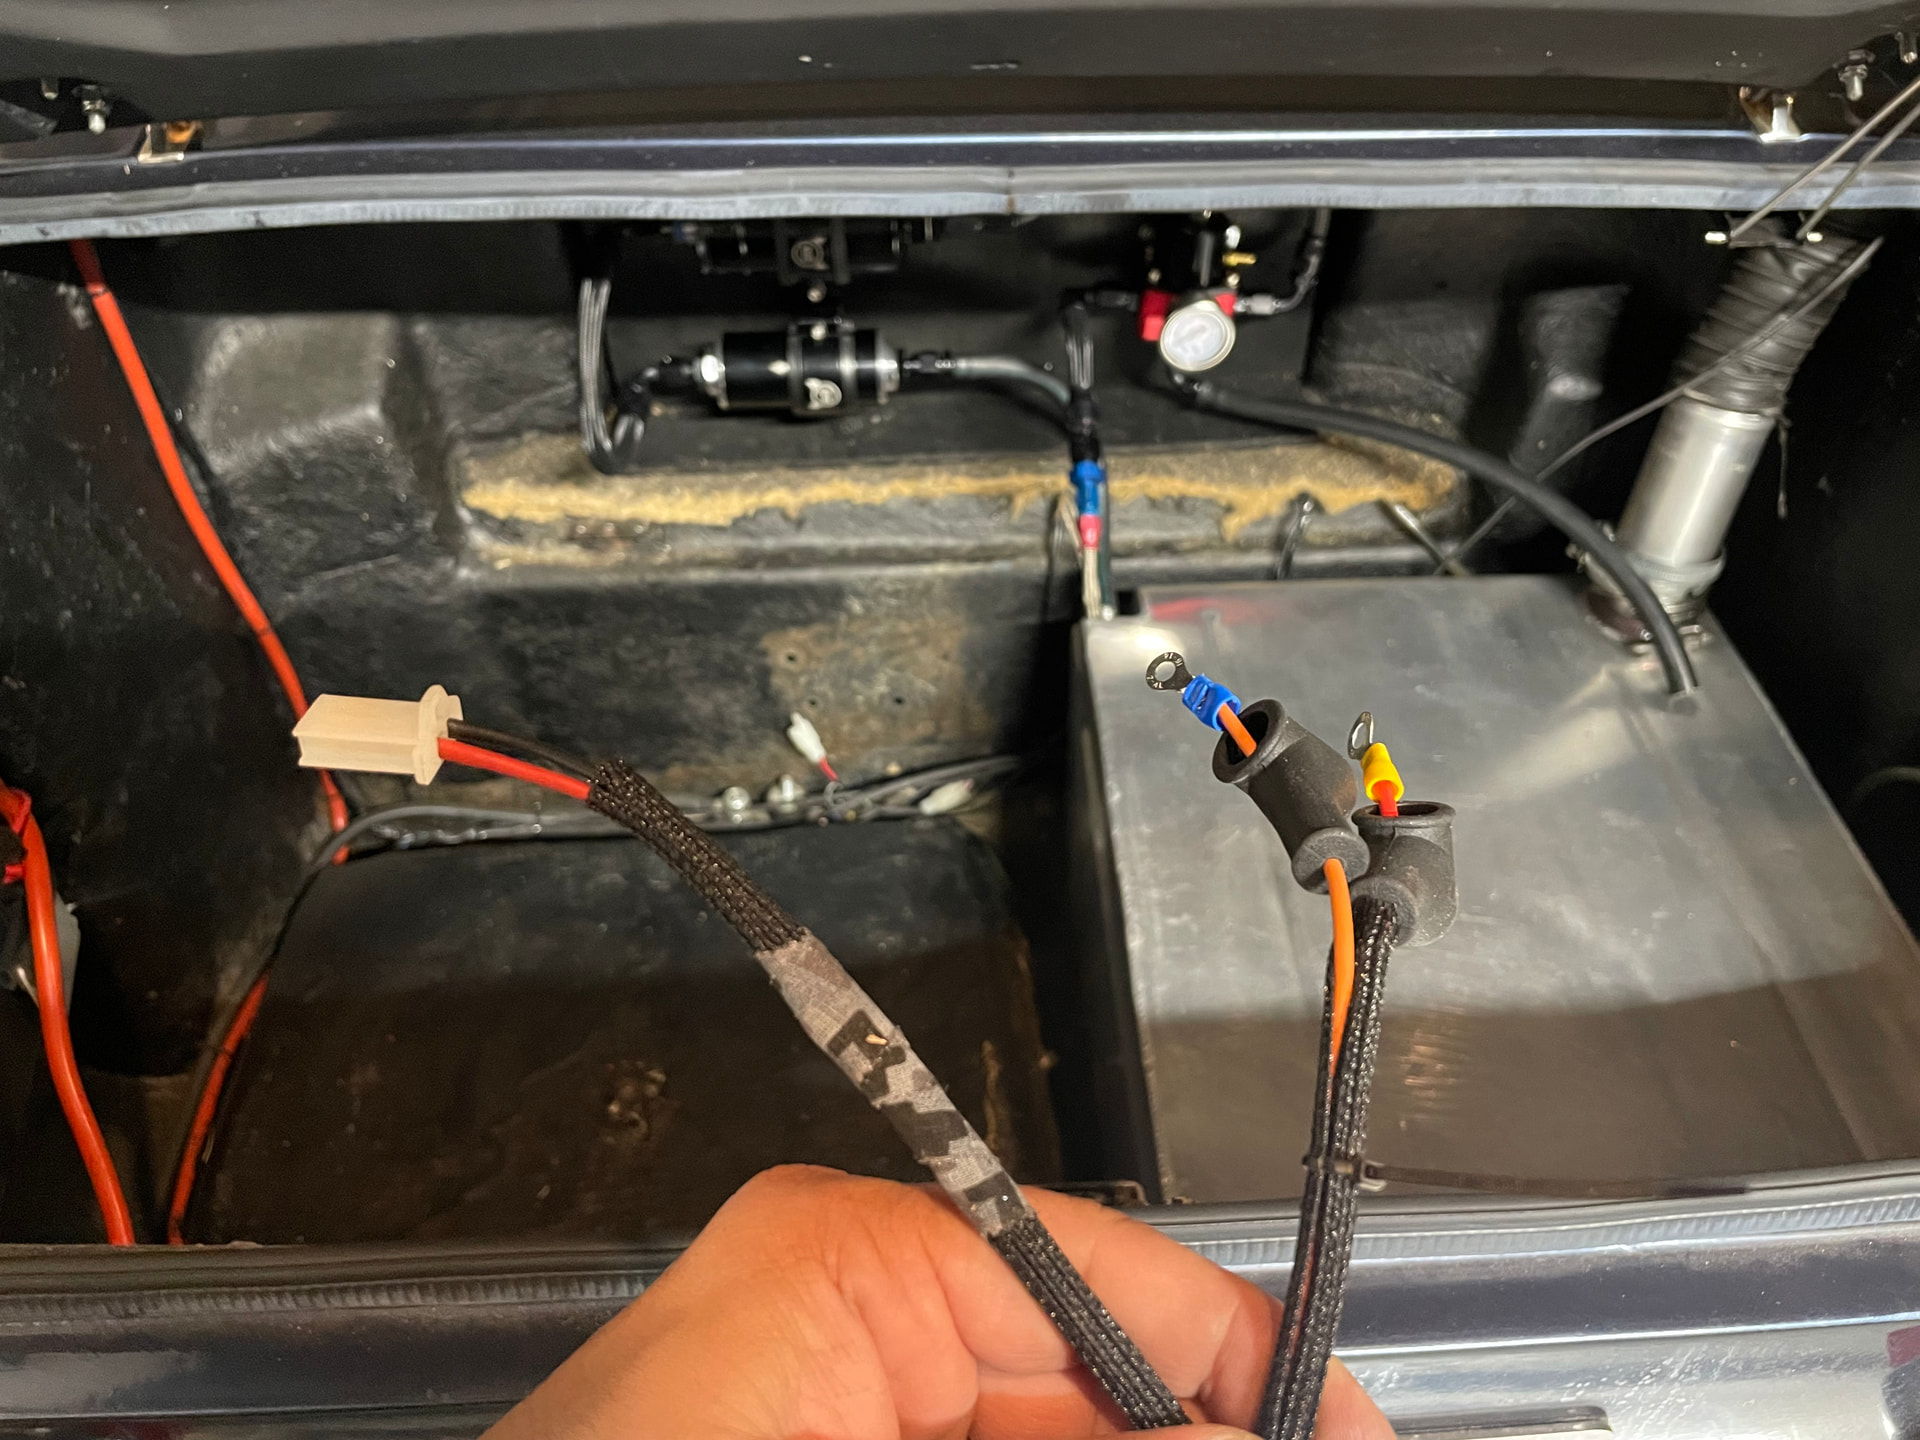
Got one thing done this weekend.
Fuel pump is wired up.
Cool. I guess.
Been trying to find a place to mount the shift light, but a LOT going on behind the scenes and the spot I had in mind has a large metal support bracket running right through that space…
2mAn,
Your car has cross head screws holding the dashboard in place. In my case 1968 S4 these screws are 5/16" UNC, which are fairly substantial items to hold the dash in place. I have drilled through one of these screws so that it is now hollow, and pushed a small LED warning light into the screw from the back so that it is just visible in the middle of the cross of the cross head screw. My car is right had drive and I chose the extreme right screw for this alteration.
Hope this helps,
Richard Hawkins
Thats a phenomenal idea. I agree they are fairly substantial and I had hoped to use the one that was centered between the two gauges but seeing that it held the bracket I knew I couldnt remove it, but now you’ve given me a great idea. Thank you!
I have also drilled the fixing screw for an LED to remind me that the radiator fan is on.
I had a couple of failures so I reduced the current with a resistor.
The LED was 3mm so I drilled the screw 3.2mm except for the front bit which was 3mm.
This provided enough room for a quarter watt resistor in line to reduce the current from over it`s rating of 20milliamps to 17mamps. I have not had a failure since I did that. Sorry I cannot remember the resistor value now and it was a long time ago.
I also used the same method to give the impression that my pretend alarm system on the garage was actually doing something.
Eric in Burnley
1967 S3SE DHC
Slow progress, losing motivation but doing my best to try and not come to a complate stall..I’ll get some garage time Sunday night due to the Memorial Day weekend holiday here in the States, so I’m hoping to make progress on the wiring inside the car. There’s only a few to sort out, but there isn’t much room to trace things down, but I’m a bit more focused this time versus last weekend where I just bounced around with no direction and didn’t get anything done.
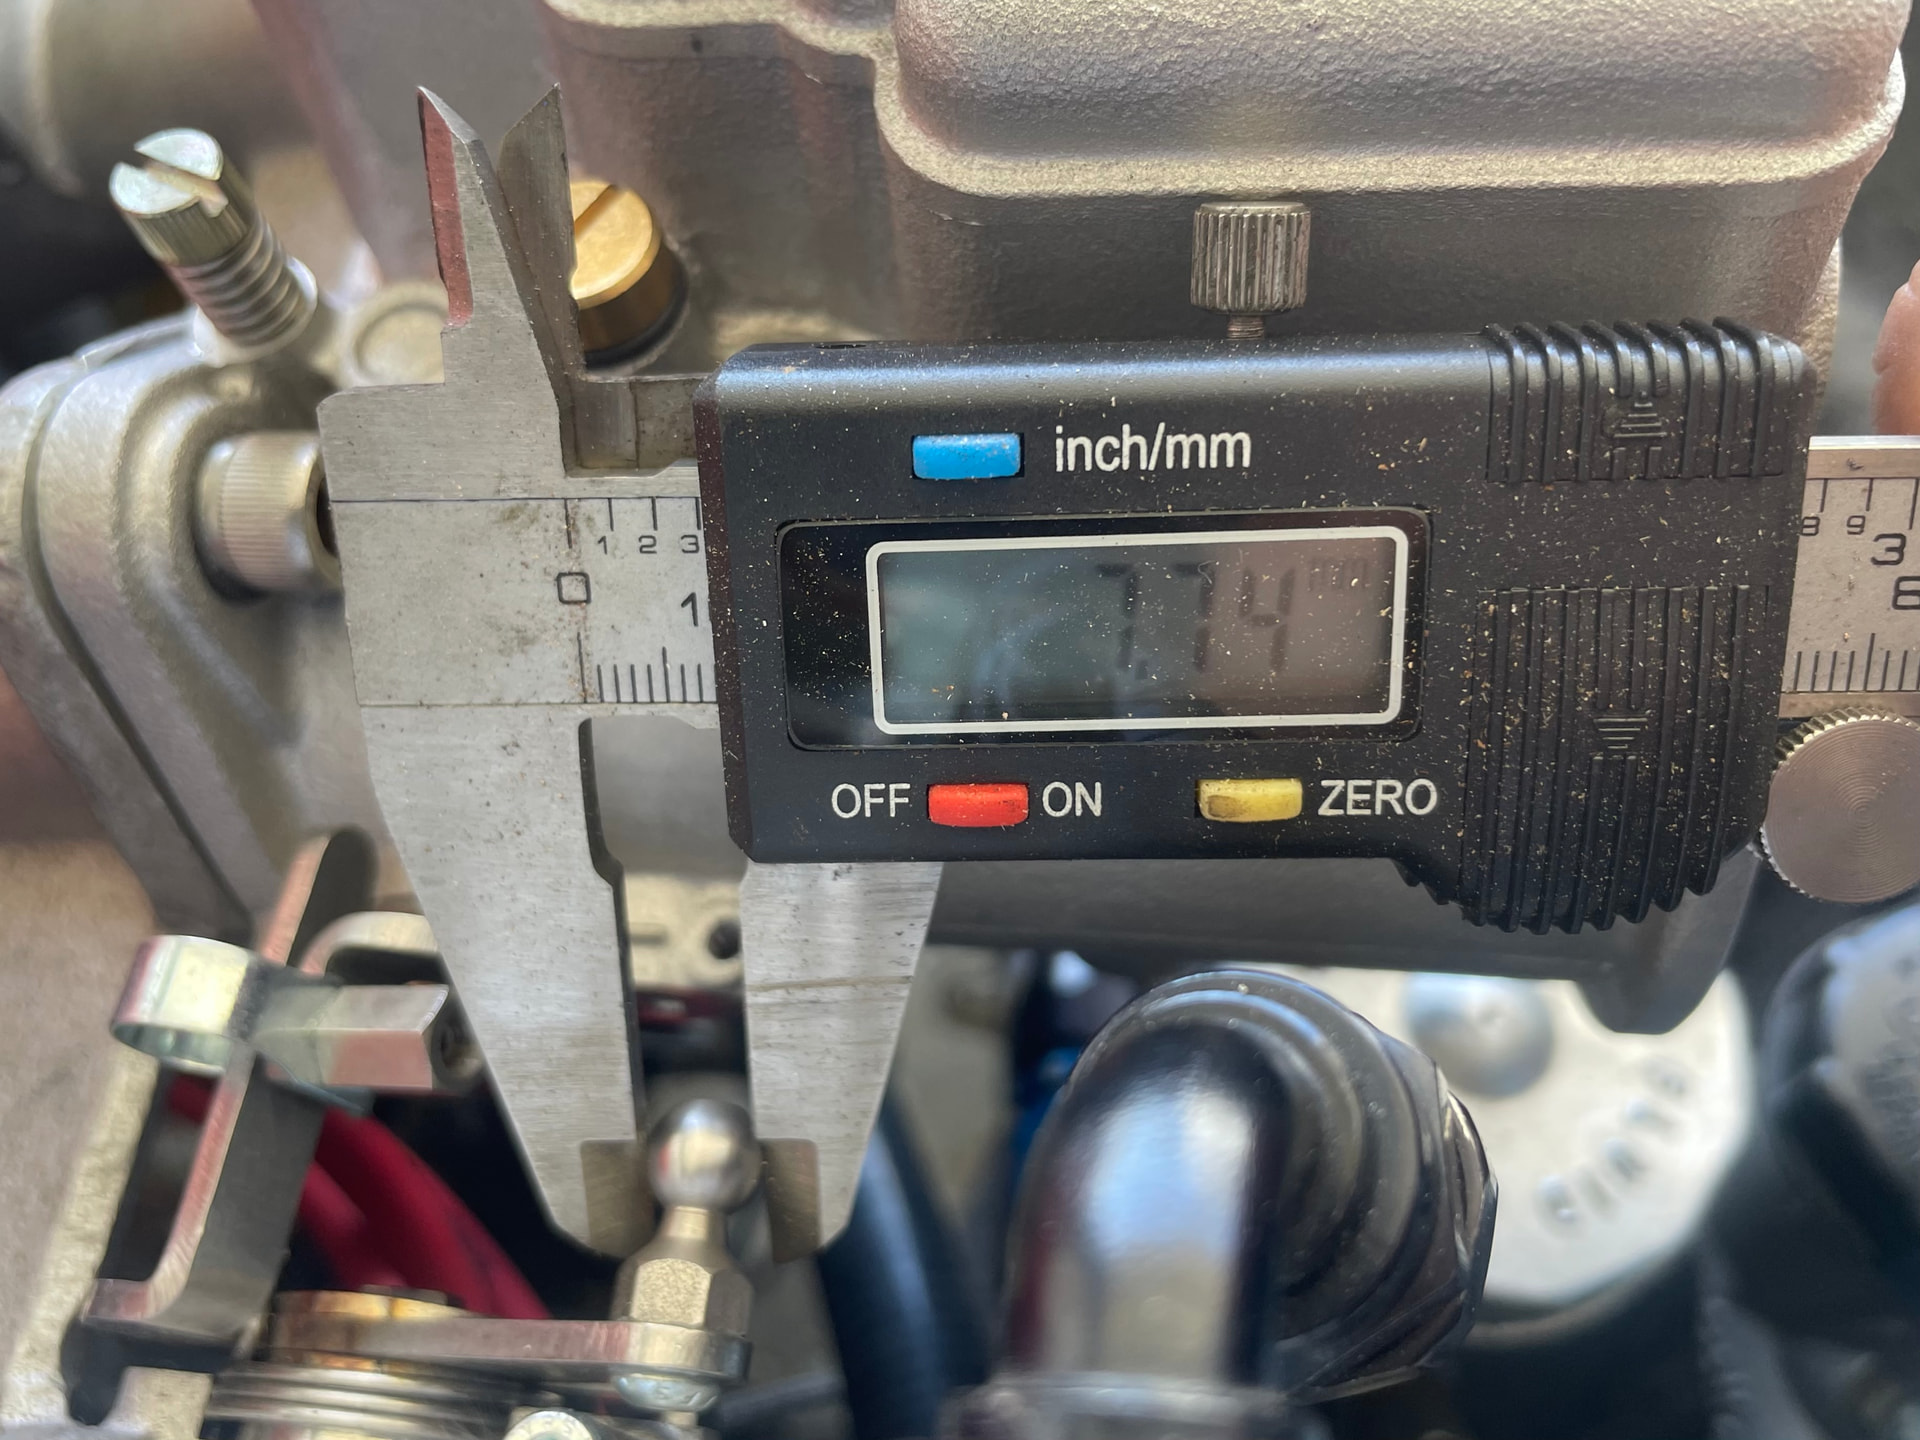
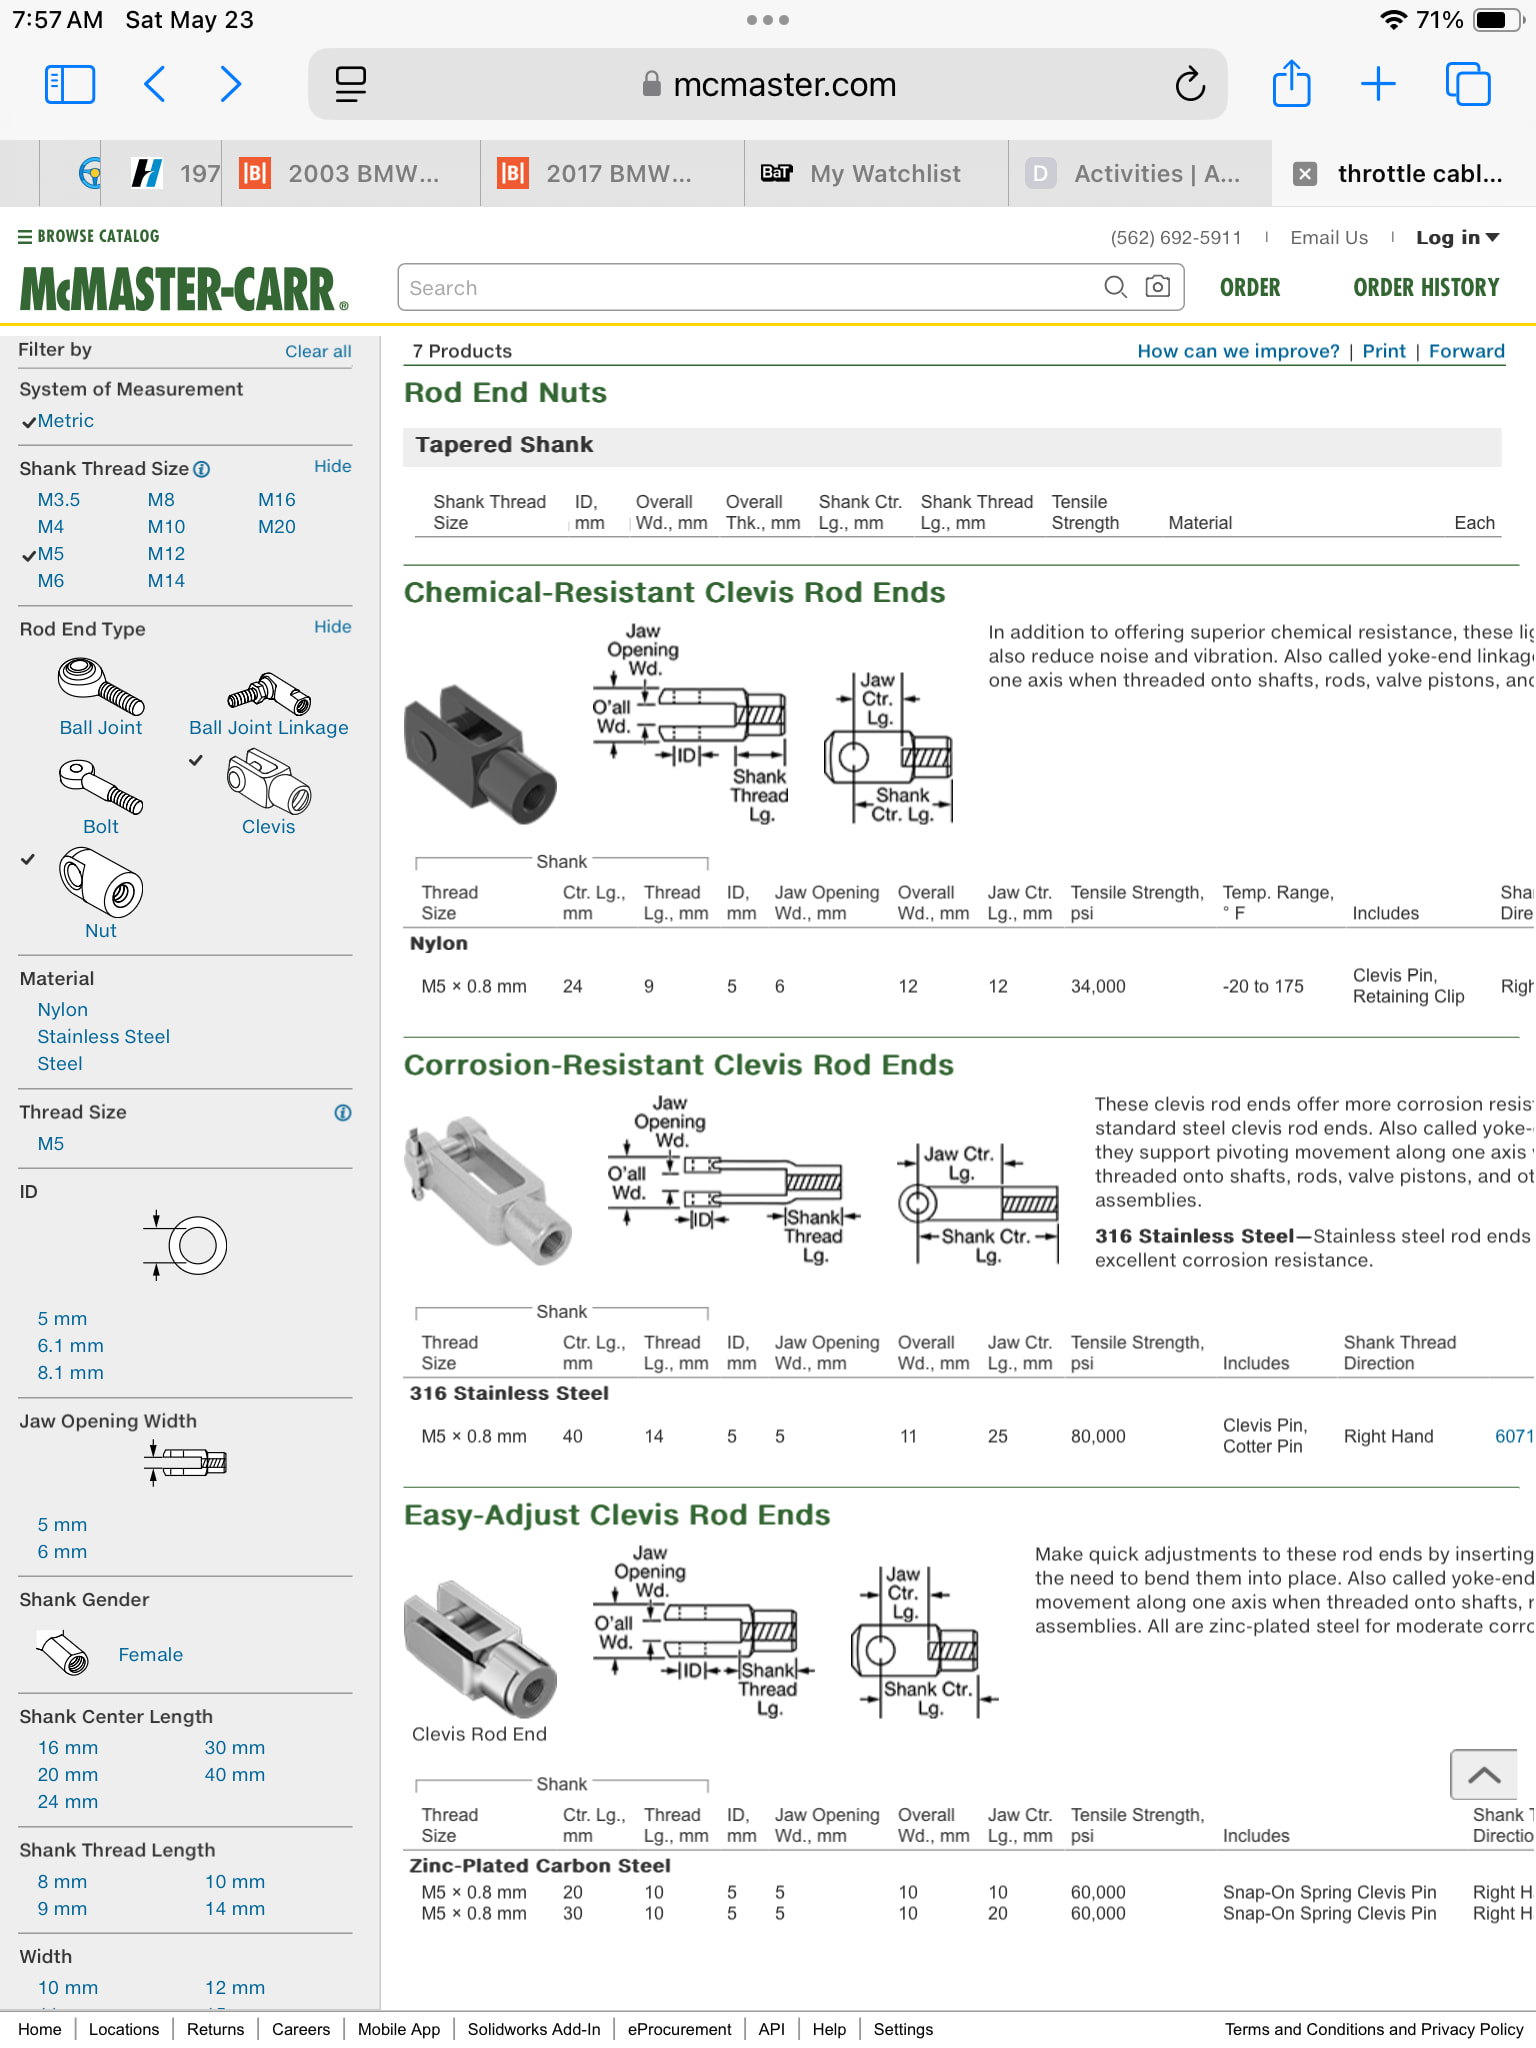
One head scratcher has been the throttle cable. The links above to Pegasus were a good starting point but they didn’t offer anything in the ball size, nor the M5 threads I needed. I’ve been looking around and McMaster Carr appears to have a few options but wanted to see what you seasoned veterans may think of their options, as nothing seems to be perfect and will require some adaptation (no surprise here!)
I’d personally prefer to use the more readily available pieces from Pegasus, but they said the ball end on mine is a different size (I believe mine is larger), and I think M5 and 10/32 are just to far apart and yet too small to retap and adapt, so trying to work with what I already have… shame the fancy piece from Jenvey protruded too far up
I was following this thread, as I have some heritage bodies and am at the final stages of restoration.
Recently brought a quick release ball joint here in the UK.
The ball on the heritage bodies is 7.9mm, so I got the ‘M6’ size joint. The ball which comes with the joint won’t be used as it fits on the heritage ball perfectly.
Purchased from here, which naturally are a UK website, but it helpfully has a list of sizes. I would imagine the parts are made in the far east, so should be available worldwide, just need to find someone selling them where you are.
Tom
@2mAn Simon, can your remove the metric ball end from the linkage and replace with an SAE version?
I converted the carb linkage on my Ferrari 308 from metric ball ends to SAE by grinding off the welds on the metric bits, welding in the 1/4" ball ends, then having the bits replated.