Just restarting this thread in the right section !
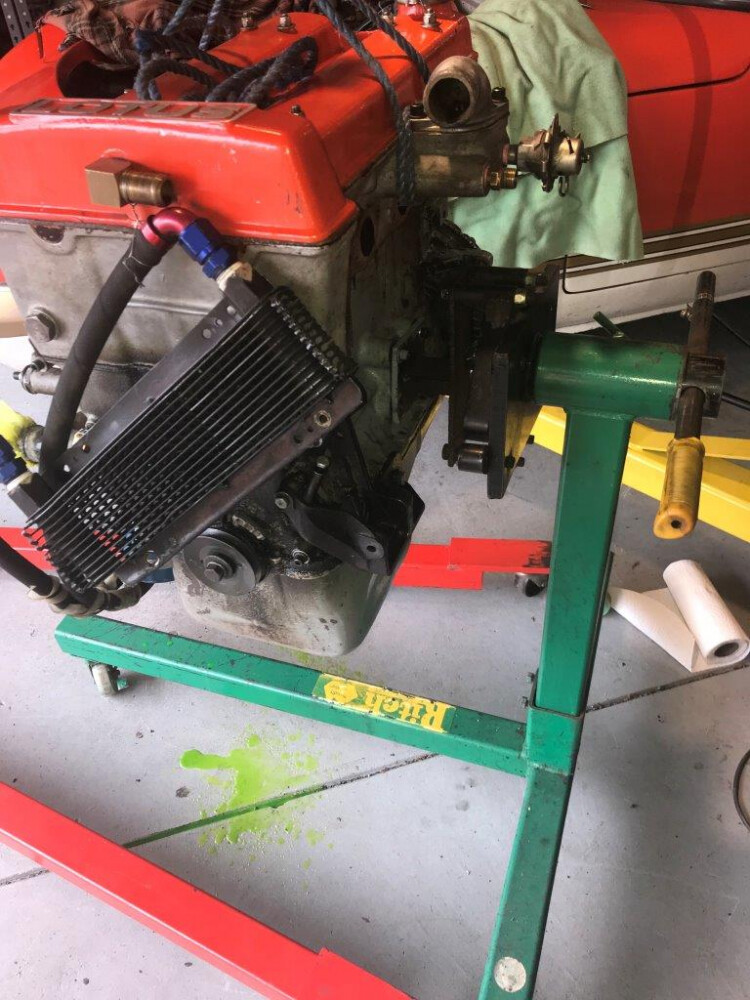
Having had an engine internal problem causing loss of power at my last race I decide to pull the engine to investigate. It would still run without any abnormal noises or smoke but the engine is partially seized and very hard to turn over by hand and that internal drag is clearly the cause of the loss of power. I have started this thread to record both the removal process, the rebuild and re-installation. Will post more when I get a chance. The engine came out today and tomorrow I hope to open it up to find out more.
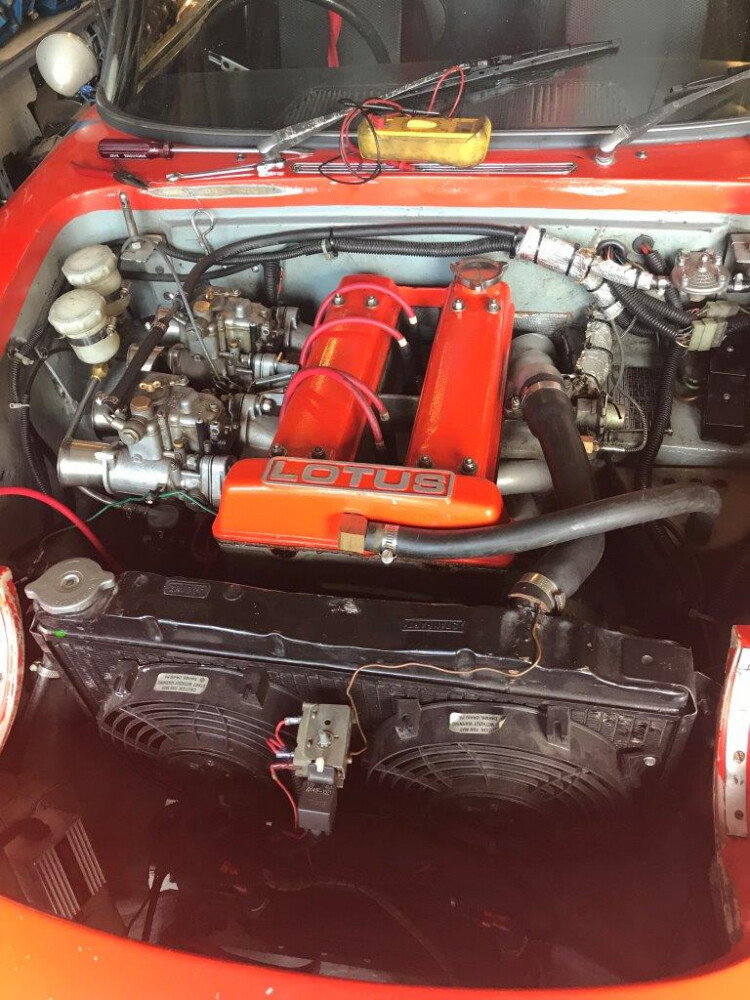
Hoses and fan wiring disconnected and ignition coil that’s mounted on the side of the radiator removed and the radiator is out. Once the radiator was out I could get a big socket and long handle on the crank pulley nut and yes it was much to hard to turn
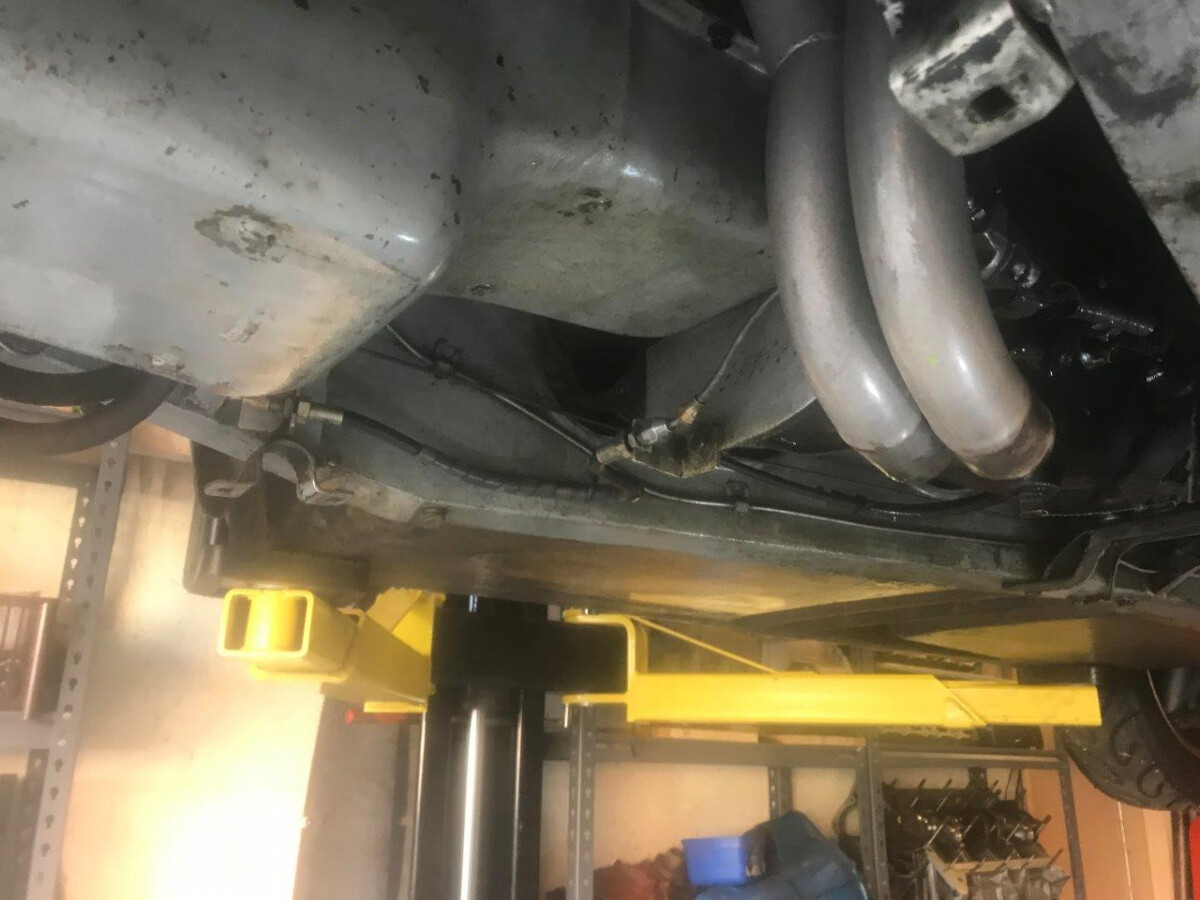
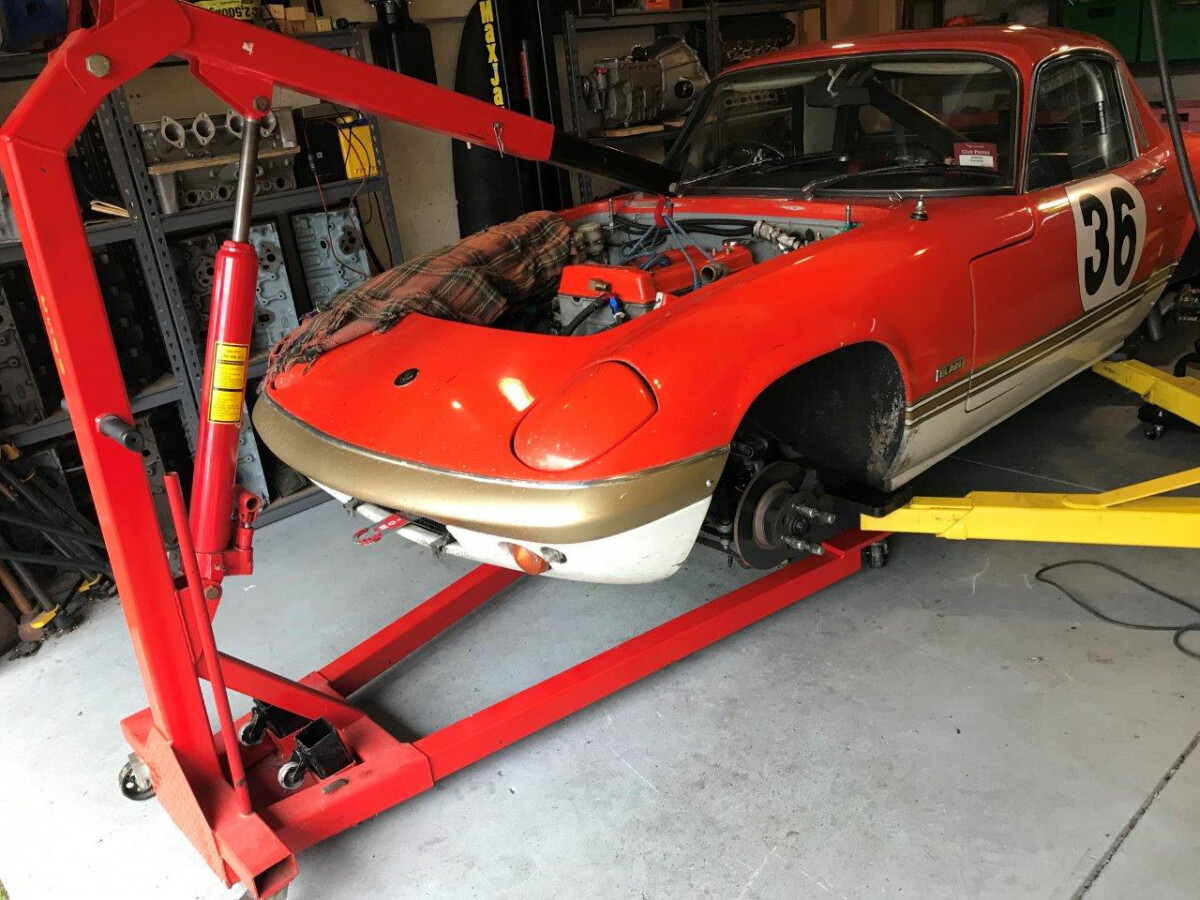
The beauty of having a two post hoist like the MaxJax is you can easily work on the top and bottom of the car and position it at a comfortable working height quickly. So now up in the air and the exhaust comes off the the headers. Removable chassis brace and roll bar also removed so out of the way for the engine removal also
Half way through the engine removal after about 3 hours …to be continued
cheers
Rohan
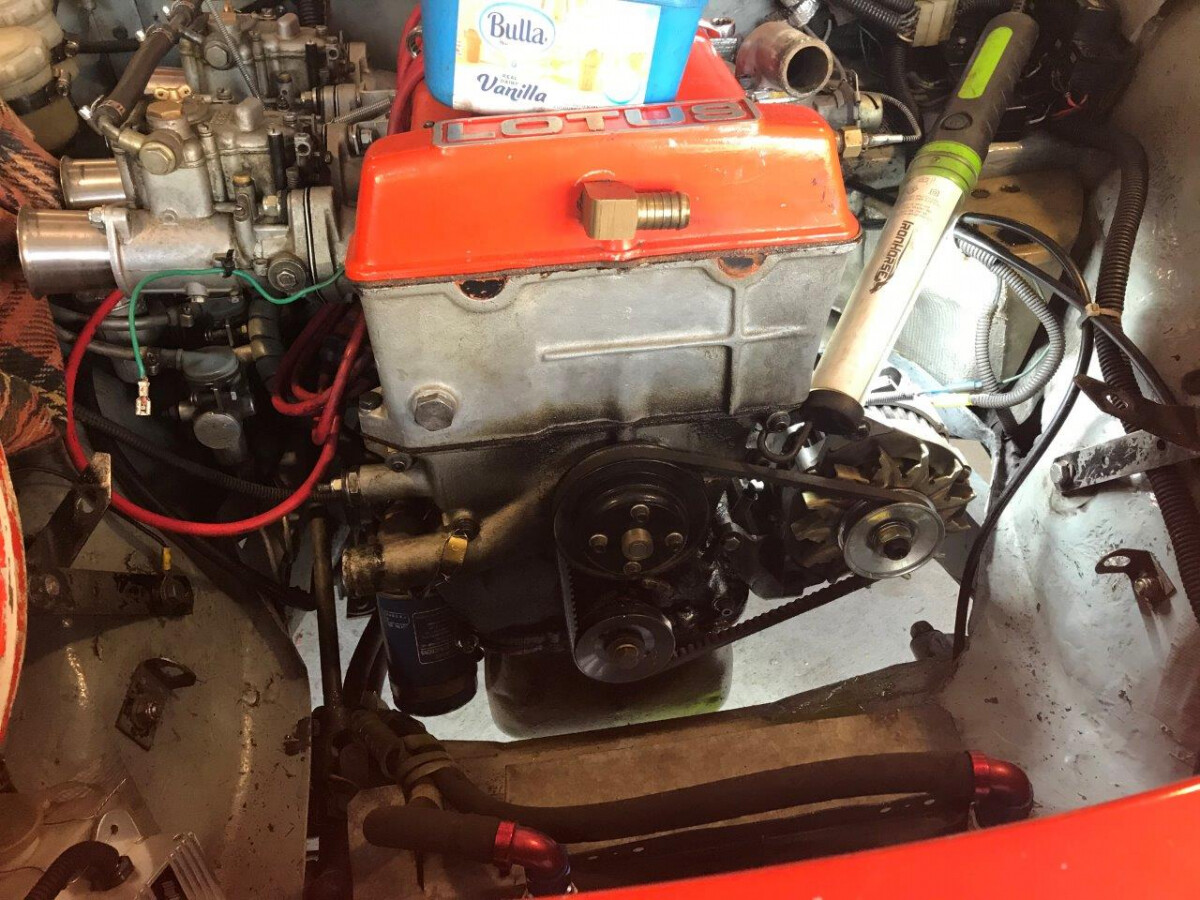
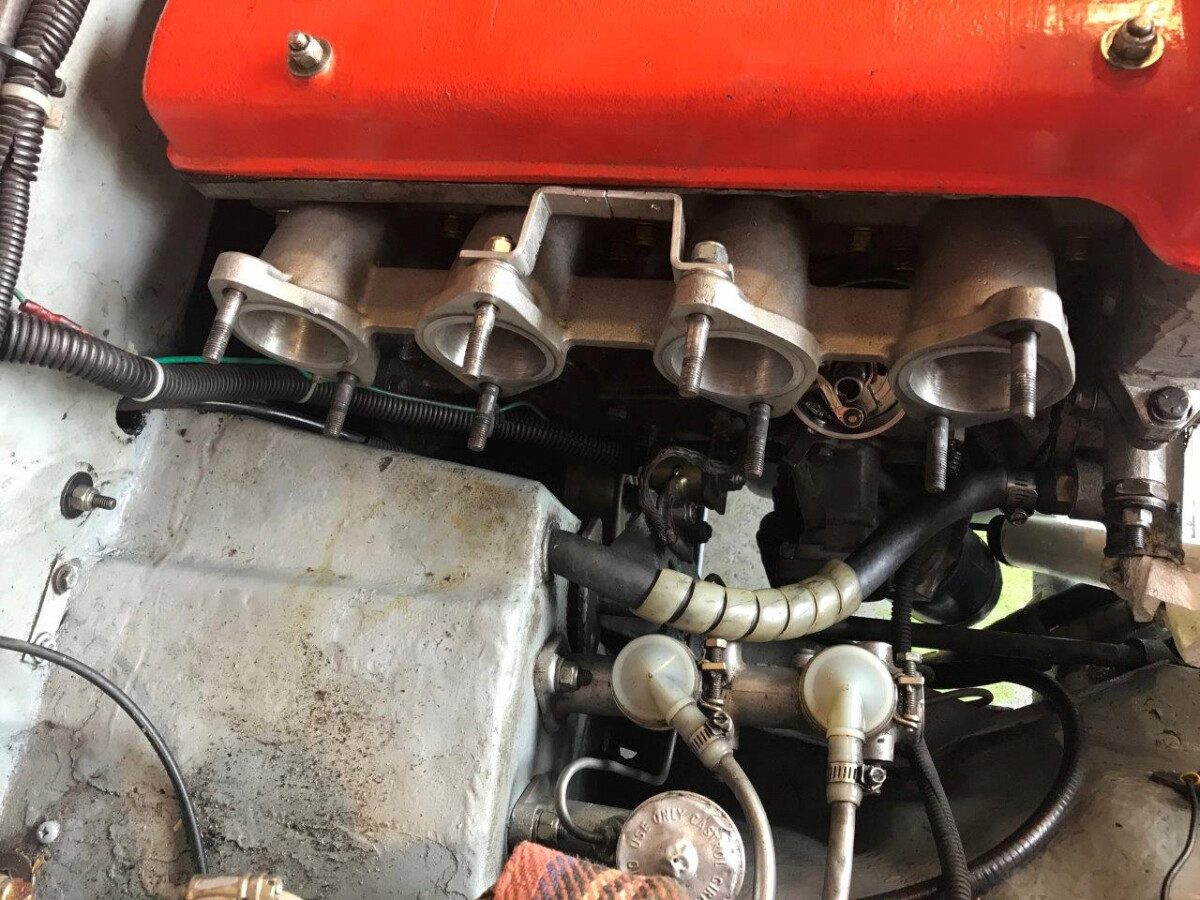
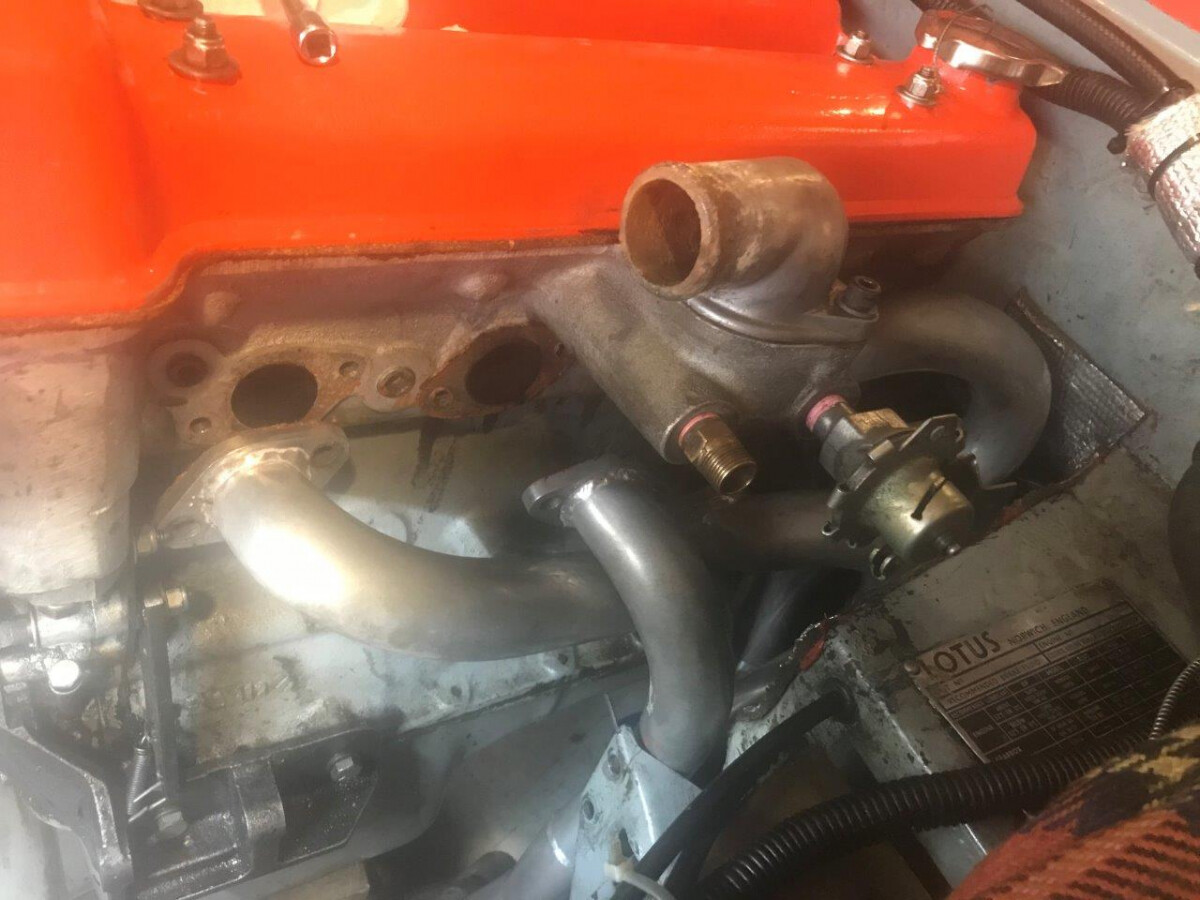
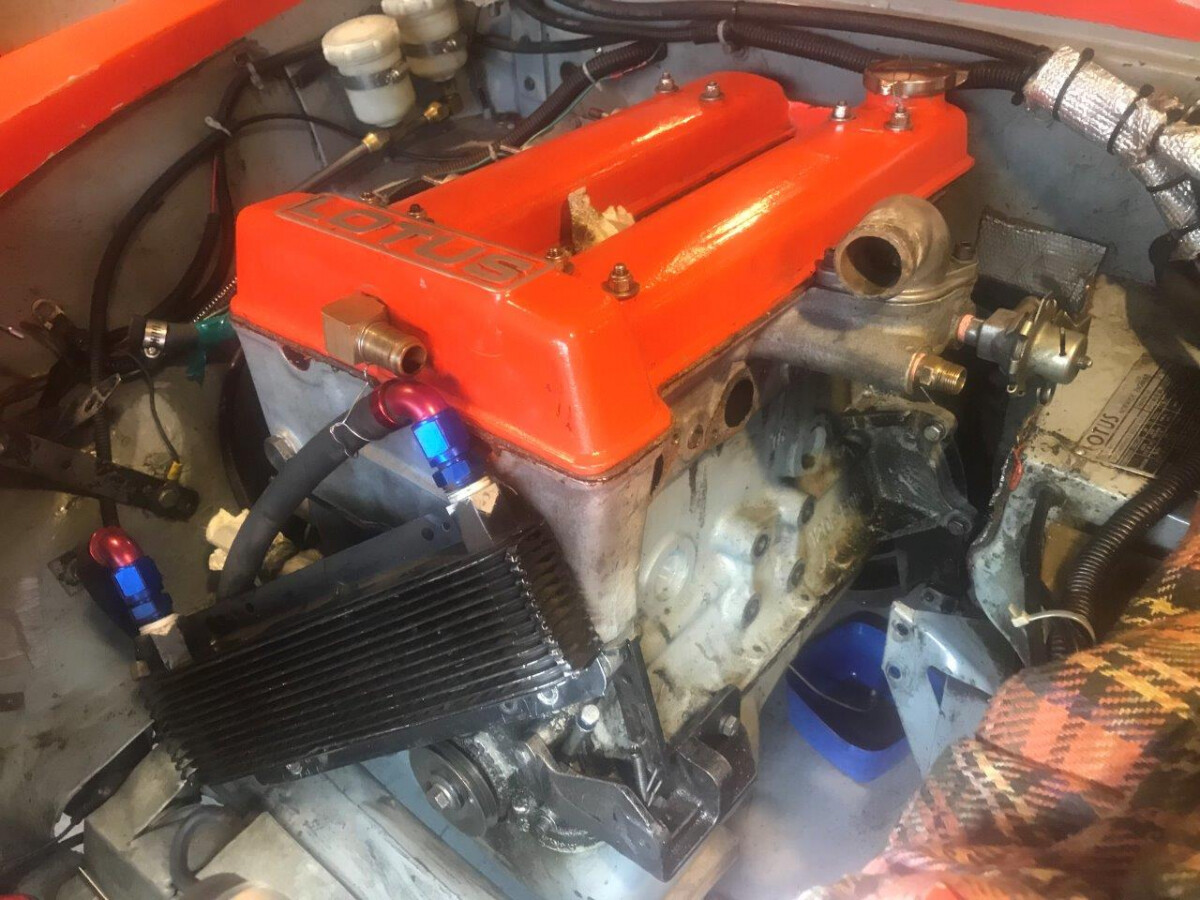
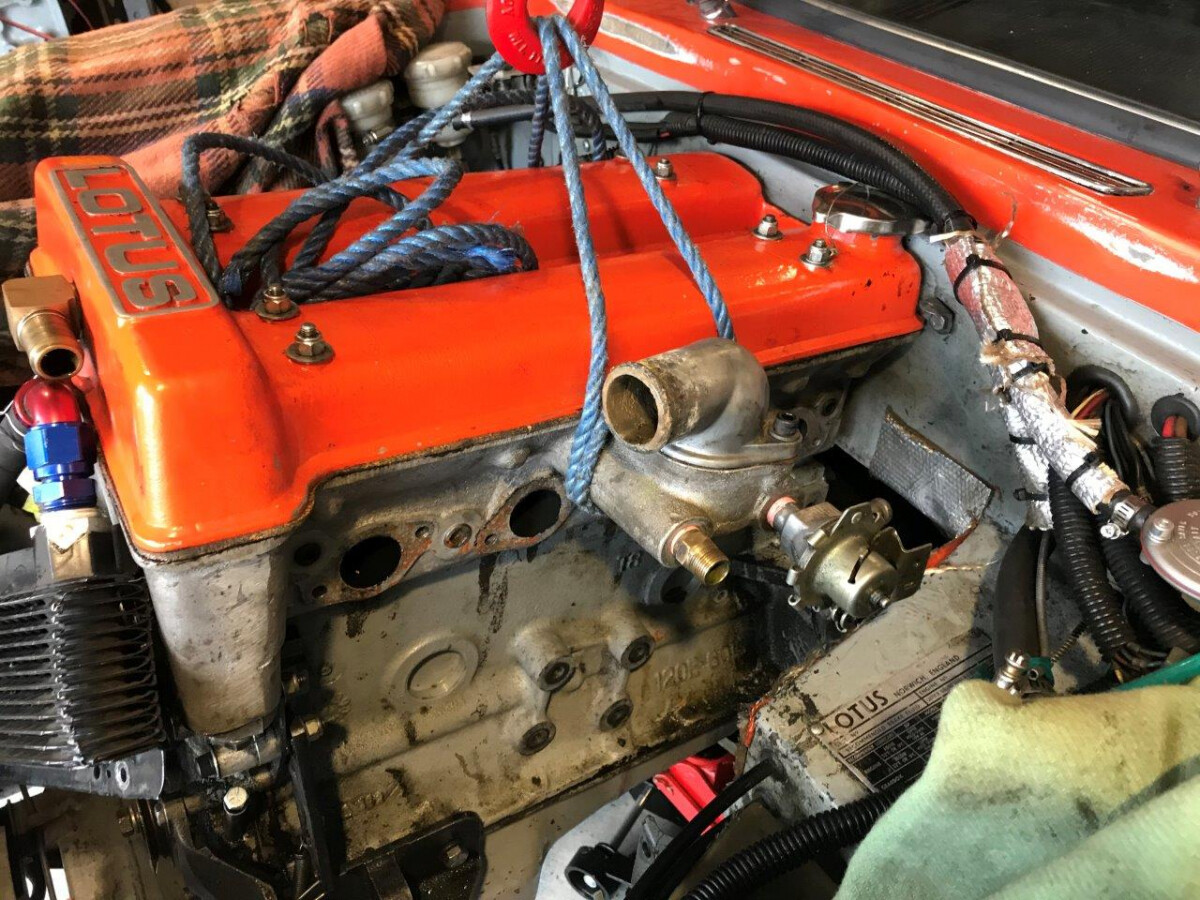
Top heater hose removed and disconnected the LH engine mount and jacked up the engine a little so easier to get at the hex socket headed set screws holding the manifold with the ball headed hex key. All installed with nickel antisieze so they come out easily.
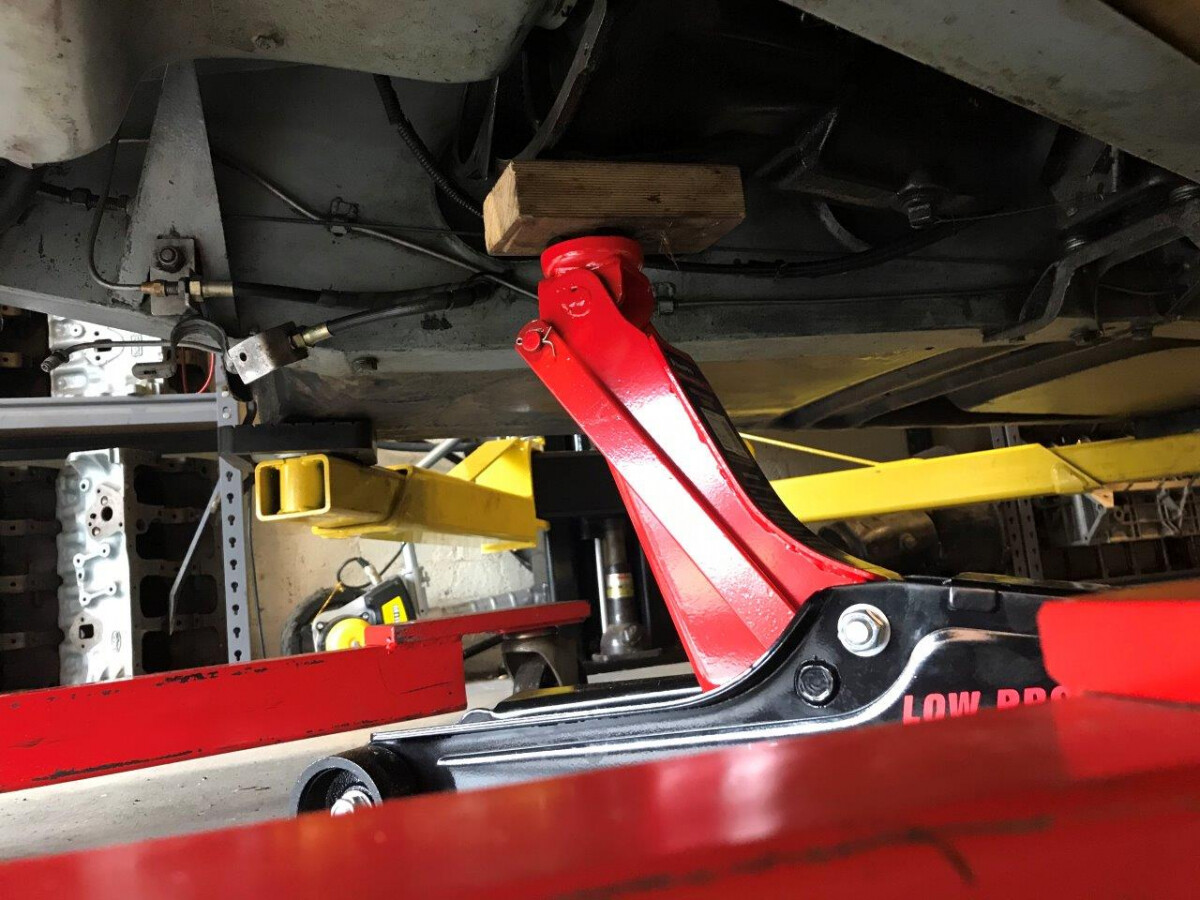
Engine crane installed and connected to take the weight of the engine. Again the two post MaxJax hoist makes it easy to position the car at the right height with clear access for the engine hoist legs underneath
Almost ready to take out the engine … about 5 hours of work so far
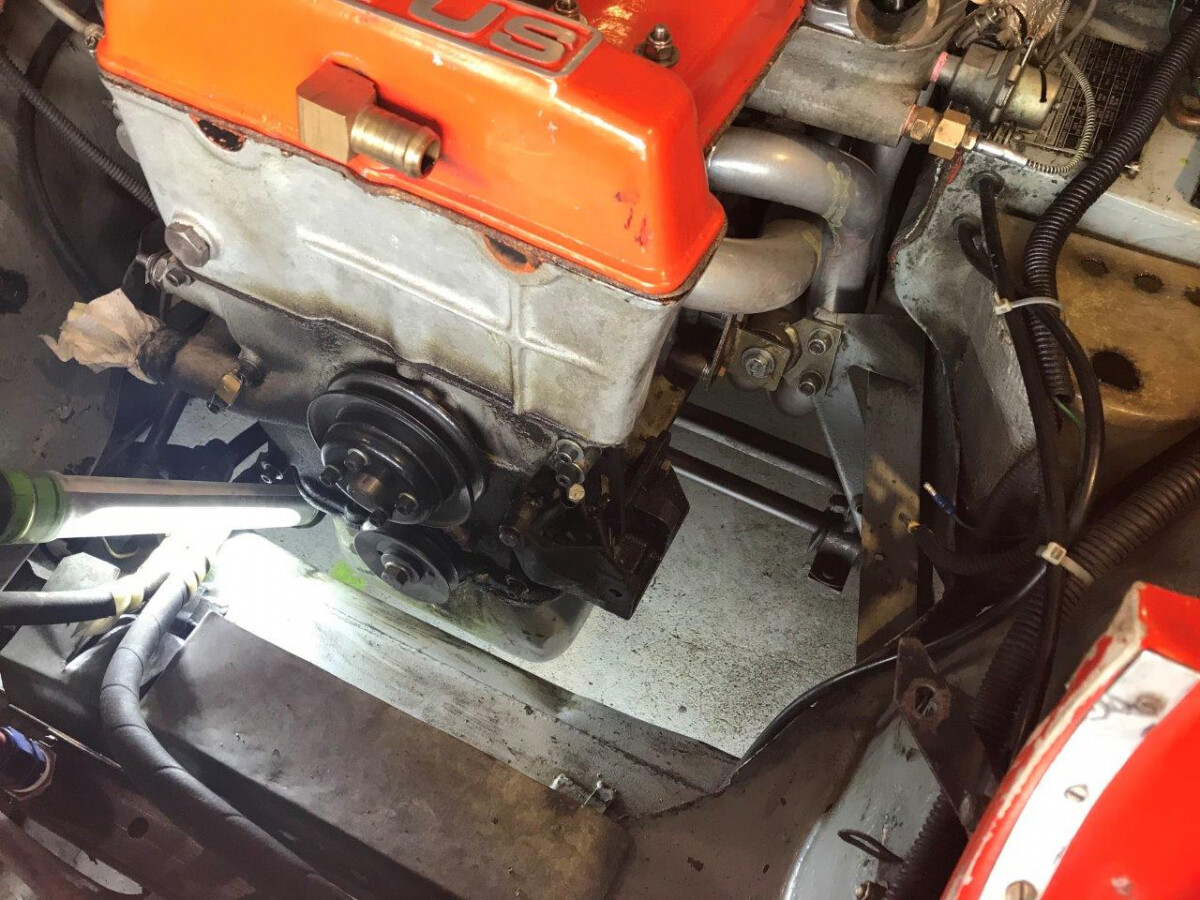
Continuing with the actual engine removal now that all the external ancillaries have been disconnected and the engine mounts removed and its hanging from the hoist
Now lift it up as high as it will come. I have to move the wiring and fuel line out of the way to be able to lift it high enough so that when its pulled forward it clears the front cross member
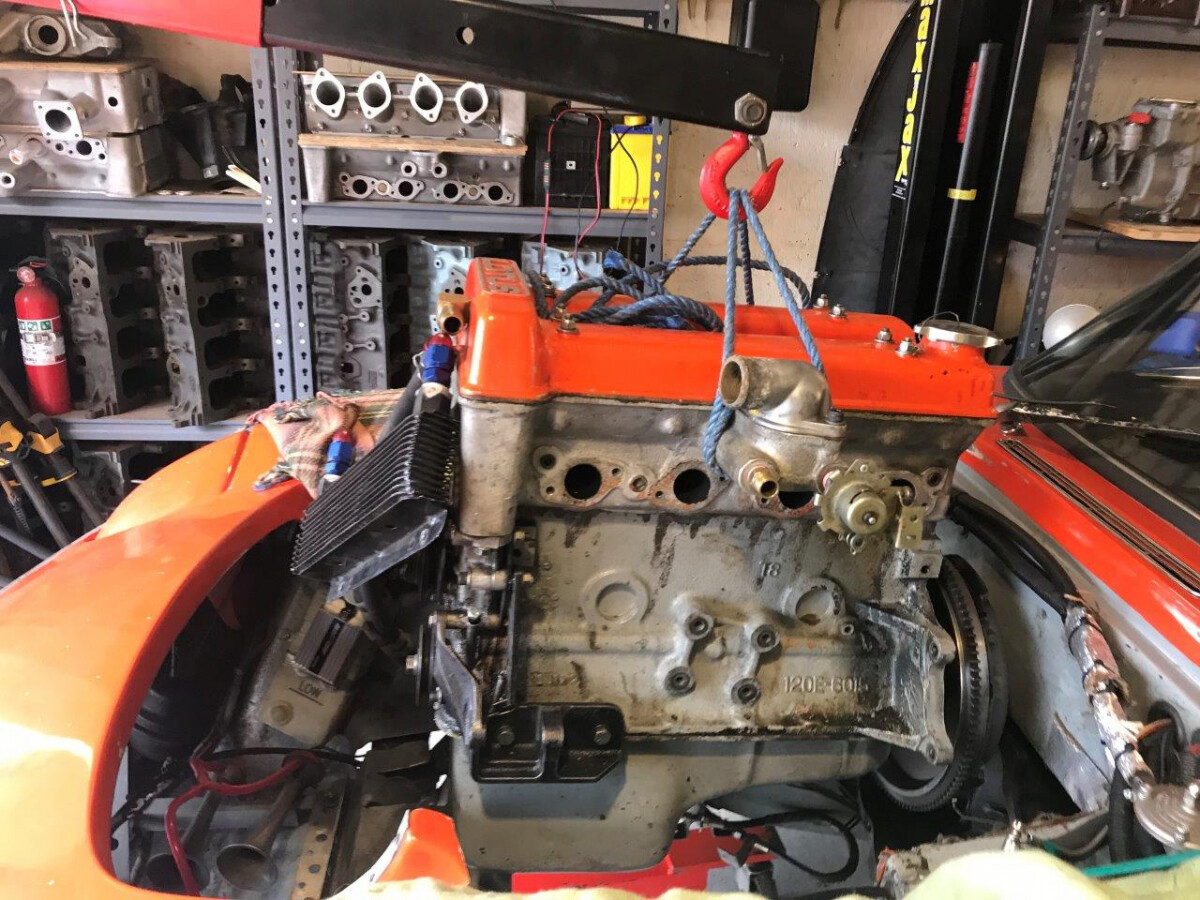
Pull the engine forward until it clears the bell housing and then lift it up. It takes a bit of effort to get it off the hollow dowels. Keep the engine and bell housing flange parallel as its pulled forward and up at an angle to avoid stress on the gearbox input shaft
Swing the engine over and position it on the engine stand. I can just get the engine stand close enough so that the exhaust side engine mount can be bolted to the adaptor I made for the stand
Engine is out and now ready for dismantling to find out whats wrong … about 7 hours in total to remove
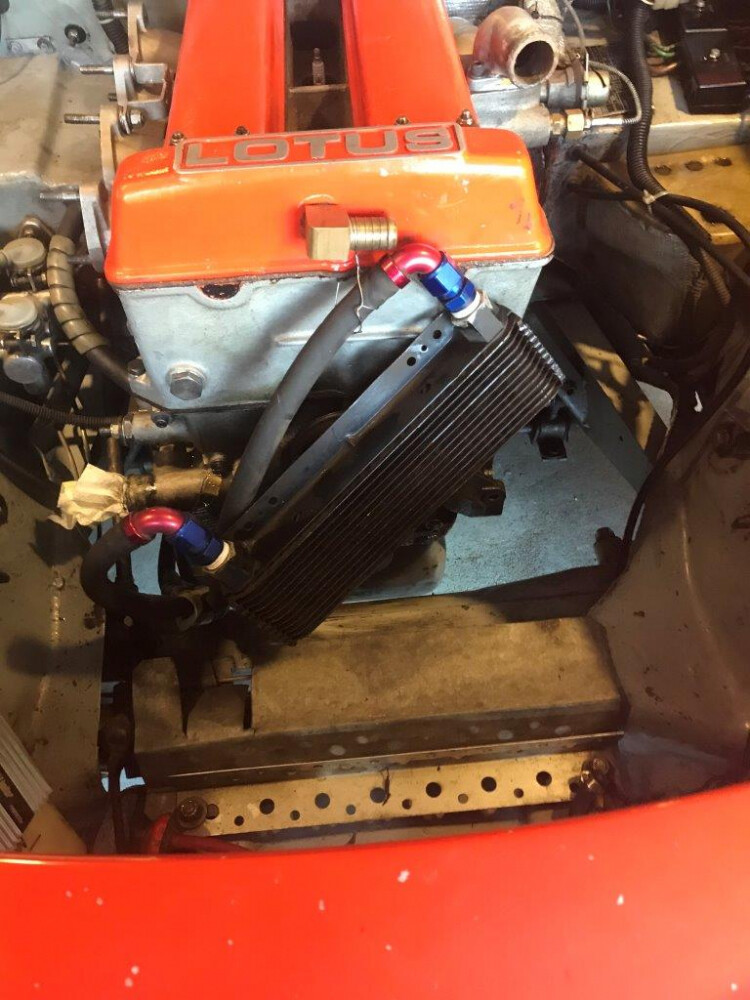
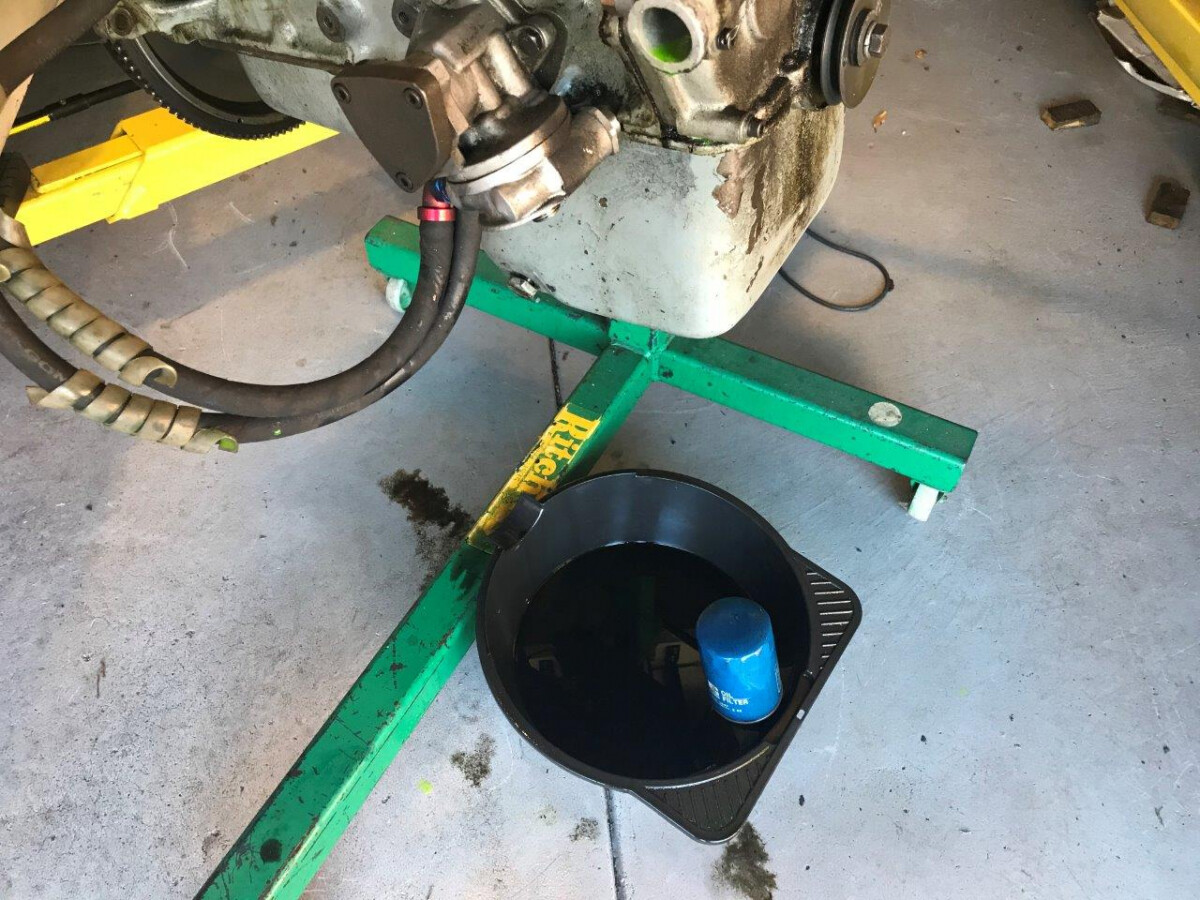
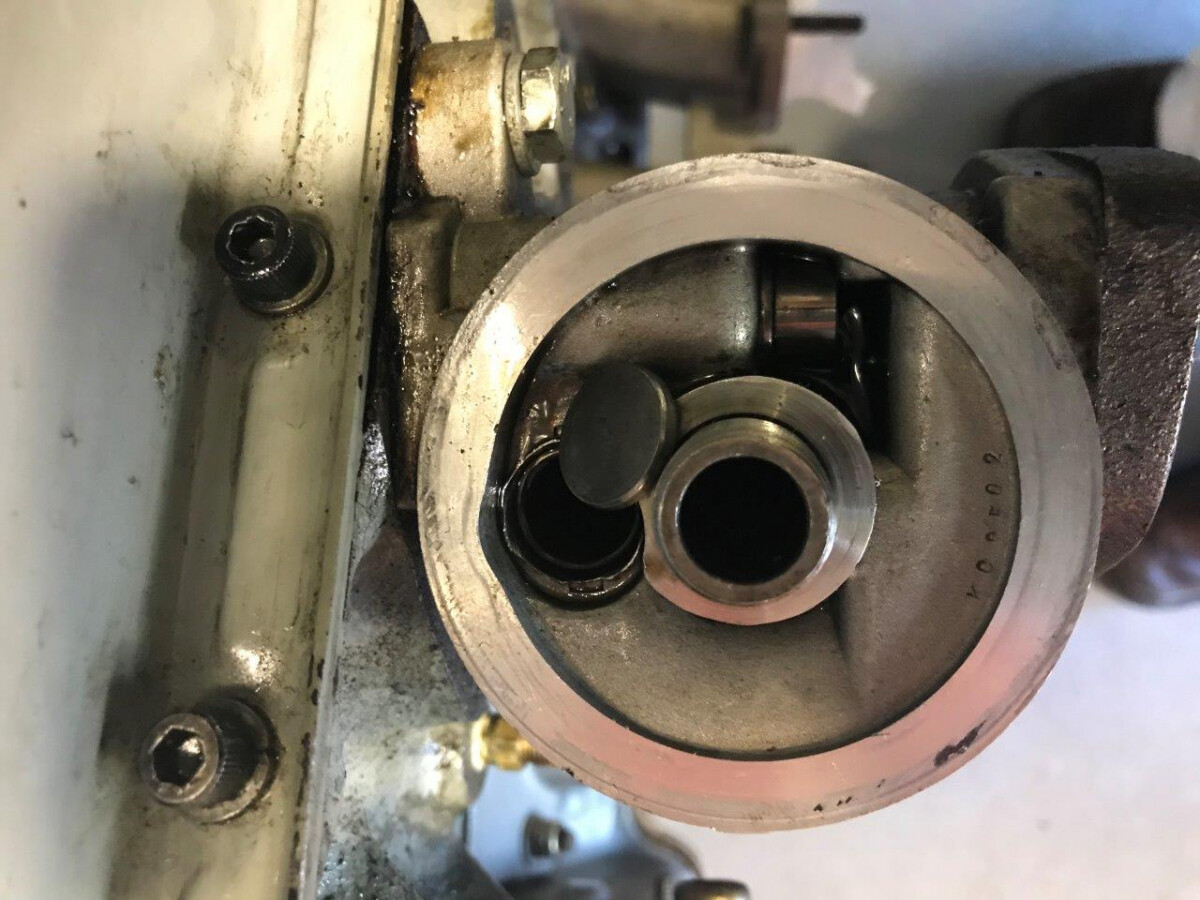
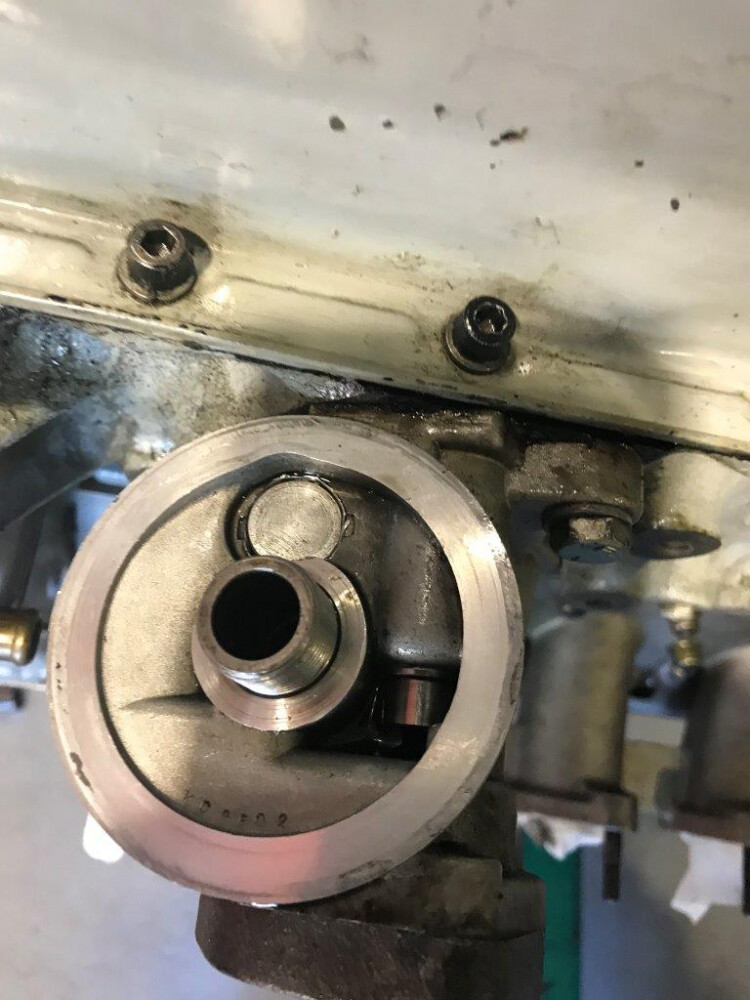
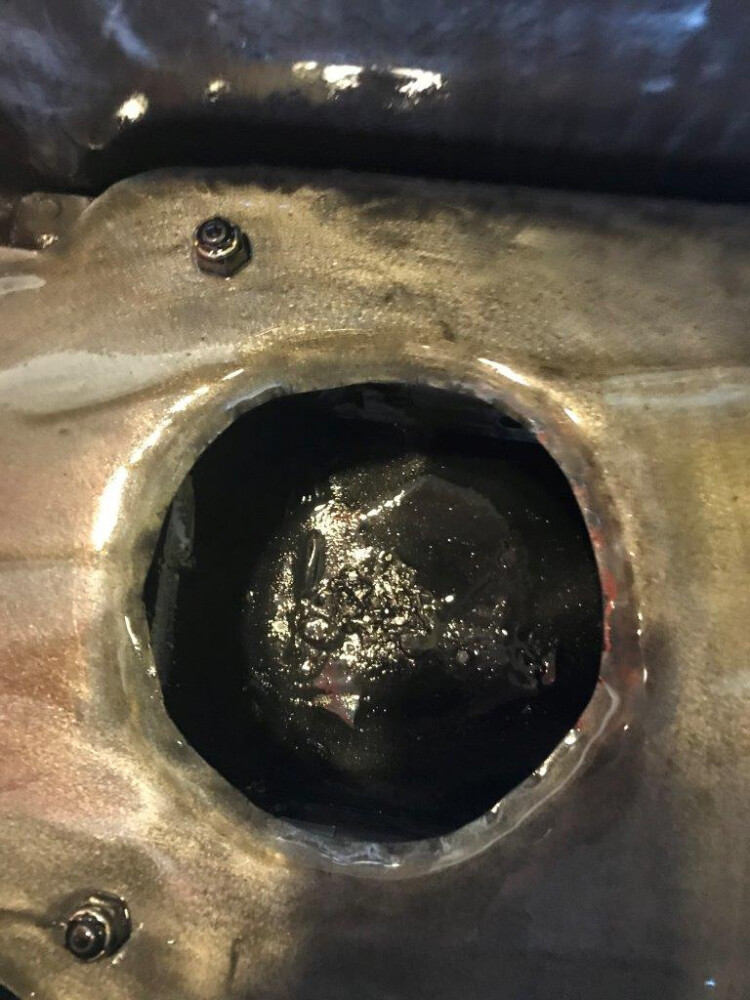
Pulled off the sandwich plate and oil cooler. Found the first thing wrong … The blanking plate in the oil pump that closes off the filter bypass is loose. The second photo shows where it should be. It is staked in place but clearly this was insufficient and it had come free at some stage. This meant that the filter was not working and oil was bypassing it but oil was circulating OK still.
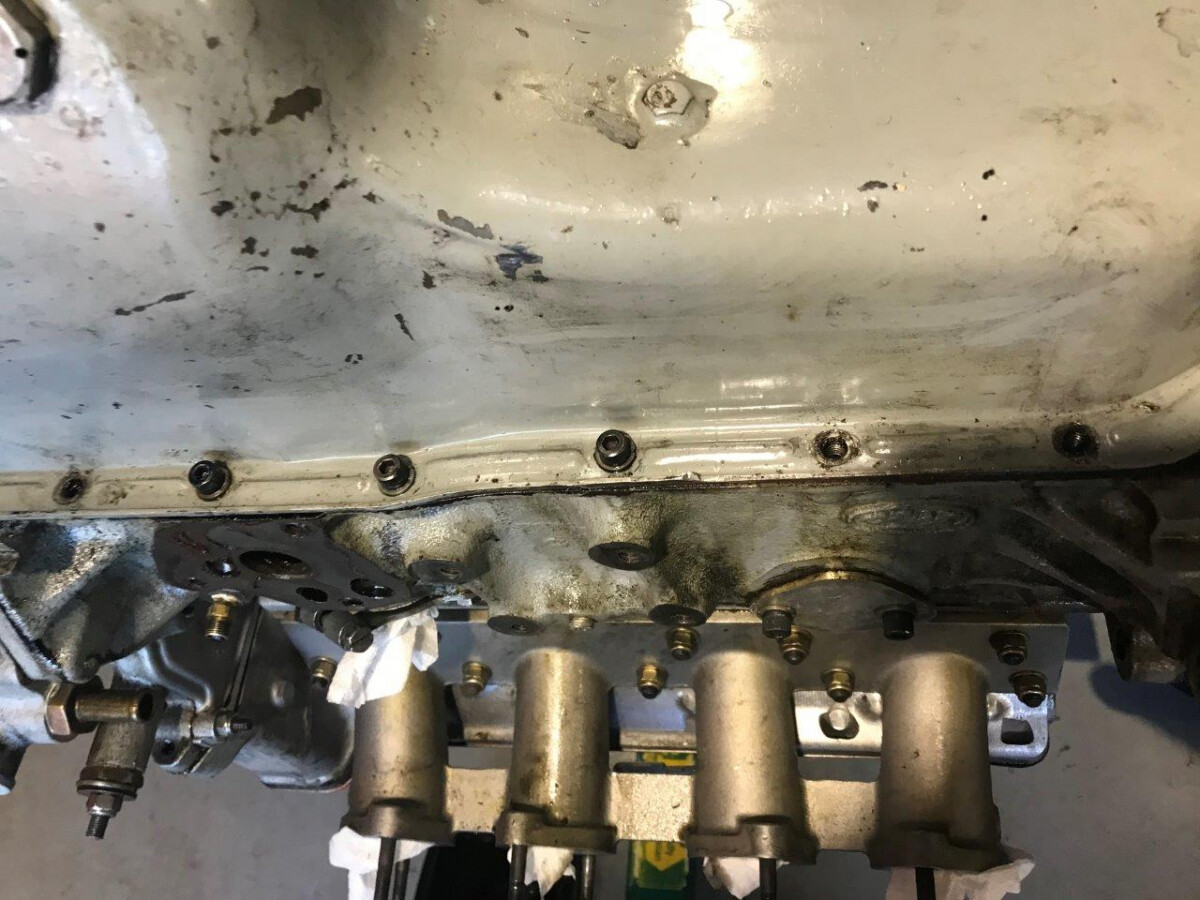
Now removing the sump bolts. I again use hex socket headed set screws to hold on the sump as easy to check tightness with the engine in place and also quick to remove with a ball headed hex key.
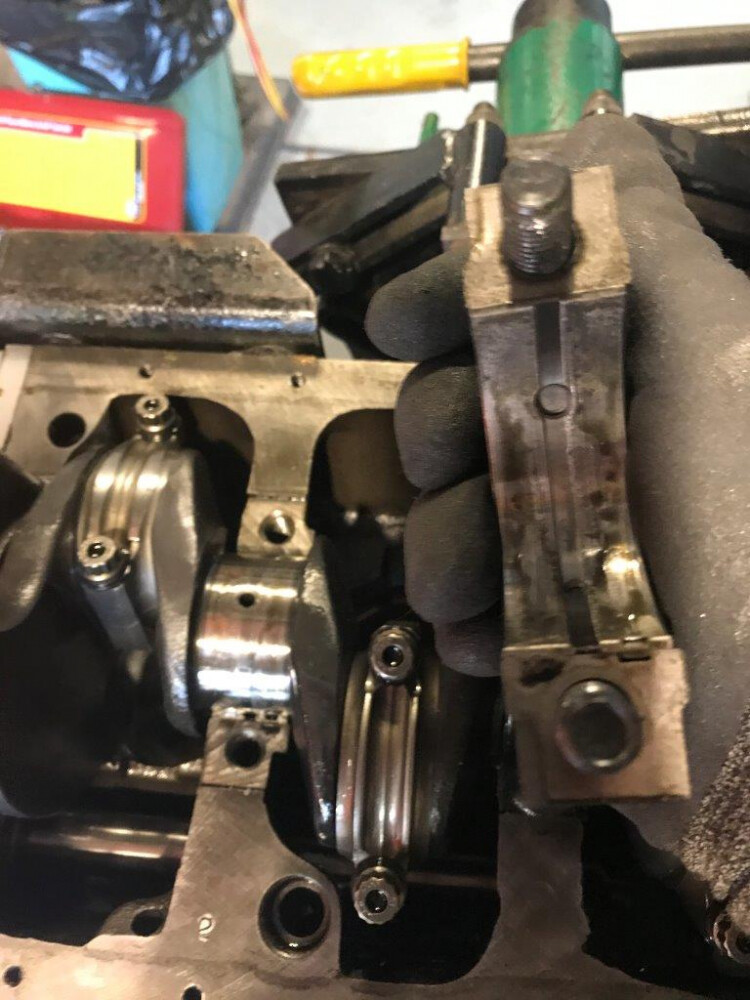
Pulled and checked the main bearings. Lots of little bits of metal in them and significant but not catastrophic bearing wear. No signs of overheating or significant damage to any of the main crank journals evident but I will have to measure it more carefully once removed.
Started checking the rod end bearings. No 4 had lots of metal in it and significant bearing wear but again no sign of overheating or catastrophic failure or significant damage to the crank journal
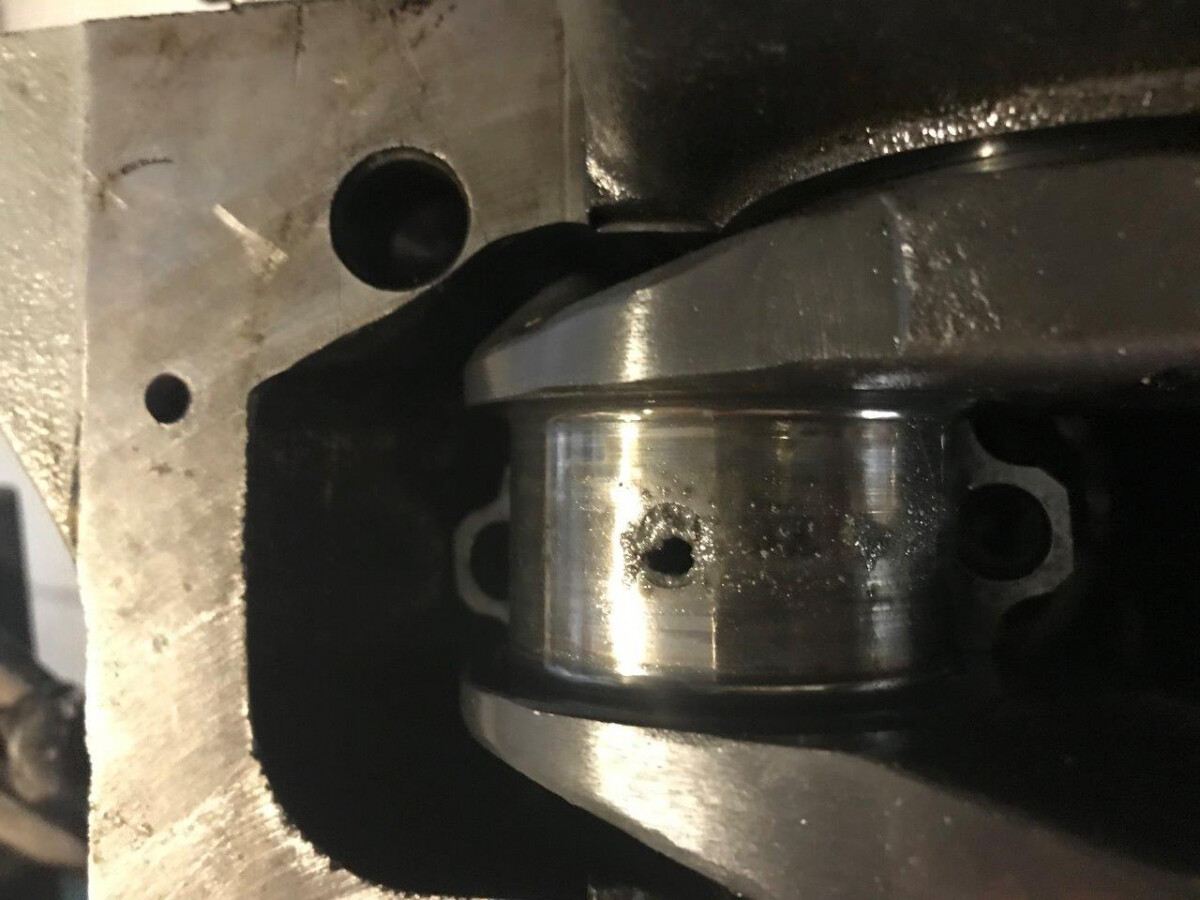
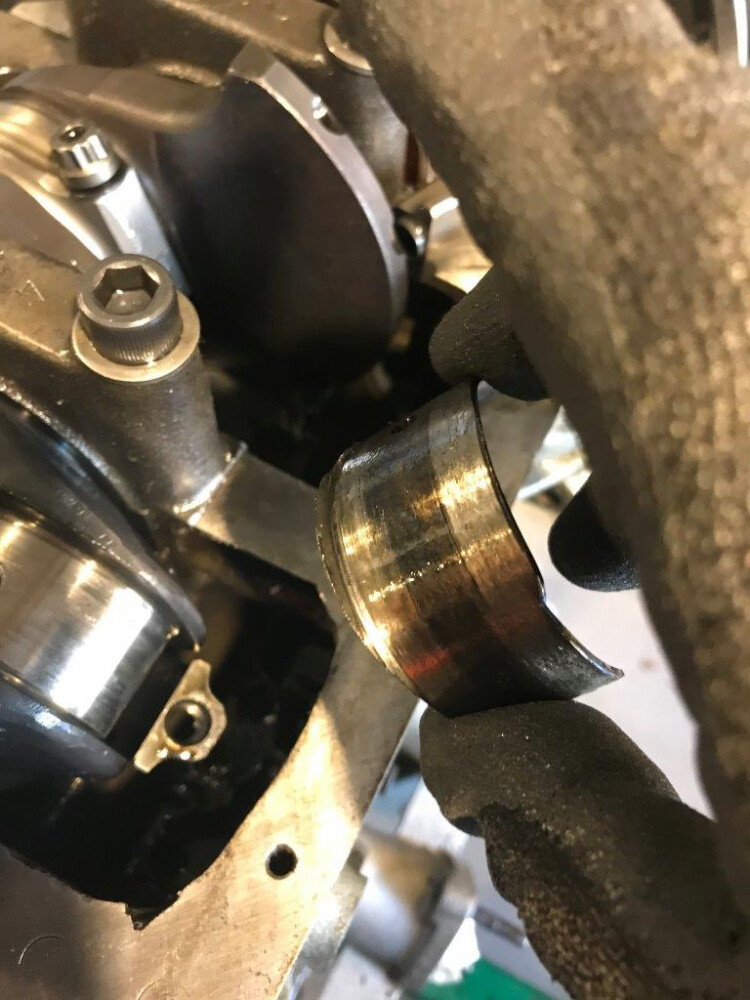
I continued to remove the rod end bearings and when I got to No 3 I found the cause of what had probably led to the loss of power and partial seizing of the engine and where most of the bearing metal had come from.
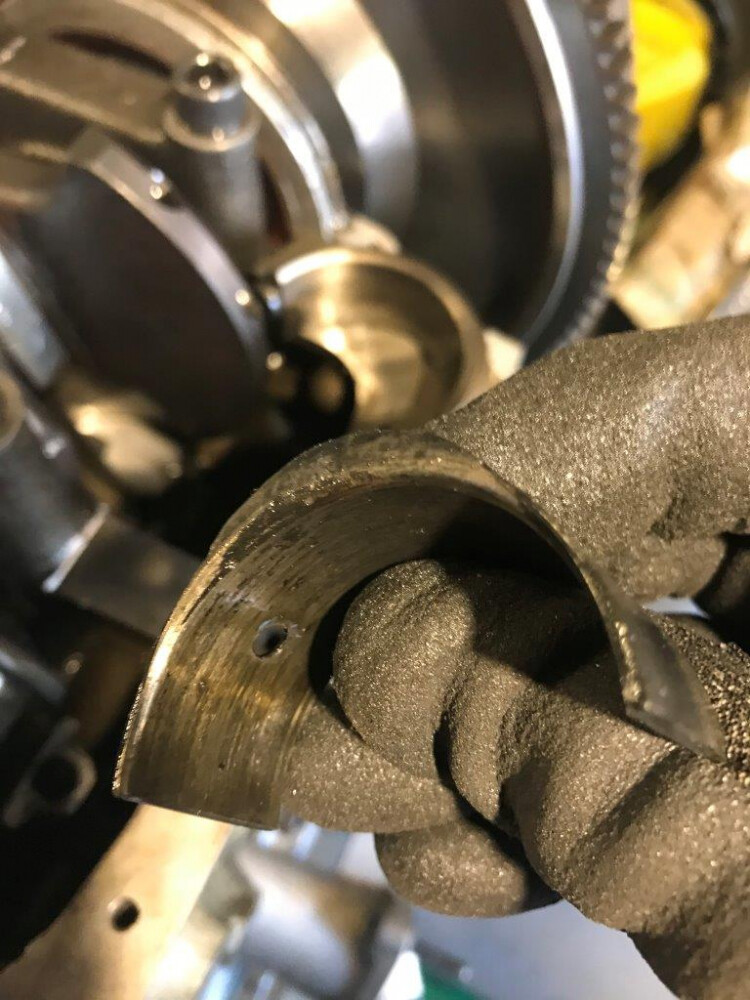
The rod end bearing had lost all its bearing metal and spun in the Rod, It had also moved sideways and had its sides bent over as it spun. Amazingly no significant damage or overheating evident to the crank journal or the Rod though again it will need some careful measurement. It looks like it had a good flow of oil and that I had pulled up and left the track quick enough before a total seizure. Modern synthetic oils protect engine components amazingly well even during a catastrophic failure.
My conclusion of the root cause of the failure is that the filter bypass blanking plug coming loose allowed metal particles to circulate in the engine oil without being filtered and this led to rapid bearing wear. The first bearing to fail was the No3 rod end bearing when it had enough wear to allow it to spin in the rod leading to the partial seizing of the engine but no significant engine knock as it was still being well lubricated. All the metal in the other bearings was also contributing to the partial seizure.
Now to strip the engine down fully and clean and check everything. The rods and crank may be Ok and can be reused. I have not looked at the top end, cams and followers but there will be bearing metal through all of them also and hopefully no significant damage there either.
Well an interesting few days over Easter. Back to work tomorrow. I will continue to document the rest of the strip down and assessment and rebuild as I progress it over the next weeks / months
Damage looks similar to the damage in my engine following the oil pick up pipe fracturing last year. In my engine #2 rod bearing failed and the rod was rendered unusable. The crank, being nitrided, survived with a quick polish. I changed every bearing in the engine though.
Rohan, is there a rule preventing you from moving the radiator forward? It makes general work on the engine so much easier and engine removal in particular.
re the question
“Rohan, is there a rule preventing you from moving the radiator forward? It makes general work on the engine so much easier and engine removal in particular”
Yes the radiator surround cannot be modified which implies the radiator needs to be in the original position though that is not explicitly stated. The rules are written around having an unmodified body shell and most sports cars have the radiator mount as part of the body shell and the no change to the radiator surround is explicitly added on top of this requirement
I guess i could just move the radiator forward with no surround as the wide series 3 radiator has no surround except the body. Mine is a series 4 car but all the Australian delivered series 4s continued to use the wider series 3 radiator so I modified my car to that specification as it was originally an English delivered car to give me a bit more cooling capacity when racing on hot days here.
Pulling the radiator when needed is not much of a hassle and I like it set back in its original location from a weight balance perspective. I have OK access to most things with it in place, just hard to get a decent sized spanner onto the front pulley to turn the engine by hand so I normally put the car in gear and push it forward to nudge the engine around when setting the static time of ignition or cams with the engine in the car.
Rohan, the race gods were looking down on you, hope the crank etc and recoverable.
Shame the new pumps etc are not made other quality standards of old. Have you considered using one of John McCoys oil pumps or the other UK race spec type (PACE I think) that are available for wet sump engines. This is prompting me to consider them for future rebuilds.
I also seem to recollect in UK there was a trend to wrap OEM oil pumps in carbon to stop bodies expanding or flexing, is this still the case over there?
I think I will stick to the current high volume / high pressure standard style pump. It just appears that the staking to hold the bypass valve replacement disk in place was done poorly so it dropped out, I would certainly redo that on any new pump now to make sure its secure. I will look at tapping the hole and fitting a screw in plug if there is enough metal around it or just staking the disk in place better with some high strength bonding agent in addition to the staking, fitting an interference fit aluminium pin is another alternative and then staking that. I have a few old pump bodies I can cut up to look at the wall thicknesses in the area where a plug could be fitted.
I know cracking of the body flanges can be a problem at high revs and i had a couple of failures many years ago when first building 8500 + rpm engines. The extra mass of the longer rotor and thicker end plate on the high capacity pumps appears to contribute to that problem as I never had it when using the standard capacity pumps. I solved that by mounting the pumps without the paper gasket using anaerobic loctite gasket former to seal it and have not had any pump problems since then until now.
The failure resulted in higher drag than normal internally in the engine and loss of power to the wheels but no total seizing or overheating of the rod or crank is apparent so I dont think the crank would have been distorted. The forged Datsun L16 cranks I use are also incredibly tough.
cheers
Rohan
The answer to this is the wonderful Snap-On S9465A. 17" long, makes getting the the front pulley easy.
Made between 1953 & 1967, I believe for an automatic transmission of some type. Surprisingly, they come up on eBay quite regularly - there are two available right now, although both of them are asking twice what I paid for mine, so perhaps it’s worth waiting for a better deal to come up.
Good catch Rohan… I love seeing engine autopsies. Obviously no failure is ideal but once that ships sails all that’s left is to find out why it failed and see what you can learn and improve for the next time around. That and some swearing about how much money it’s going to cost you…
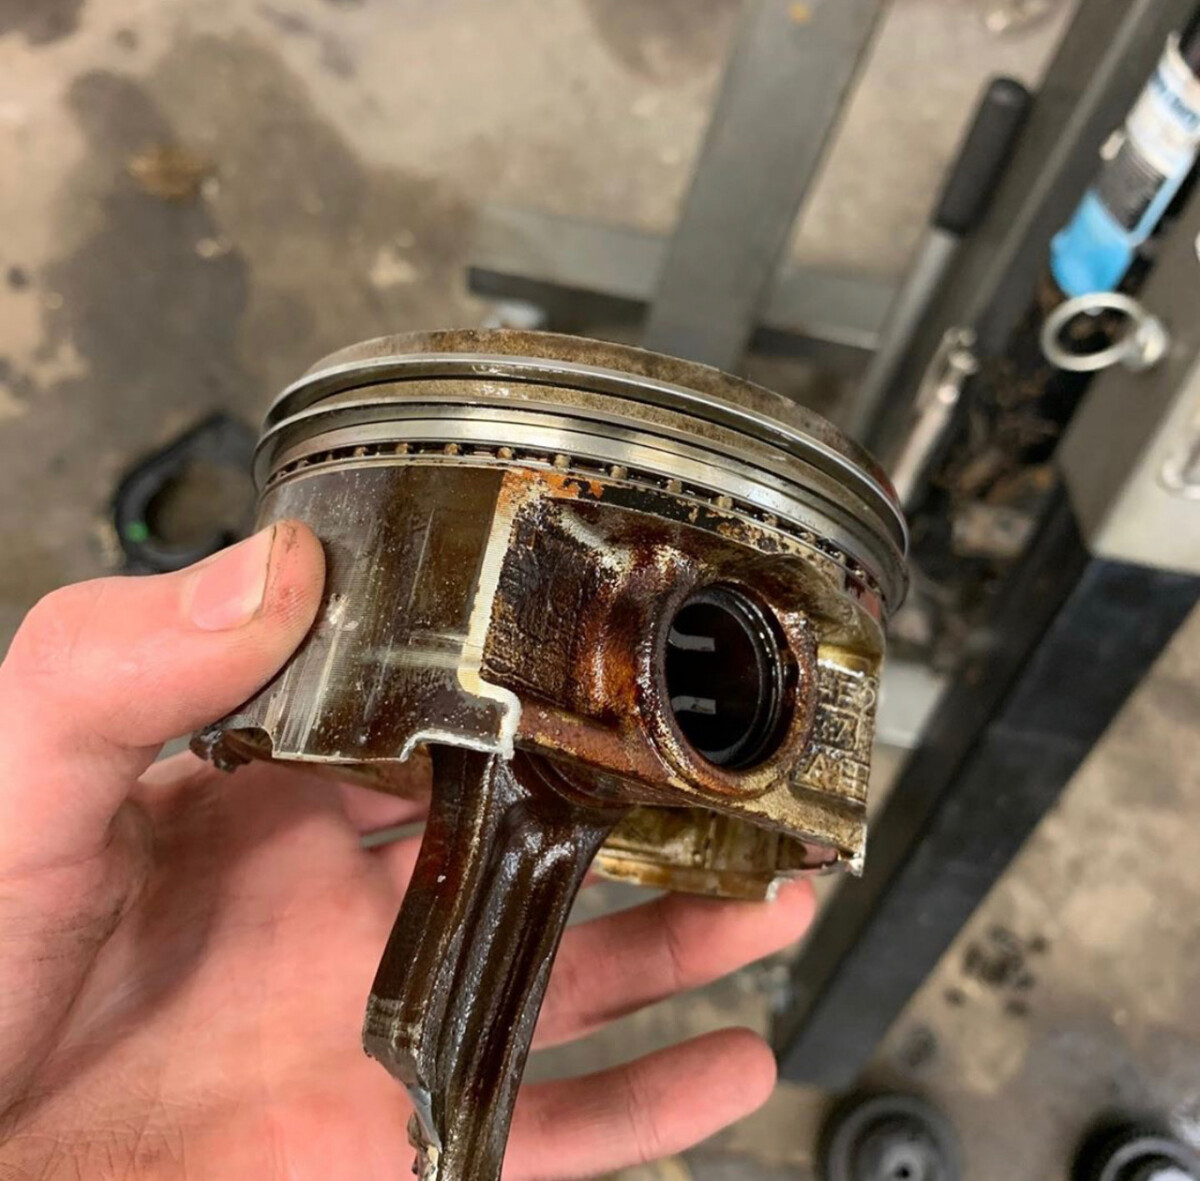
I have a recent story that roughly parallels yours with a different ending though. My neighbor has a 2004 Subaru WRX that had about 185k miles (300k km) on the original engine. He bought it in fall of 2019, cranked up the boost on it and tuned it to give about 305 hp at the wheel… knew he was pushing it; the rings were starting to go, but I digress. A couple of months ago he was driving some backroads in a spirited manner (as 18 year old boys are wont to do) when he noticed that he seemed a little bit down on power. He was about 15 minutes away from his house so he turned for home and started limping it back. A couple of minutes later, the engine started knocking. It broke the no. 2 connecting rod about 6 minutes away from his house and the engine seized in his driveway.
No surprises, what was left of the #2 bearing was almost welded to the journal. That was clearly the first thing that had gone wrong and triggered everything else. Once the teardown was complete we cited the cause of death as “complications due to a spun bearing” . The engine was a writeoff obviously - hole in the block, crashed the piston into the head, bent the valves… but a week later he bought a JDM engine off eBay and now it’s back on the road… living to die another day, possibly when the transmission grenades itself.
Not sure how rapidly a spun bearing on a race TwinCam goes from “bad” to “disastrous” but it can’t be very long. Paraphrasing what you or someone else said above, if you kept driving it that could’ve been a very expensive several minutes
Thanks Rohan for taking the time to post this - it’s fascinating. Hope there isn’t any other damage and you get away with just new shells and a quick polish of journals
Time now to fully dismantle the engine for closer examination of what other damage may have been caused by the bearing failure and metal circulating through the engine due to the filter bypass pluh having come loose.
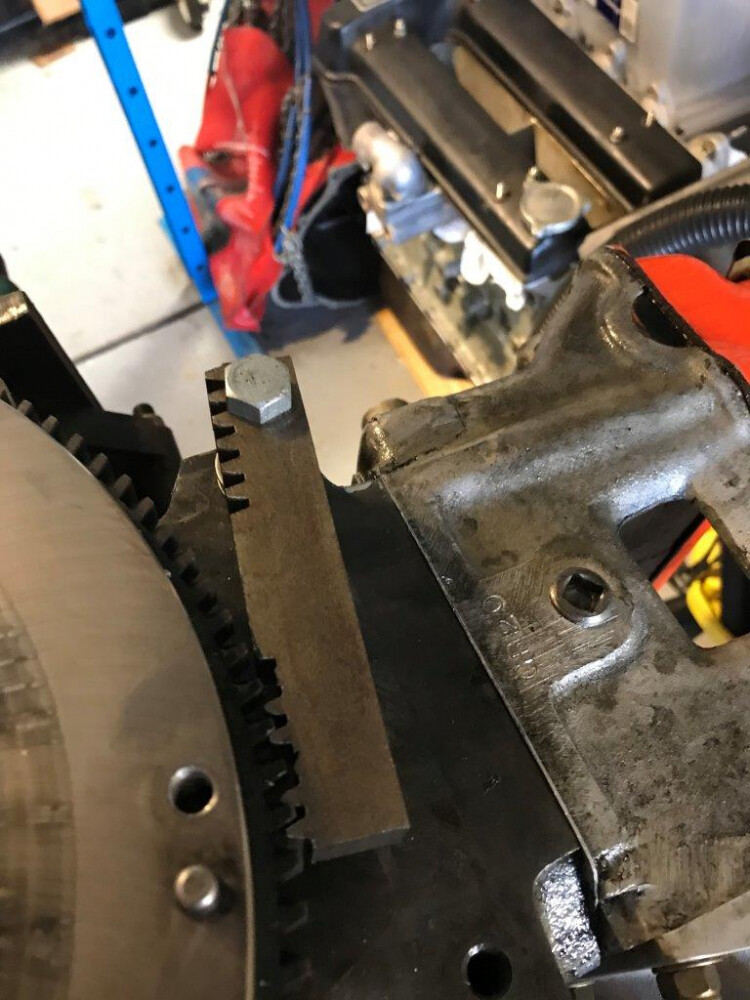
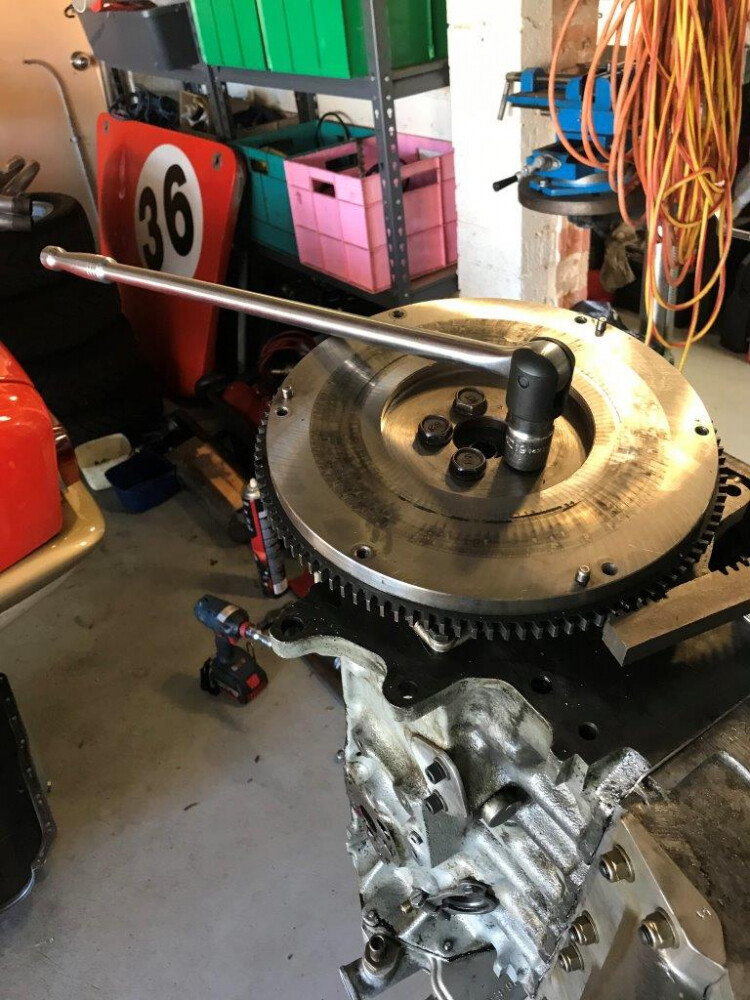
First I lock the flywheel in place. This is an old sample piece I made about 50 years ago when in University. We did an 8 week full time workshop, machining and welding course at the end of 2nd year which was great training for young mechanical engineers, sadly they don’t do this now
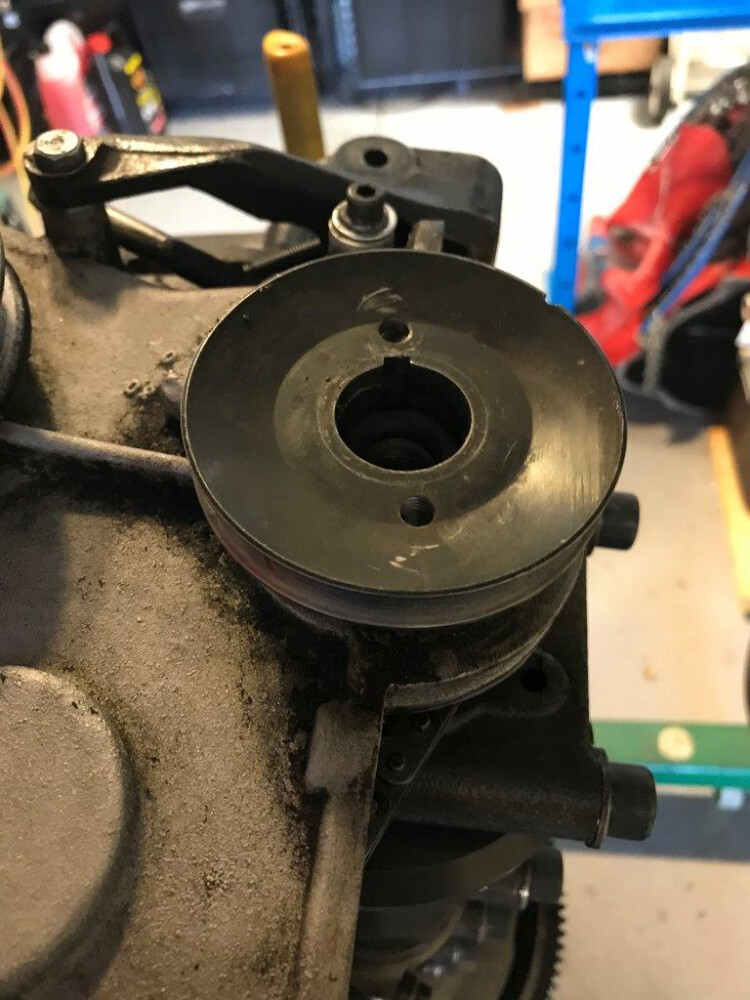
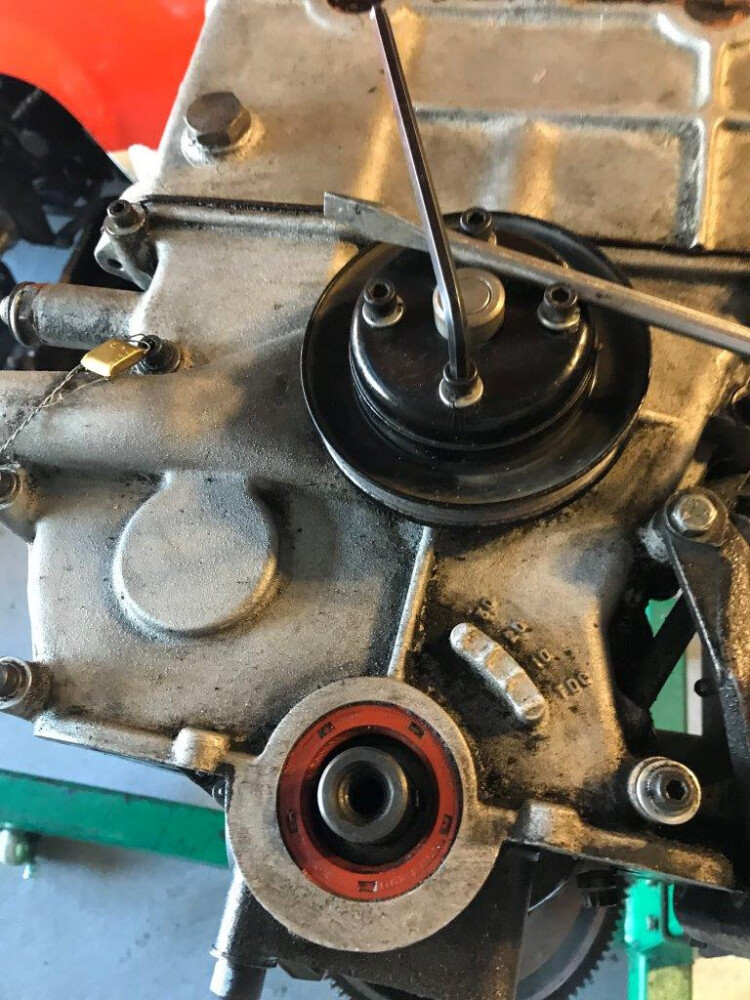
Having locked the flywheel remove the front pulley bolt and pulley and while your there remove the water pump pulley also. I use a smaller 3 inch diameter steel crank pulley to keep the water pump and alternator revs down when the engines at 8000+ rpm. Note also the 2 jacking screw holes in the pulley to make it easy to remove if stuck
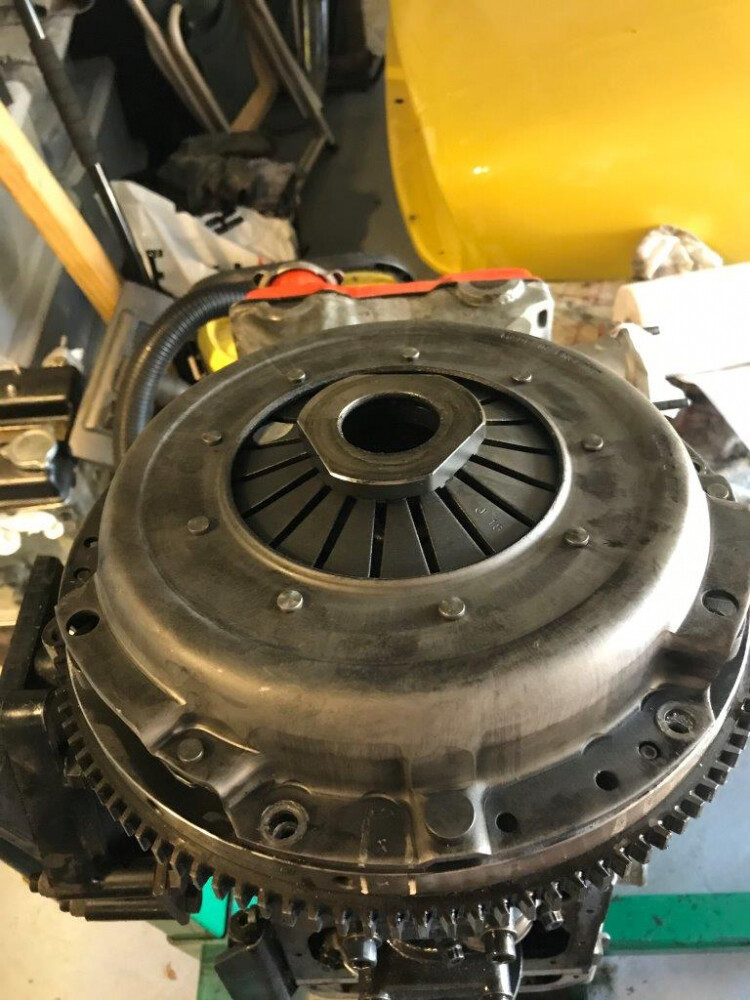
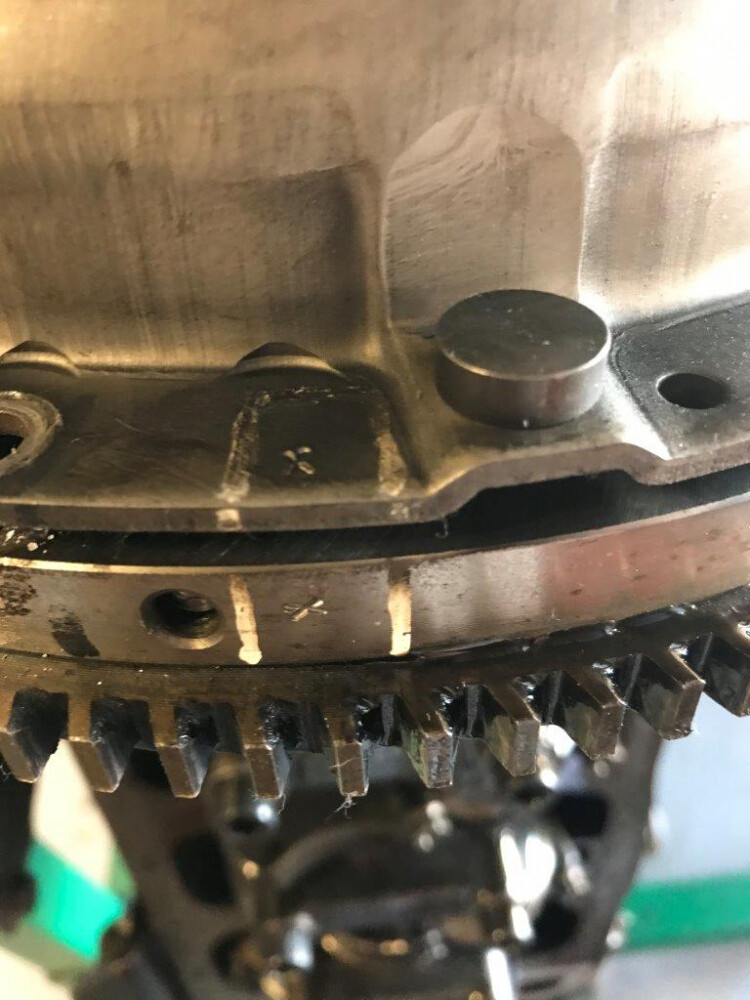
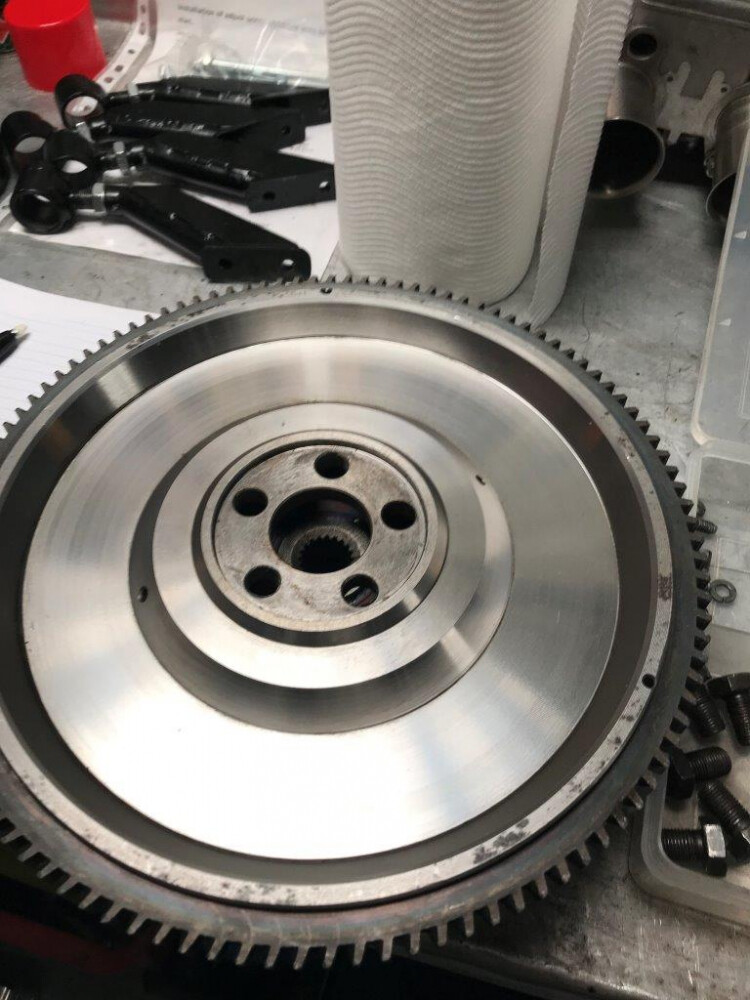
Now remove the clutch pressure plate , note the balance markings on the pressure plate and flywheel.
With the pressure plate off, the flywheel face is in good condition and you can still see the machining marks despite 3 years of drop the clutch at 4500 rpm race starts.
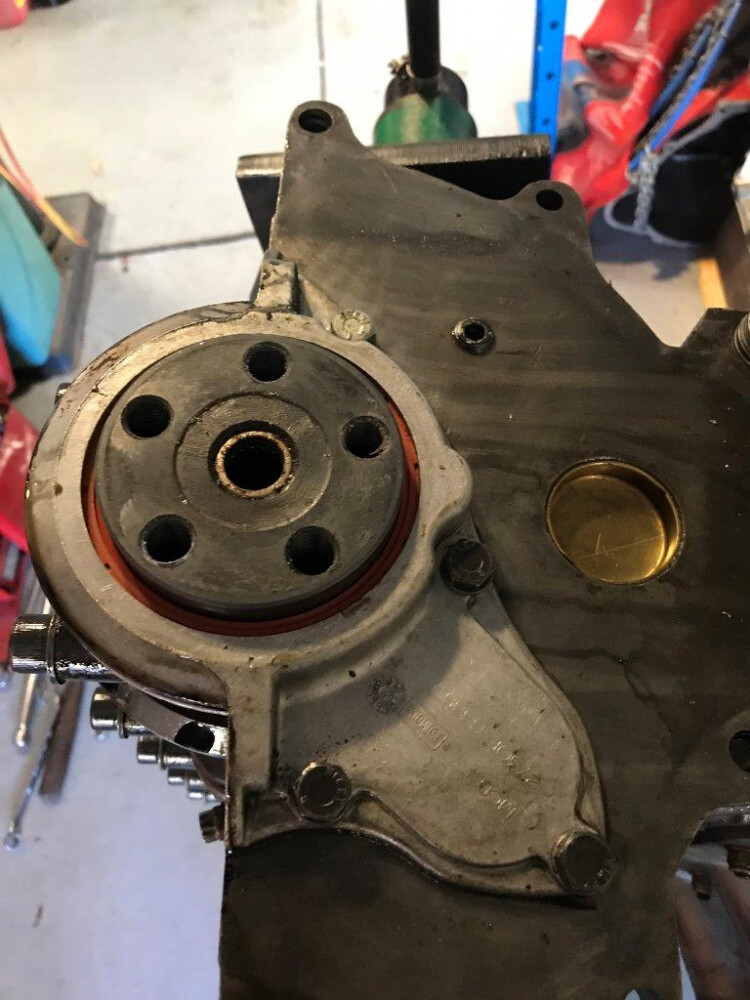
5 bolts for the modified Datsun L16 forged steel crankshaft and a lightweight steel flywheel
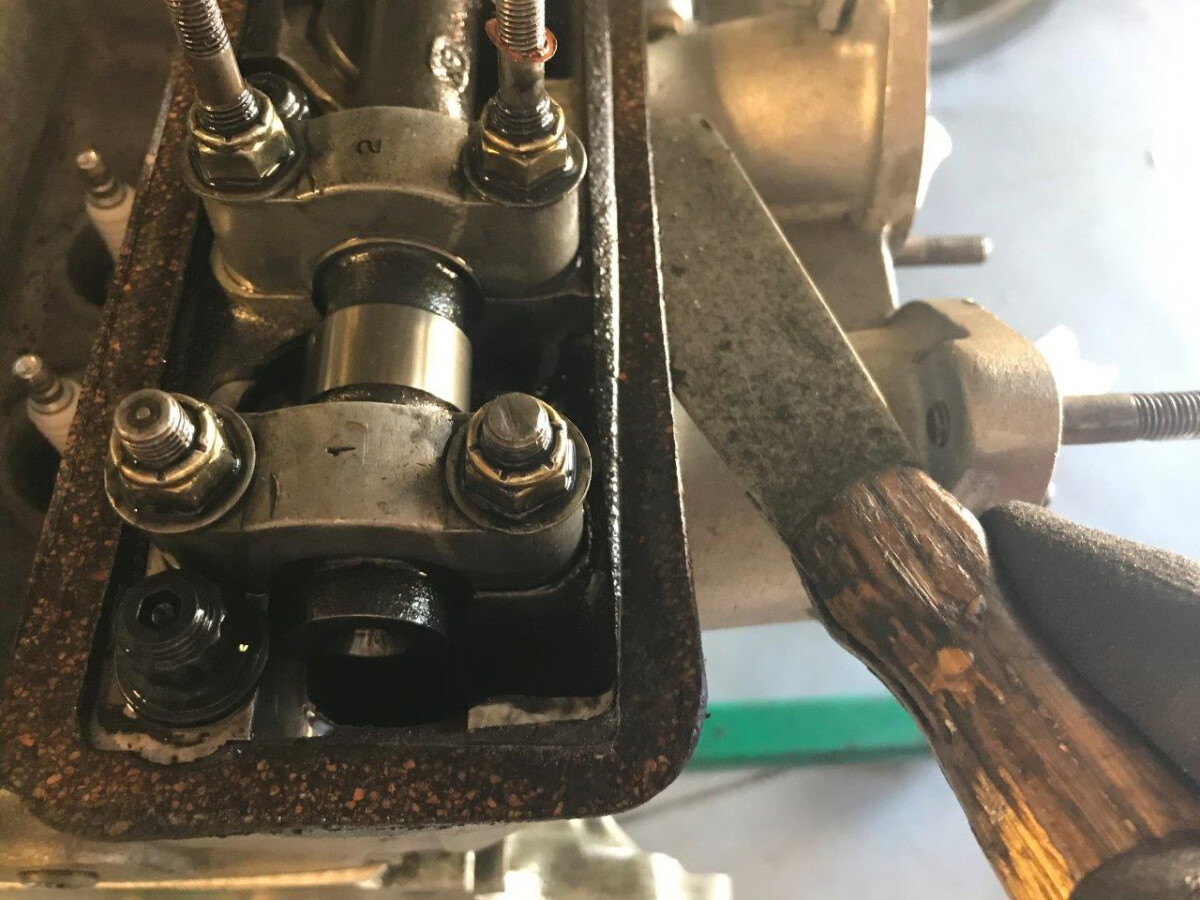
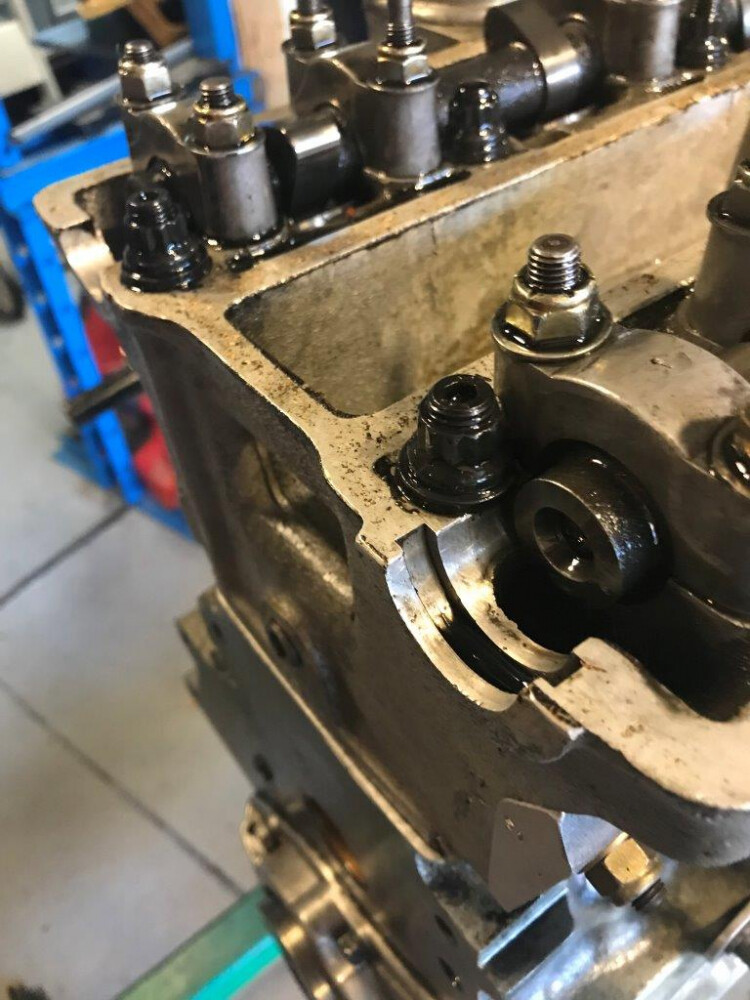
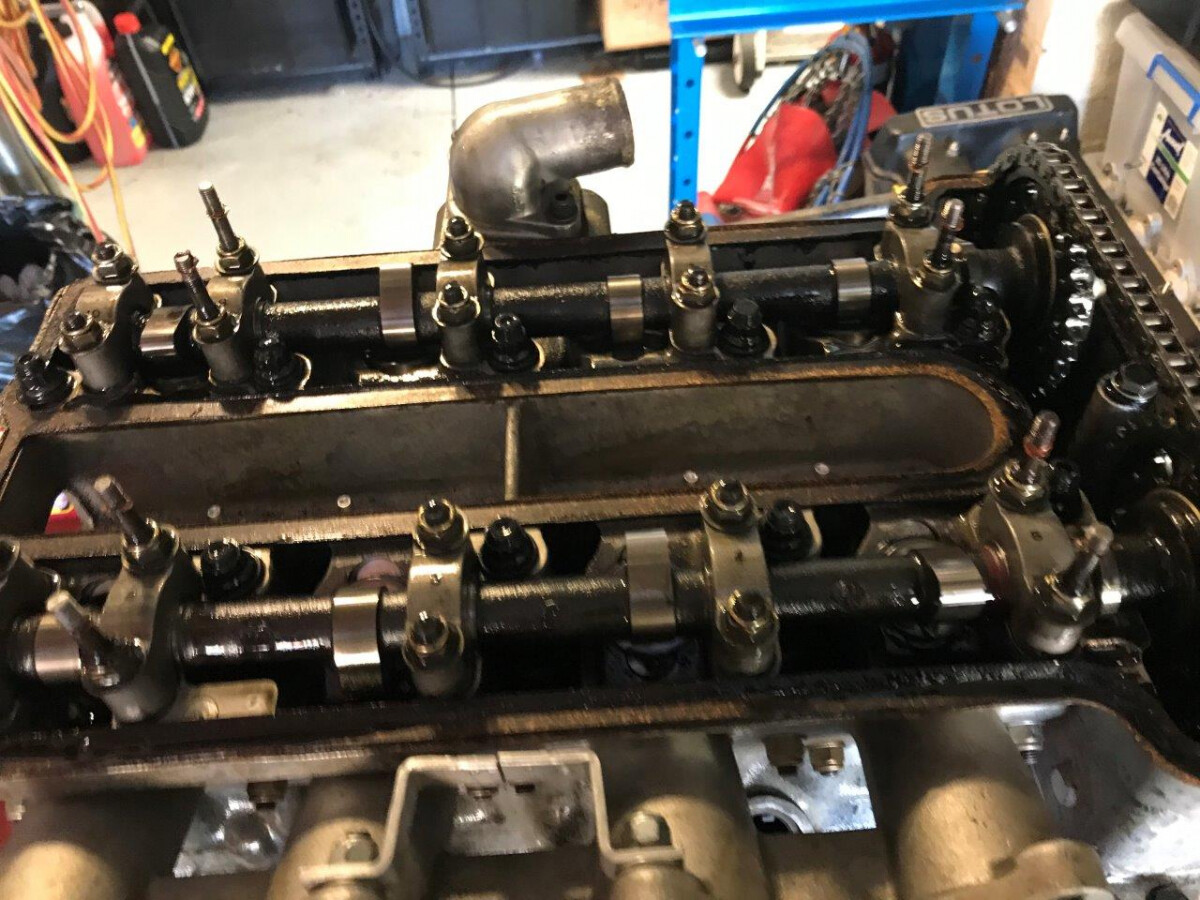
Cam cover off. Gasket is stuck to the head with Loctite Aviation gasket cement. A sharp spatula enables the gasket to be cleanly removed. Note the degree of compression on the cork gasket. You need to compress it by around 30% to 40% of its original thickness. I measure this gasket compression to ensure its even over the whole cover rather than rely on torque of the cam cover nuts. Head is actually from a Europa originally you can see the location at the inlet cam rear for the seal on the extended camshaft that drove the alternator
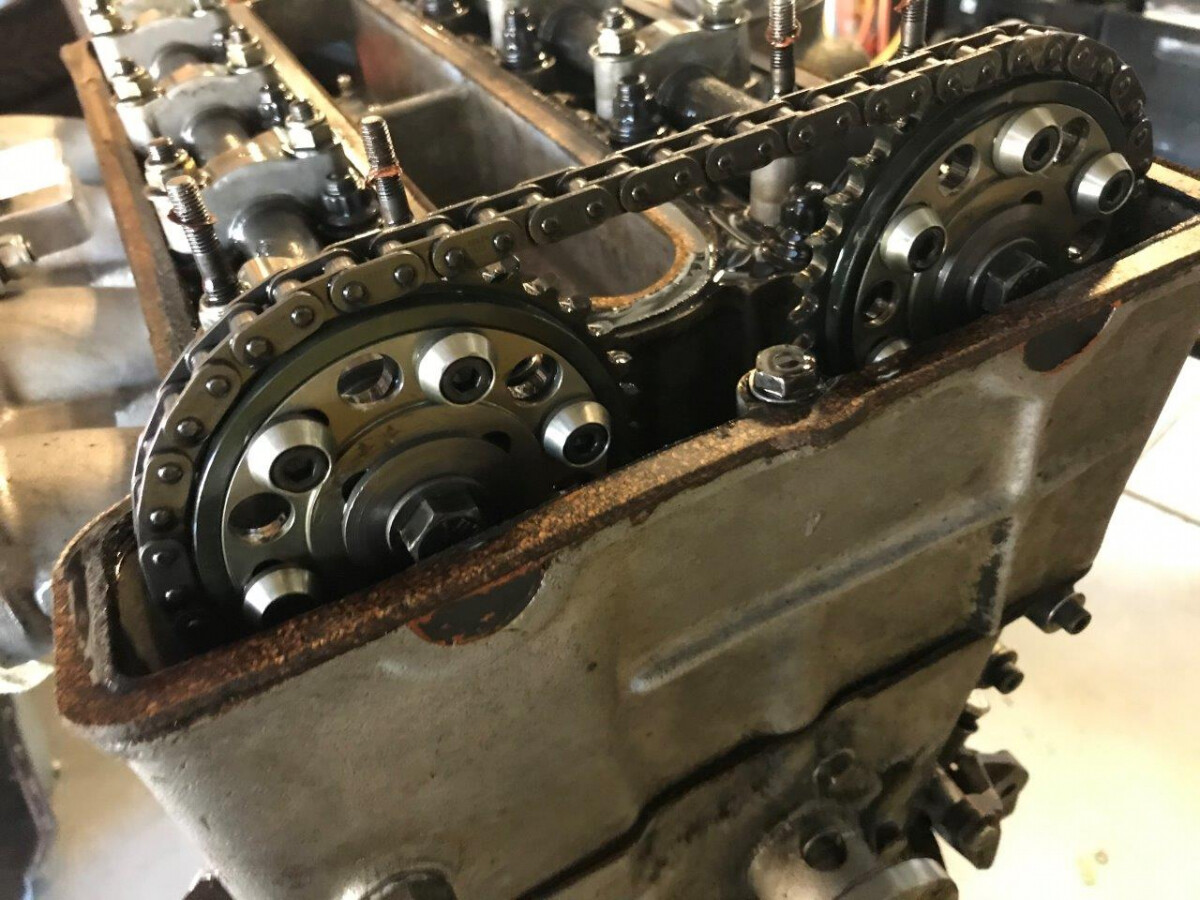
All looks OK with cam lobes and followers with no damage evident from the metal in the engine. I used adjustable sprockets on this engine. Easier to set up than the offset dowels I have used previously.