Elan S4 rebuild - my story chapter 2

Half day today. Had other things to do in the afternoon, so we focused on the important things to get done.

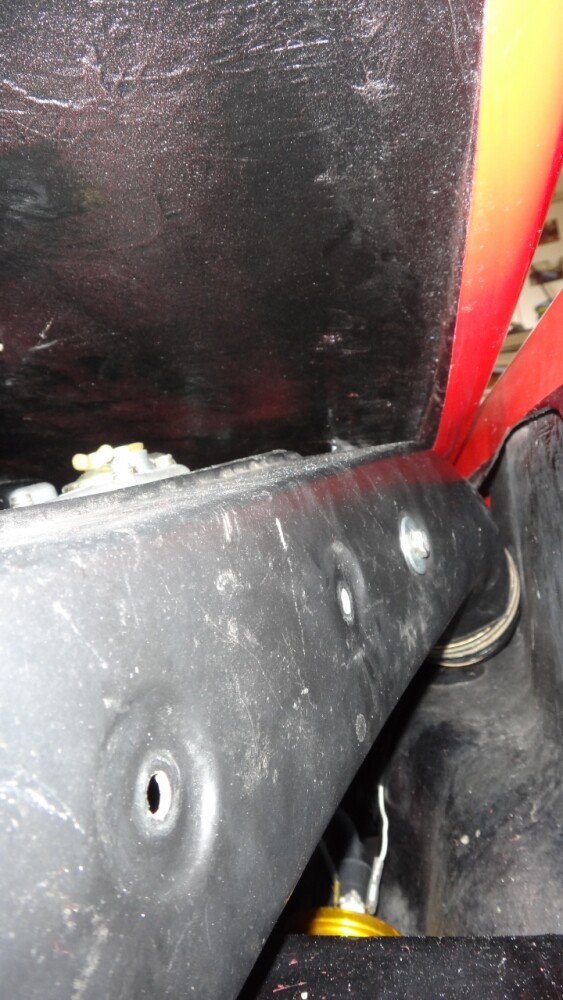
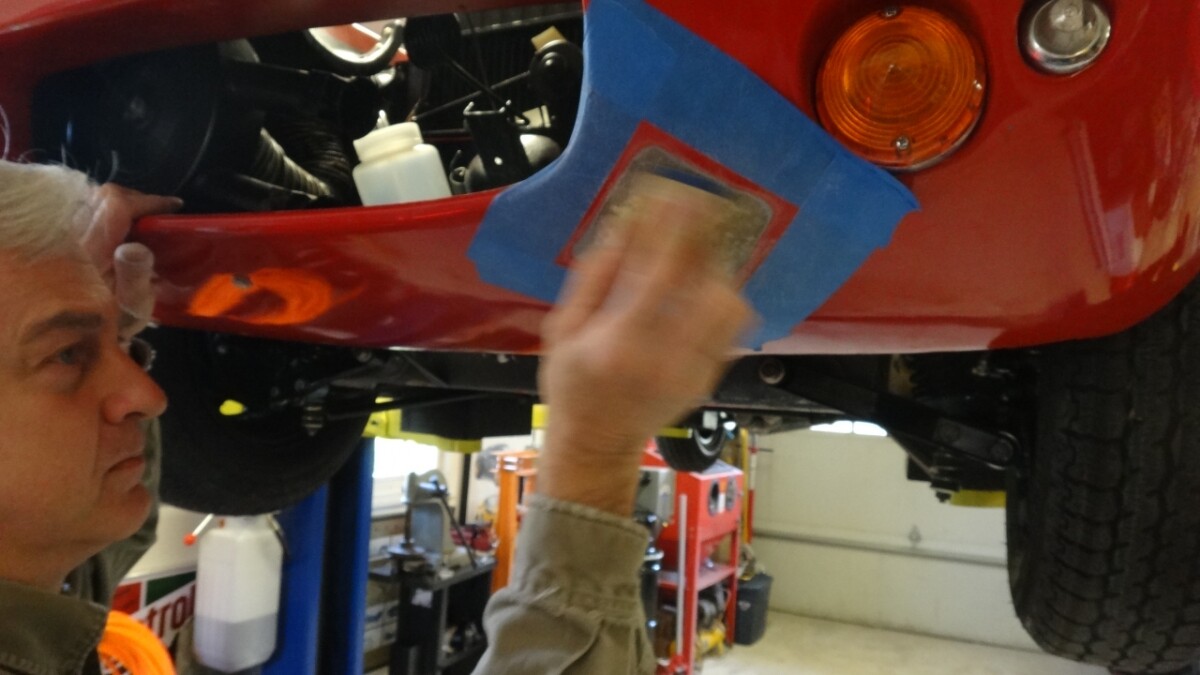
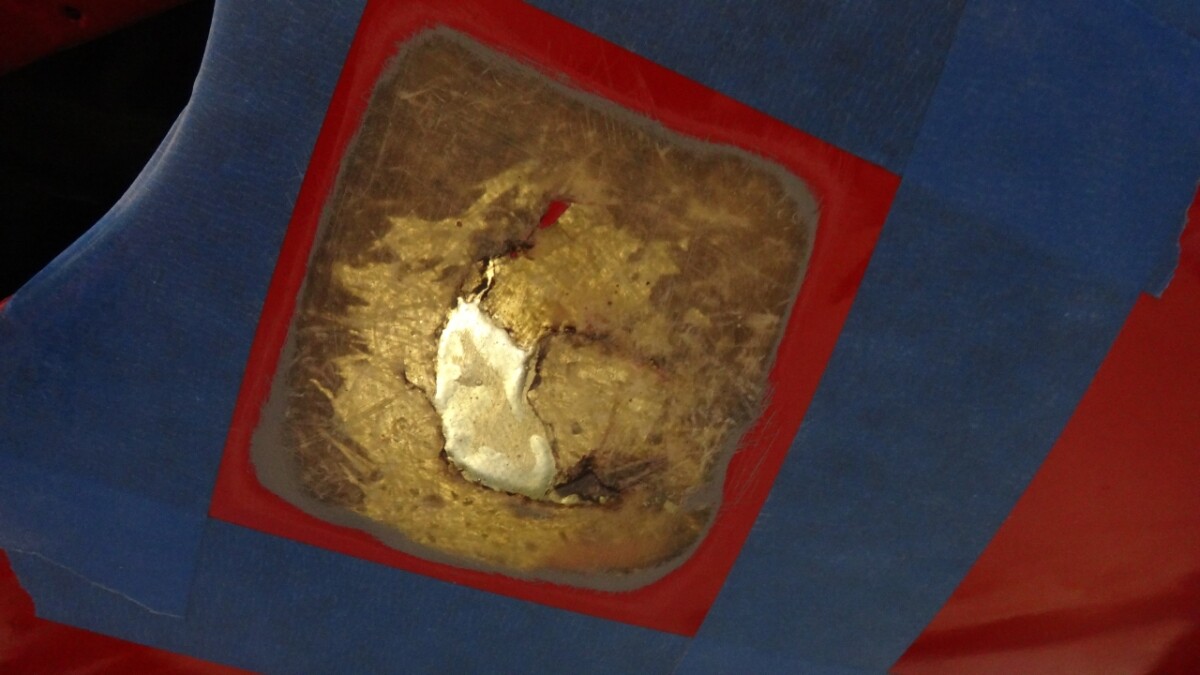
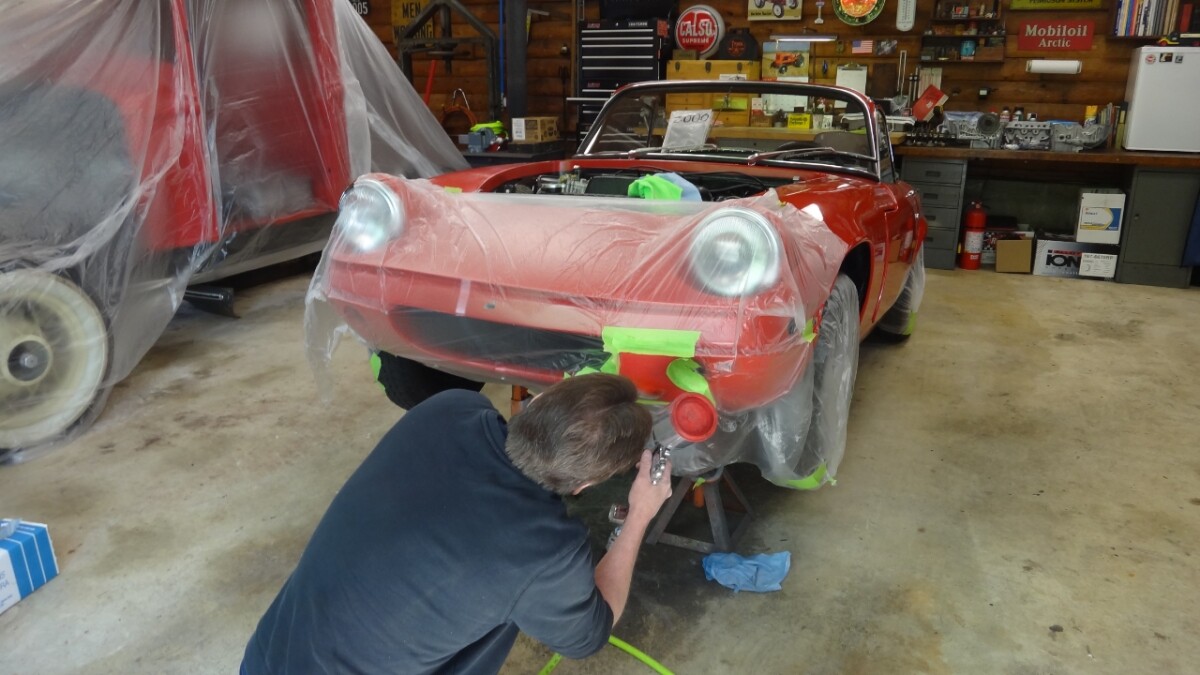
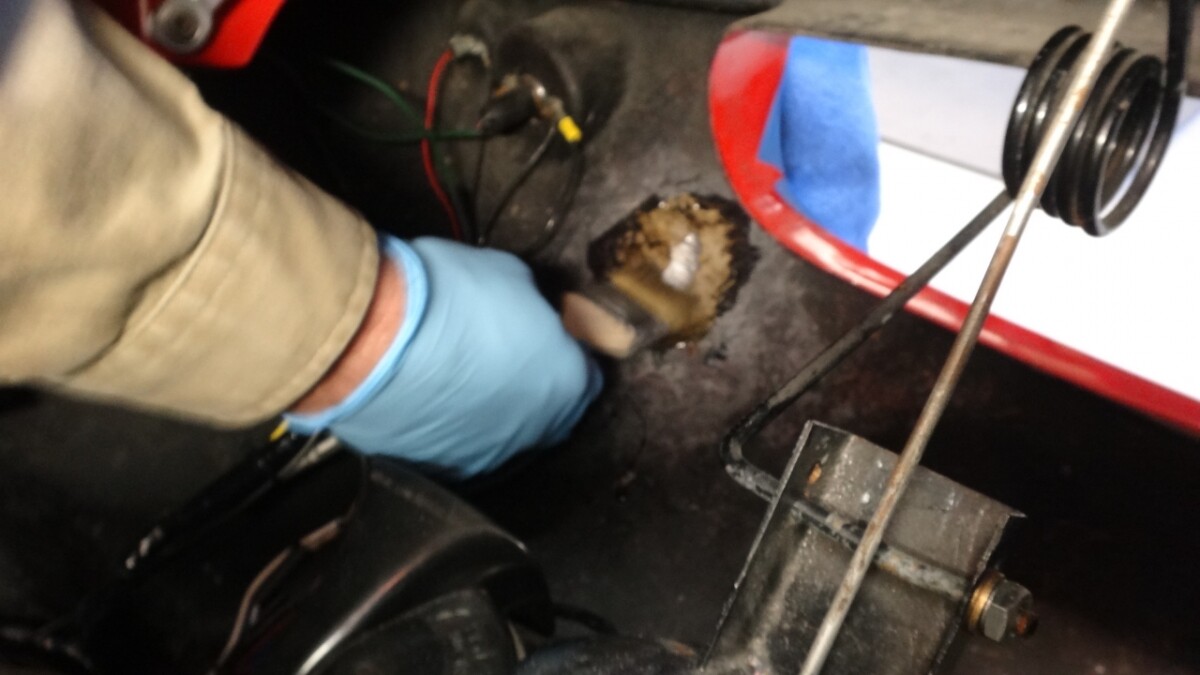
First on our list was to complete the fiberglass repair of the hole on the lower front cowl. Not a big deal, mixed up the resin and hardener, brushed it on the sanded area inside the car, soaked the fiberglass and applied two small sheets and squeegeed the air bubbles out. Let dry for the day.


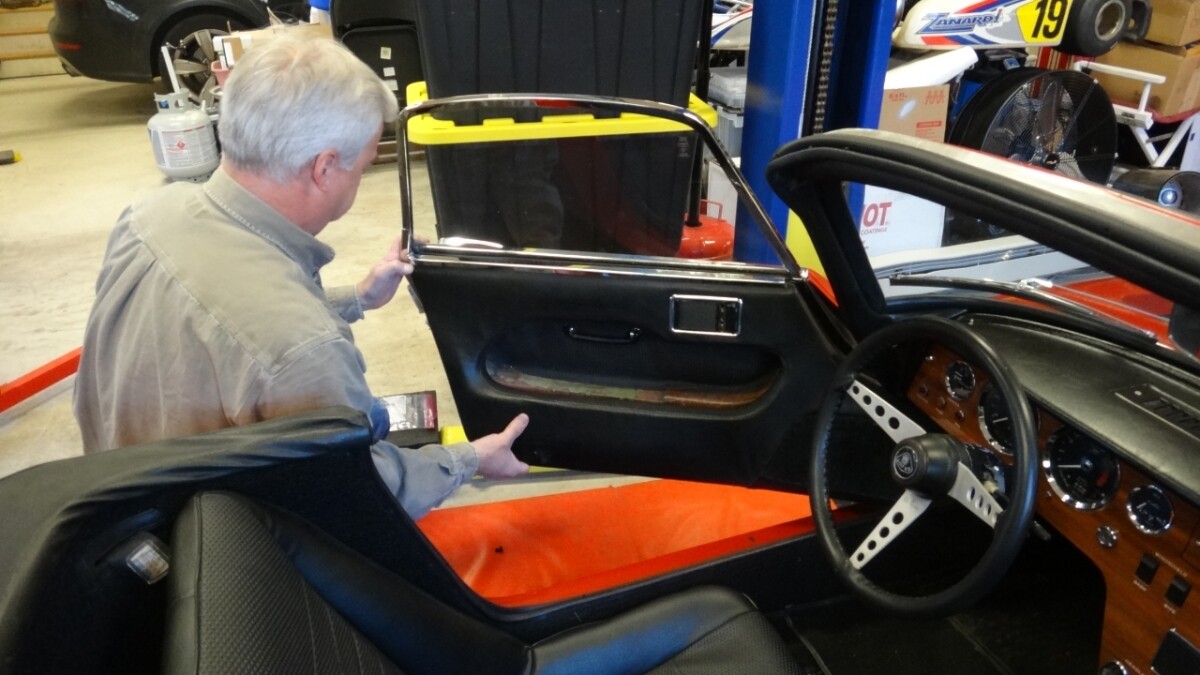
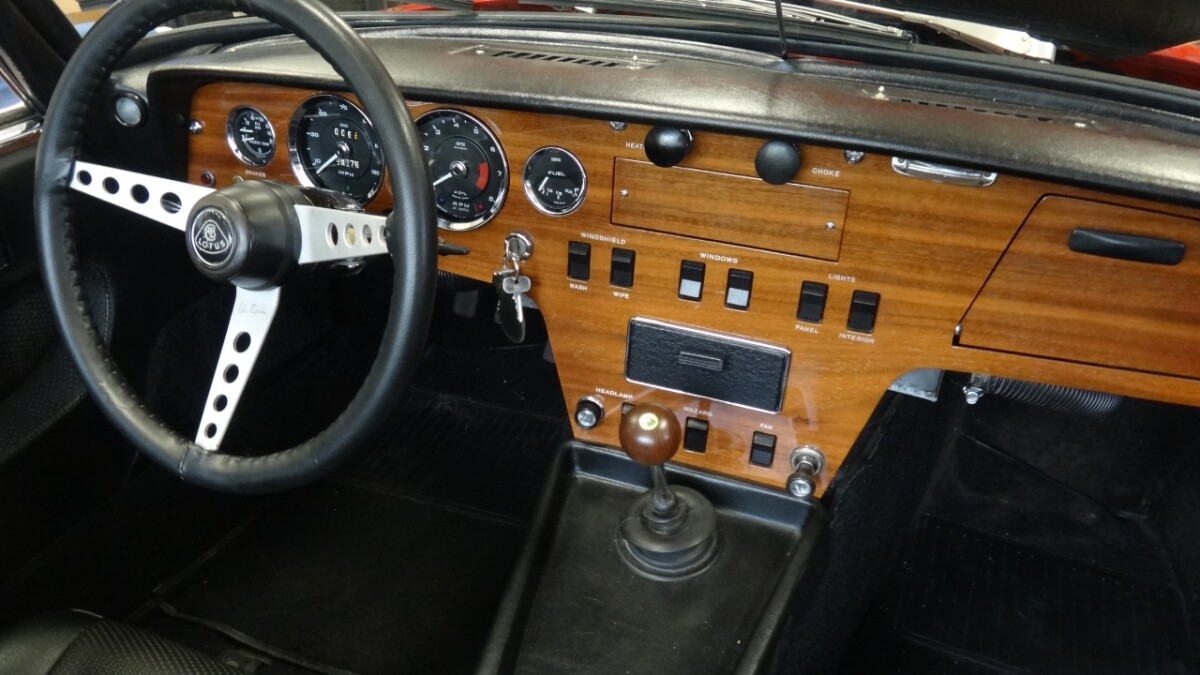
Next Drew and I moved to some interior work. The drivers side interior door lock never functioned as it was missing the rod (I found a bent up one in the box of parts that came with the car) and a number of the special clasps were either missing or broken so the parts I had ordered from RD Enterprises (Thanks Ray!) all came in handy to complete the install. Naturally Drew spent a considerable amount of time to ensure everything functioned perfectly.

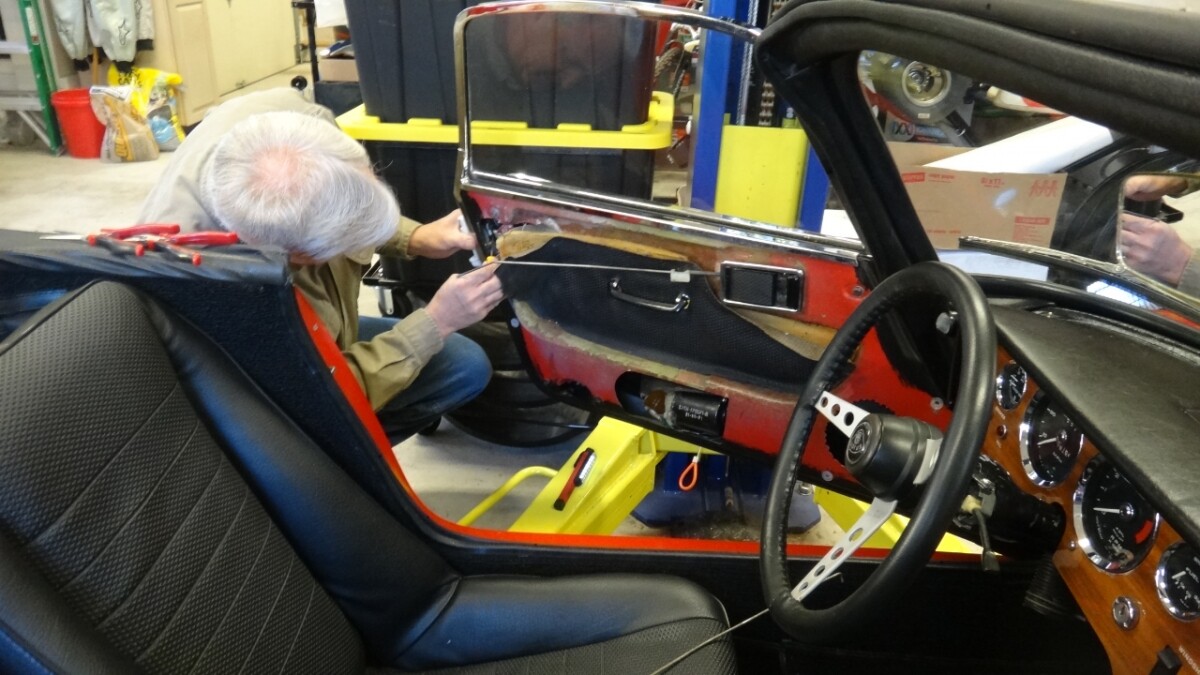
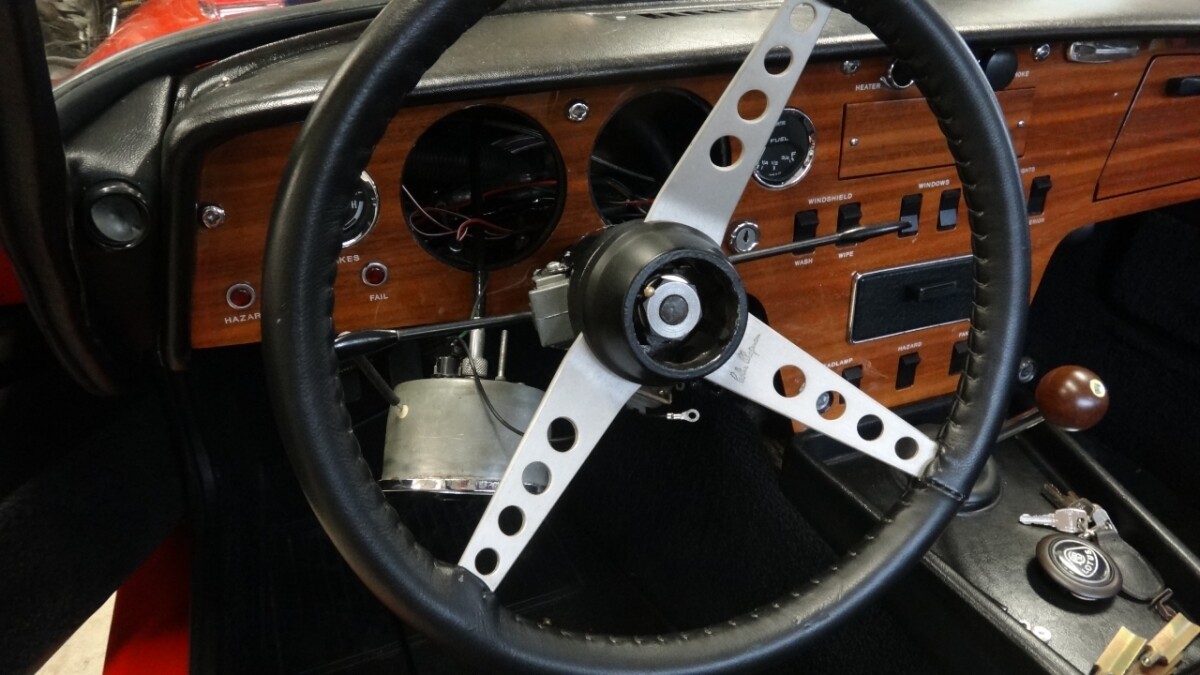
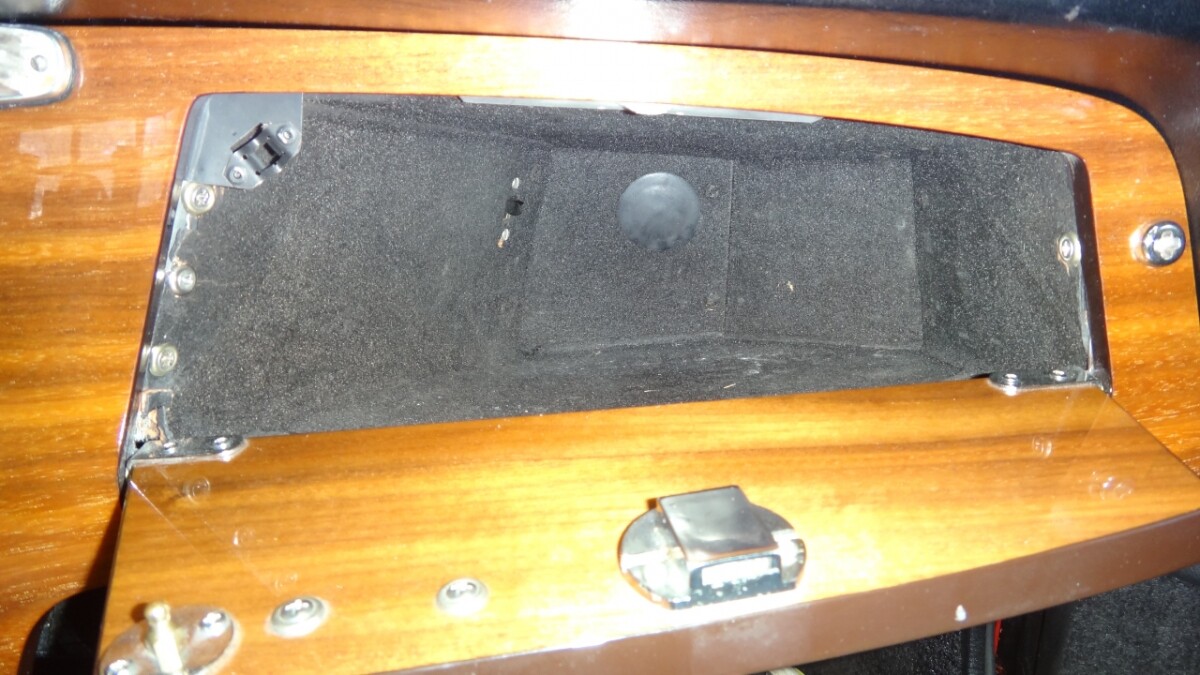
I went about installing the rare corner clasp that the pin from the glovebox door attaches to. Normally this would be done when the dash was out, but I didn’t know I was missing the part until after the dash was back in. I did not want to pull the dash out again, so I worked on this from under the dash and on the floor. What should have taken 10 minutes took almost 2 hours, but the end result is spot on and it works very well.

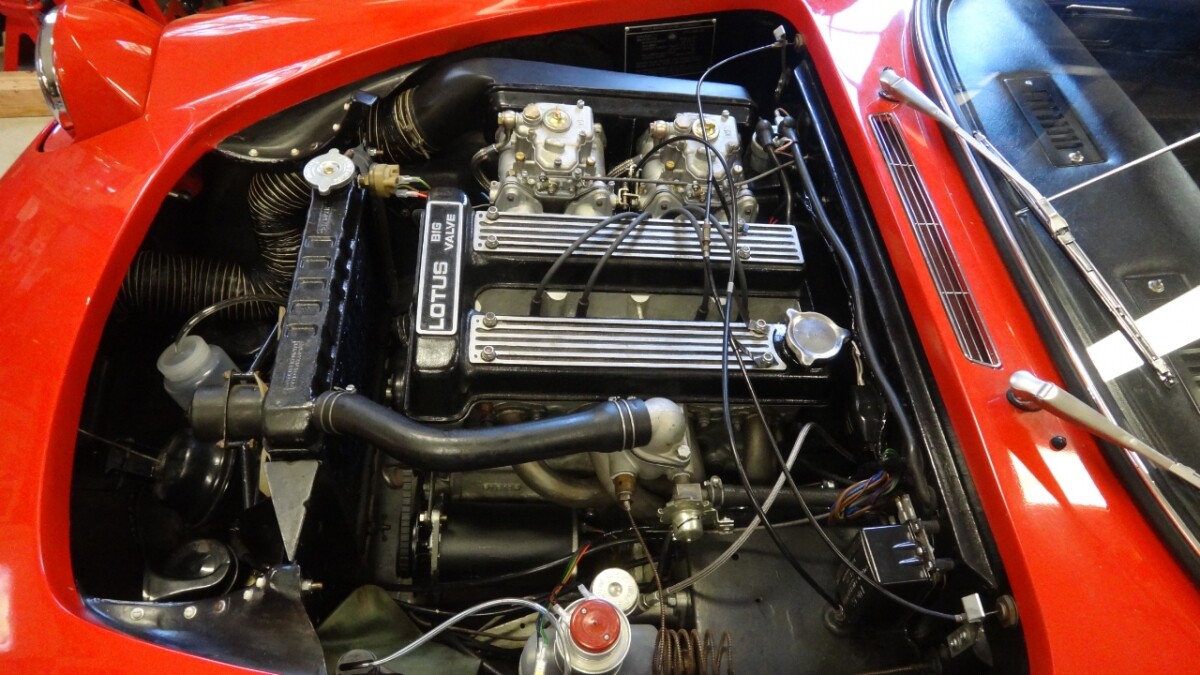
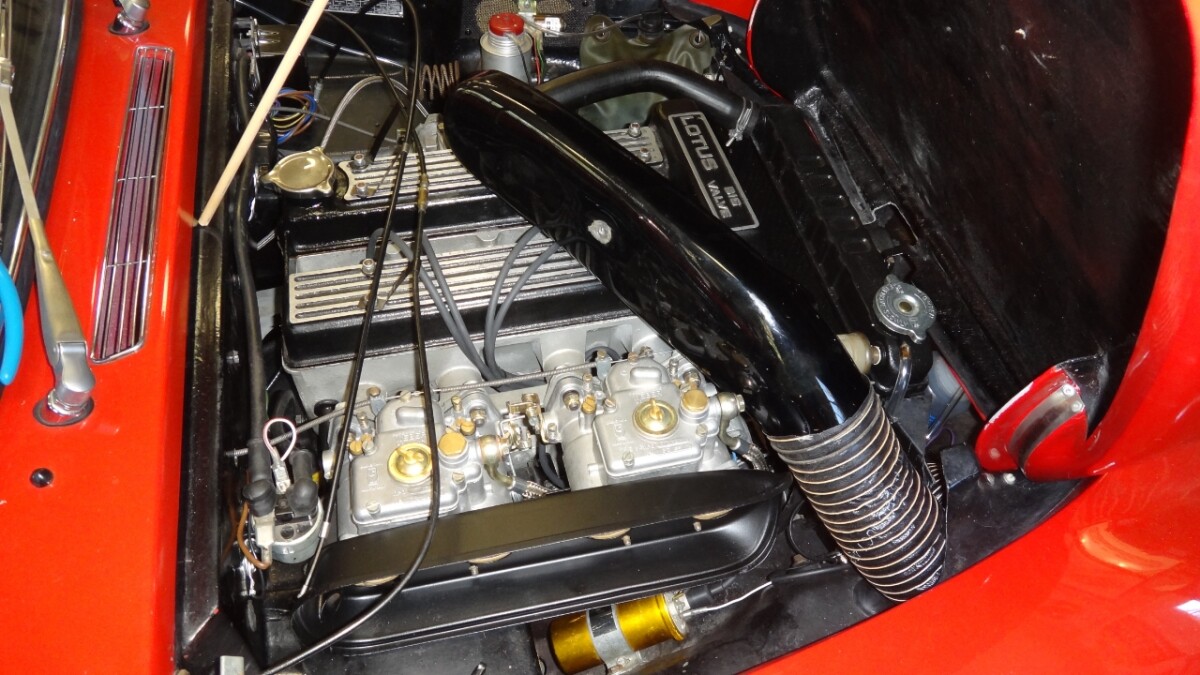
We had agreed a full hydraulic system bleed one more time to flush out any residue and make sure the clutch and brakes all worked according to spec. We also changed the engine oil and filter. The car now has all new fluids everywhere. Just as it should be.

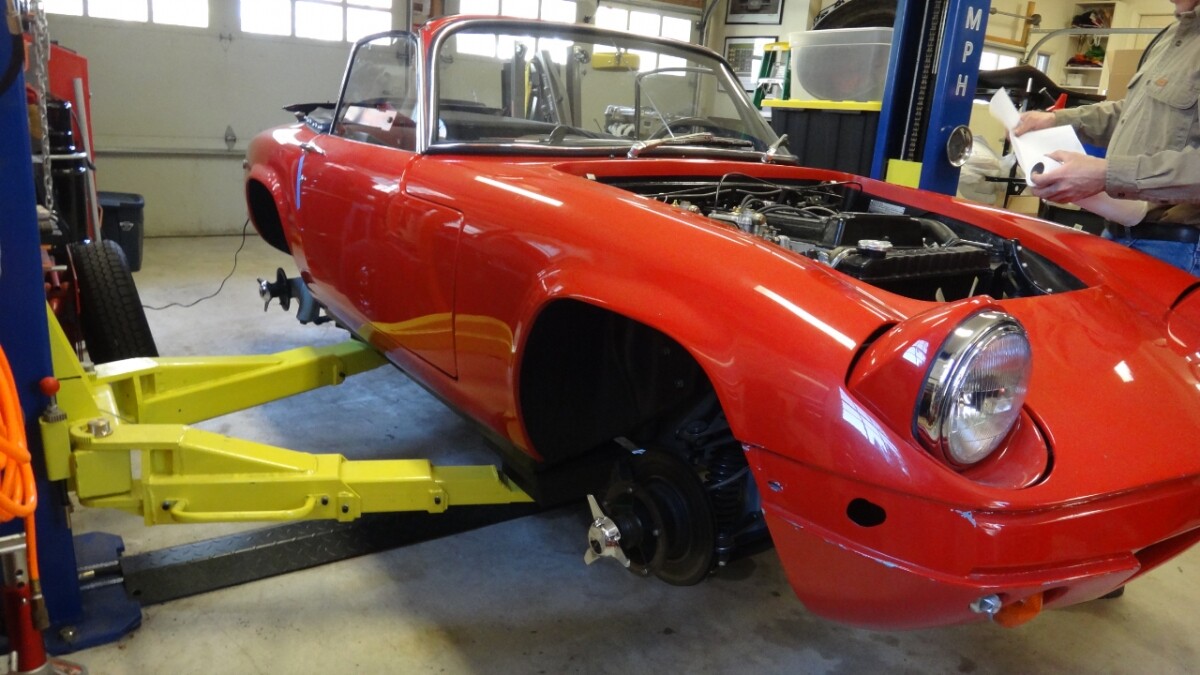
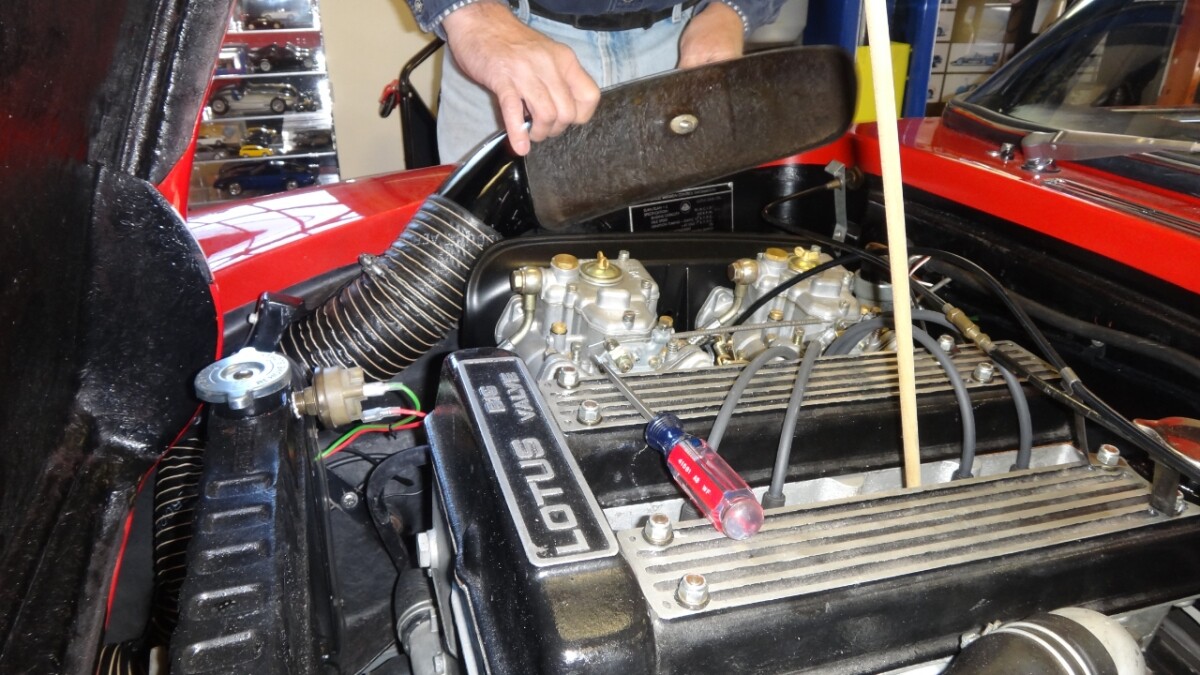
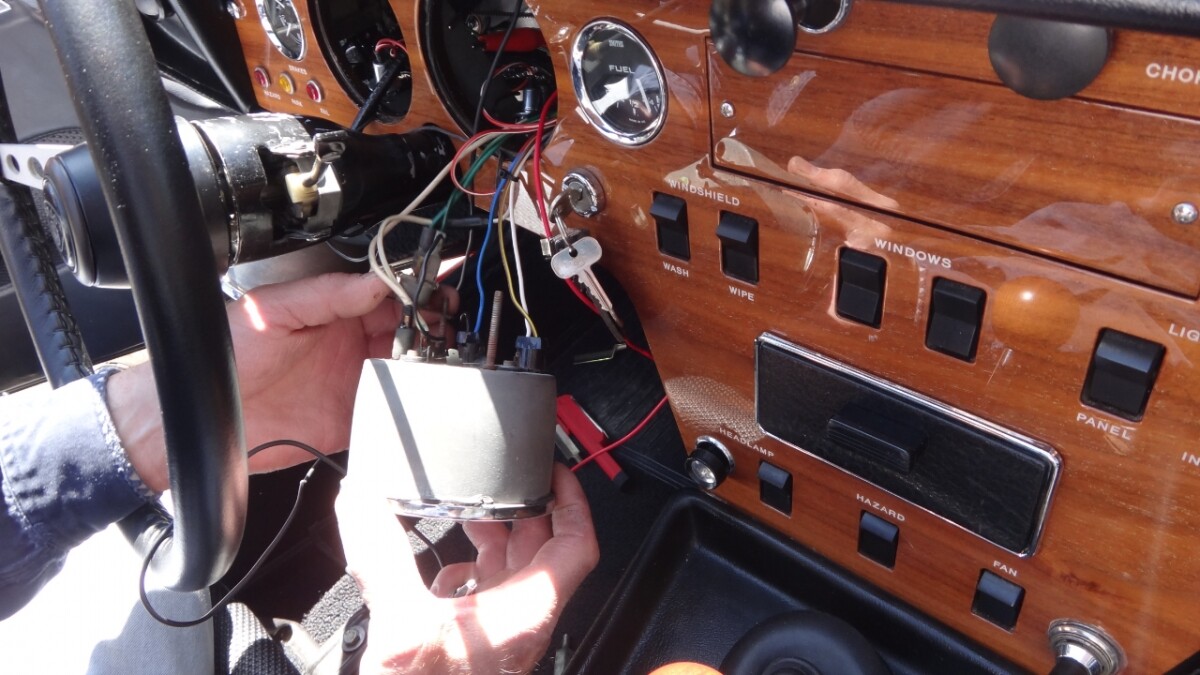
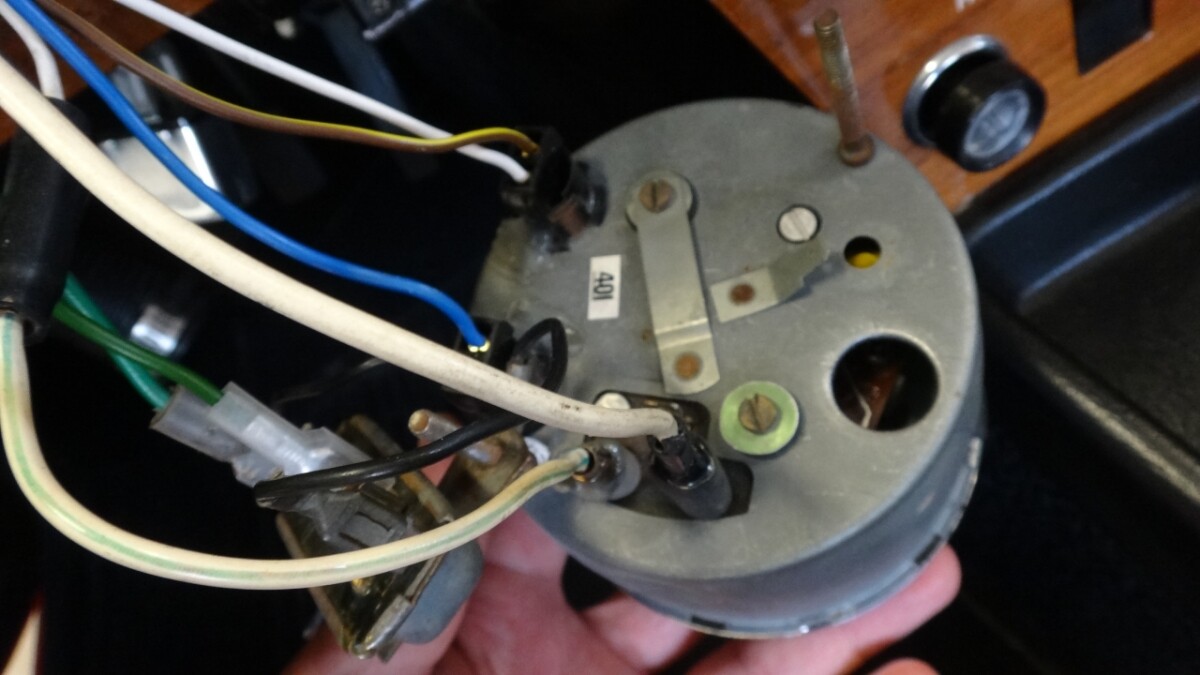
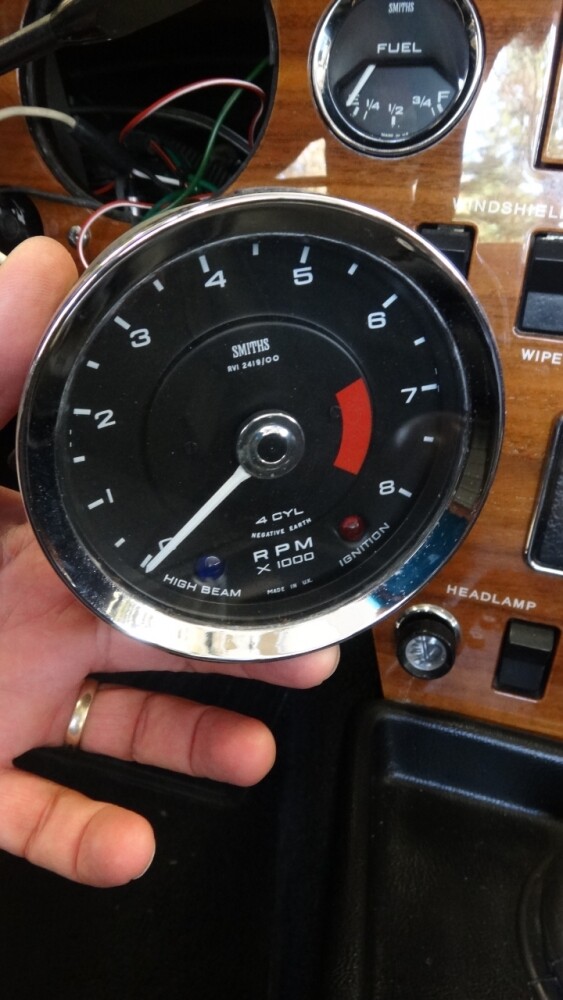
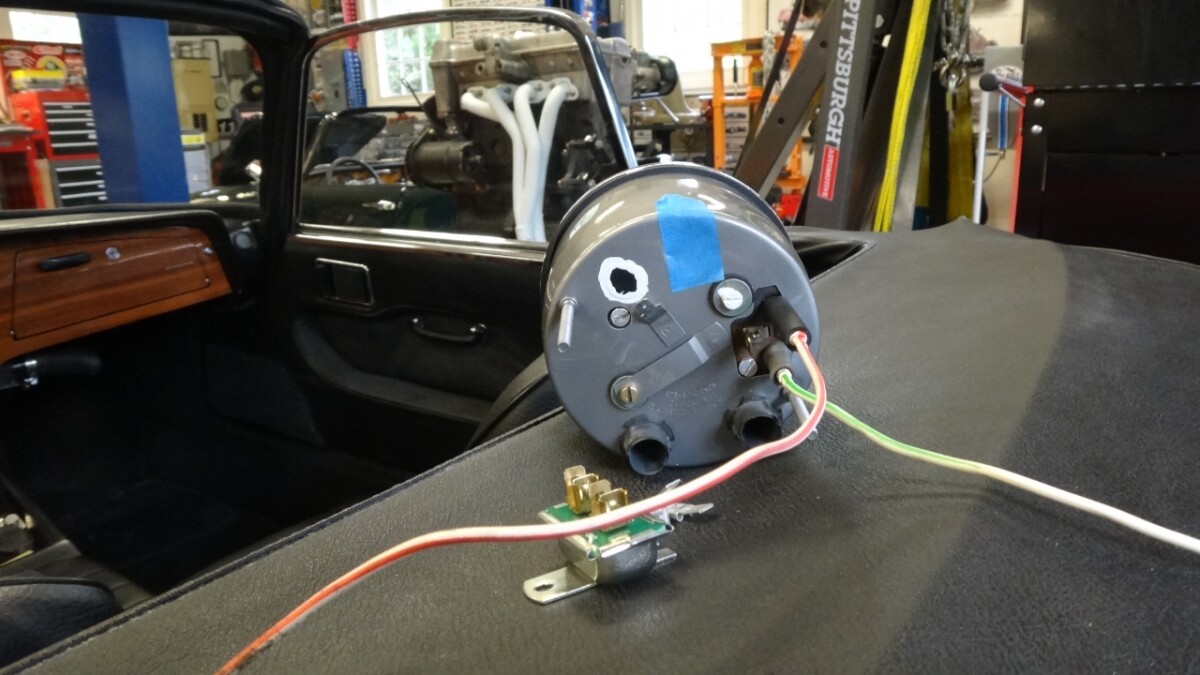
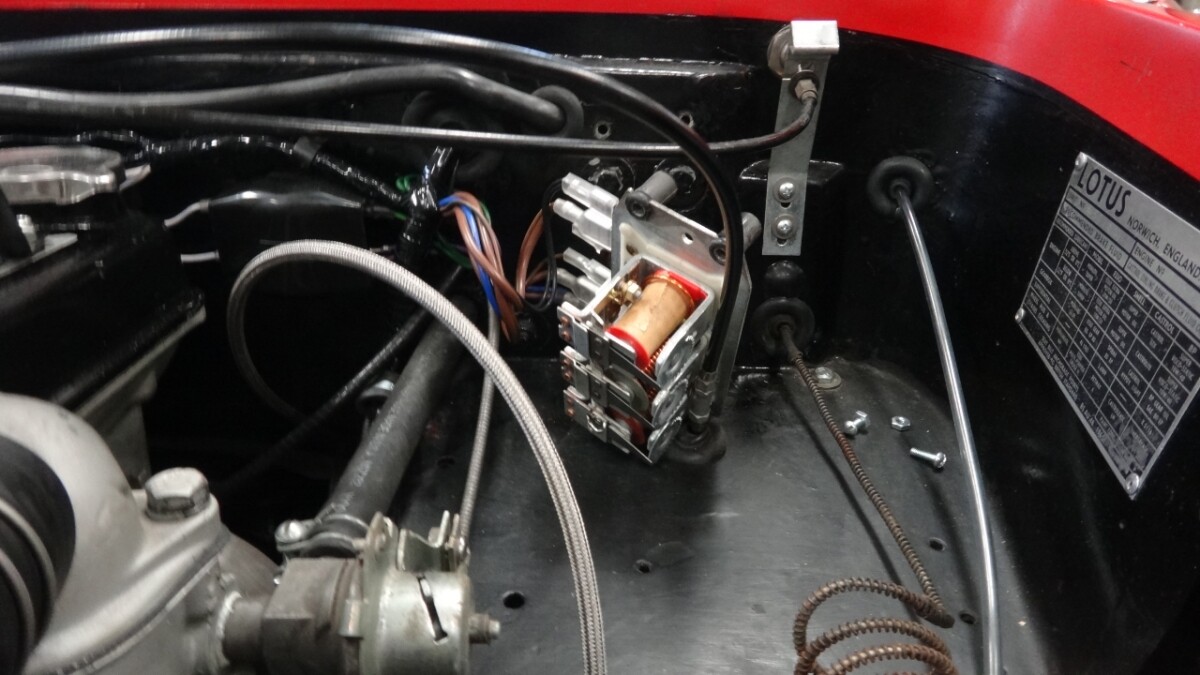
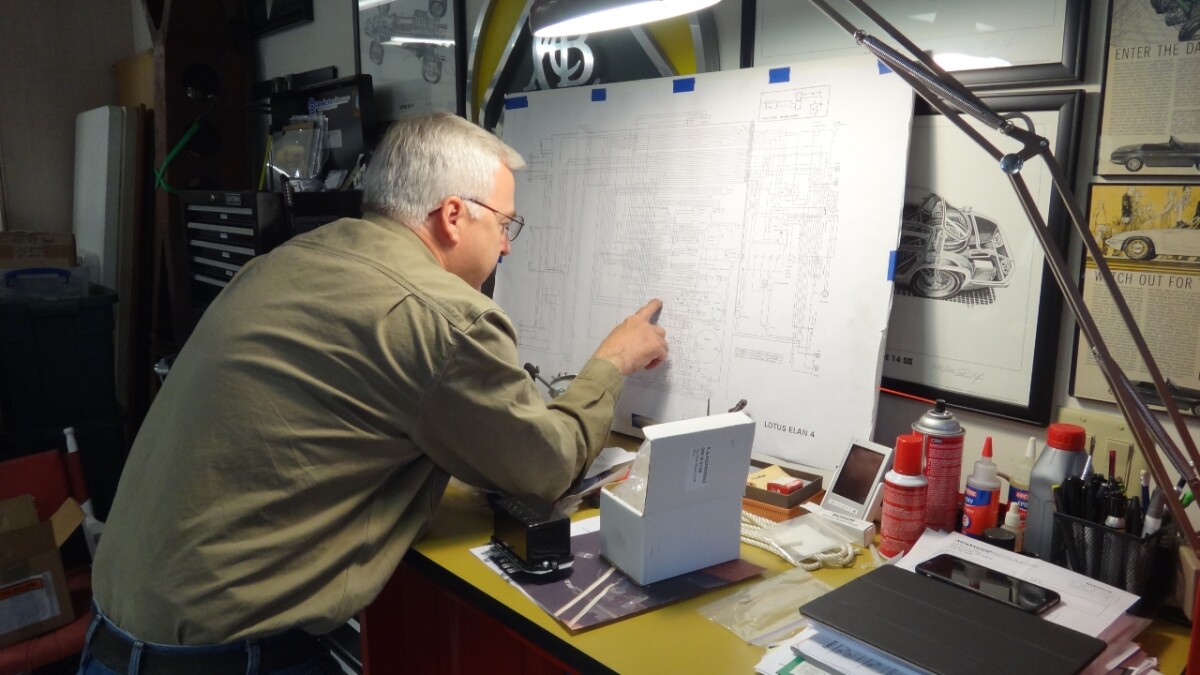
The list should be getting smaller, but Drew and I keep adding small little detail things to finish it up. Our next day working on the car is to complete the fiberglass patch, install the drivers interior door panel, install the bonnet, figure out why the horn and tach don’t work and go on a longer shake down drive (weather dependent).

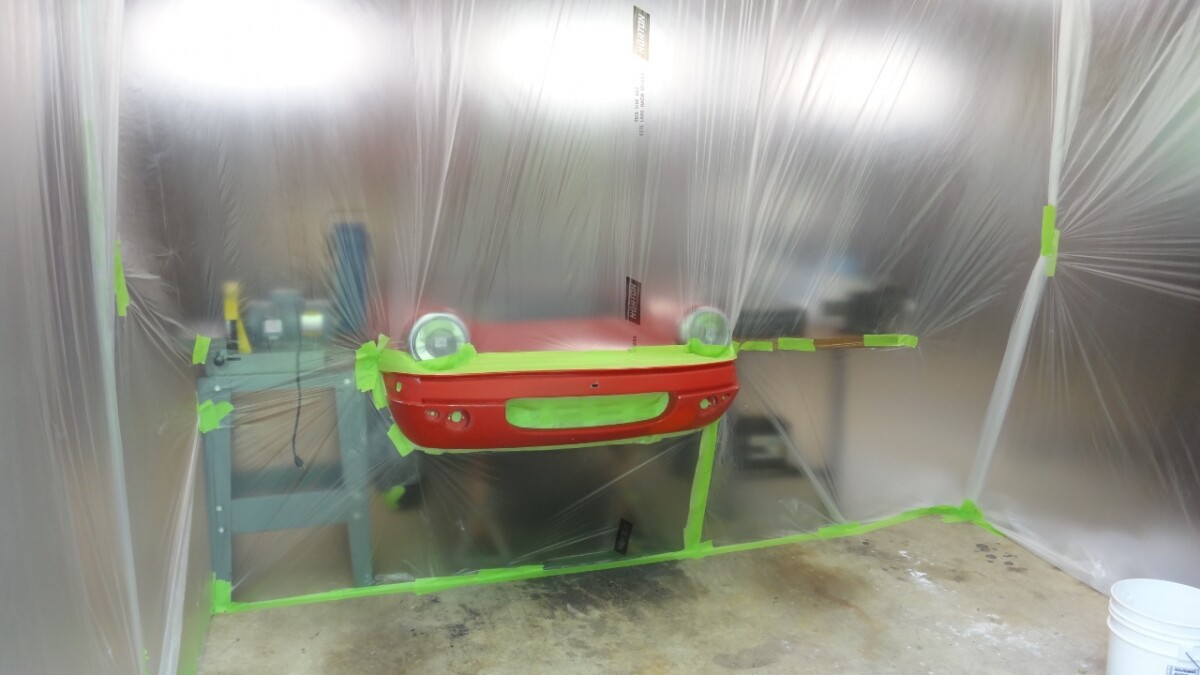
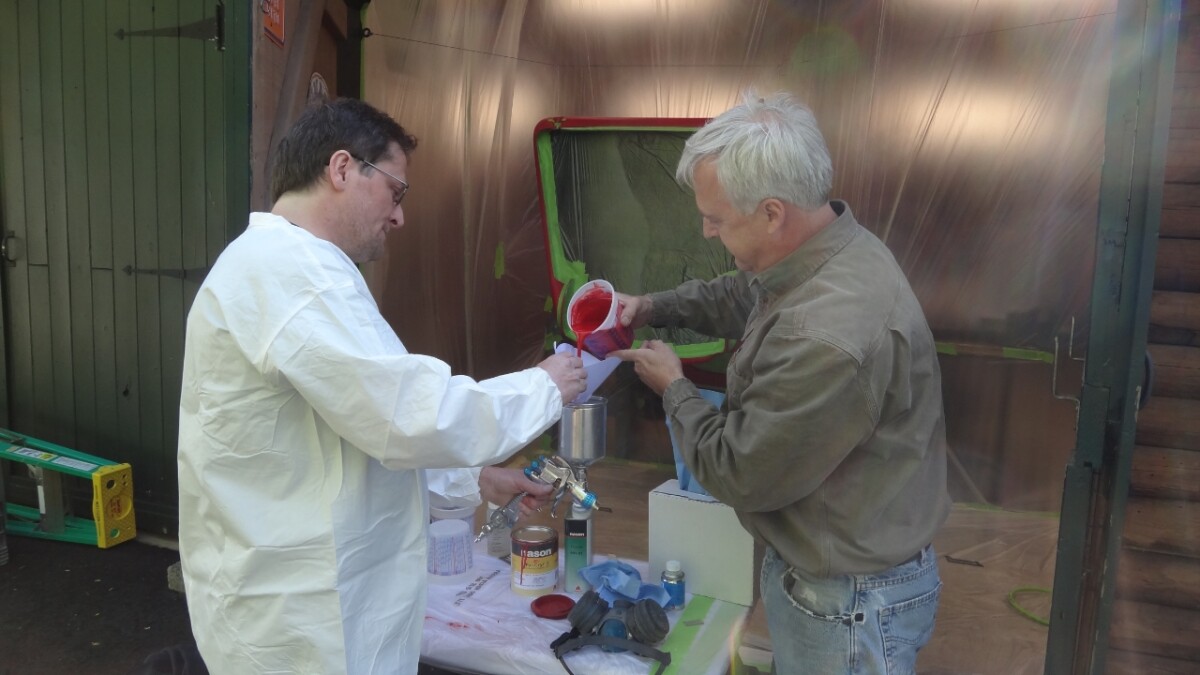
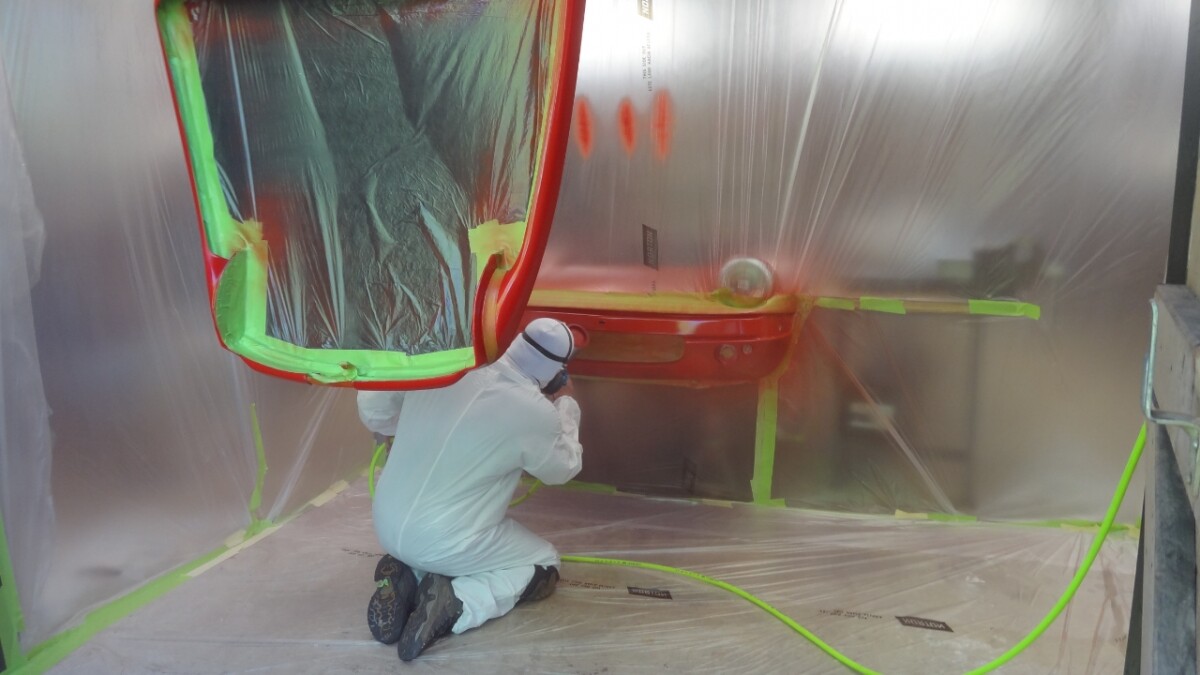
The last thing to do is paint touch up, buffing, bumper & emblem install and put the soft top on the car.

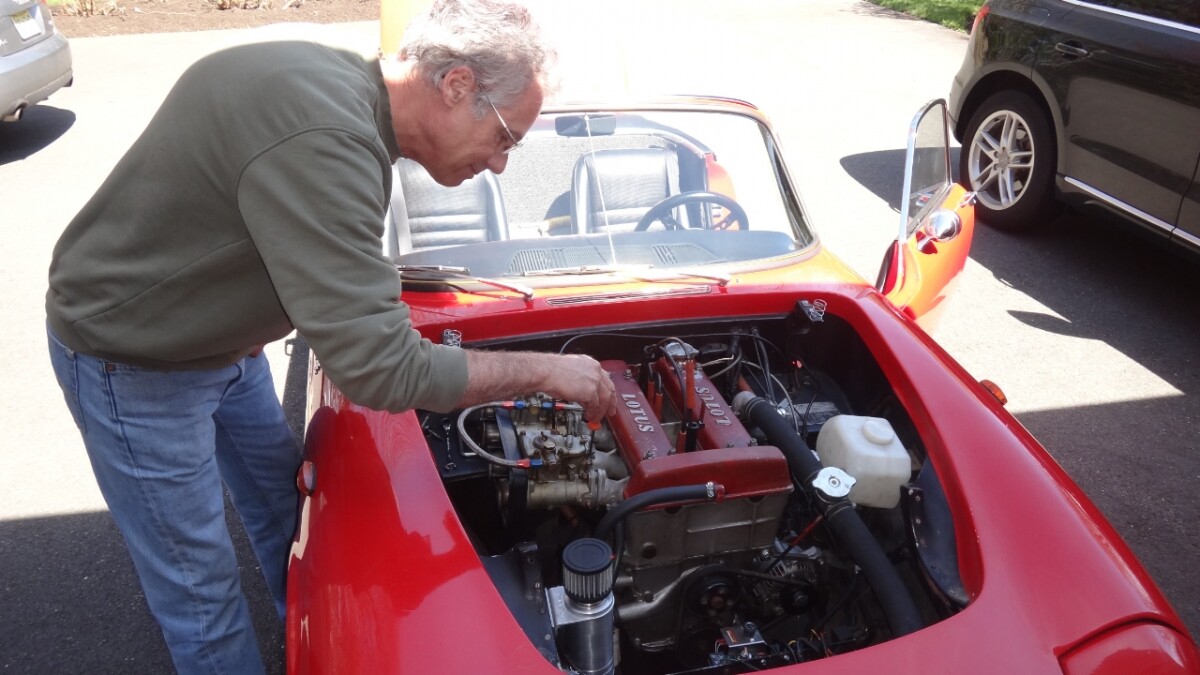
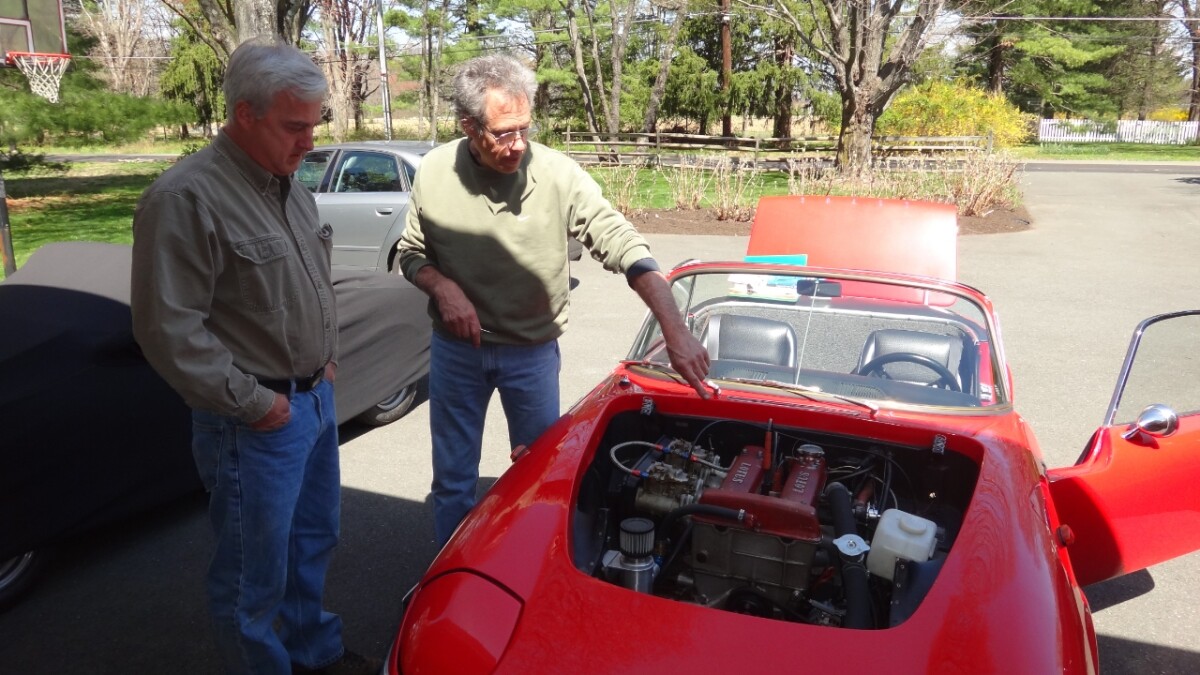
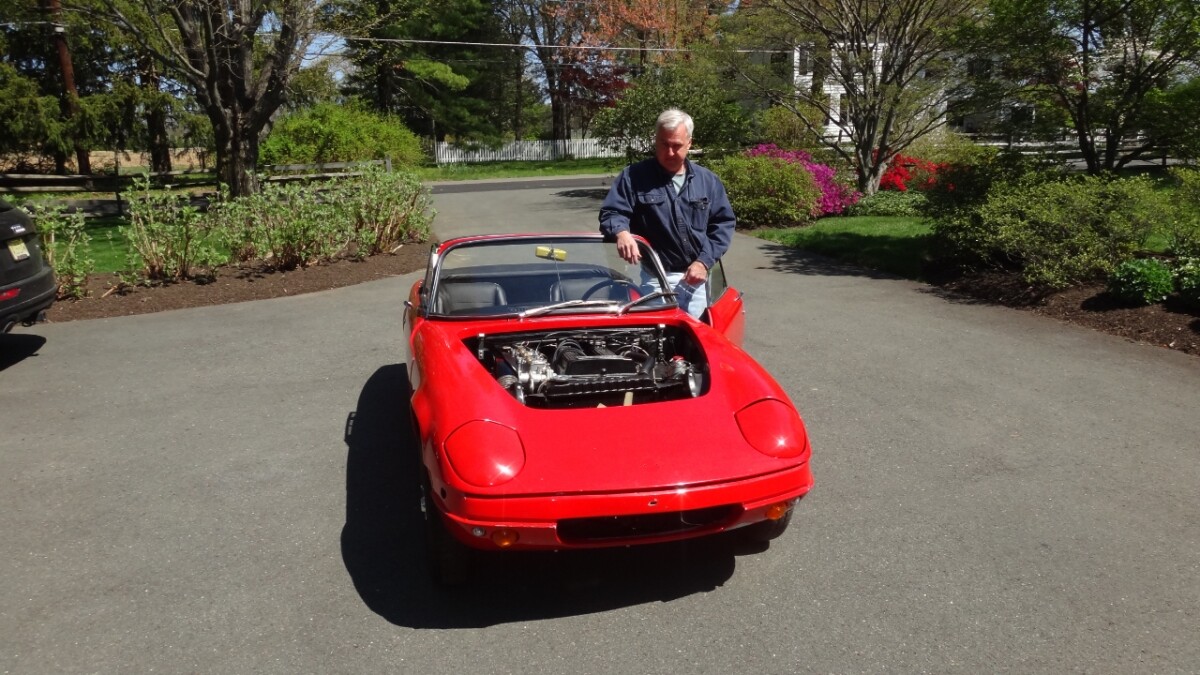
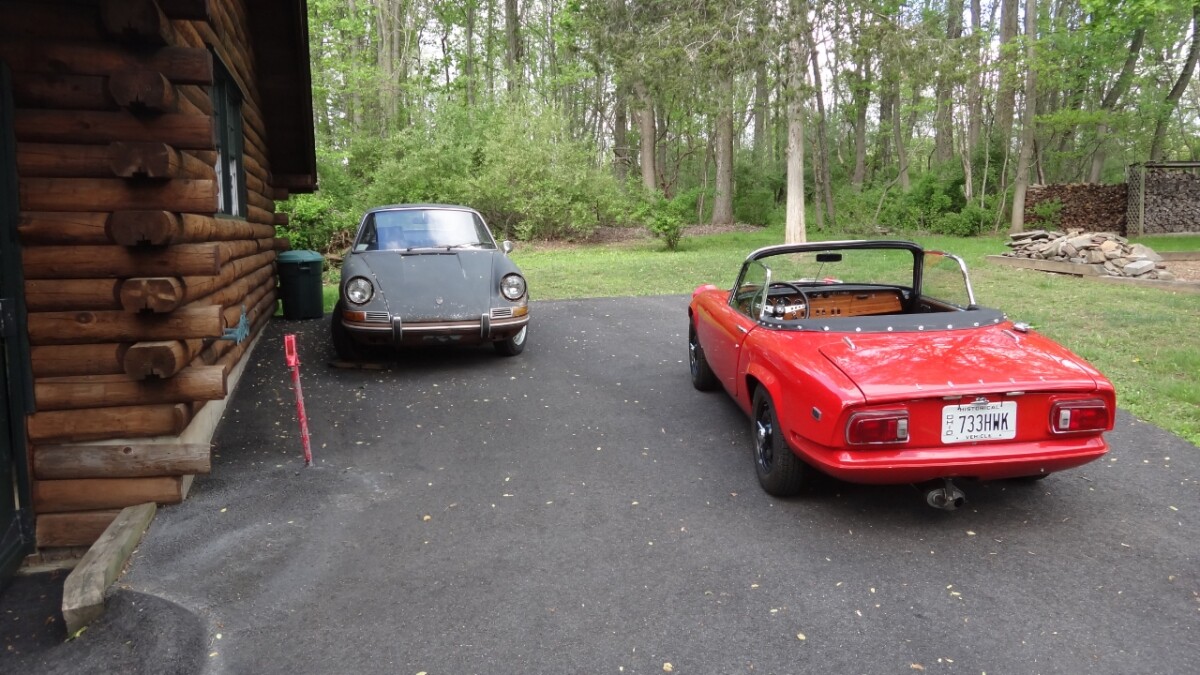
Then it’s ready for sale! Who ever gets this car will have one sweet ride. It’s a real time capsule having spent almost 30 years in a garage under restoration.

The weather is getting nicer here in the North East of the US and Drew and I were reminiscing that we started my 64 S1 rebuild about the same time last year. Here we are with the S4 and it’s taken longer. Go figure :wink:

Our list of things to be completed today include installing drivers side interior door card, completing the patch on the front cowl, installing the airbox and trunking, installing the bonnet with spring and hopefully going for a test drive.

Drew worked on the door card and found that the arrangement of all the clips to have a nice install was more complicated then it should be. I had ordered many spares of the clips and the plastic grommets to receive them so we changed everything out. It took a while to get everything perfect, but it got done.

While Drew was deep into the fitting of the door card I was in the midst of installing the airbox and trunking. This car came with an airbox and it looked to be the correct one for an S4 and or Sprint. Or so I thought…


After getting the airbox bolted in and the trunking nicely installed I placed the bonnet on the car and tried to close the bonnet. That would be a negative. The airbox prevented the bonnet from closing as it was too wide at the inlet of the box.

Now I have been down this path before with my S1 and I have collected a full range of airboxes over the last year so I brought them all out…I had five complete sets of airboxes and backing plates for a Lotus Elan. After careful measuring I choose the one that I though should fit and installed it.

The next project was finishing the patch on the bottom of the cowl. Drew mixed up some filler and applied a couple of thin coats letting it cure and sanding down between each application. Got it to a point where priming was ready to be done.


Our friend Chris came over with his Elan to see what we were up to and to show us his newest Elan tool, a color tune. We had never seen one before and Chris went about tuning his engine showing us how it worked. Pretty ingenious device! I’ll need to get one of those!


I had been trickle charging the battery all week as we had anticipated going for a longer shakedown drive to test the car out. No such luck. It wouldn’t start! A quick check of the distributor showed the points had fused. How did that happen? I didn’t have a spare set of points (new order from R&D on its way) so no road test this weekend.

The good news is the completion list is very small and I’m really focused on the paint touch up now so we can get the bumpers on and the badge plates to complete the Elan. Need to get the paint guy over soon!

I’m amazed that with all your expeience you only just found out about the ColourTune. :open_mouth:

For anyone else who does not know, it is a spark plug with a transparent quartz top, through which you can literally SEE the colour of the flame in the combustion chamber. Used when setting fuel/air settings on the carb.

Blue with light orange freckles is usually considered the correct fuel/air mix. :wink:

Always nice to visit. Too bad we couldn’t race around the farmland this weekend. Maybe next time! :slight_smile:

Hi Bill, I’ve heard and read about color tune for years but never bought one. I’m old school having learned to tune by listening and measuring the carbs suction. Always worked for me, but I’m impressed with what I saw and will get one for future use.

Chris, will have both cars running the next time you come over and we will have a nice drive thru the hills of NJ :wink:

Glen, you collected a full range of airboxes, but didn’t have a spare set of points??? :laughing:

Embarrassing isn’t it? I’ve got two engines with electronic distributors so no reall need for points. Or so I thought :wink: Now I have two sets of points for the twin cam that has old school technology, one to install and a spare set for the new owner (who ever he/she may be).

First day I was able to work on the Elan’s with the garage doors open! It was still a bit chilly so I had the propane heater on at the rear of the garage to keep it warm, but it was nice to have the fresh air!

The order of priority was to install the new points in the distributor. I had read that this can be done with the weber carb in place, but Drew and I didn’t want to work blindly on this and removed the airbox, front weber carb and then the point plate inside the distributor. Yup, the points were completely fried. Replaced them and the condenser, reinstalled, set the gap and reattached the weber carb and airbox.


The engine started right up and we went for a test drive. It’s running great but want to adjust the clutch a bit more as its engaging just inches off the floor.

The tach needs to be dealt with as its not working and we also noticed the battery is still not charging as the ignition light stays on. Will order a new voltage regulator.

While we were trying to figure out what was wrong with the tach, a friend of Drew’s who lives down the street from me stopped over to see what we were up to. Arnold’s Jag is a very cool machine. He did all the right modifications to make it a unique coupe.

Back to the tach, we could not figure out what was wrong. Maybe the voltage stabilizer is bad and needs replacement. I’ve ordered a new one (the old wiring had a lot to be desired and it might have shorted everything out). If anyone has an suggestions or can confirm that the tach in the photos is actually for an S4 any info would be greatly appreciated!


We stopped working on the S4 after lunch and moved to the S1 to give it its spring tune up, oil & filter change and install of new high capacity airbox I had received from the UK. That is another story and will post it on my S1 rebuild post.

As usual, waiting for parts to complete the S4. Now I just need the painter to come over and look at the car.

The voltage stabalizer is not relevant to the tacho, it is only for the slow instruments. It stabalizes by switching the 12v on & off to give an AVERAGE output of 10 volts over a long period (seconds) of time.

If you fed the power of the tacho from that switching regulator the interrupted supply would thoroughly confuse the tacho.

The tacho has its own stabalizing circuit inside.

The above smiths circuit shows a voltage-sensing tacho (RVC). Yours is a current sensing tacho (RVI). The effective parts of the circuit are very simple.

The sensing loop in this diagram is inside yout tacho and so the white wire to the ignition coil is split at the tacho with (I understand) a male and a female bullet connector so that the white wire can be routed throught the sensing coil inside the tacho.

In your photo of the back of the tacho, there is no Earth wire on the earthing spade-tag on the back of the case.

That case has to be earthed for the tacho to work.

The regulator is, for convenience, fastened on with one of the tacho mounting bolts and consequently shares the earth. The power feed to the tacho is, for convenience, taken from a double connector on the 12V INPUT side of the regulator (not the switching 10v output).

Thanks Bill! Great overview and should provide me with a better understanding of how to trace the problem. The ground wire was taken off to remove the tach. But that being said, I’ll run another ground to test just in case. Really appreciate your insights!

After receiving Bill’s wiring diagram and some additional testing of the connections to my tach I decided to send it to Nisonger Instruments in Mamaroneck, NY for refurb. They have a rush service that charges $60 to get the instrument back in 4 days instead of 4 weeks so I went with that. I got the tach back in 3 days. It looked brand new and came with comprehensive instructions on the proper installation of the wiring of the tach…which didn’t apply to the S4.

I had also ordered a new voltage regulator and voltage stabilizer from R&D Enterprises and had that in my possession for Saturdays work on the S4. I’ve gotta say, the entire electrical system has now either been replaced or rebuilt so its basically all new, including the battery!

Drew came over to help and as he started installing the tach and voltage stabilizer I replaced the voltage regulator in the engine bay. I got done before he did so I moved over to my S1 to install new springs on the front shocks (replaced the 8" 140lb springs with 10" 150 lb springs, that is another story which I will update on my S1 post).

The typical electrical gremlins popped up during installation of new electrical parts. Got the tach working fine, but now the instrument lights didn’t work!

And because their is absolutely no room to work on anything under the dash, the speedo and tach came back out to determine what was wrong. Drew even took the seat out so he could work from the floor on his back tracing every wire under the dash.


Ended up being a missing power wire coming from the new voltage stabilizer so we made one in short order, rewired everything and reinstalled the instruments. Every single electrical thing functions as supposed to and the battery is finally getting the right charge from the generator.

Before we took the S4 out for an afternoon drive, we replaced the spark plugs with new ones and off we went. Drew and I took turns driving the car on some of my favorite back roads enjoying the day and making mental notes of little details that need to be looked at. The Elan ran perfectly with great brakes, oil pressure, water temp, no ignition warning light, idled perfectly and has great pick up. Whaa Hoo!

Brought it back to the garage and parked it.

Next week the paint guy is coming over to talk about the repair of scratches, the fiberglass repair we made and buffing the entire car.

Getting very close to completing!

Simply excellent!

Glen,

Great to see you got the electrical work done and that the car runs well. I also had my tach rebuilt by Nisonger for my S4. It has been quite a few years, but I think I had to call them to get it wired properly. Too bad there is so little room under the dash. I remember trying to get under steering wheel to work.

Eventually I’d like to rewire my car with new harnesses. About how long do you think it would take to do the dash harness? That’s go to be the hardest one to do. I’d probably be doing this on my own once the dash is pulled out.

Bob

Bob, if you take the dash out and work on a bench, taking lots of photos, you can rewire the dash in a full day. That is based on your having extra wiring, connectors, a good soldering iron and a circuit testor. You will need to make custom cables and ground wires. I would also have a wiring diagram enlarged as big as you can make it to trace connections out. British Wiring has a very complete harness and most of it is a direct replacement.

If you read through my post you will note some of the areas that were a challenge.

It might take you a day to remove the dash and another full day to install it after rewiring it. And then a third day to trouble shoot the things that don’t work after install.

Now that I have done this, I could probably do it all in three days or less. With time for a couple of beers at the end of each day :smiley:

Thanks. It’s been another rewarding rebuild of a fantastic Elan !

The painter came over yesterday to evaluate the touch up work to be done. A number of scratches, the bonnet doesn’t match the color of the rest of the car and the fiberglass repair needs to be painted. Plus the whole car could use a wet sand and buff as its been sitting for more than 30 years. He left saying he’d get me an estimate early in the week and could schedule a weekend in the next thirty days. More $$$ invested, but it will be worth it as this is a very nice example of an S4.

Drew offered his garage to do the painting as he has a larger compressor than I do and had previously built a temp paint booth for another project so he knew we would get the painting work done quicker. I drove the S4 over to his house on Sunday morning. It was nice and cool with no humidity and a breeze blowing. Perfect painting weather.

I parked next to one of his other projects, a Porsche 911 that he is restoring. Nice contrast of different type of period sports cars.

We jacked up the front of the car so the painting of the front cowl would be easier. Bob (the painter), Drew and I had discussed the work to be done and decided it would be best to paint the entire front cowl instead of just blending in the patch. We are also repainting the entire bonnet as the color didn’t match (it was too orange).

While Bob was sanding the front cowl and then priming the fiberglass patch, I spent the first haft of the day touching up every little scratch on the body. We plan on wet sanding and buffing the entire car so it should all blend in nicely.

We built a “paint booth” in the front of the garage to mask off the rest of the garage from overspray.

Drew and Bob pouring the color matched red paint for first of four coats of paint.

Bob laying down the second coat of paint. It was setting up nicely in the weather and drying quickly.

Next weekend is wet sanding entire car and then full buff.

Do pray tell you will be painting the bumpers silver??? :slight_smile:

Ted, the bumpers were already painted gold and never installed on the car. They are staying gold.