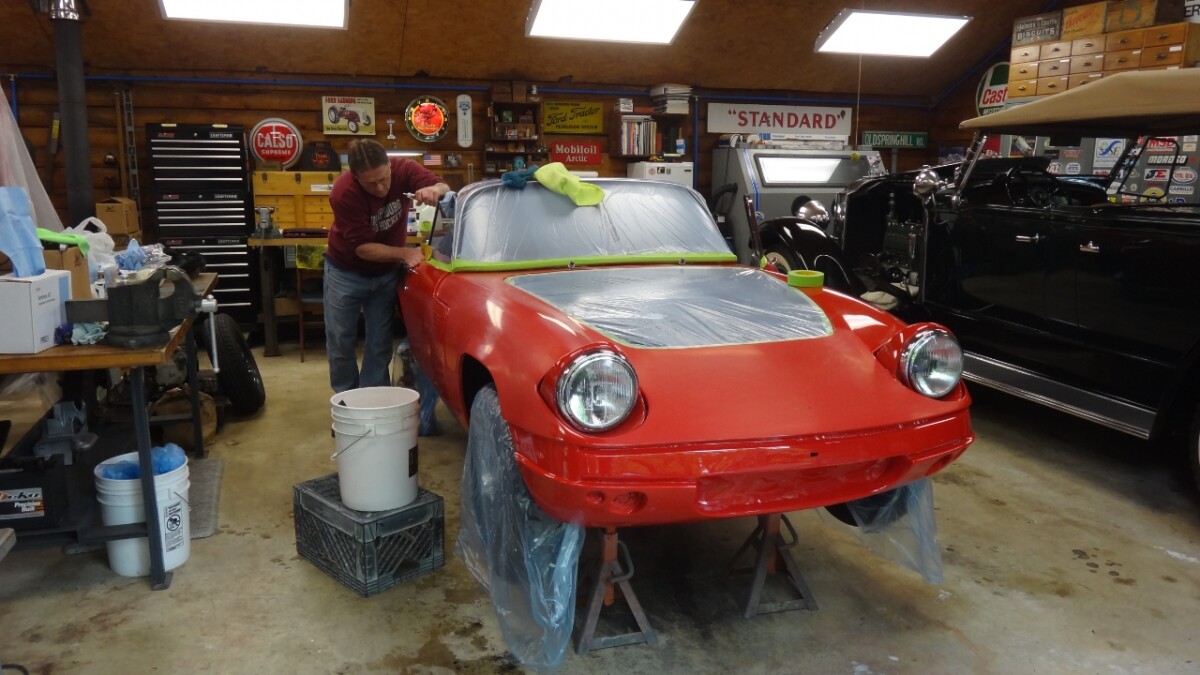
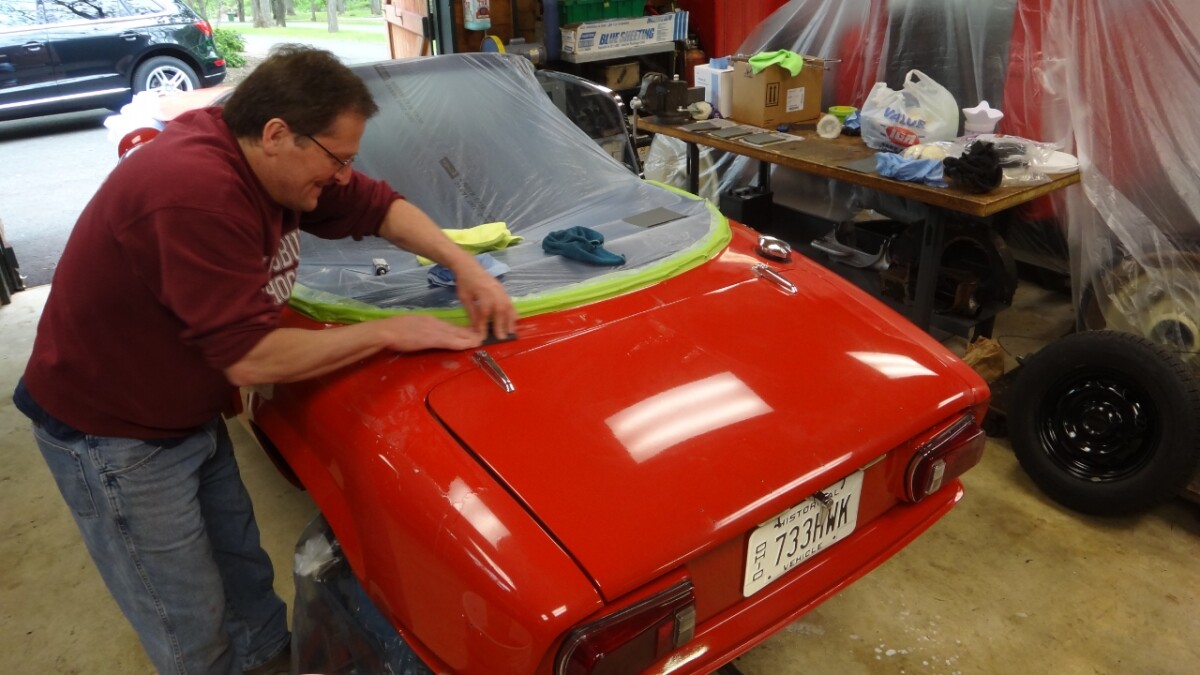
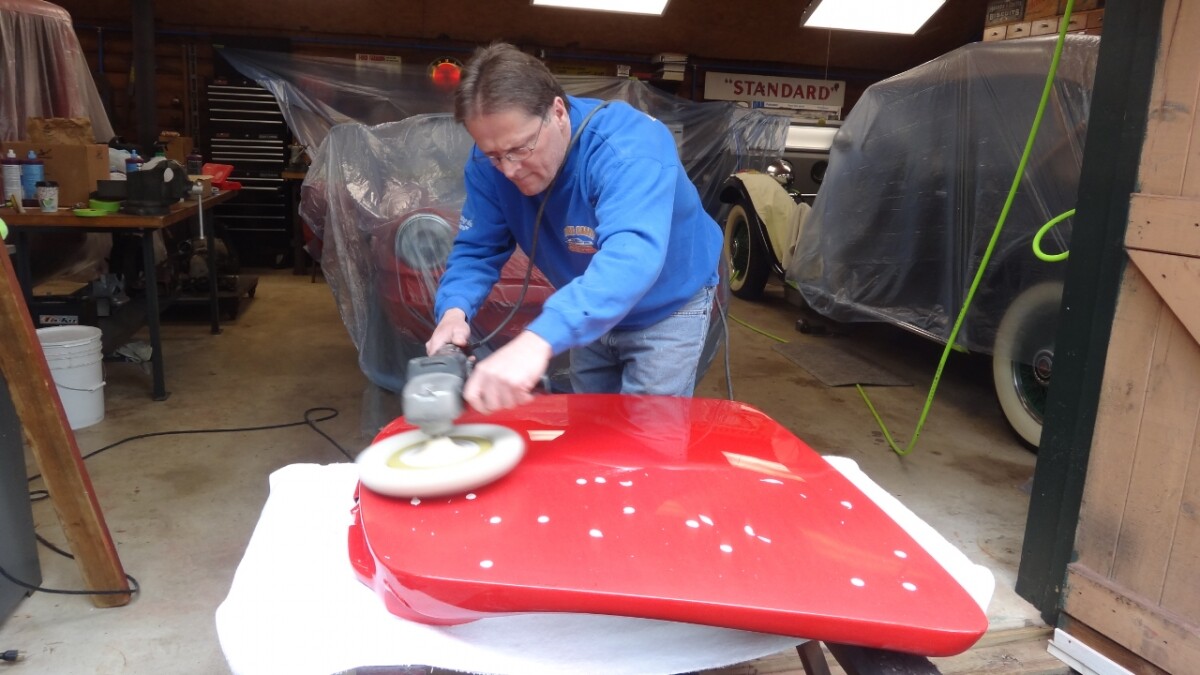
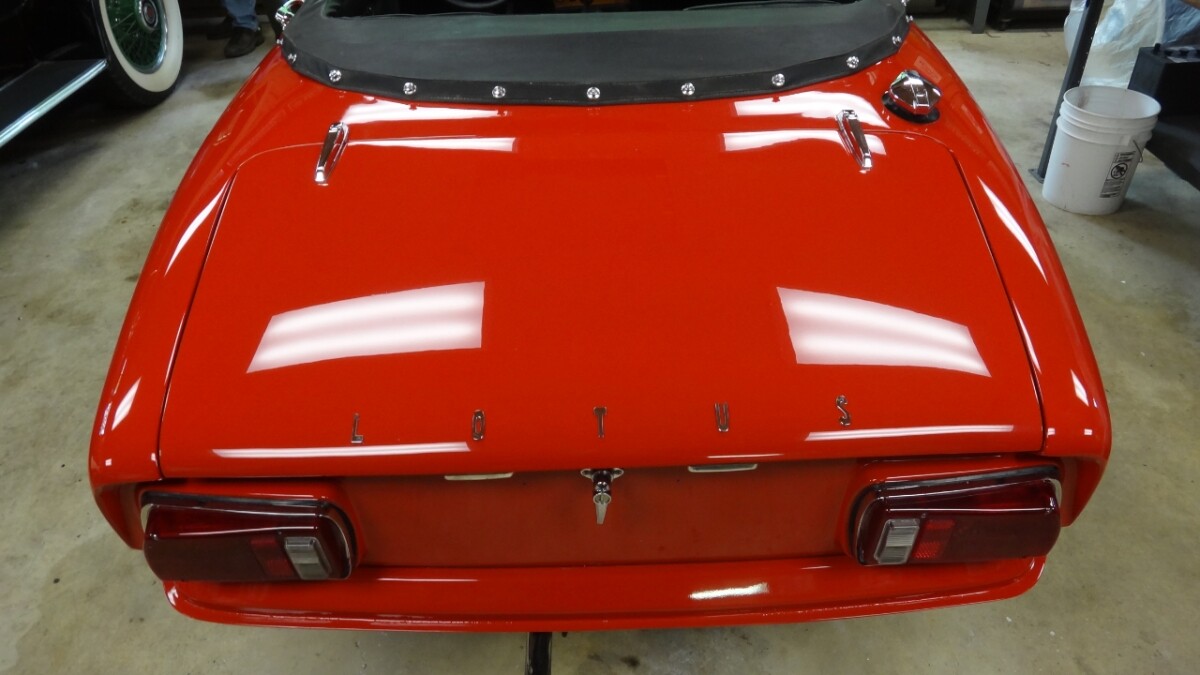
The paint cured nicely during the week and everything is ready for a day of wet sanding the entire car on Saturday. Bob is the master at this having a light touch and changing to ever finer grit of paper in the process. I took off the rear trunk LOTUS letters so the finish would be the same all around the lettering.
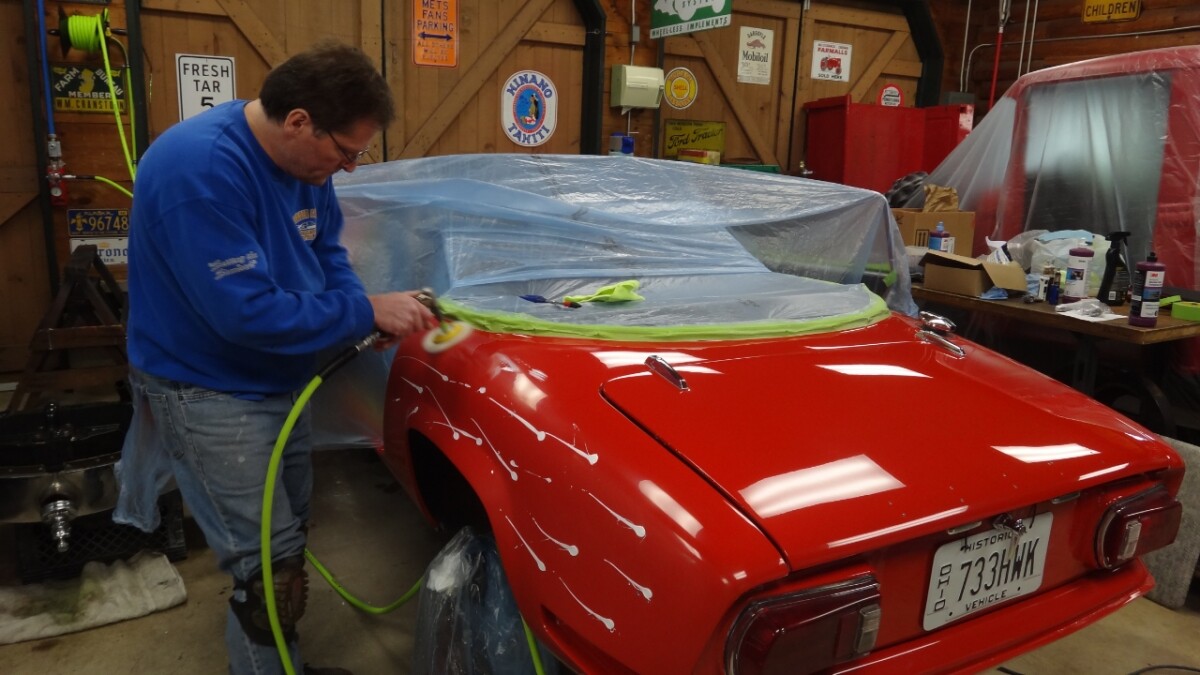
Sunday is buffing day. That will really bring the finish out. Can’t wait for this to be completed and the bumpers finally put back on. Getting close to the final stage of the rebuild…
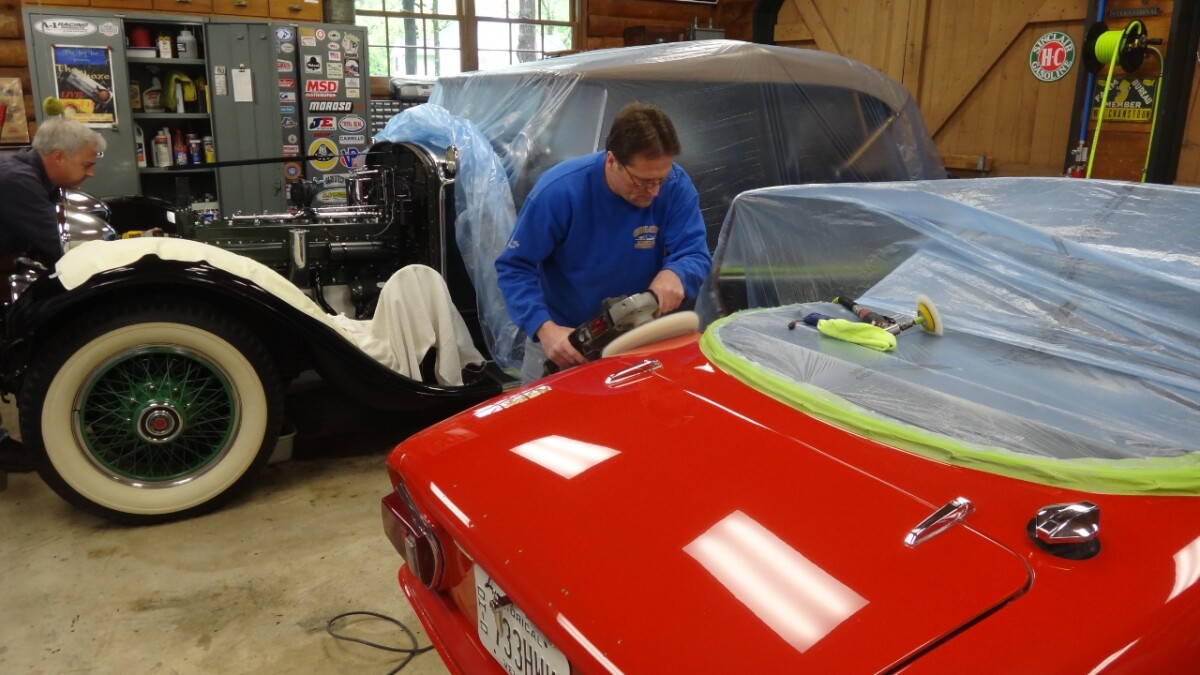
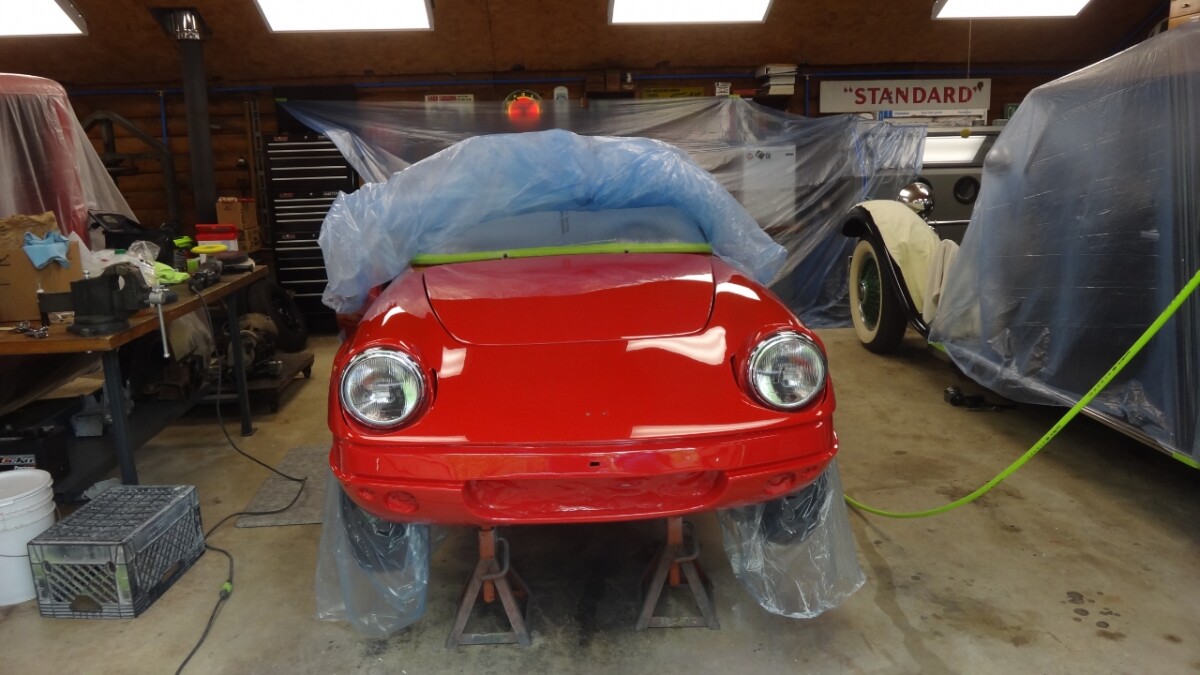
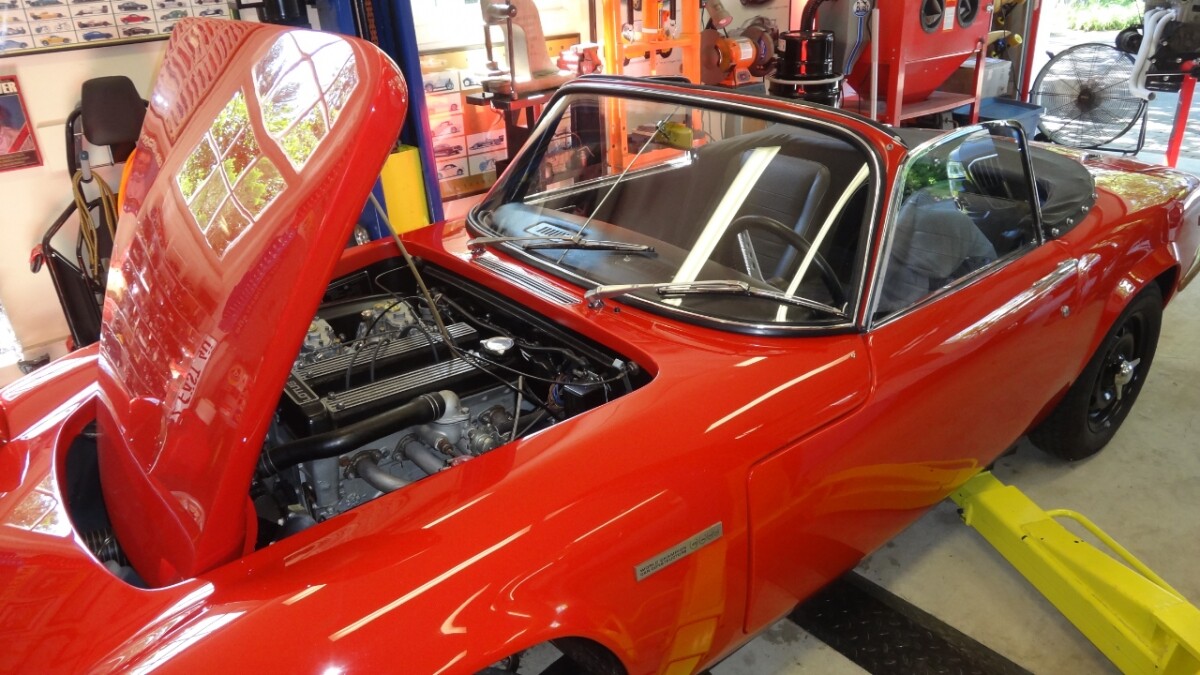
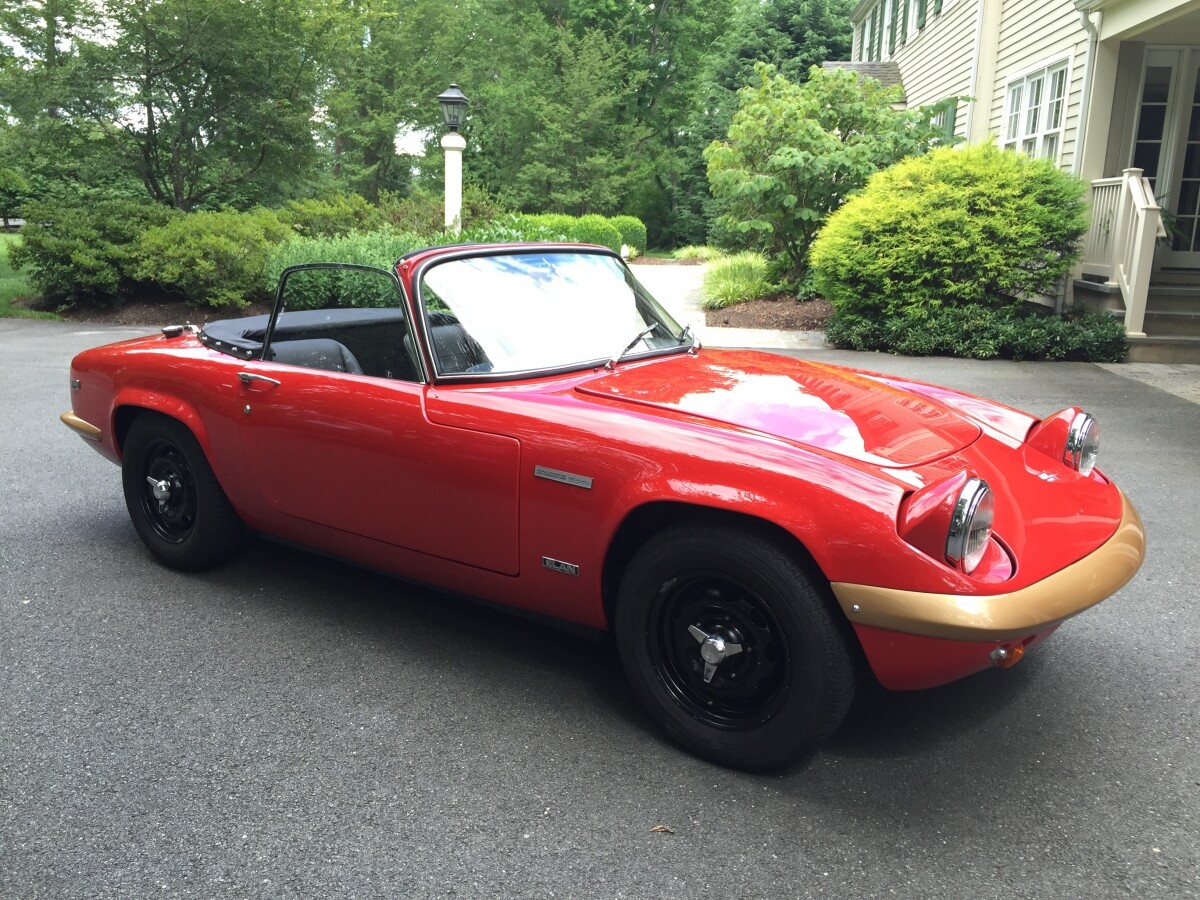
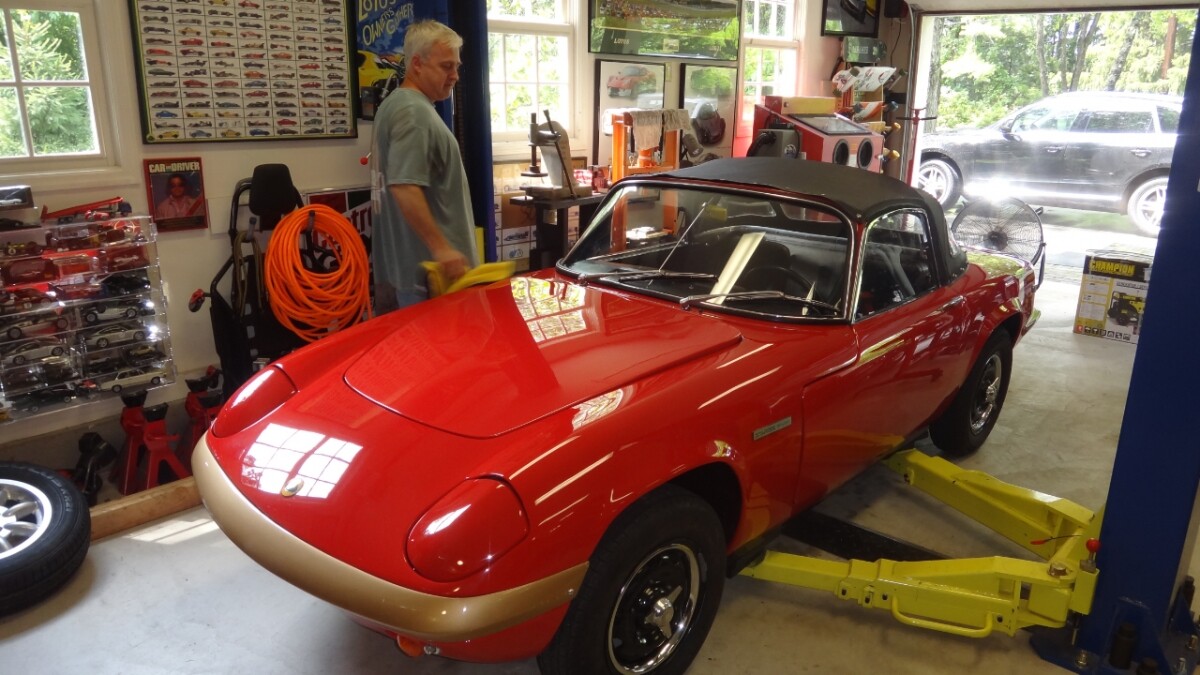
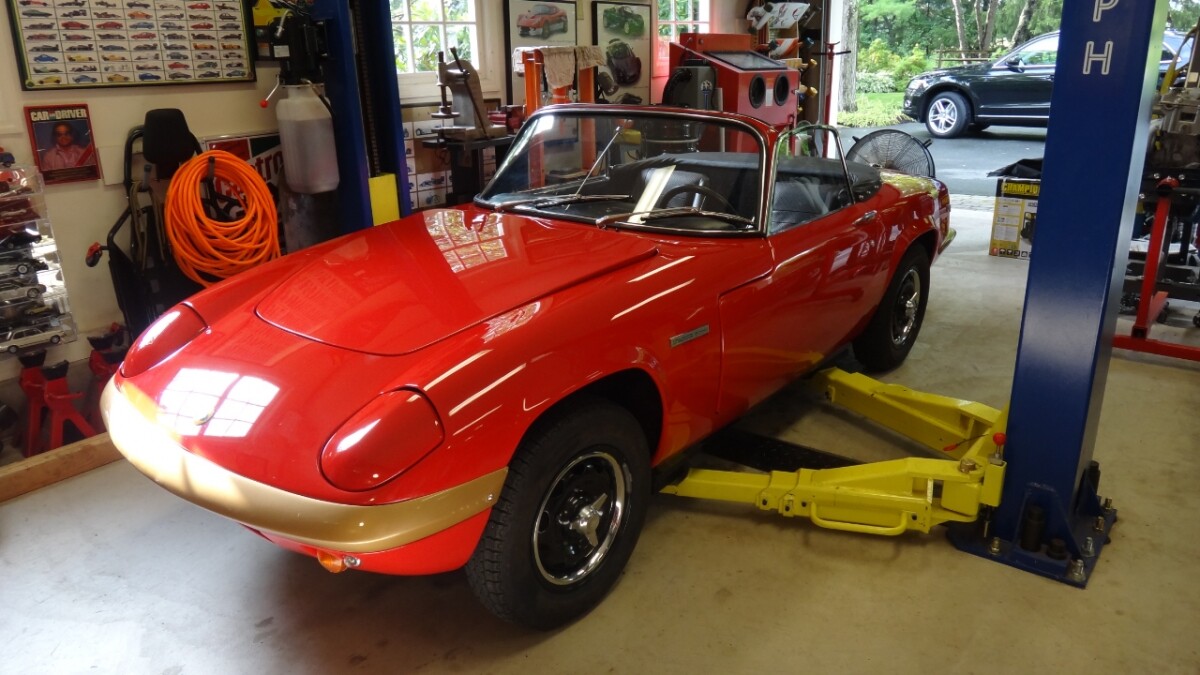
The repainting of the front cowl and bonnet blended in extremely well and the entire wet sanding and buffing process brought the paint back to a very high level. It’s not concour car show quality as the original paint job was not perfect, but it looks great and well worth the time and money invested to bring it to this level.
Thanks Bob!
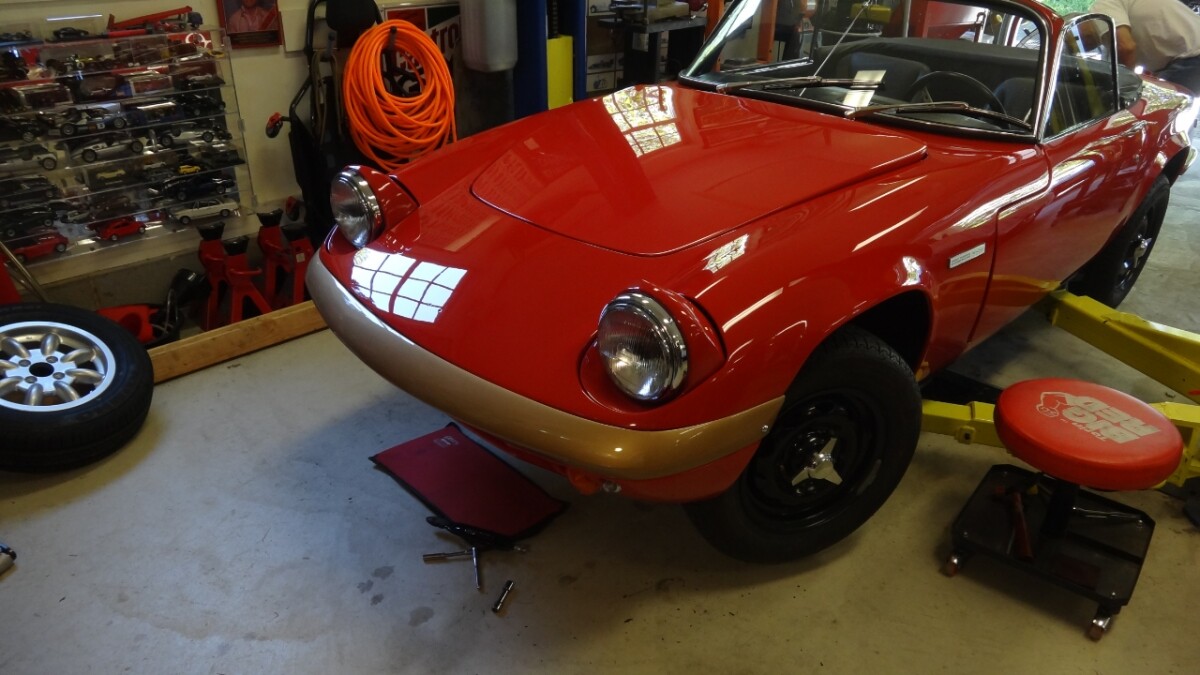
Now the gold bumpers and emblems need to go back on.
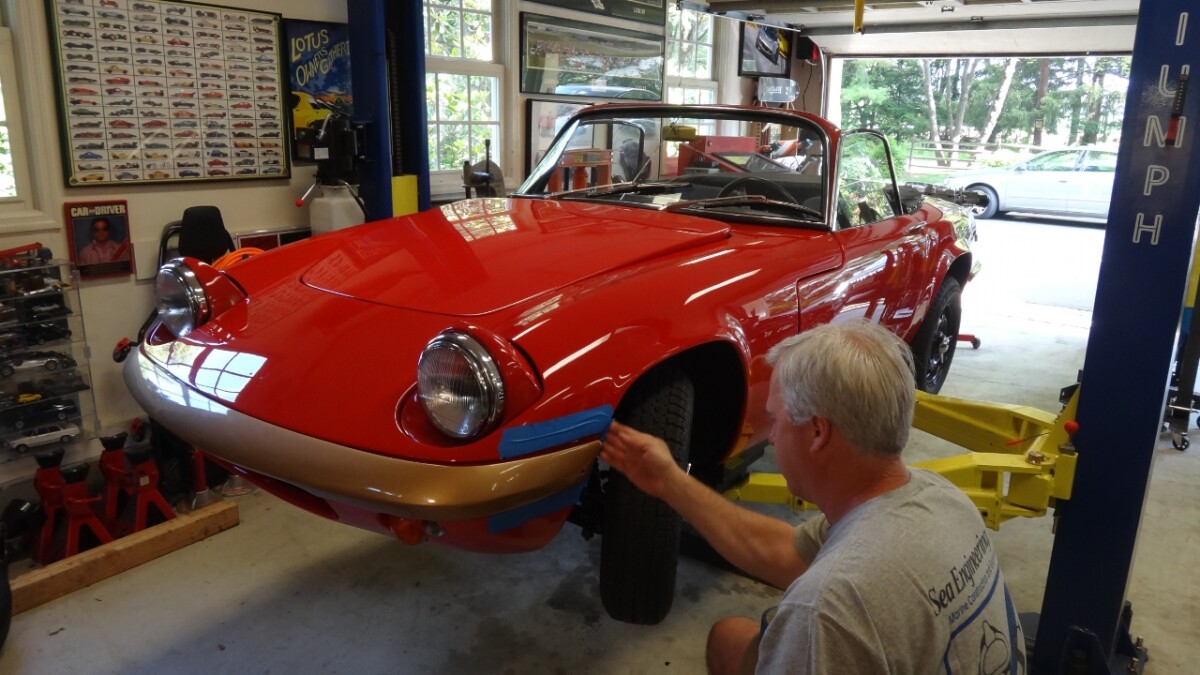
A couple of weeks of distractions from working on the S4 but I got refocused and started last week on the finishing touches. One of the things I had ordered was the trim strip for above the front bumper. It looked fairly easy to install so I set about it late one afternoon. I installed it and uninstalled it twice. I didn’t like the way it looked and there were still gaps. And I really needed an extra pair of hands so I figured I would just wait for a time when Drew could come over.
A week later (today) Drew came over and we discussed what I thought needed to be done which involved some light grinding of bodywork and fitting of the bumper to a closer tolerance. Drew agreed it was the right way to fit the bumper and away we went with the plan.
Chris came over in his S3 to test his newly installed rear diff he had rebuilt and re-installed last night. Says the cars runs great and not a sound out of the rear differential. We got him involved in our project right away as we needed an extra pair of hands.
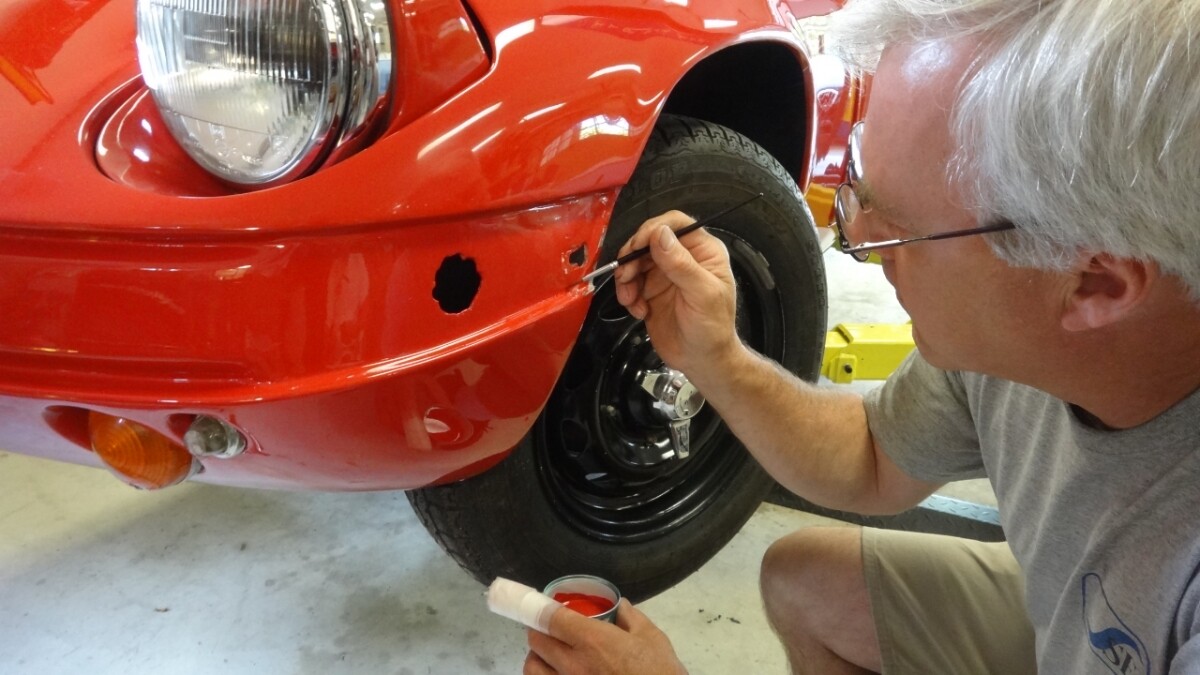
After installing the trim strip we all agreed the car would look much better without it. As I understand it the factor installed the trim strip as they couldn’t get the bumpers to align properly without major gaps, so the trim strip was added as a solution. Well, to us that was a challenge and spent most of the day making all sorts of adjustments to get the gap as consistent as possible. I think it turn out nicely and who ever buys this car, if you don’t like it the trim strip will come with it and you are welcome to install it!
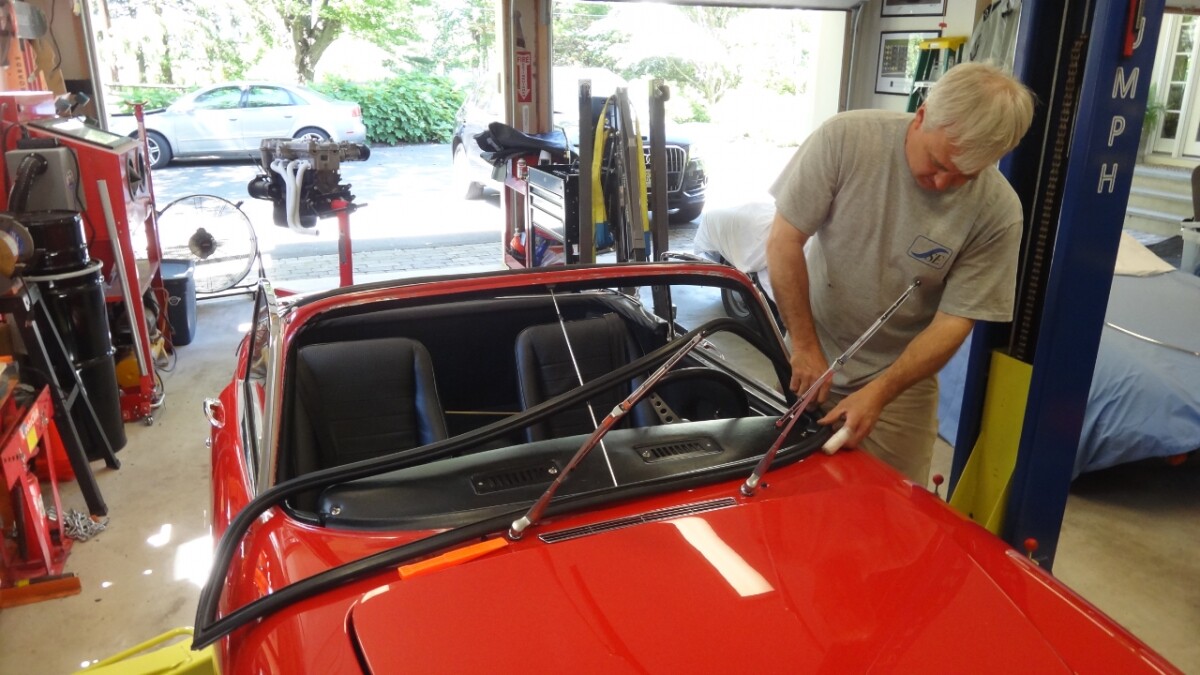
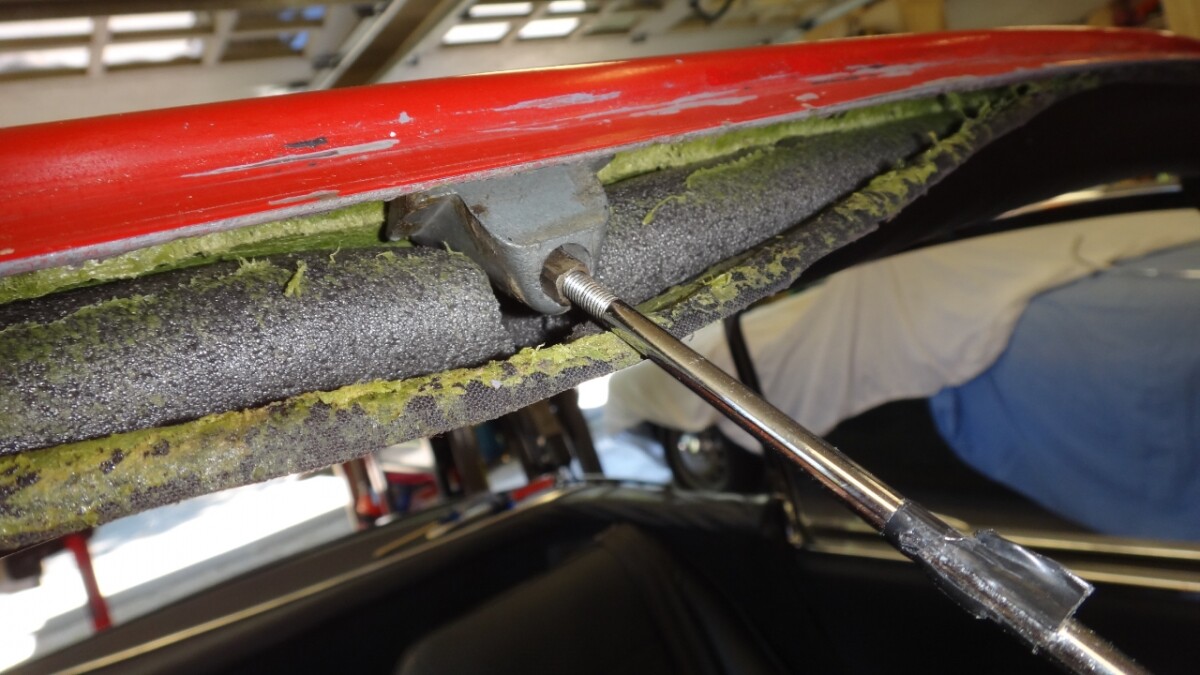
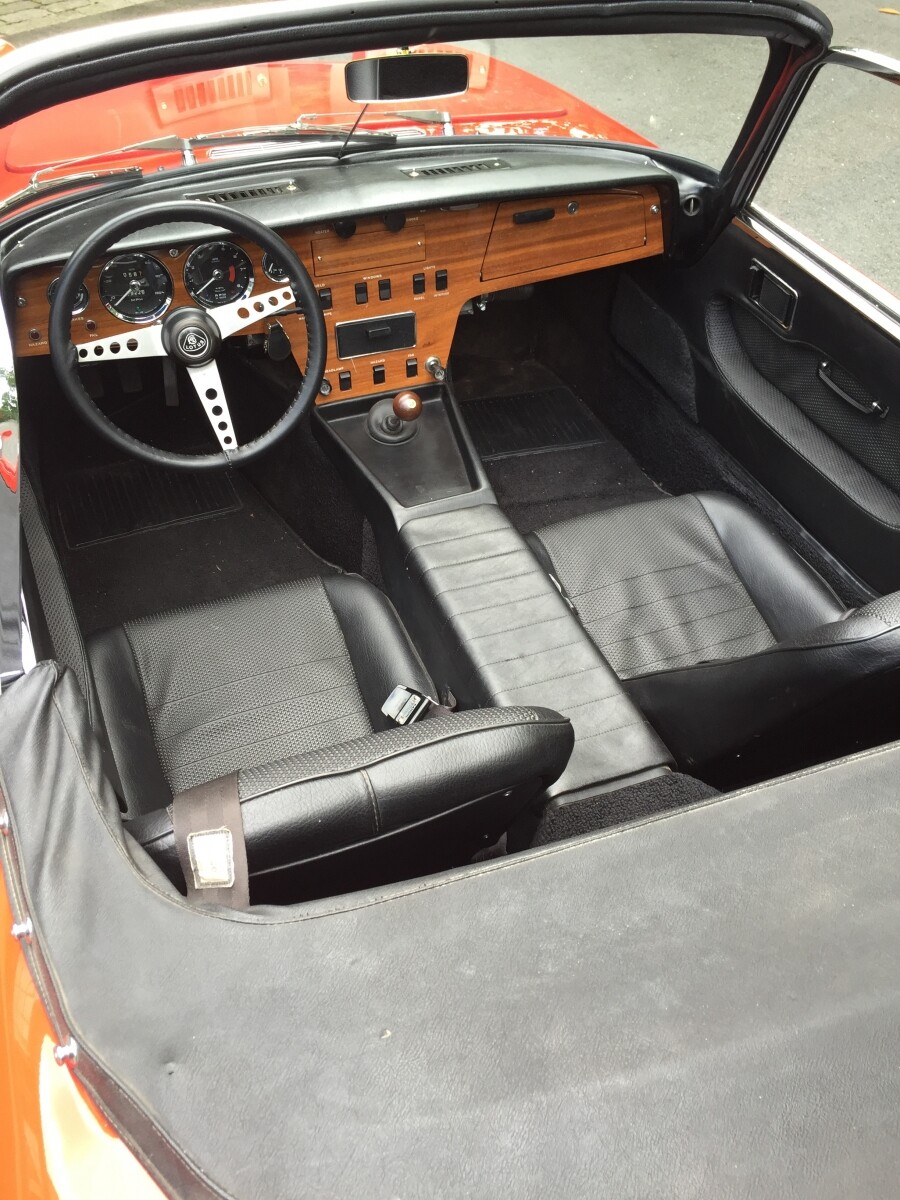
One of the things that bothered me during the rebuild of this car was the windshield frame seemed very flexible. I never understood why until a did a lot of research and found out this car didn’t have a tensioner block installed in the windshield frame and that was necessary to make the frame tight against the windshield molding and the glass. Drew and I took the windshield and rubber molding out, installed the tensioner block and reinstalled the windshield and molding. Now its very snug and tight fitting. As it should be.
I installed all the badging around the car. Getting closer to completion!
We went for a test drive. Brilliant sunny day. The S4 runs wonderfully but I’m not keen with the steering. Something is not quite right. Its not as crisp and responsive as my S1. Need to look into that and make a few adjustments. Next weeks project!
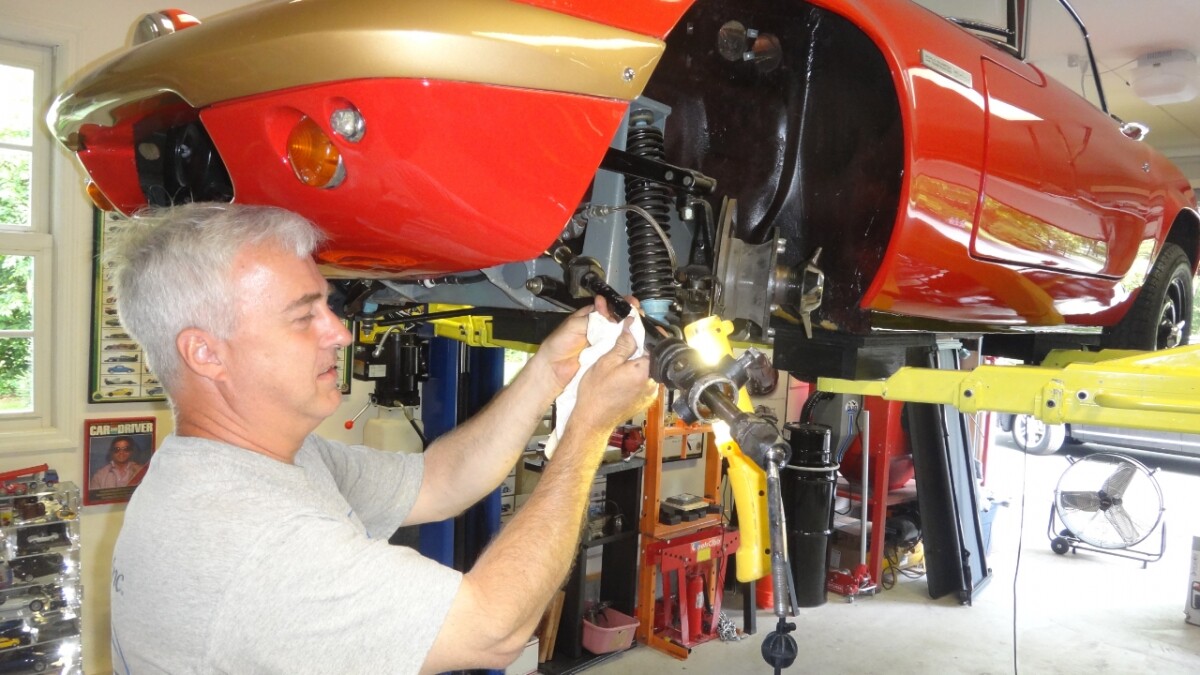
I read everything I could about the Elan steering rack during the past week because I felt something was just not right with it. The car seemed to wonder in the corners and mainly on right hands turns. Very strange. During my readings someone mentioned you can’t take the rack out of the car without the body off or cutting into the fiberglass body…neither which I wanted to do.
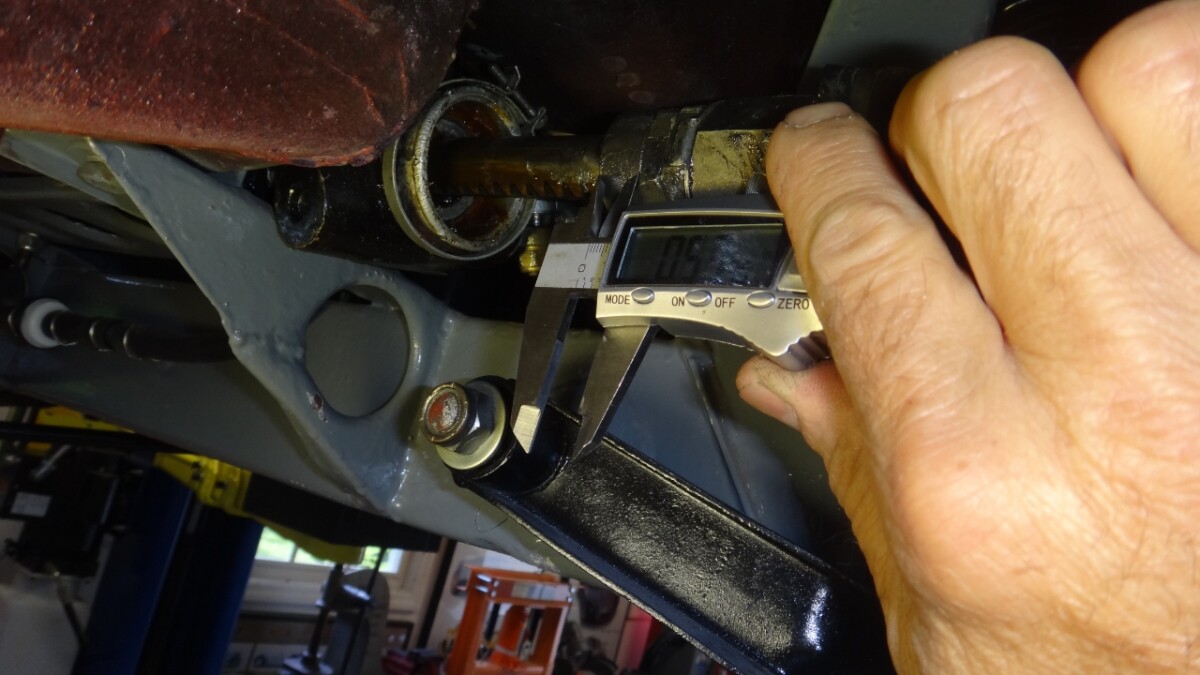
I had copied a number of write-ups and showed them to Drew when he came over. We checked all the usual things, balls joints, tie rod ends, suspension bolts tight, steering coupler tight, steering wheel shaft tight. Everything was in order. The we decided to remove the ball joints and the rubber dust covers off the tie rods to check if the proper limit bushings where in place. Yes, confirmed they were all there and the right sizes. We did notice the right side of the rack was not completely against the chassis when bolted down. Took note of that.
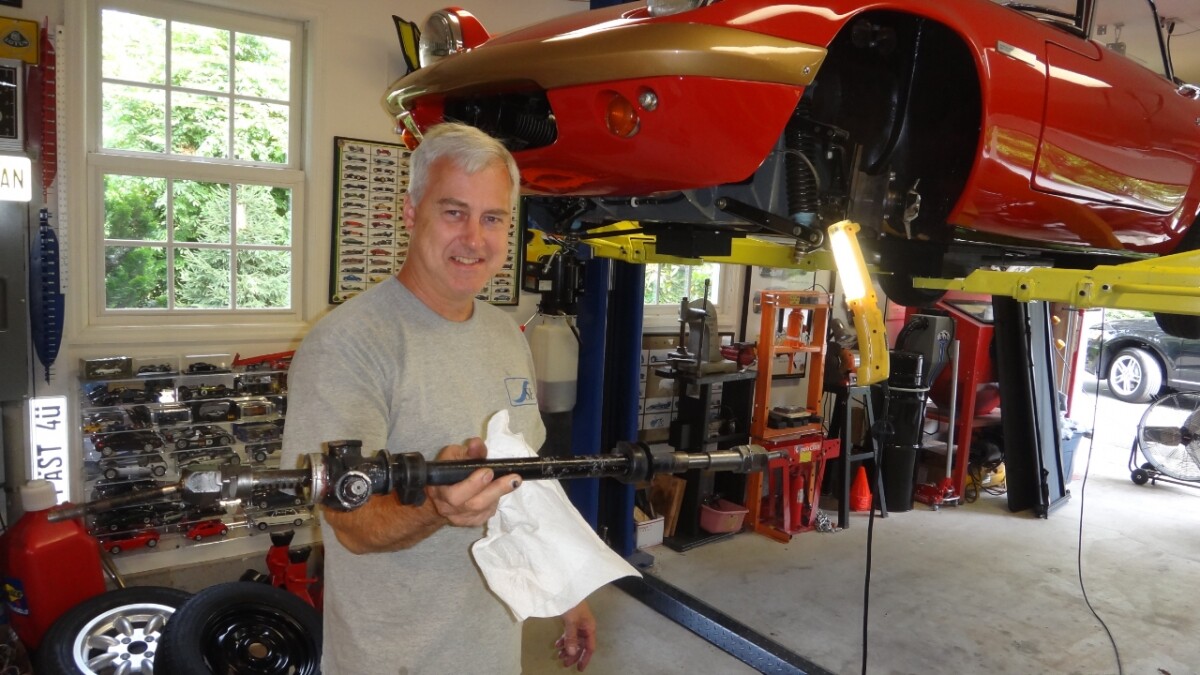
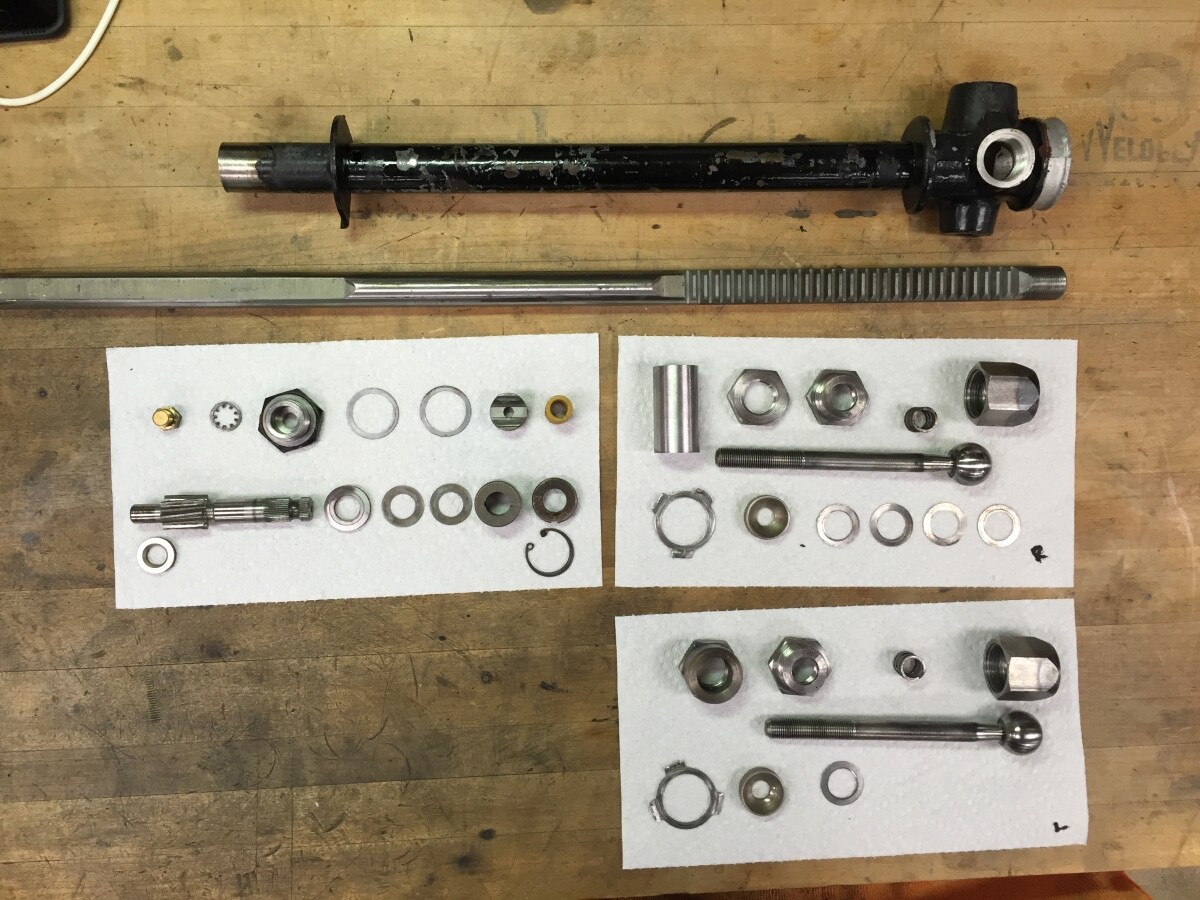
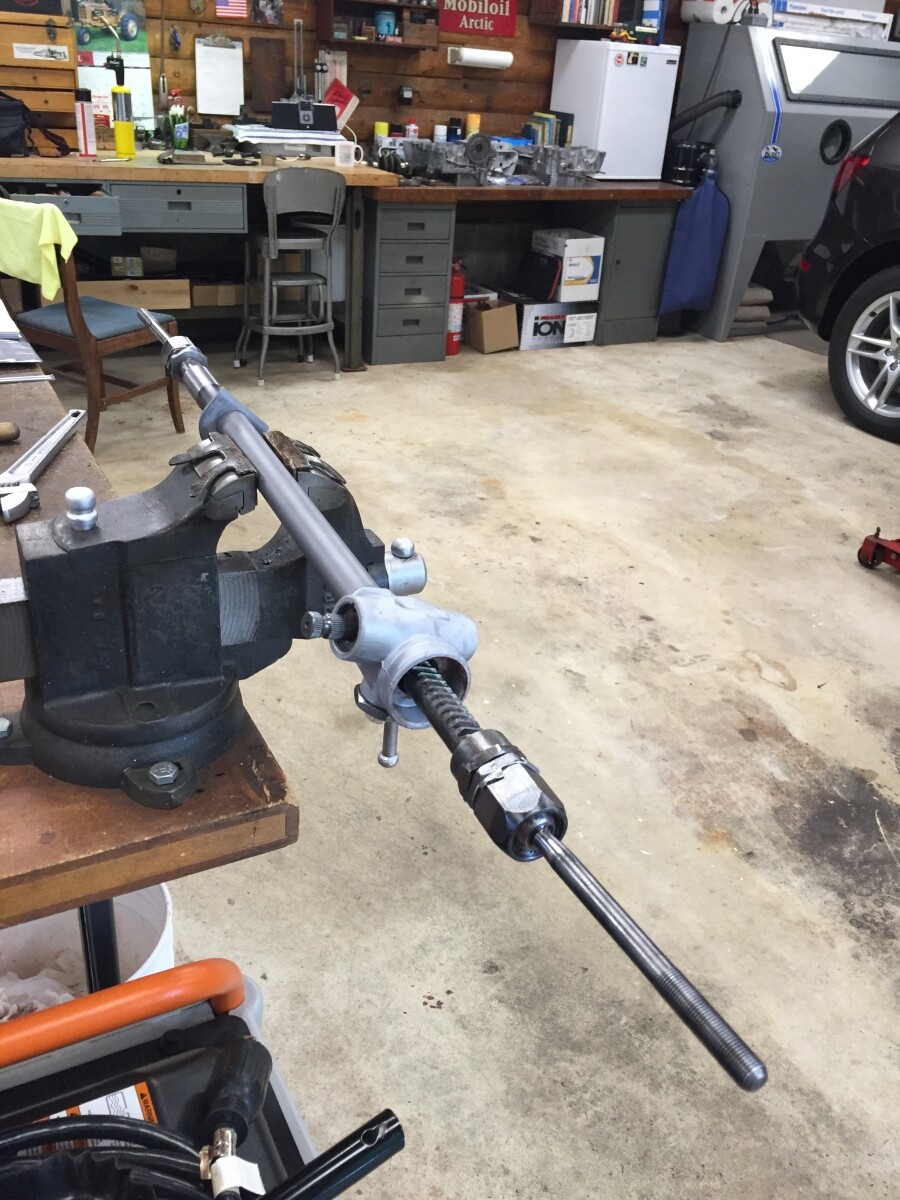
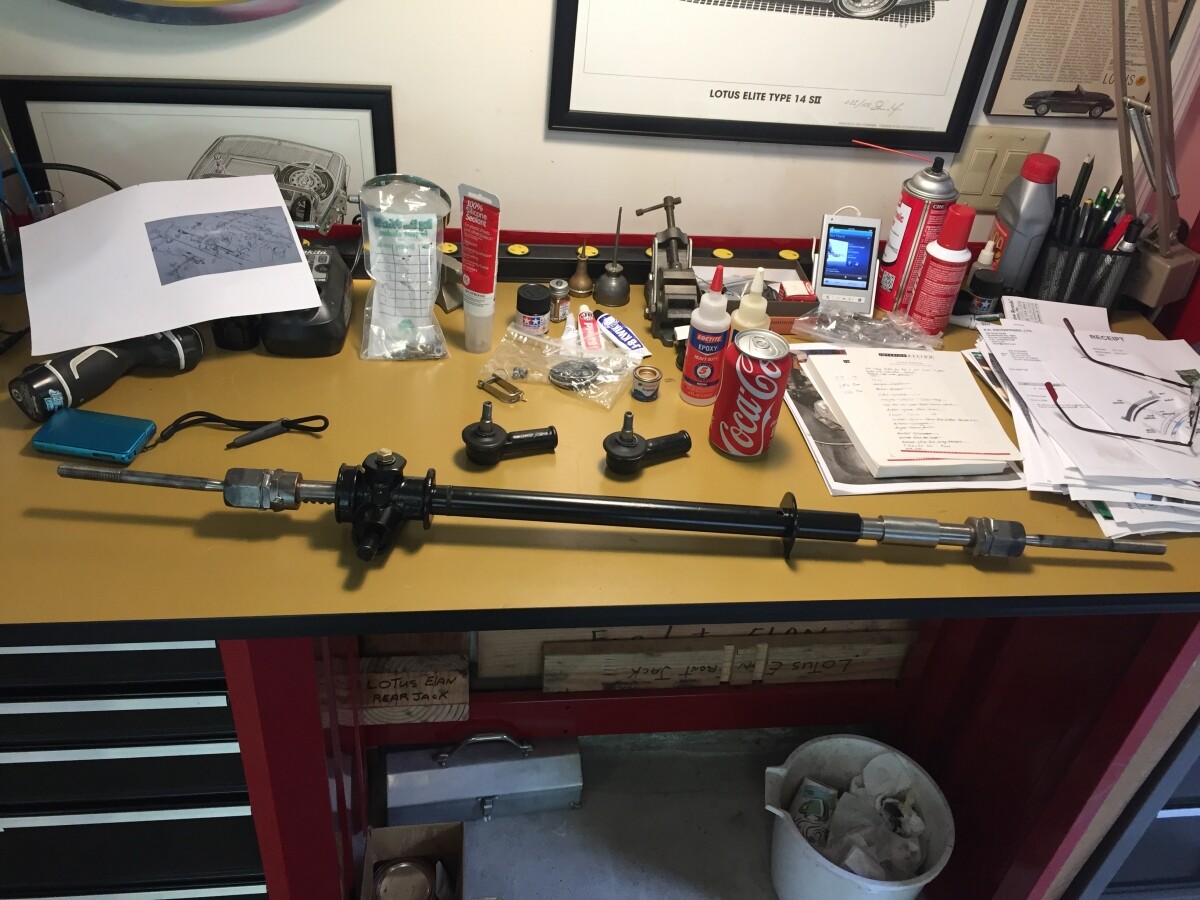
The rack was in very good condition. But it was evident that someone had taken this apart and not reassembled correctly. The preload was wrong and two washers were in the incorrect location. The pinion gear and rack looked almost new. Typical of the work that Drew and I do, we are going to replace bushings and a grease seal, media blast the rack tube and repaint it then reassemble correctly. More parts to order.
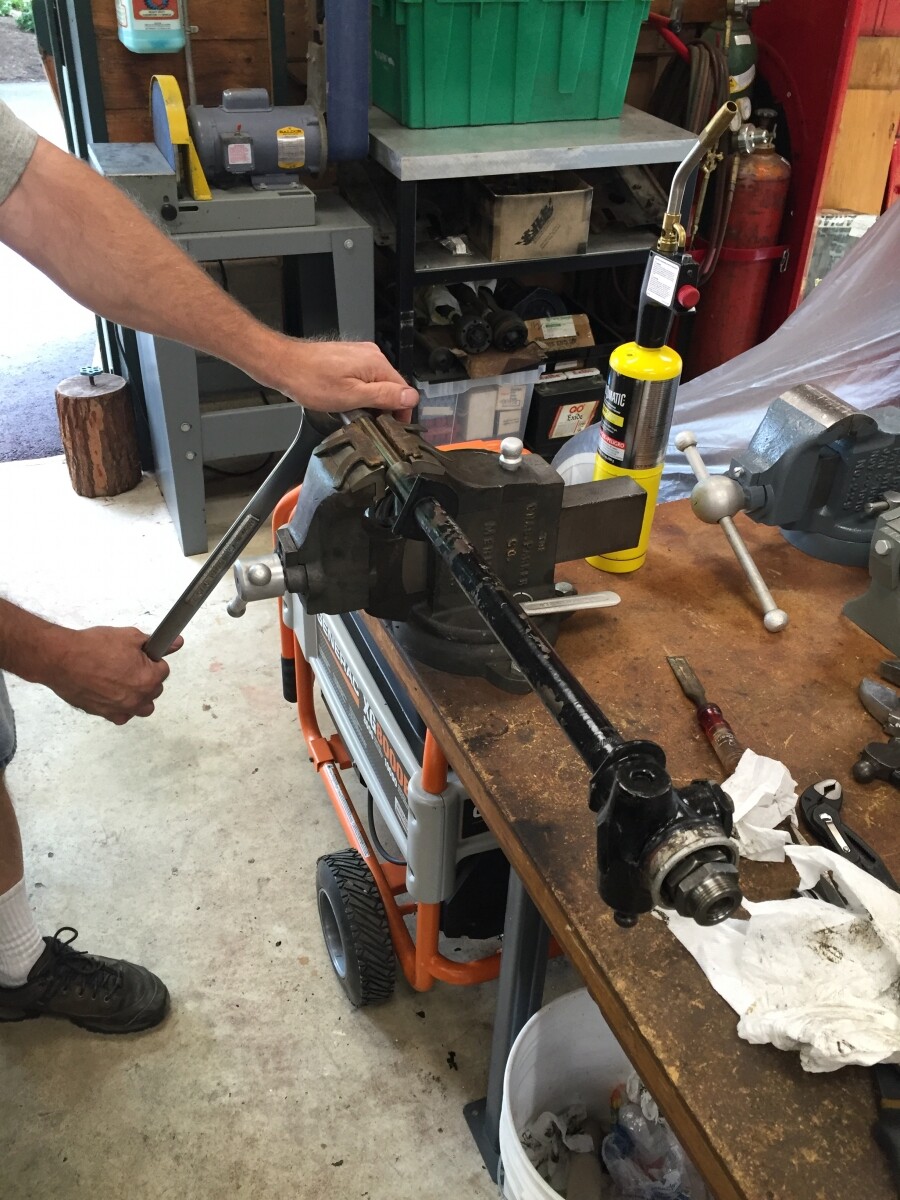
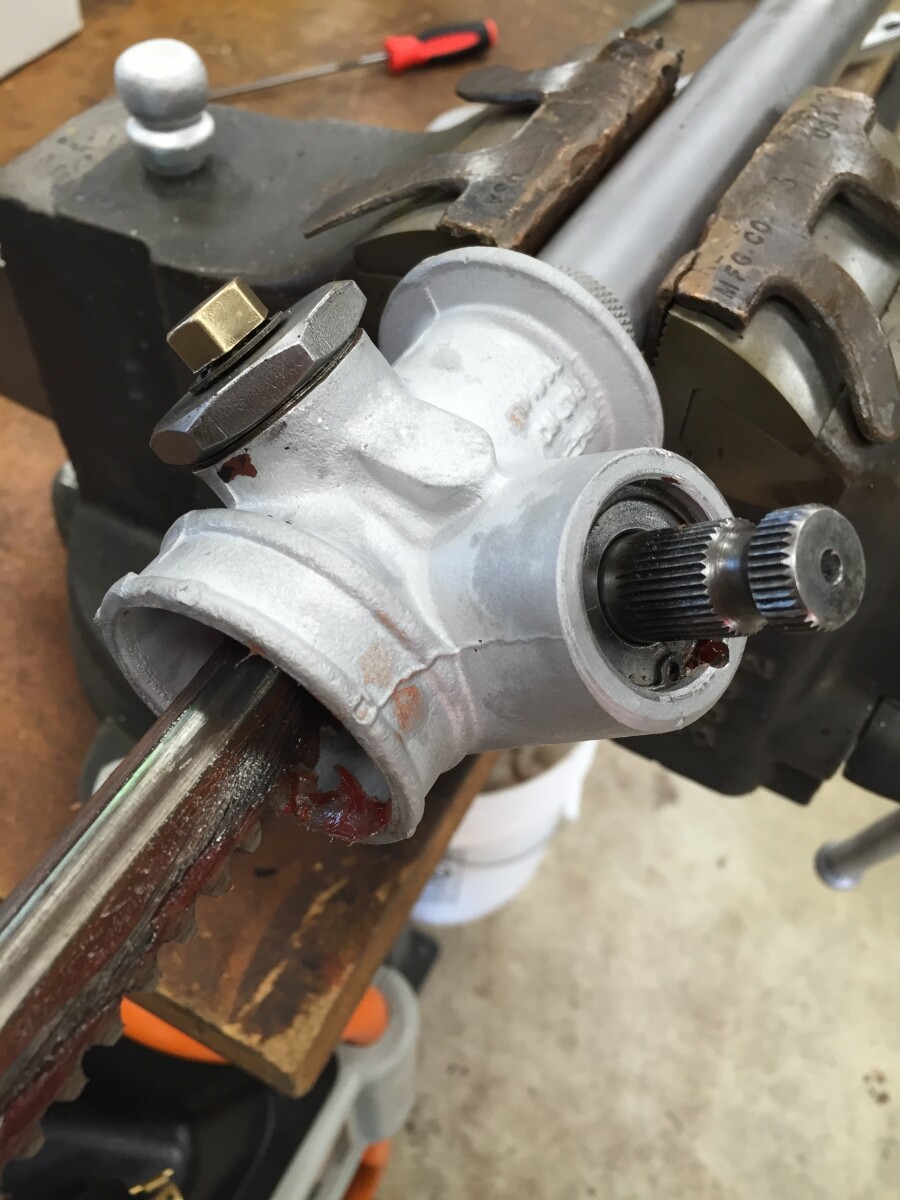
My parts to rebuild my steering rack arrived and after reading the shop manual a few more times, Drew and I proceeded to put it back together installing a new bushing, grease seal, washer and removing a few too many shims that were in the wrong places and several that were not needed. Someone before me had attempted to rebuild this steering rack and they assembled it incorrectly. As I mentioned in a previous post, the steering was not precise and it bothered me, so we took it apart to find out why.
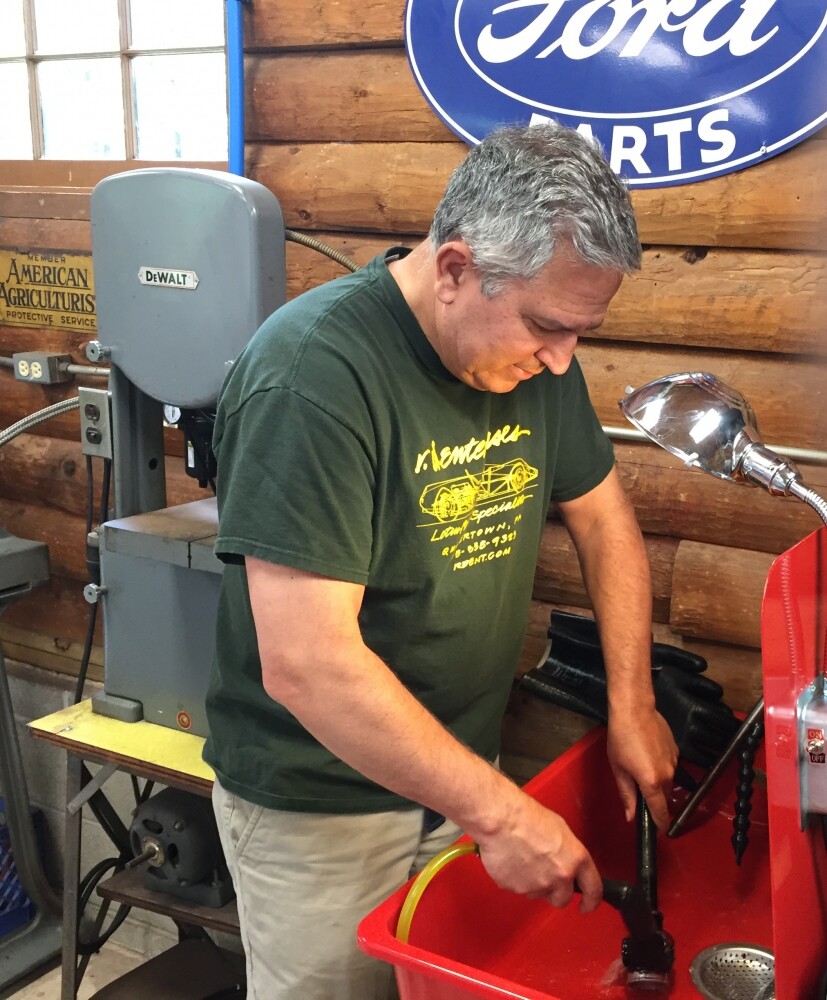
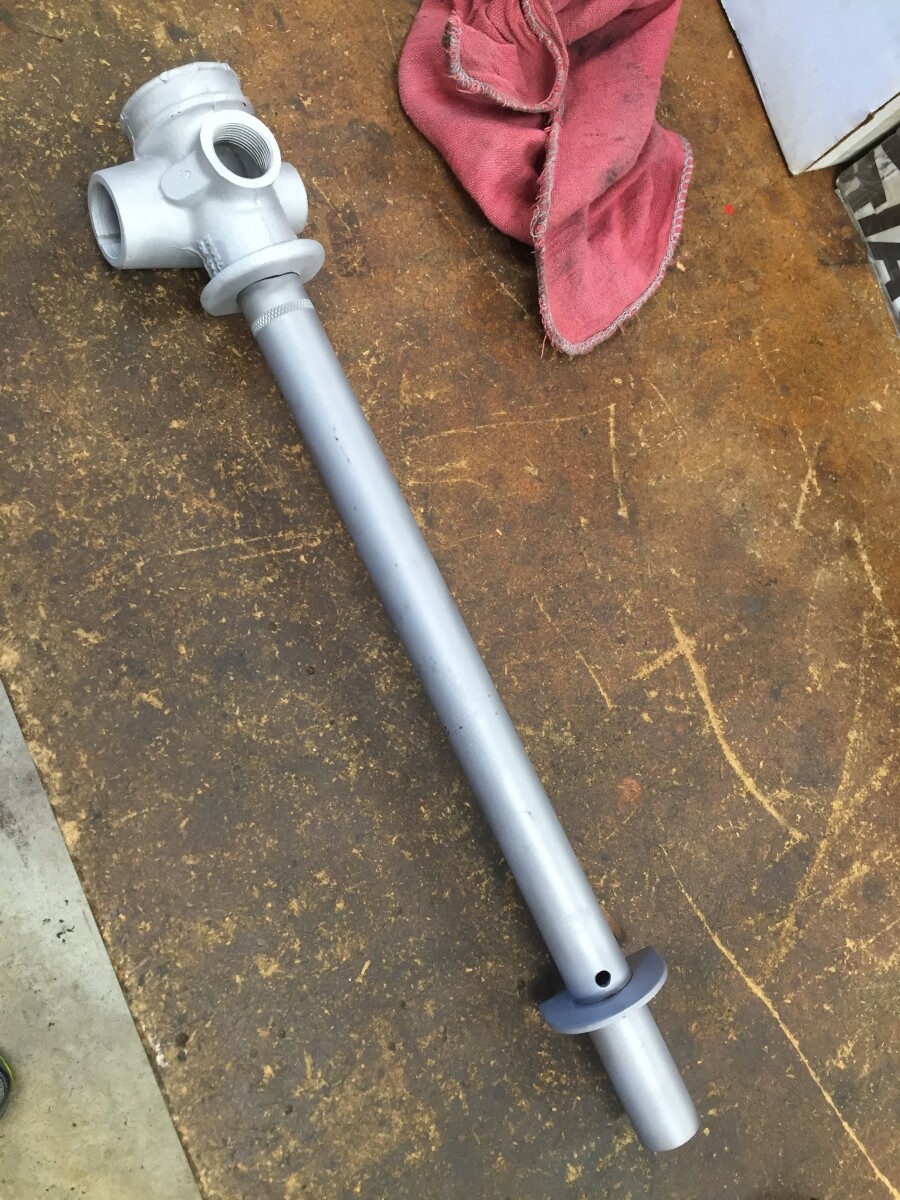
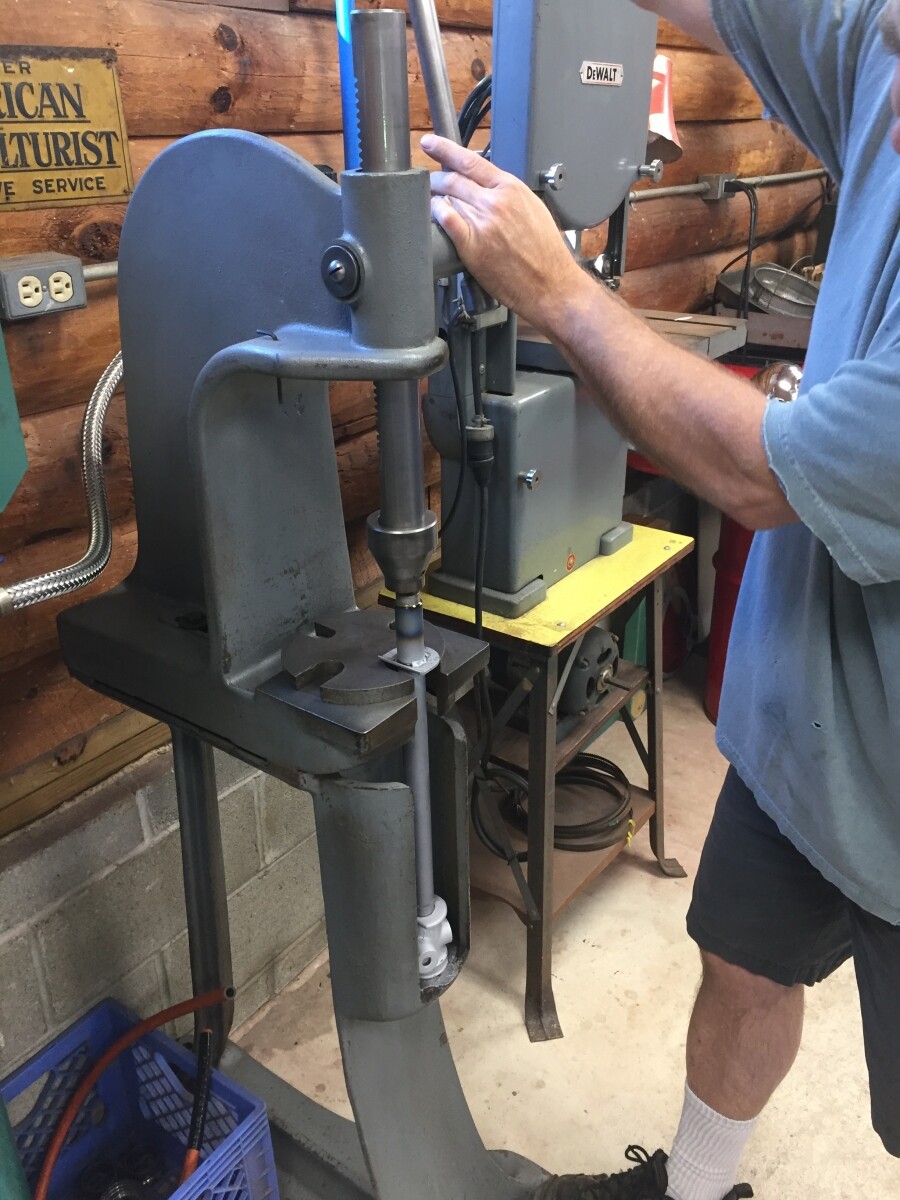
After we got the entire rack back together and in spec with the factory tolerances, we masked off the parts to be left unpainted and painted the rack black. After it dried we went back to my shop to install in the Elan.
Drew and I went for a drive. First I drove. Very carefully I must admit to ensure everything was secure and working well. Then Drew drove, and he thrashed the car though the gears and around the corners. A very invigorating drive I must say. Yup, we built it right ! We were both smiling…
After our test drive we checked the tow-in and noted it needed a small adjustment. Made a few notes for work to be done next week to finish everything. Minor detail stuff to be completed, but we are almost there. I think I’ll bring it to LOG36 with my S1. Anyone else coming with a pair of Elan’s
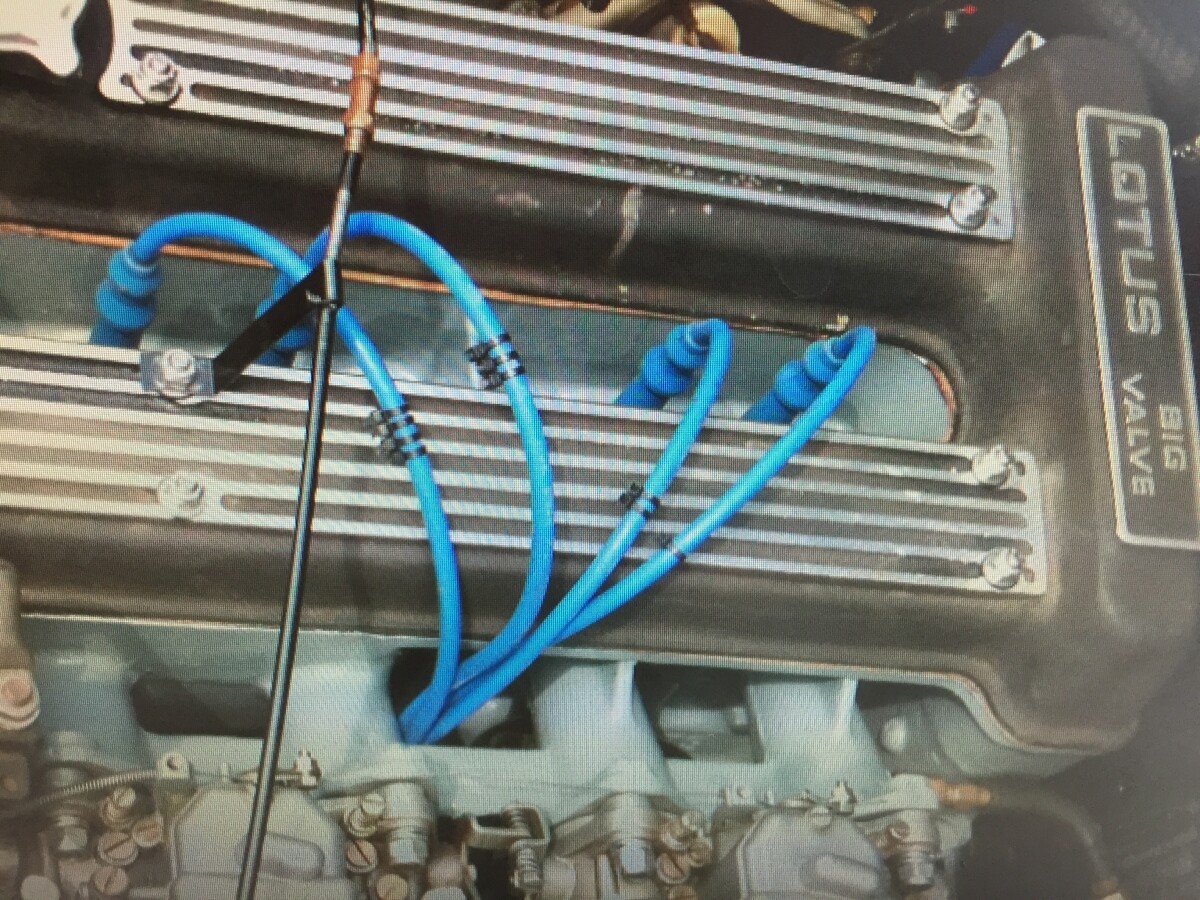
I have to say, I enjoyed reading this entire topic. One thing though, if you ever do an engine rebuild again something my father did was put a stripe of blue masking tape on each spark plug wire, corresponding to each cylinder. i.e. 1 stripe for cyl 1, 2 stripes for cyl 2, etc. You probably either A. already do something like this or B. the leads come with markings already on them, but I just wanted to share something that might help you in the future .
My list to complete the S4 is getting shorter, but as usual something comes up that creates an addition. More on that in a bit.
The horn didn’t always work consistently. Drew rebuilt the horn cap and we traced a few wires just to confirm everything. Horn now works everytime you push the button.
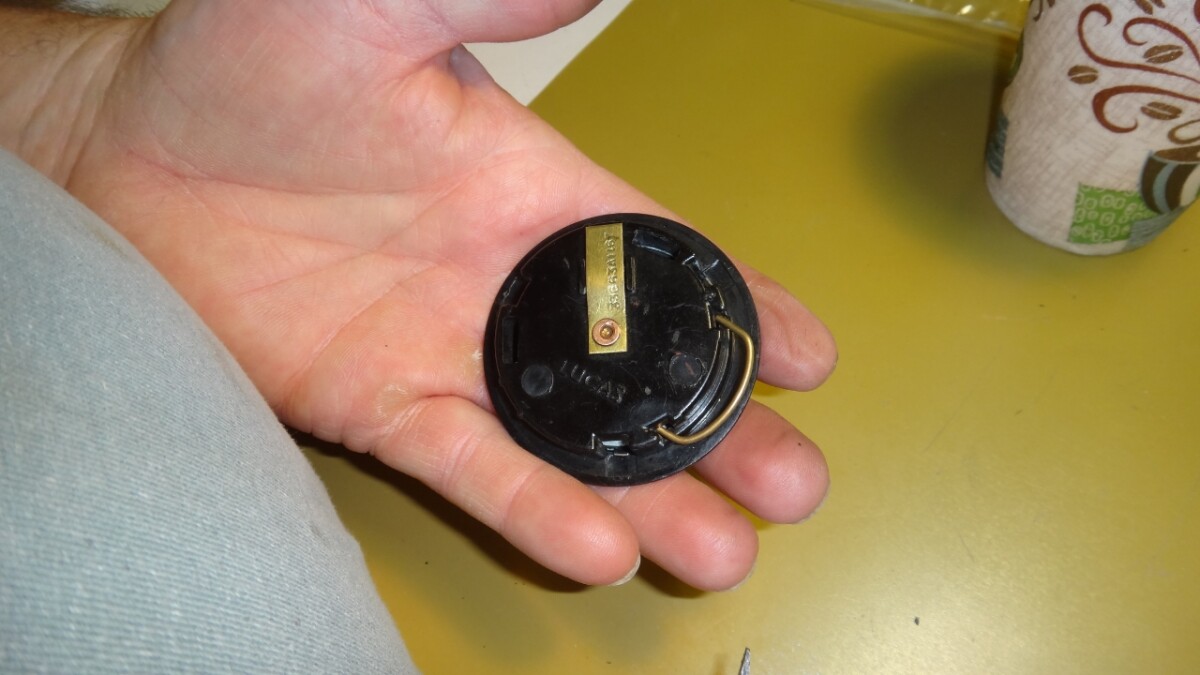
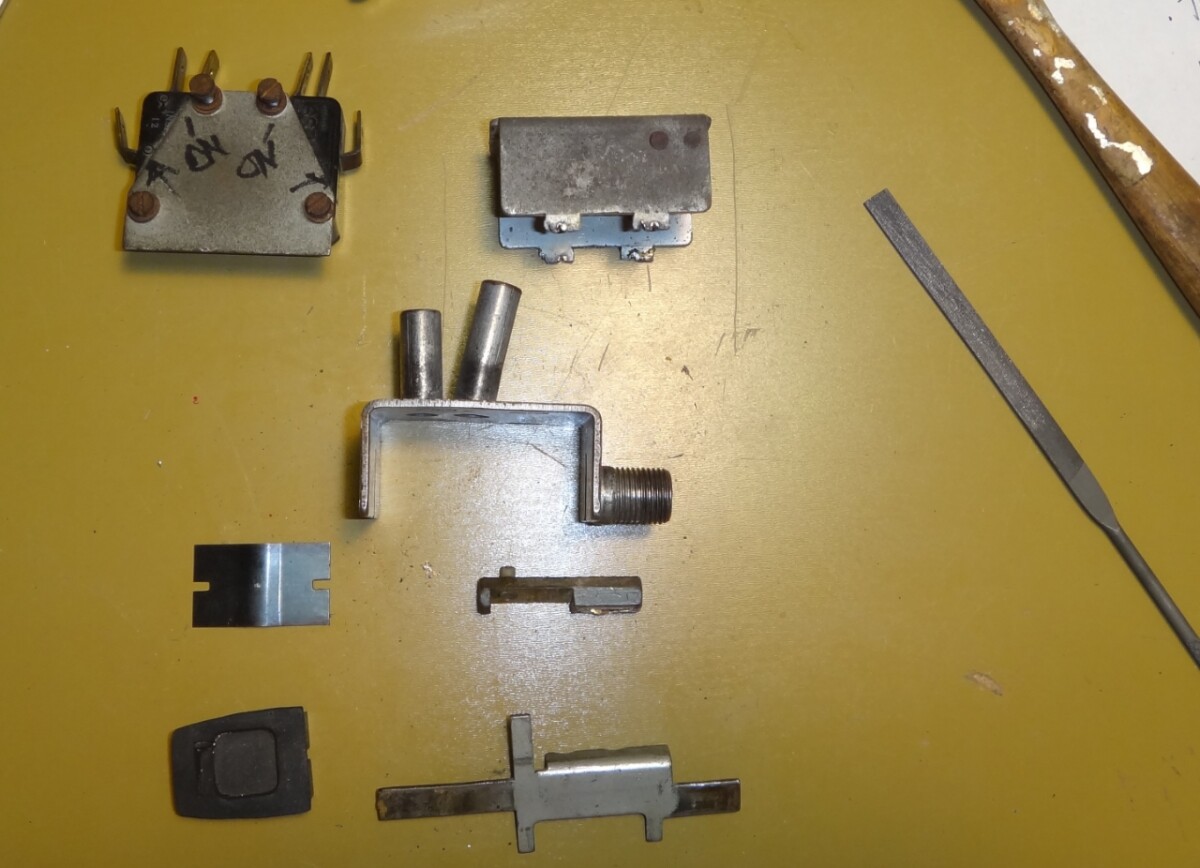
I knew I had a vacuum leak somewhere as the head lights wouldn’t stay down (after the car was shut off) for longer than 5 minutes. I used a stethoscope to identify the leak, or so I thought. At first I thought it was the vacuum canister itself. I had a new one (which was meant for my S1) so we installed it. Nope, that was not the problem. So Drew and I un-installed it and reinstalled the original. That meant the switch itself was the culprit (I knew it wasn’t the chassis reservoir).
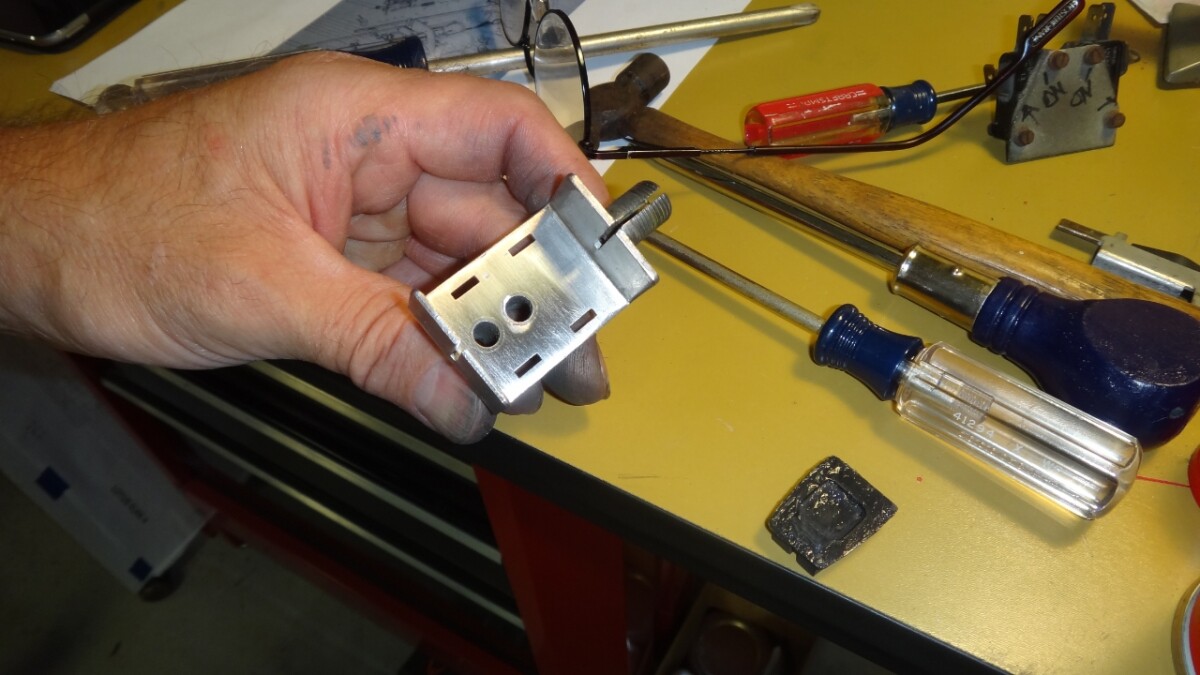
I had read the head light vacuum switch was repairable and it seemed simple enough. I had a beat-up spare in the box of parts that came with this car so Drew & I took it apart and methodically cleaned and straightened everything out to confirm a good seal. It actually an ingenious design but not the easiest to disassemble and keep the parts intact.
Once we confirmed that we could disassembled and reassemble the vacuum switch successfully and it worked, we took the original one out of the car, took it apart, repaired it and re-assembled it and installed. Twelve hours later it was still holding vacuum. Success! (Drew is starting up a headlight vacuum switch repair business, send him your non-functioning and leaking switches).
I installed the chrome “beauty rings” on the steel wheels, painted and installed the front wire grille inside the cowl and then took out the musty, dirty soft top to clean and install.
Drew and I spent about an hour cleaning the soft top and were proud of the work we had done. When it came time to install the top, the front leading edge had a bunch of snaps that we had no idea how they attached. Completely stumped and after a couple of responses to another post I made about S4 soft tops it was determined that this top is clearly non-standard and completely unusable. Gotta wonder how it ended up this way?
Off came the top. Luckily I have a brand new tonneau cover that needs to be fitted with the snap attachments. Will work on that next time.
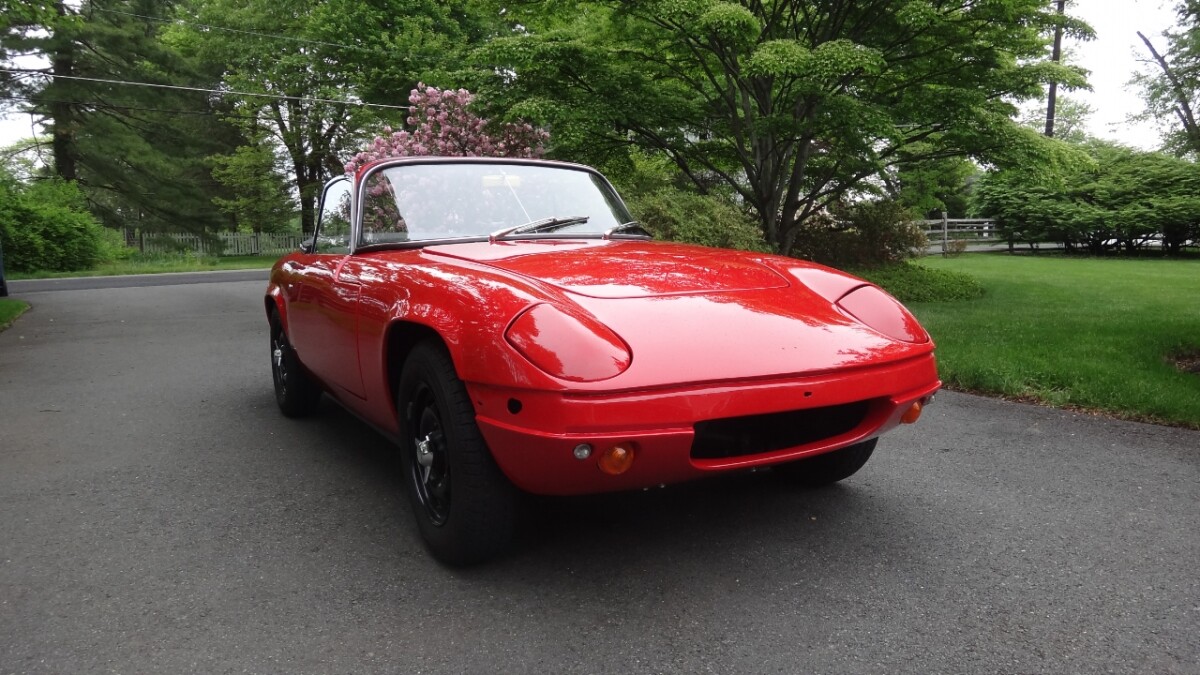
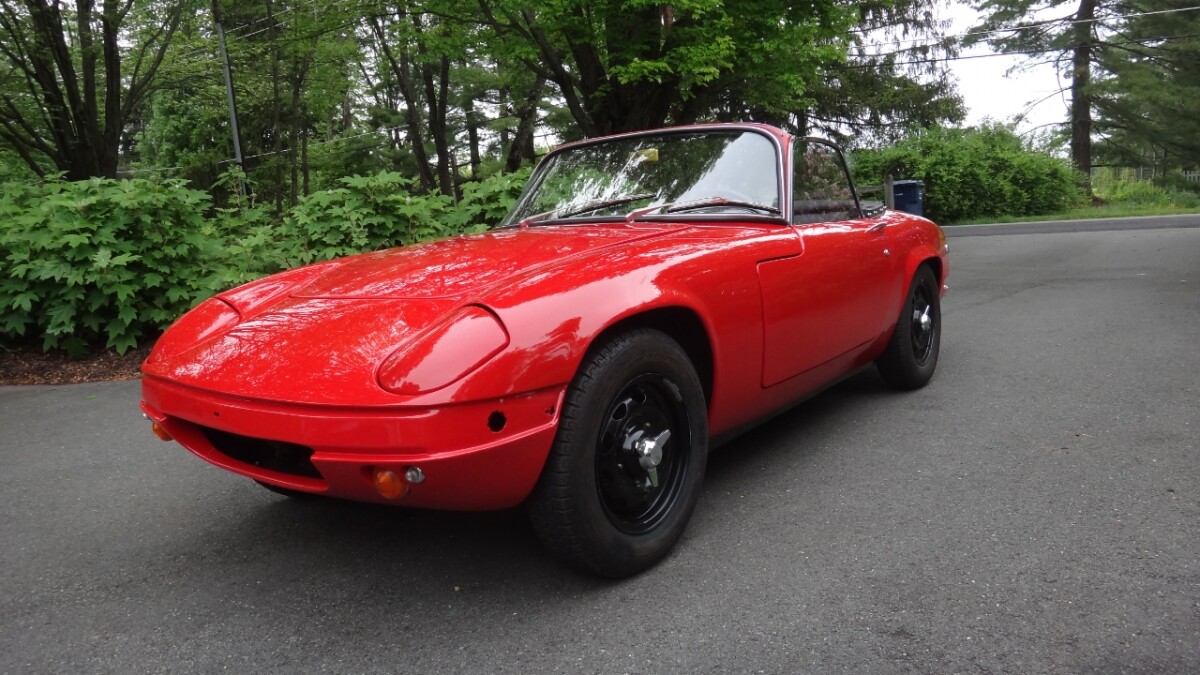
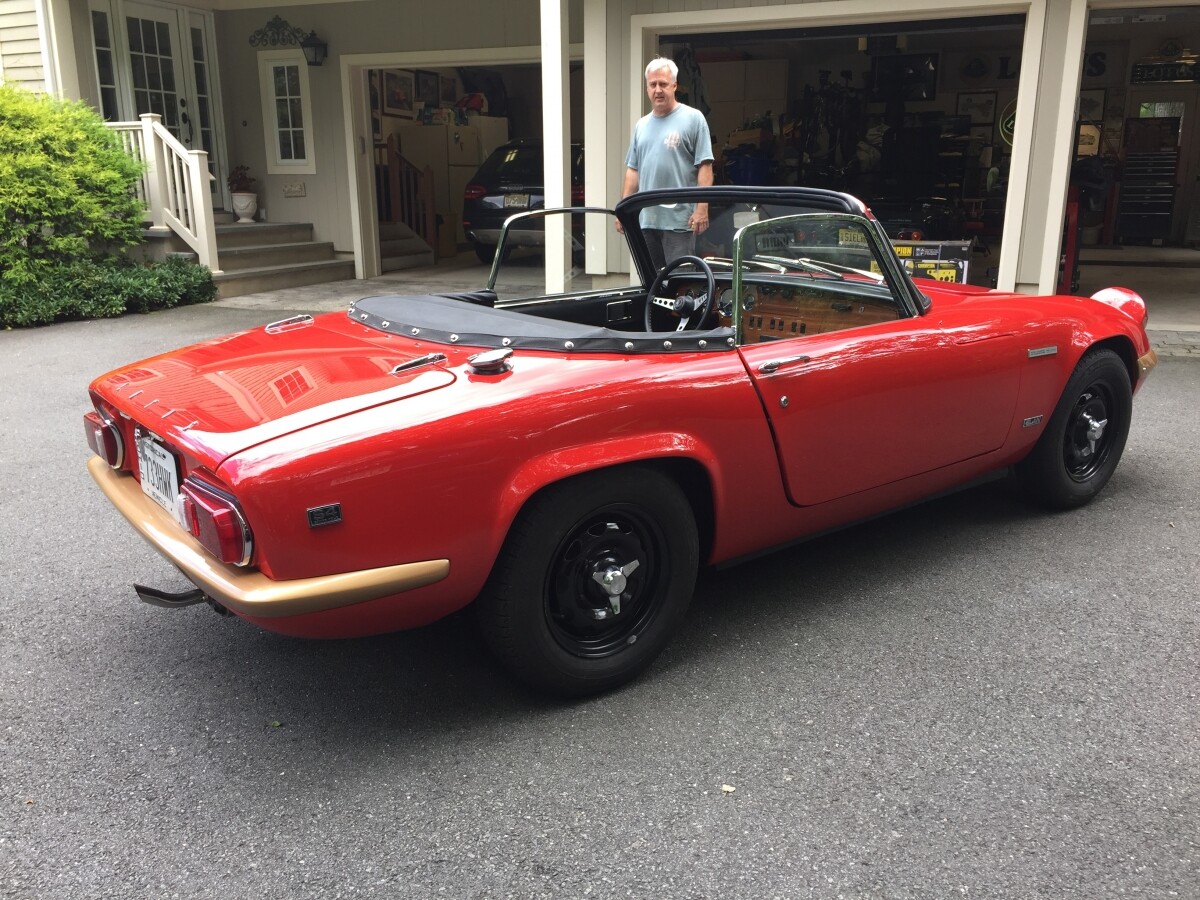
Well, the S4 is virtually finished and ready for its first public appearance at LOG36 in a couple of weeks. Its been a great project and it turned out to be a really nice car.
It’s been great reading about all the work that you guys have done. You made it through quite a few challenges, and your attention to detail is impressive. Thanks for sharing all the pics and descriptions.
And look at the end result - what a well sorted, beautiful car - well done!
Thank you Rich. Hopefully we have motivated a few people to move their restoration projects along. Great to have these wonderful sports cars back on the road!