Rebuild of high mileage engine as 1700cc

My Plus 2 engine has done at least 70,000 miles since it last rebuild in the early 80’s before i bought the car. The car suffered a major engine failure and was rebuilt with a new block in the 70’s and some more work was done in the early 80’s. I have never had the head off since I bought the car in the mid 80’s. I did a water pump replacement in the late 80’s without removing the head ! I will never do that again, but it was successful and the engine did another 50,000 miles until now.

I have had the Plus 2 off the road for a few years since an engine bay fire due to a failed clutch line and I finally have begun getting it back on the road. While the engine was good when it came out I decide to rebuild it as a 1700cc with a ported head that I have and high lift cams. Aiming for strong torque and 160Hp at 6500 rpm.

I have most of the parts needed except for the low compression height pistons including a good 1600cc stroke crank. But I may try a MaxSpeeding 1600cc crank to give me a bit more rpm headroom.

I will document the build in this thread for people interested in this sort of build. More to come

cheers
Rohan

6 Likes

Rohan, on the basis of an earlier post of yours, I am having my engine rebuilt with Maxpeeding rods, which seem to be highly recommended. I hope all goes well with your crankshaft.

Just as a FWIW, (I had to check it a few times) there is no middle ‘S’ in Maxpeeding. I guess it got mangled in translation.

Yes I have a set of Maxpeeding rods ( no S) as well as a Carrillo set at about 3 times the cost. In the long stoke engine using a 1500 block light rods and pistons are important. The Carrillo’s are a little lighter so i may use those but they really need to be saved for a full race engine not a road 1700cc :).

A guy I know in Germany who I have been discussing engine builds with recently posted details of the crank he got and measured up so may go down that path which looks good

cheers
Rohan

Engine on the stand and head and sump removed. It looks pretty good for the miles it has done with no major issues. The block is 83.5mm bore already which I was not expecting. I will need to check the wall thickness of the bores to ensure they left enough wall thickness.

A few photos and comments

Engine going onto the stand

Engine head code HV14. This is a 73 head I believe which is not consistent with the 72 year of the car. Maybe when the engine blew up it got a new head as well as block.

wrong plug in block this is a BSP plug. You can tell by how much it sticks out

cam cover off and cam caps coming off. Very clean in here despite the mileage which shows the benefit of regular oil changes with full synthetic oil

Some wear on the followers. Again not to bad given the mileage. I will measure them up in detail later

Standard big valve head, maybe a little porting I will measure it up in detail once the valves are out. Lots of carbon build up which is to be expected. Face looks OK and no significant water passage corrosion

Drain tube cut short. I was clearly fitted after the head was :slight_smile:

Block face looks good, again no significant water passage corrosion

Head gasket was the original copper steel and some sort of sealant coating had been applied.

Bores still showing the honing marks with a little polish and vertical scratches on the thrust face. The honing is not particularly well done with differences in hone depth between the bores and the cross hatching is to horizontal. Hopefully I can just do a fresh hone to fit new 83.5 mm pistons. More detailed measuring once its all apart


Sump off and it looks clean also. I had forgotten it had a welded in baffle arrangement.

Crank to come out next

more to come
cheers
Rohan

2 Likes

Looks very clean given the miles and time.

Looking forward to following the thread.

Will

This promises to be a very educational thread. Thanks for sharing the details.

I recently replaced the head-to-block drain without removing the head or cutting the drain. It took some doing, I admit. Hot water and a pair of long nose vise grips.

Another couple of hours removing the pistons and front chain cover and rear seal carrier. A total of about 10 hours so far but photography and examination has taken about 2 to 3 hours.

Photos and comments below

Big end caps off Some wear on the journals as expected but no major damage

Big end bearings evenly worn down to the copper. This is definitely a high mileage but well maintained engine

One of the big end bearings was missing the correct upper bearing shell with the hole to the piston squirter in the rod. The other 3 were correct

All the big end bearings showed signs on their back of moving in the rods. Maybe just long use or maybe wear or maybe insufficient clamping in the big end. Detailed measurement will tell when I do it,

Checked how well centred the rear main seal was given that it had no leaks despite the mileage. It was within +/- 0,05 mm so well centred which is critical.

Front pulley did not want to come off easily. So set up a bearing splitter and hydraulic puller to avoid damaging the fragile thin rear lip on the pulley.

Front cover I fitted was an ex-race cover modified for a locally made removable cartridge using the larger later Kent water pump pulley and seal. You can see where a mechanical tacho was fitted to the of the jack shaft and the cover I made to close up the opening

Checked the front cover seal alignment to the crank with my alignment tool and it was still good which is why it was not leaking.

Back of front cover clean with no sludge and pump still good ( but I will replace). The recycle hole to recycle from pump suction to discharged was blocked with deposits which I need to investigate why as no cooling deposits elsewhere.

Chain guide has little wear but certainly reusable and better than the new guides that the rubber fails quickly on

Cam and jack shaft sprockets were good but crank sprocket showed wear as expected given the miles

Jackshaft journals and bearings in good condition

Will get the crankshaft out tomorrow and look at the main bearings and journals..

cheers
Rohan

2 Likes

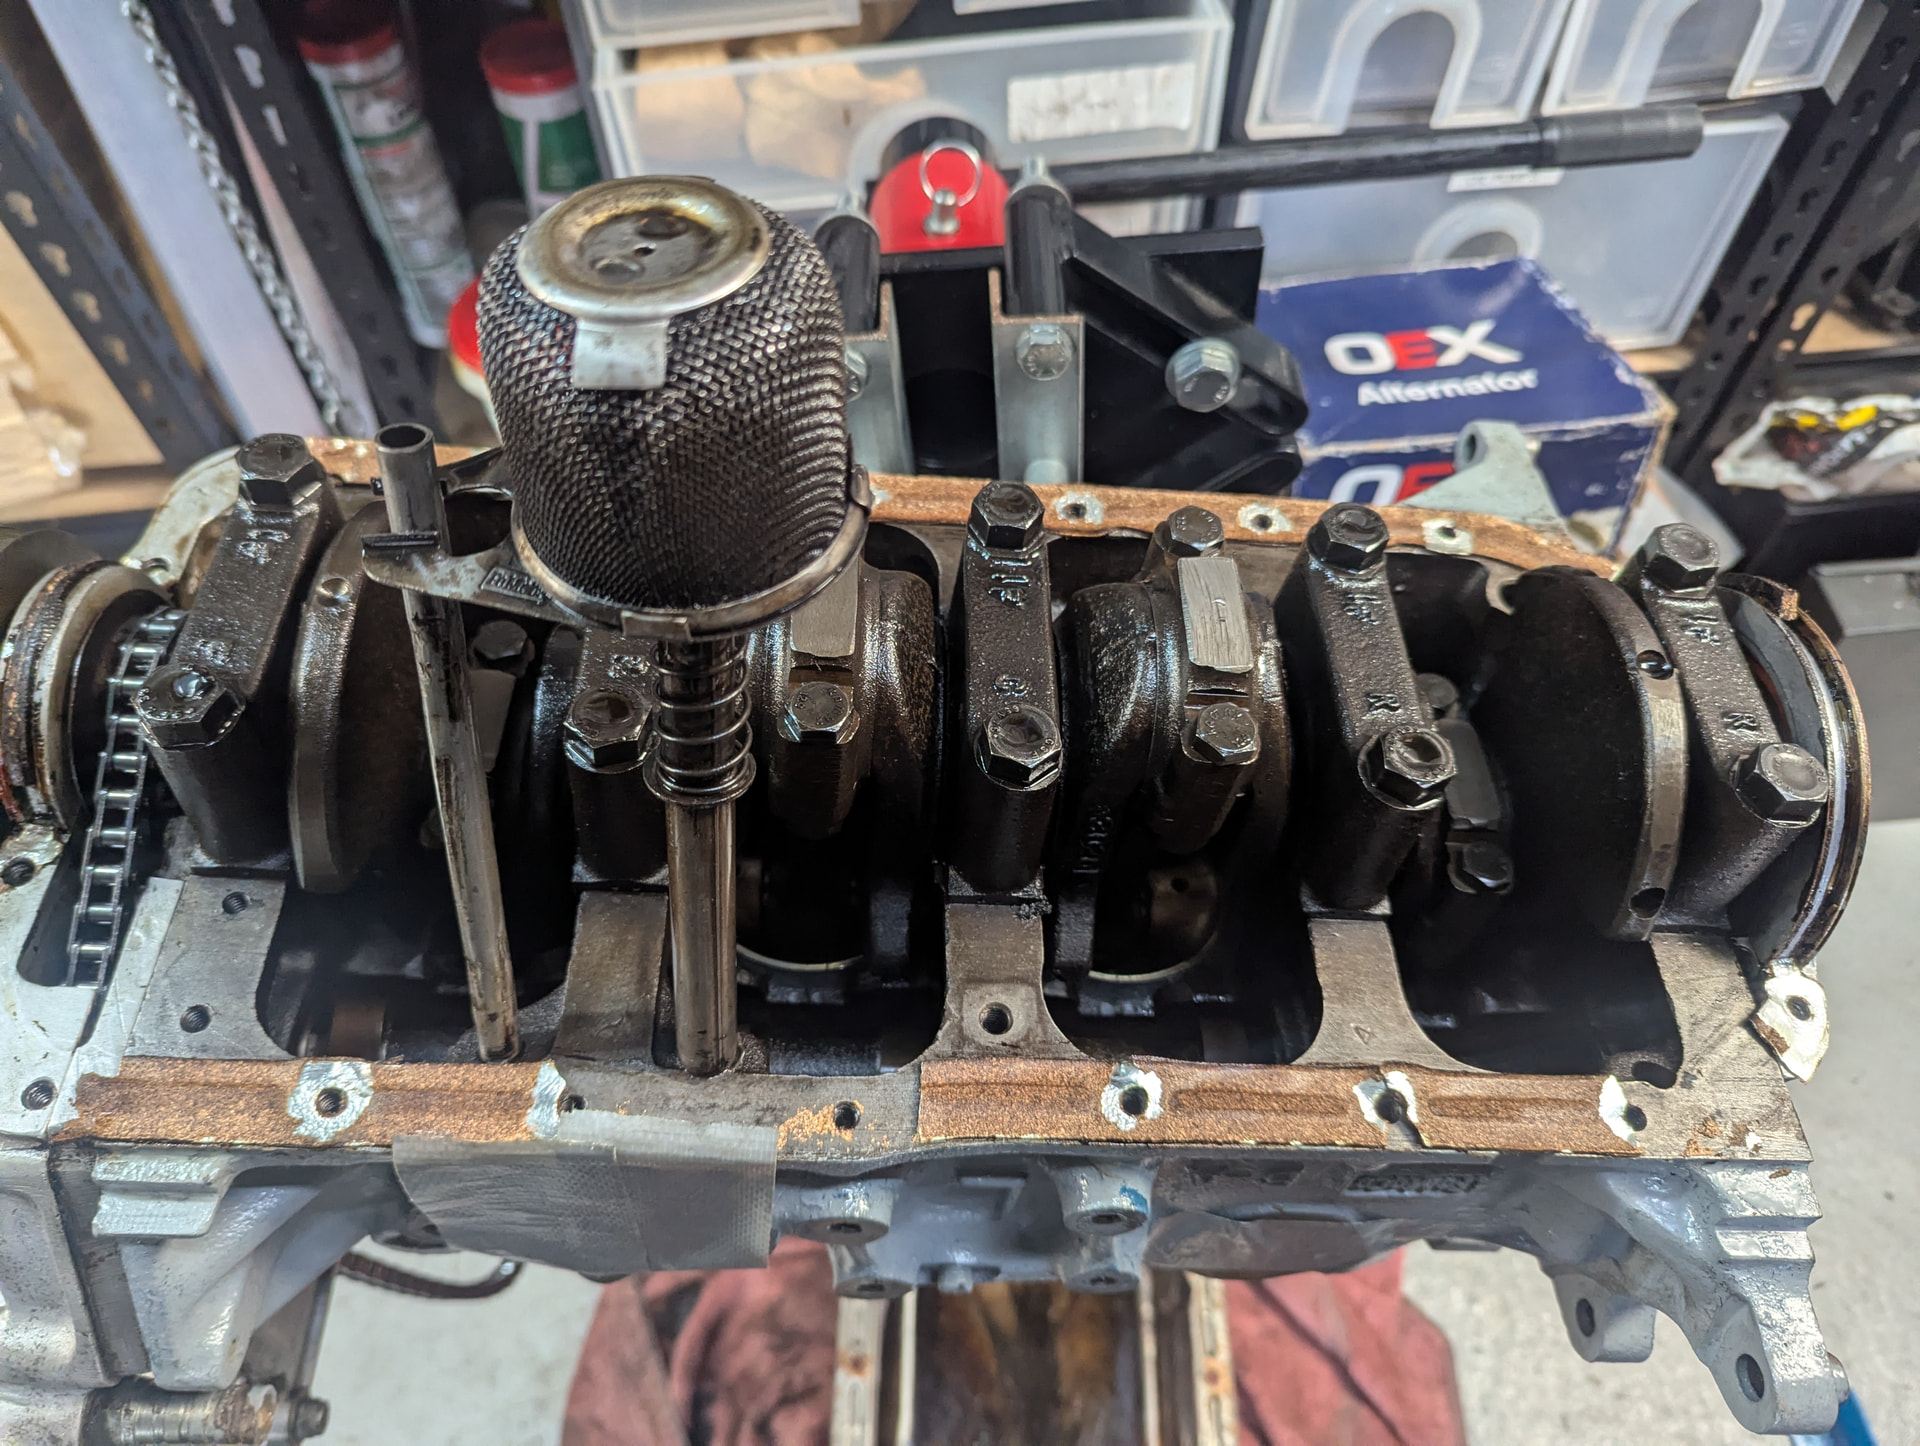
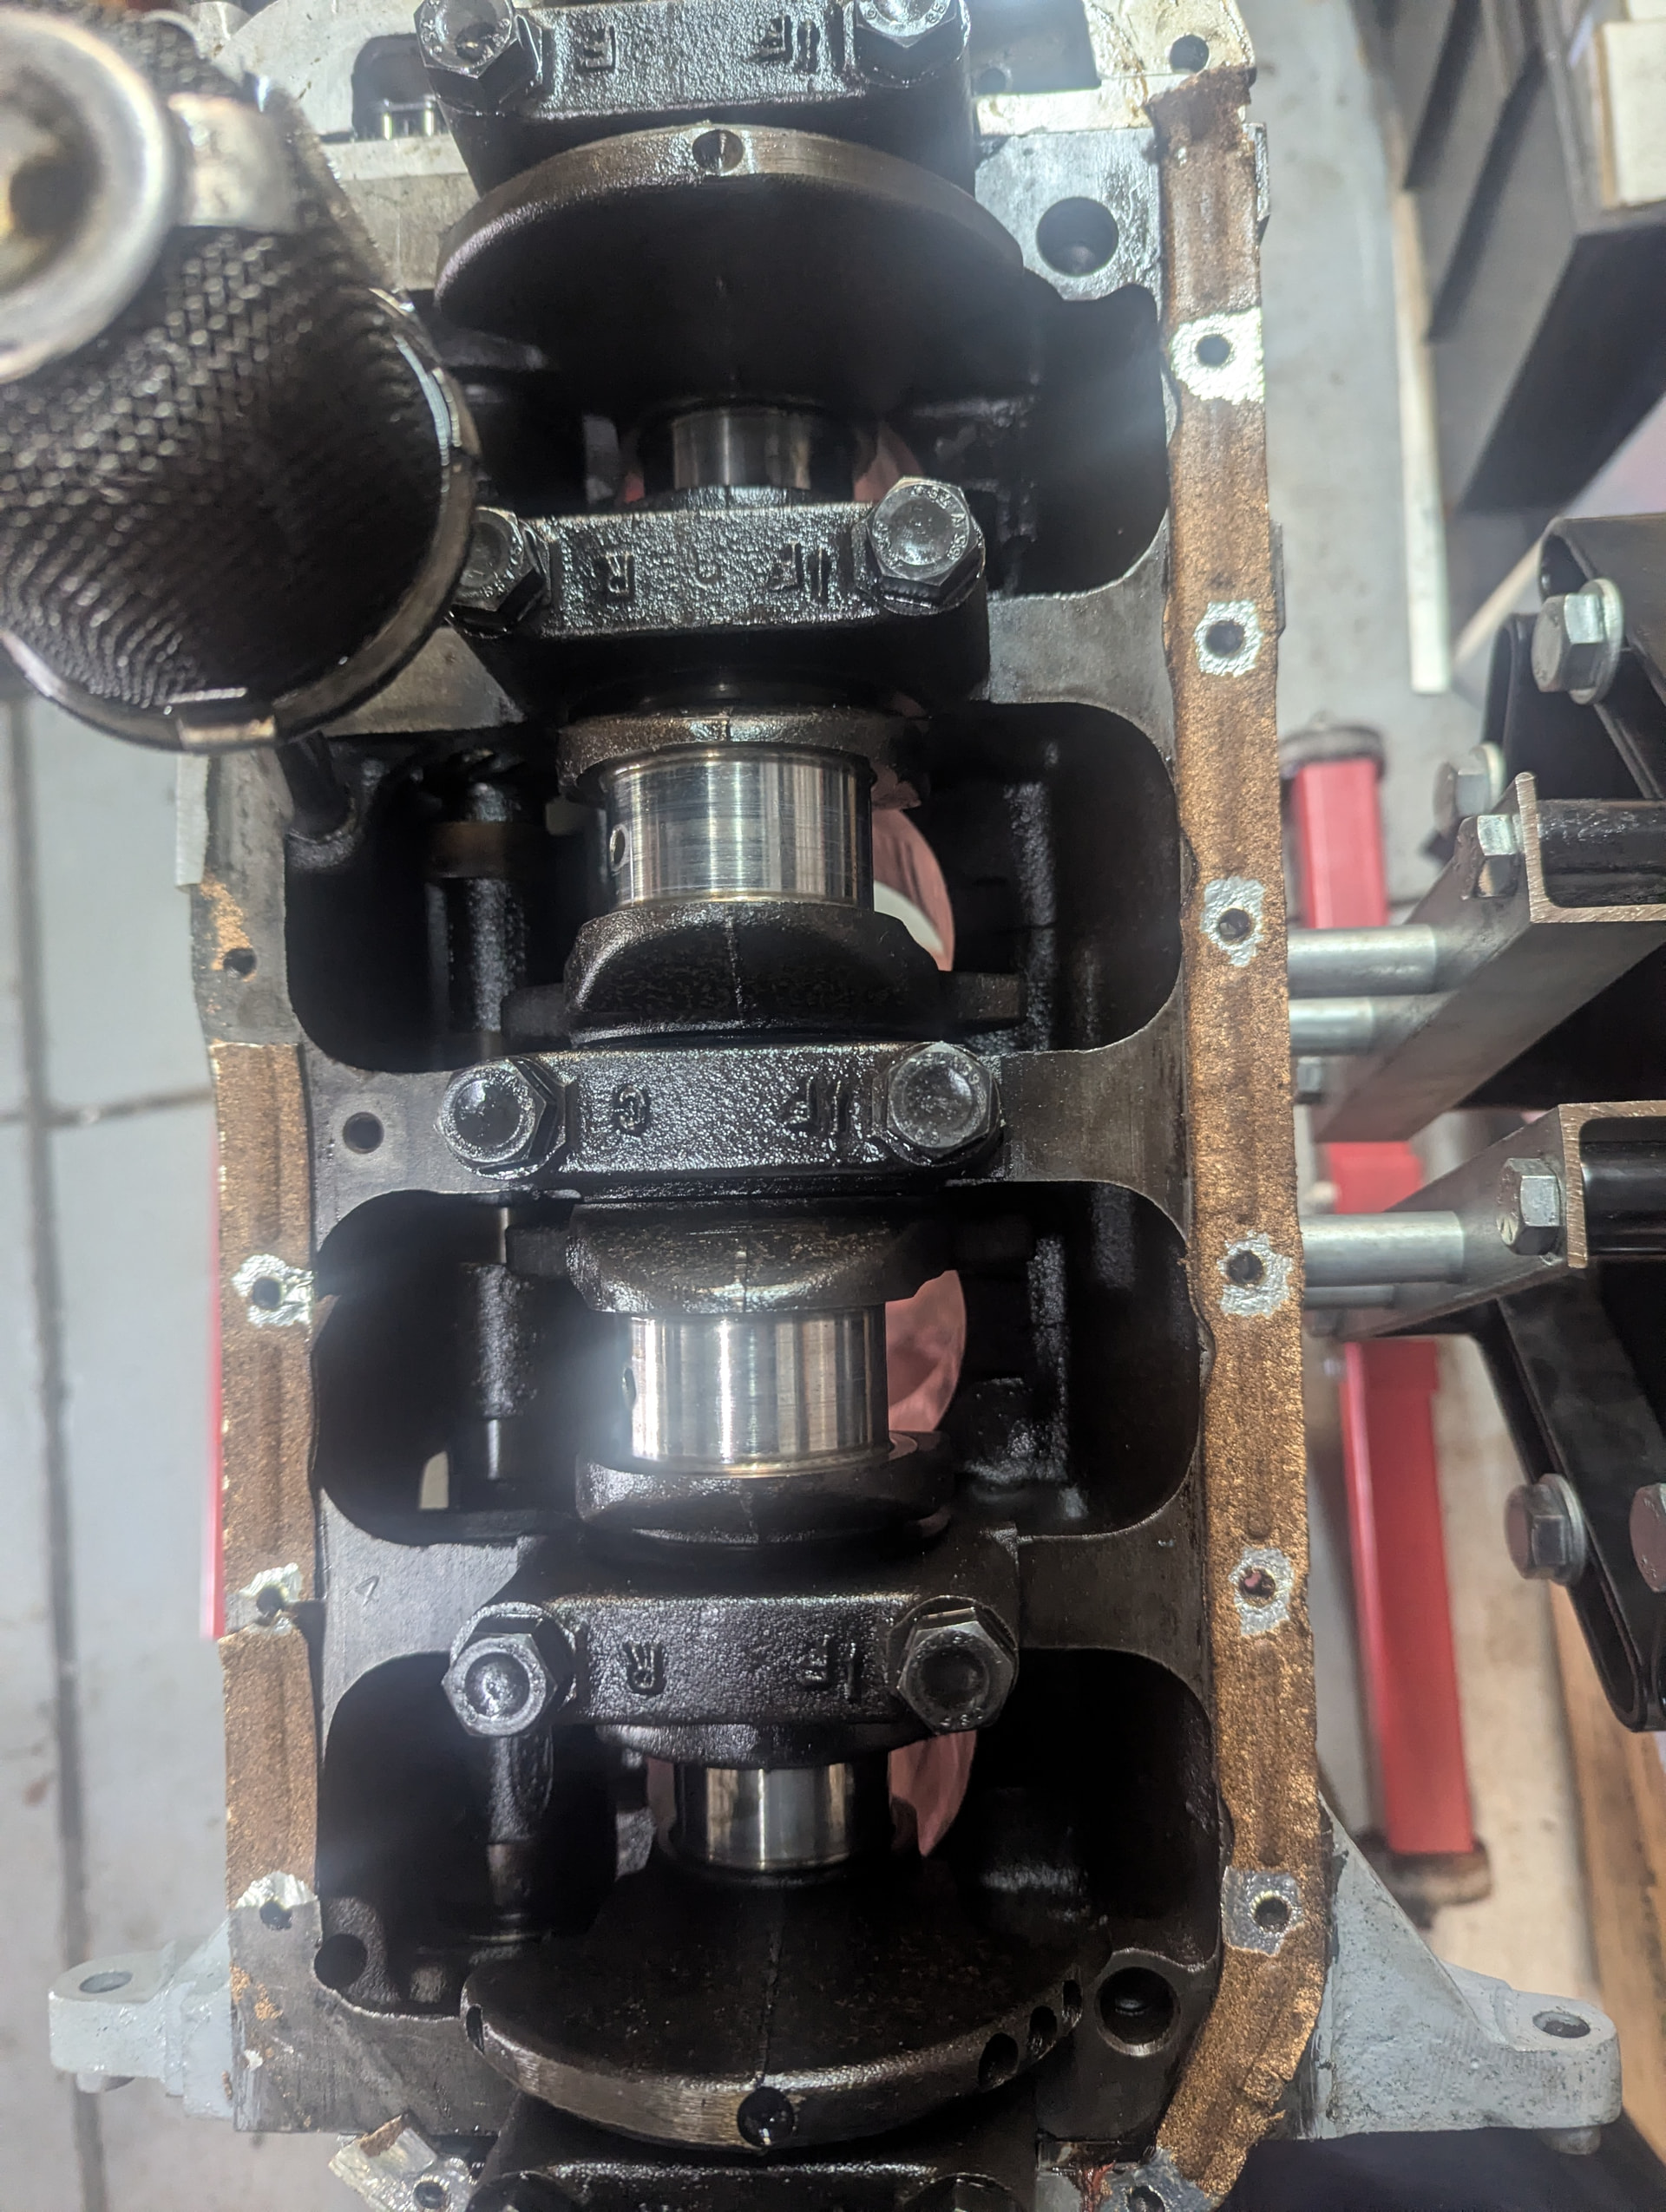
Pulled the crank out of the block and did some initial measuring of the block

Photos and comments below

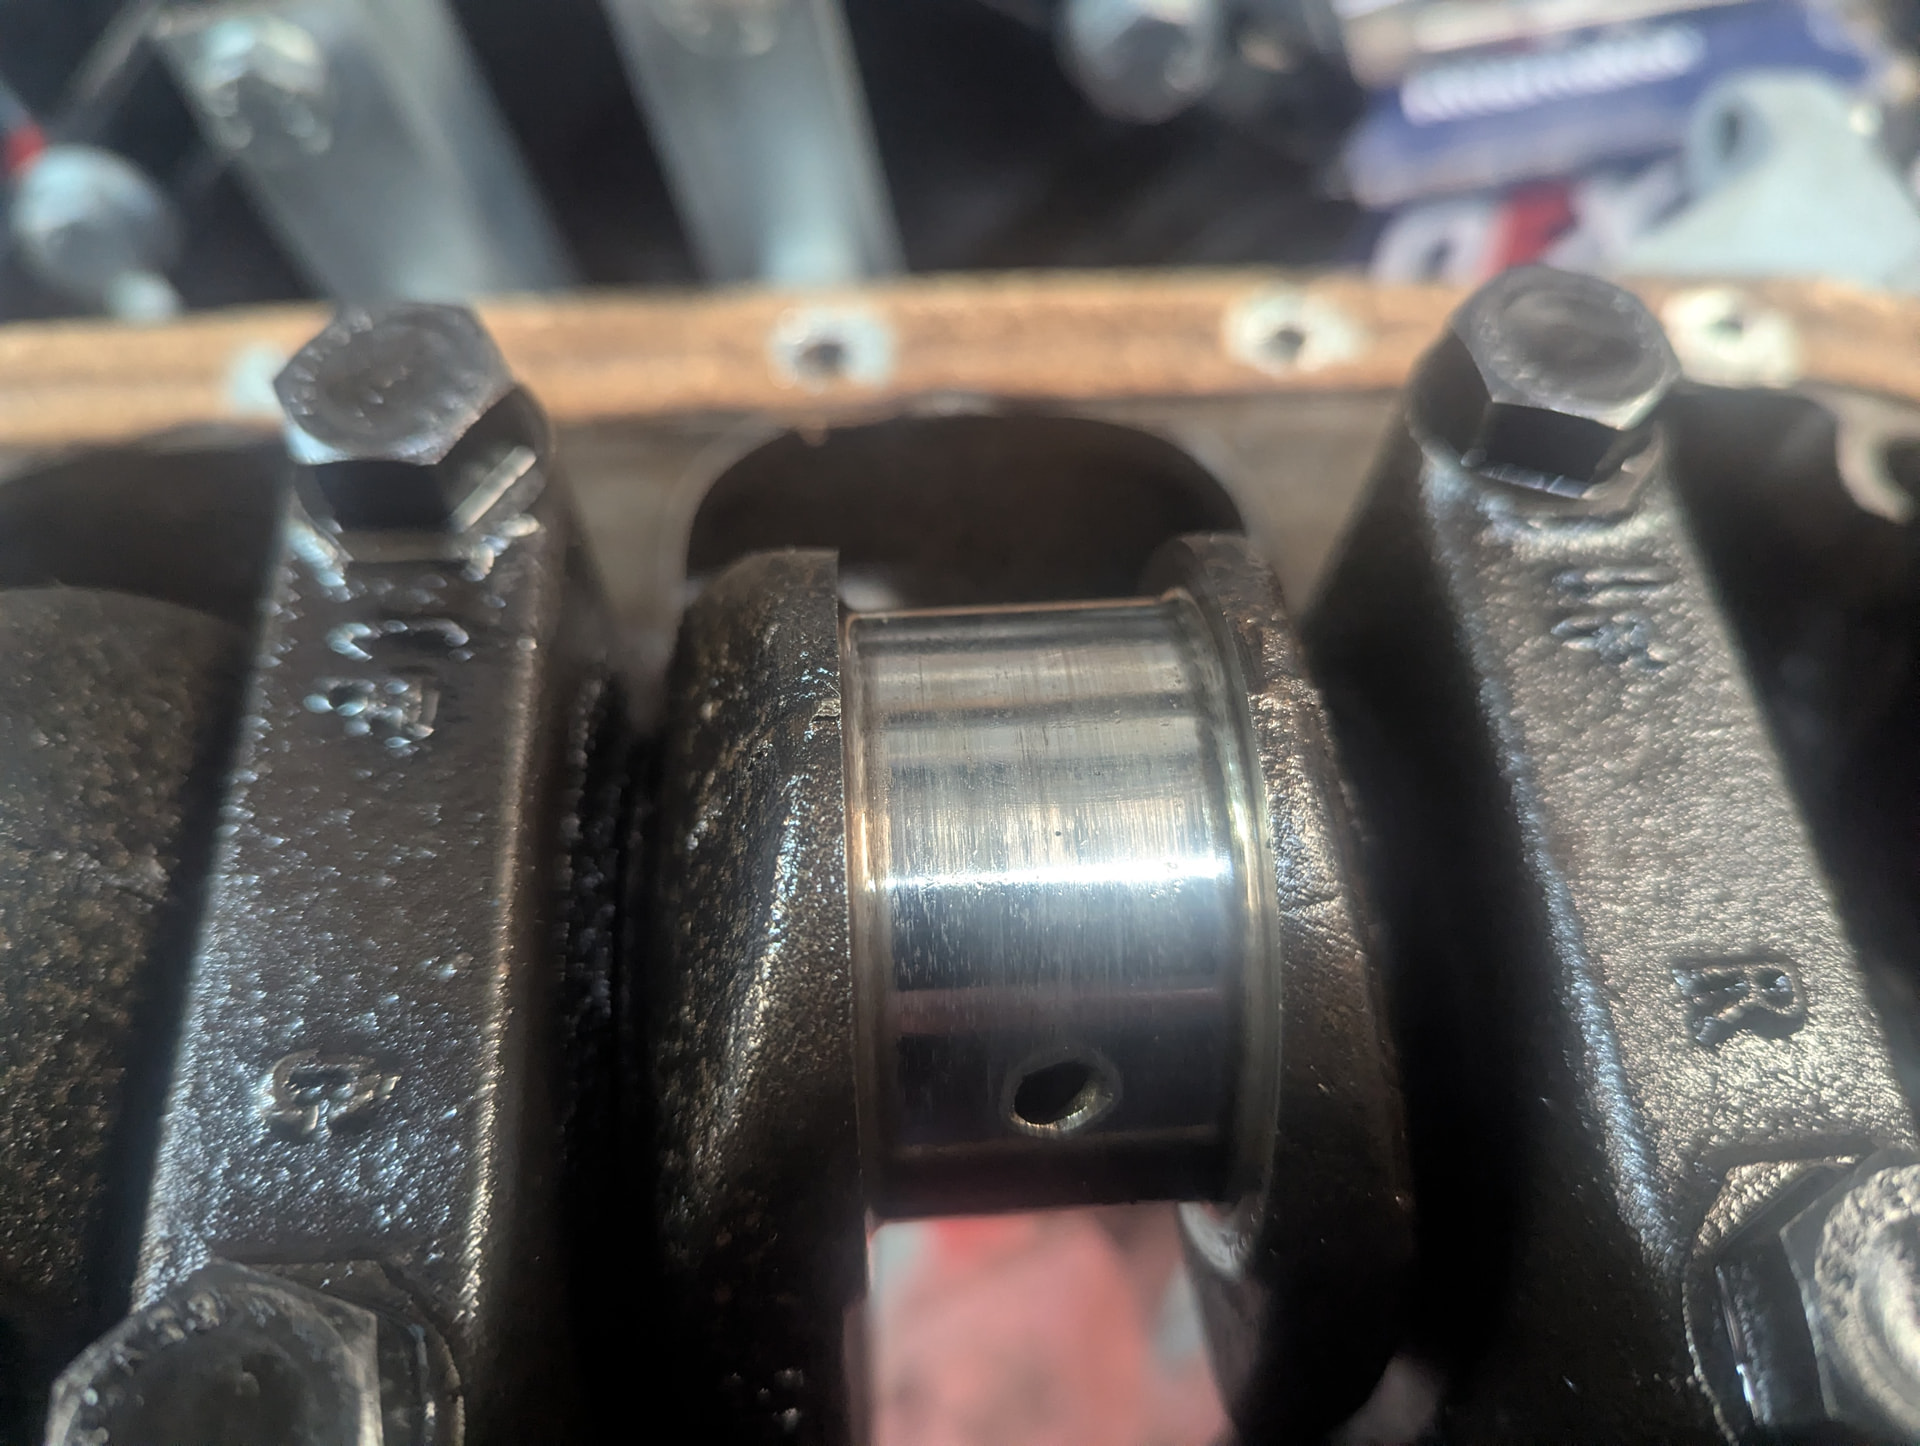
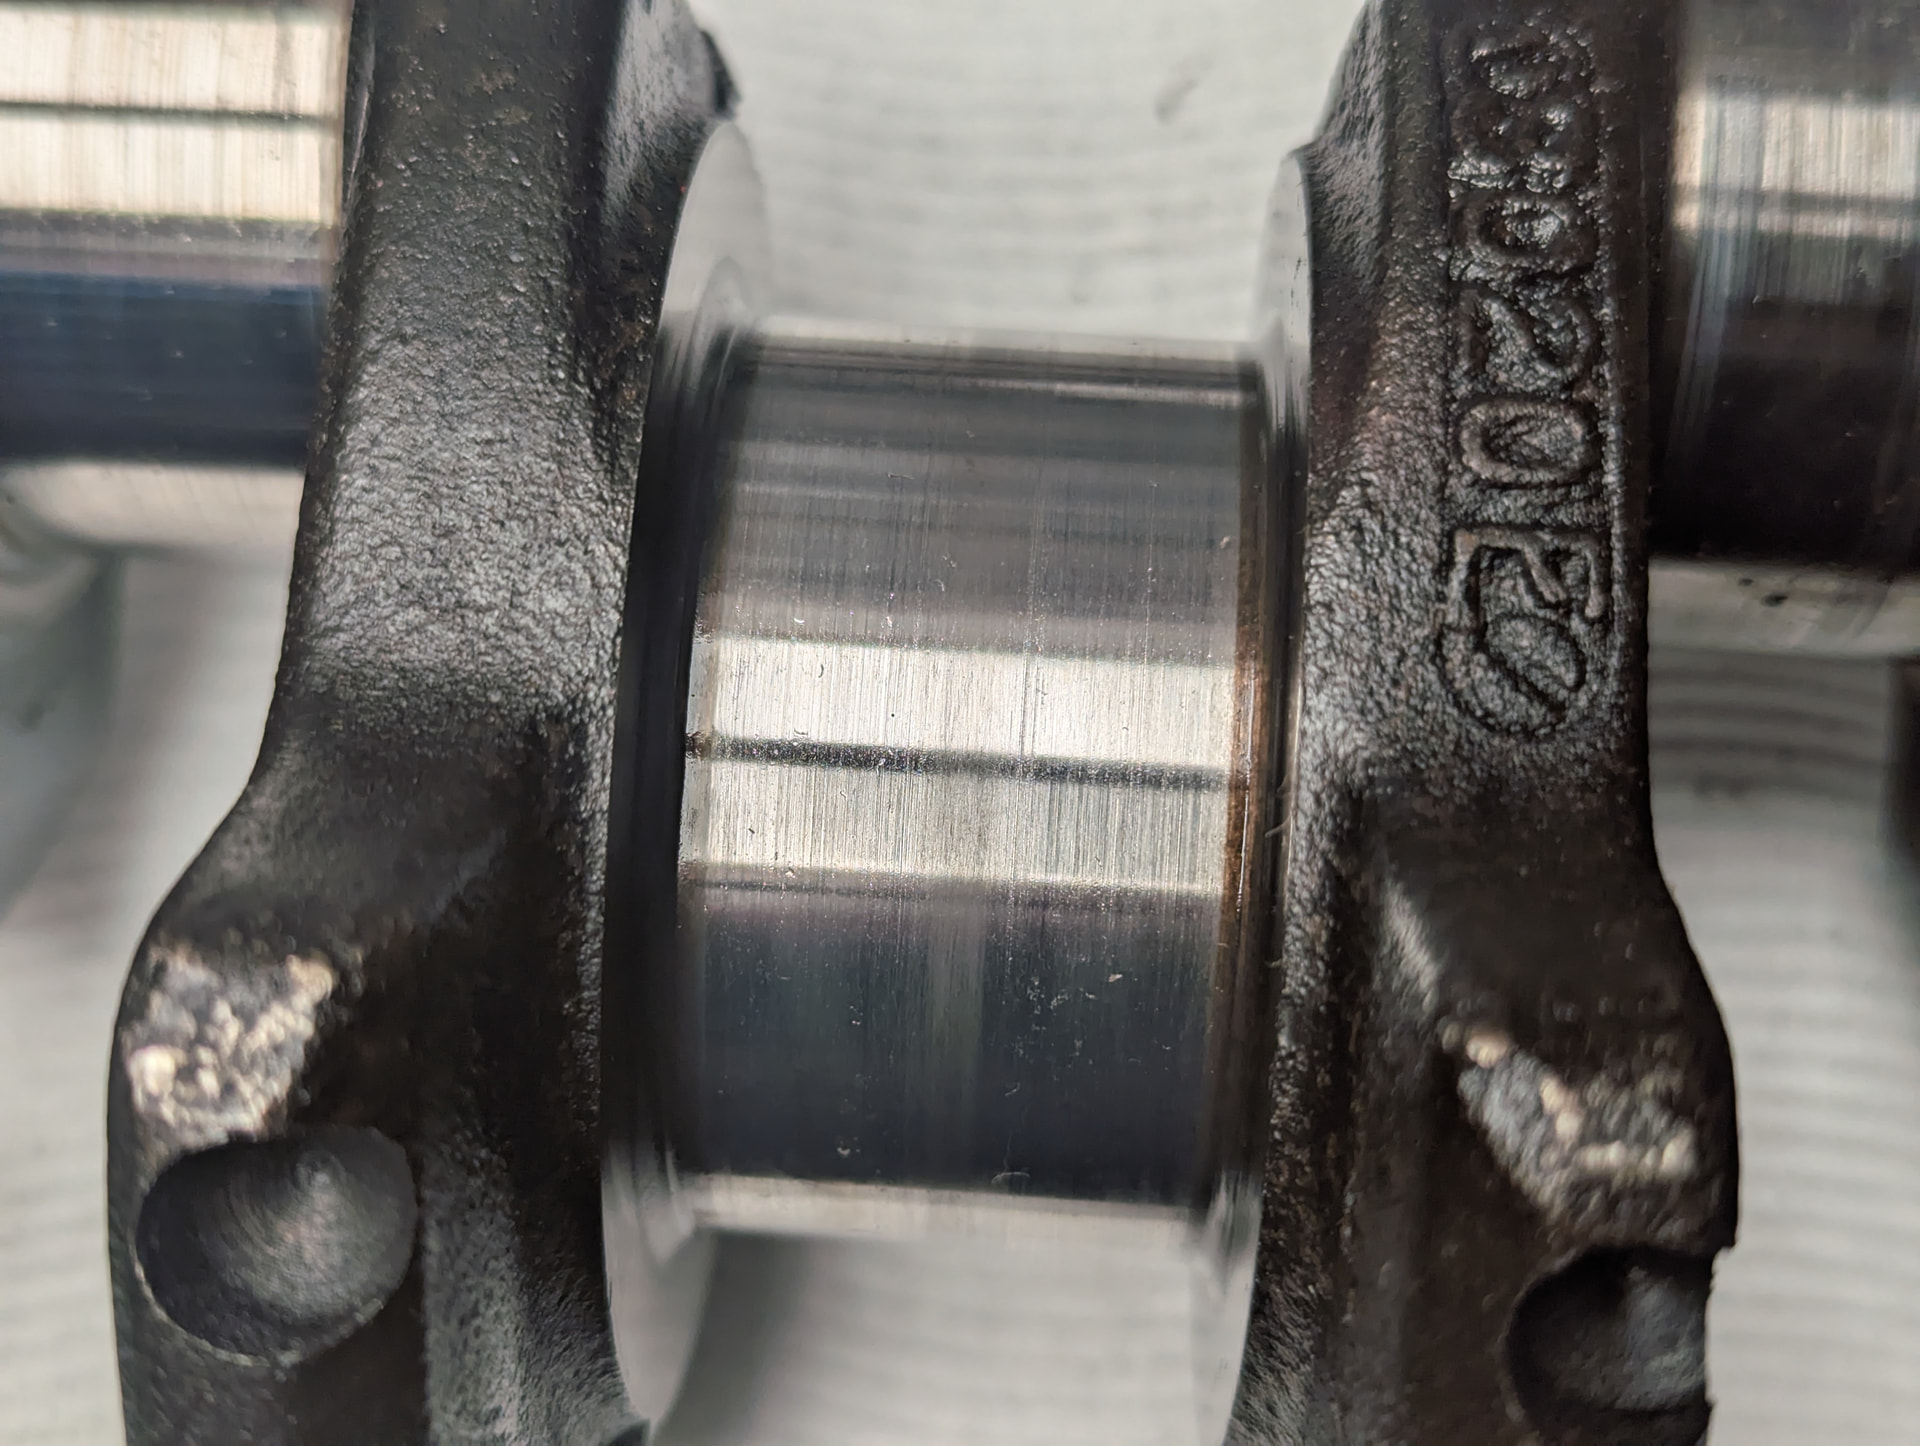
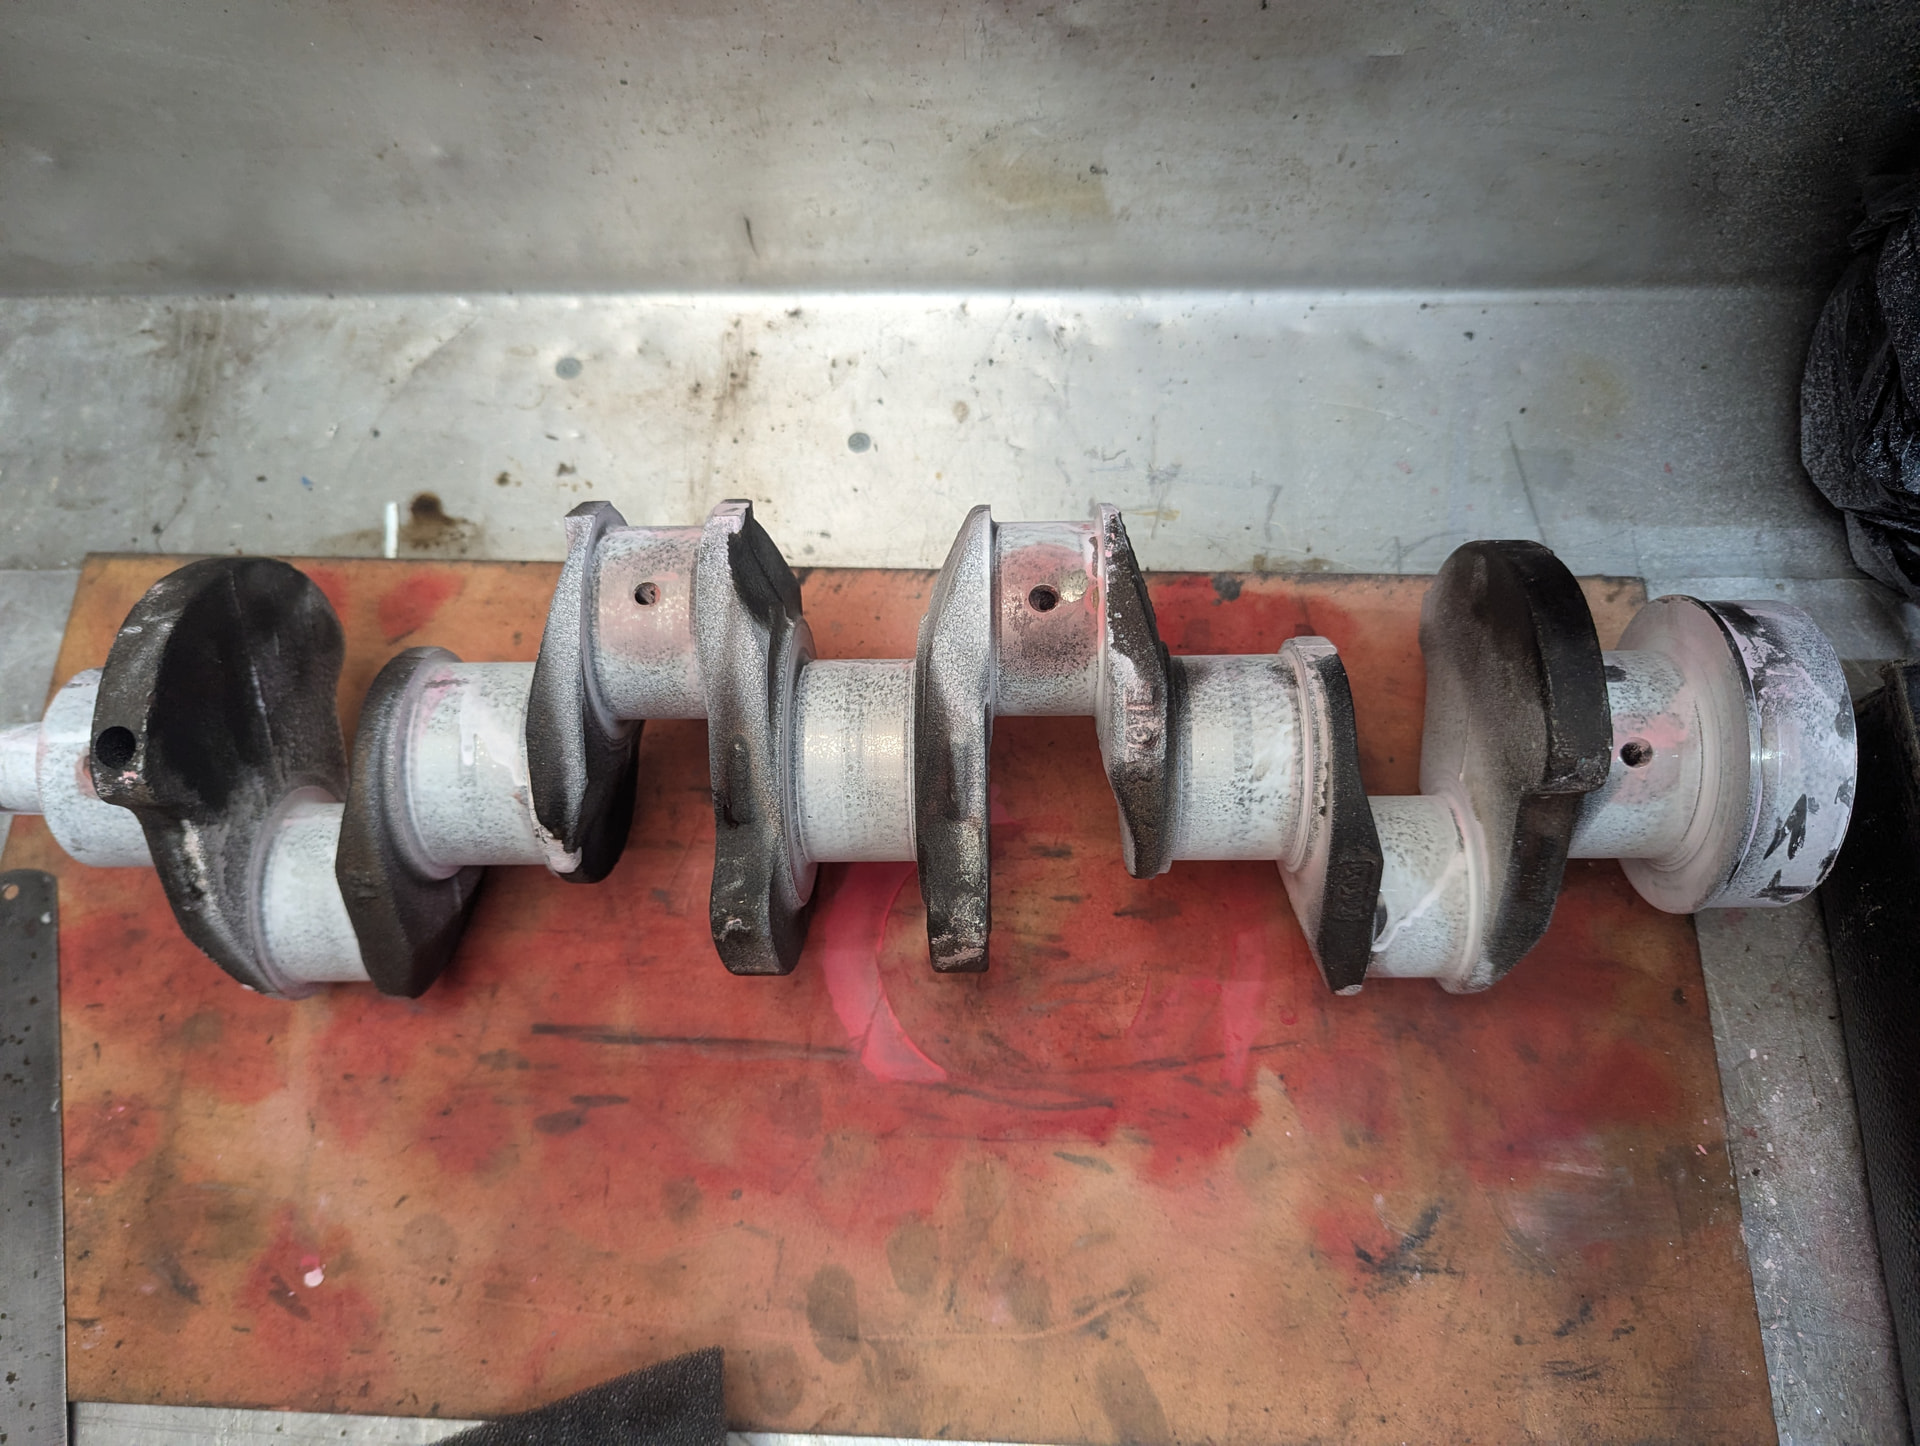
Main journals worn like big end journals so it will all need at least polishing if not an undersize grind. Detailed measurements will tell me what’s needed later. But as I will not be using the crank to build a 1700cc engine what I do with this crank is a question for later

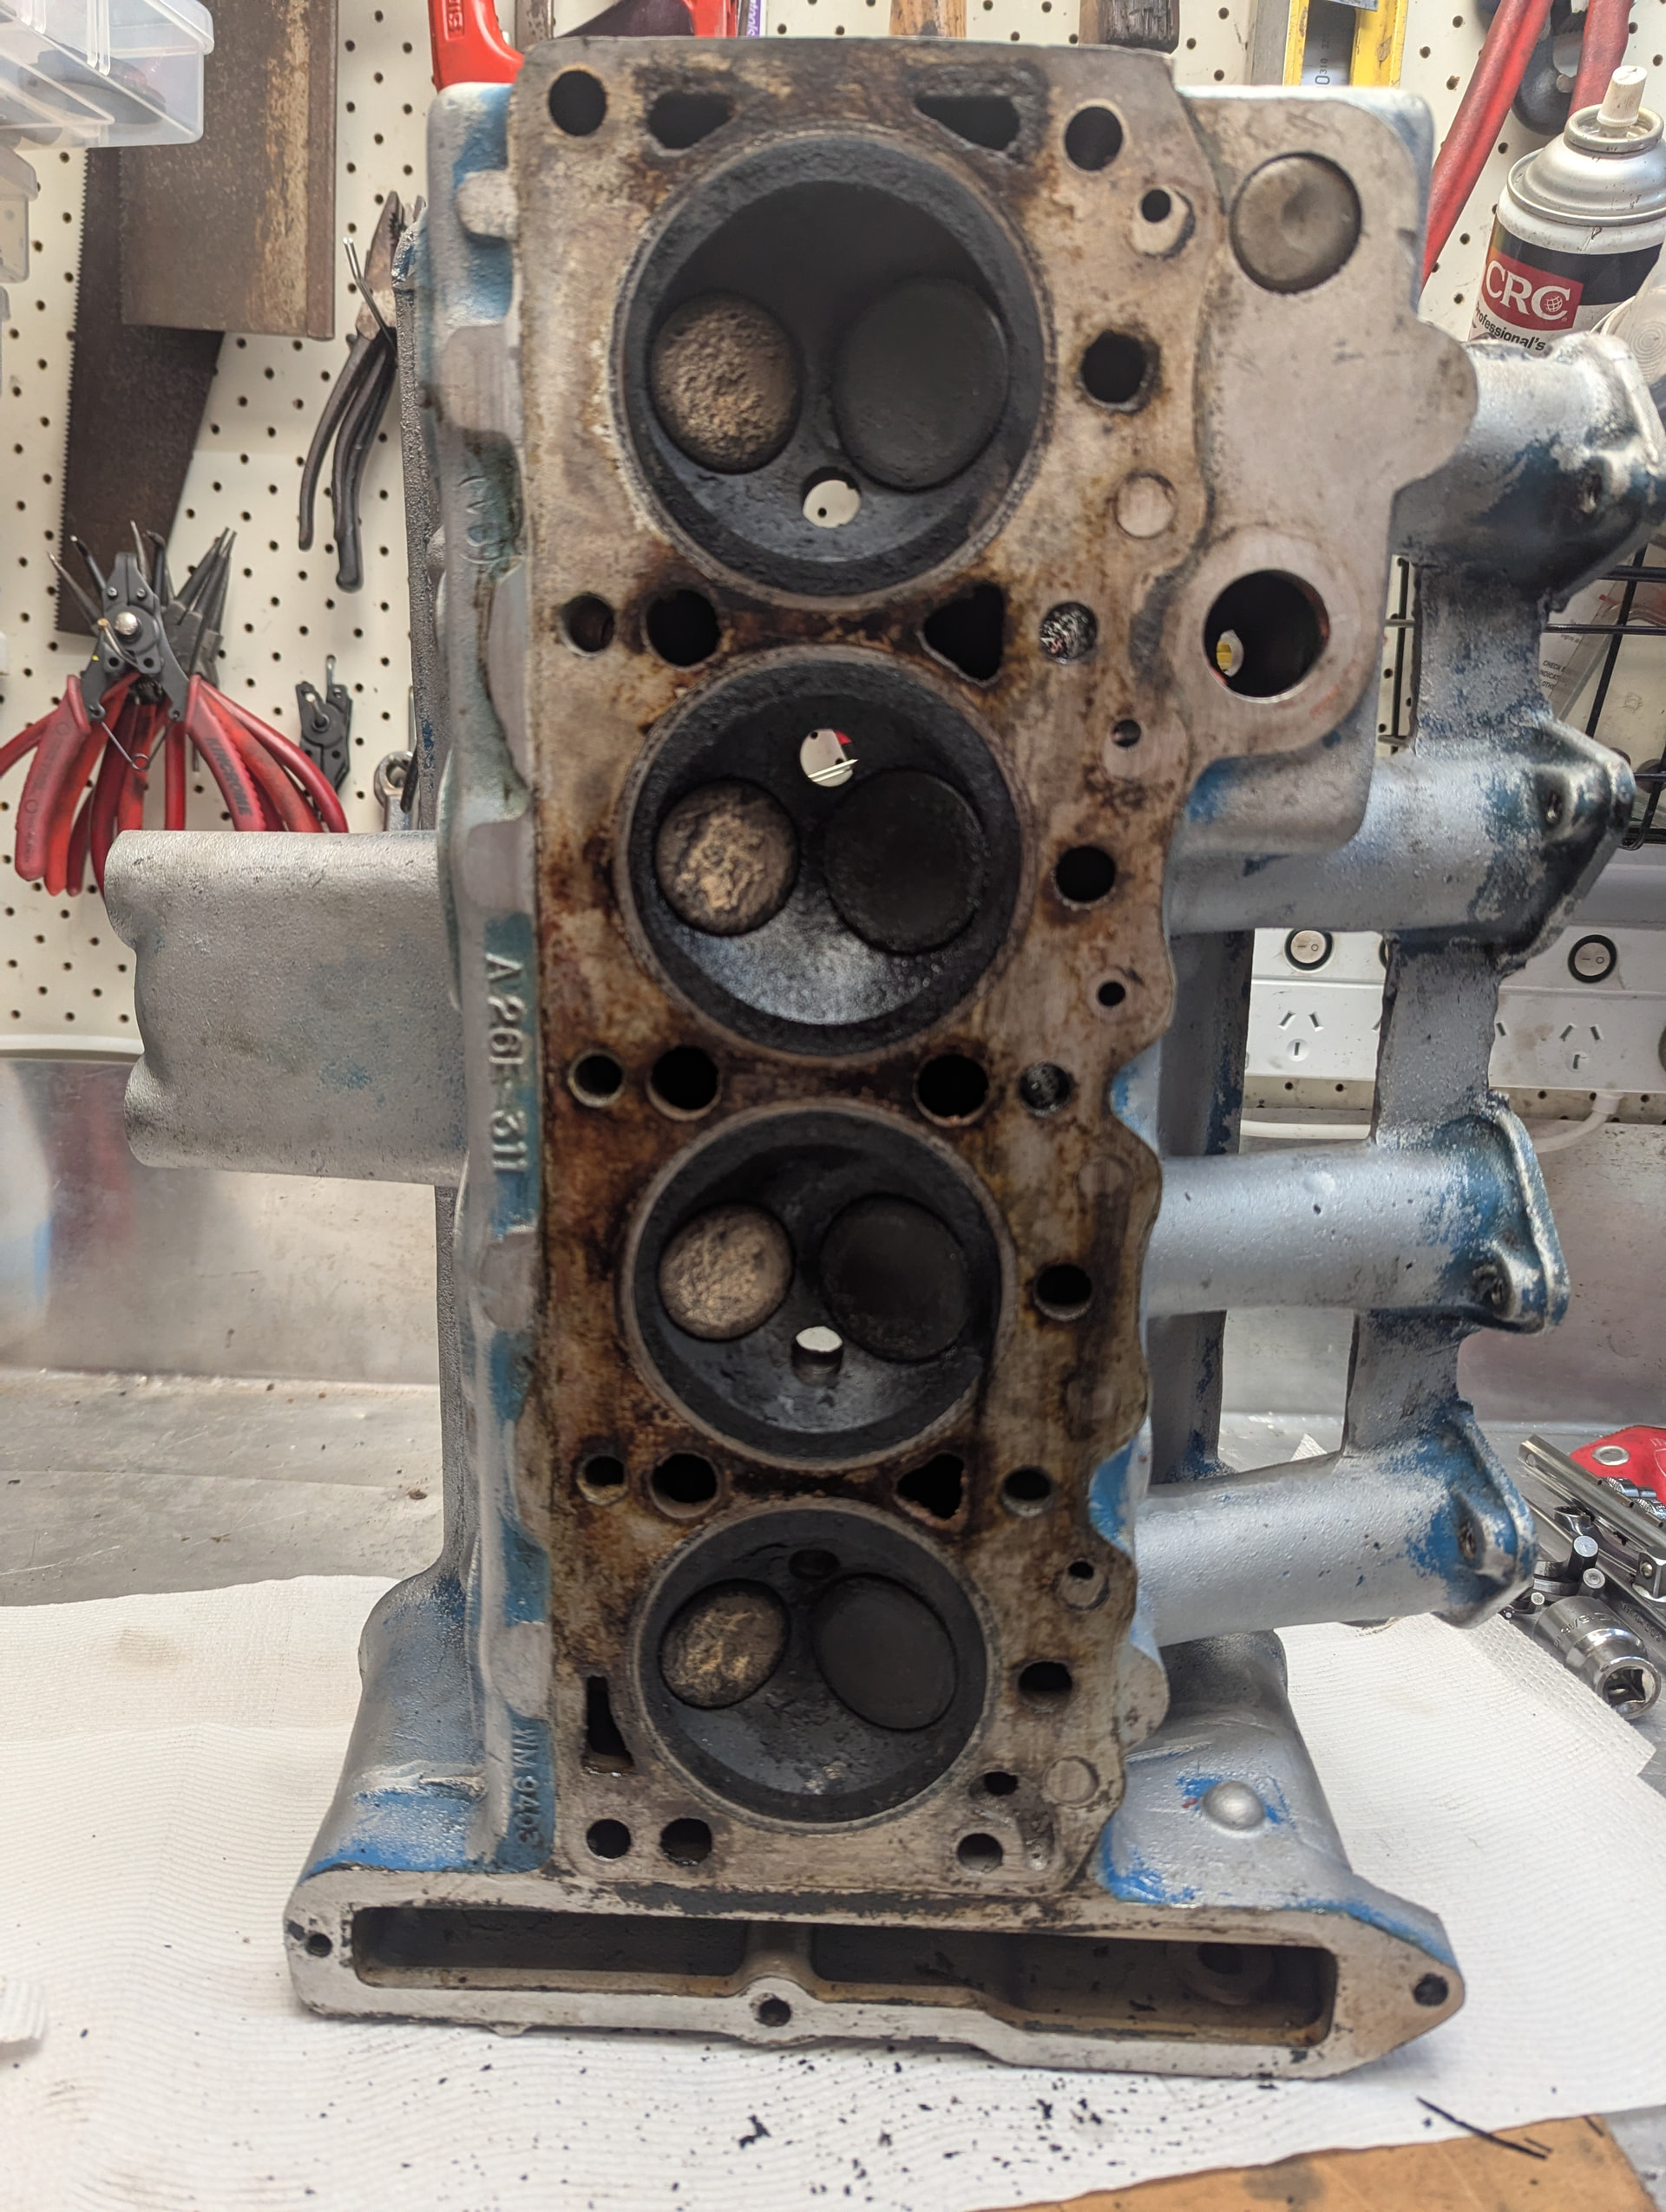
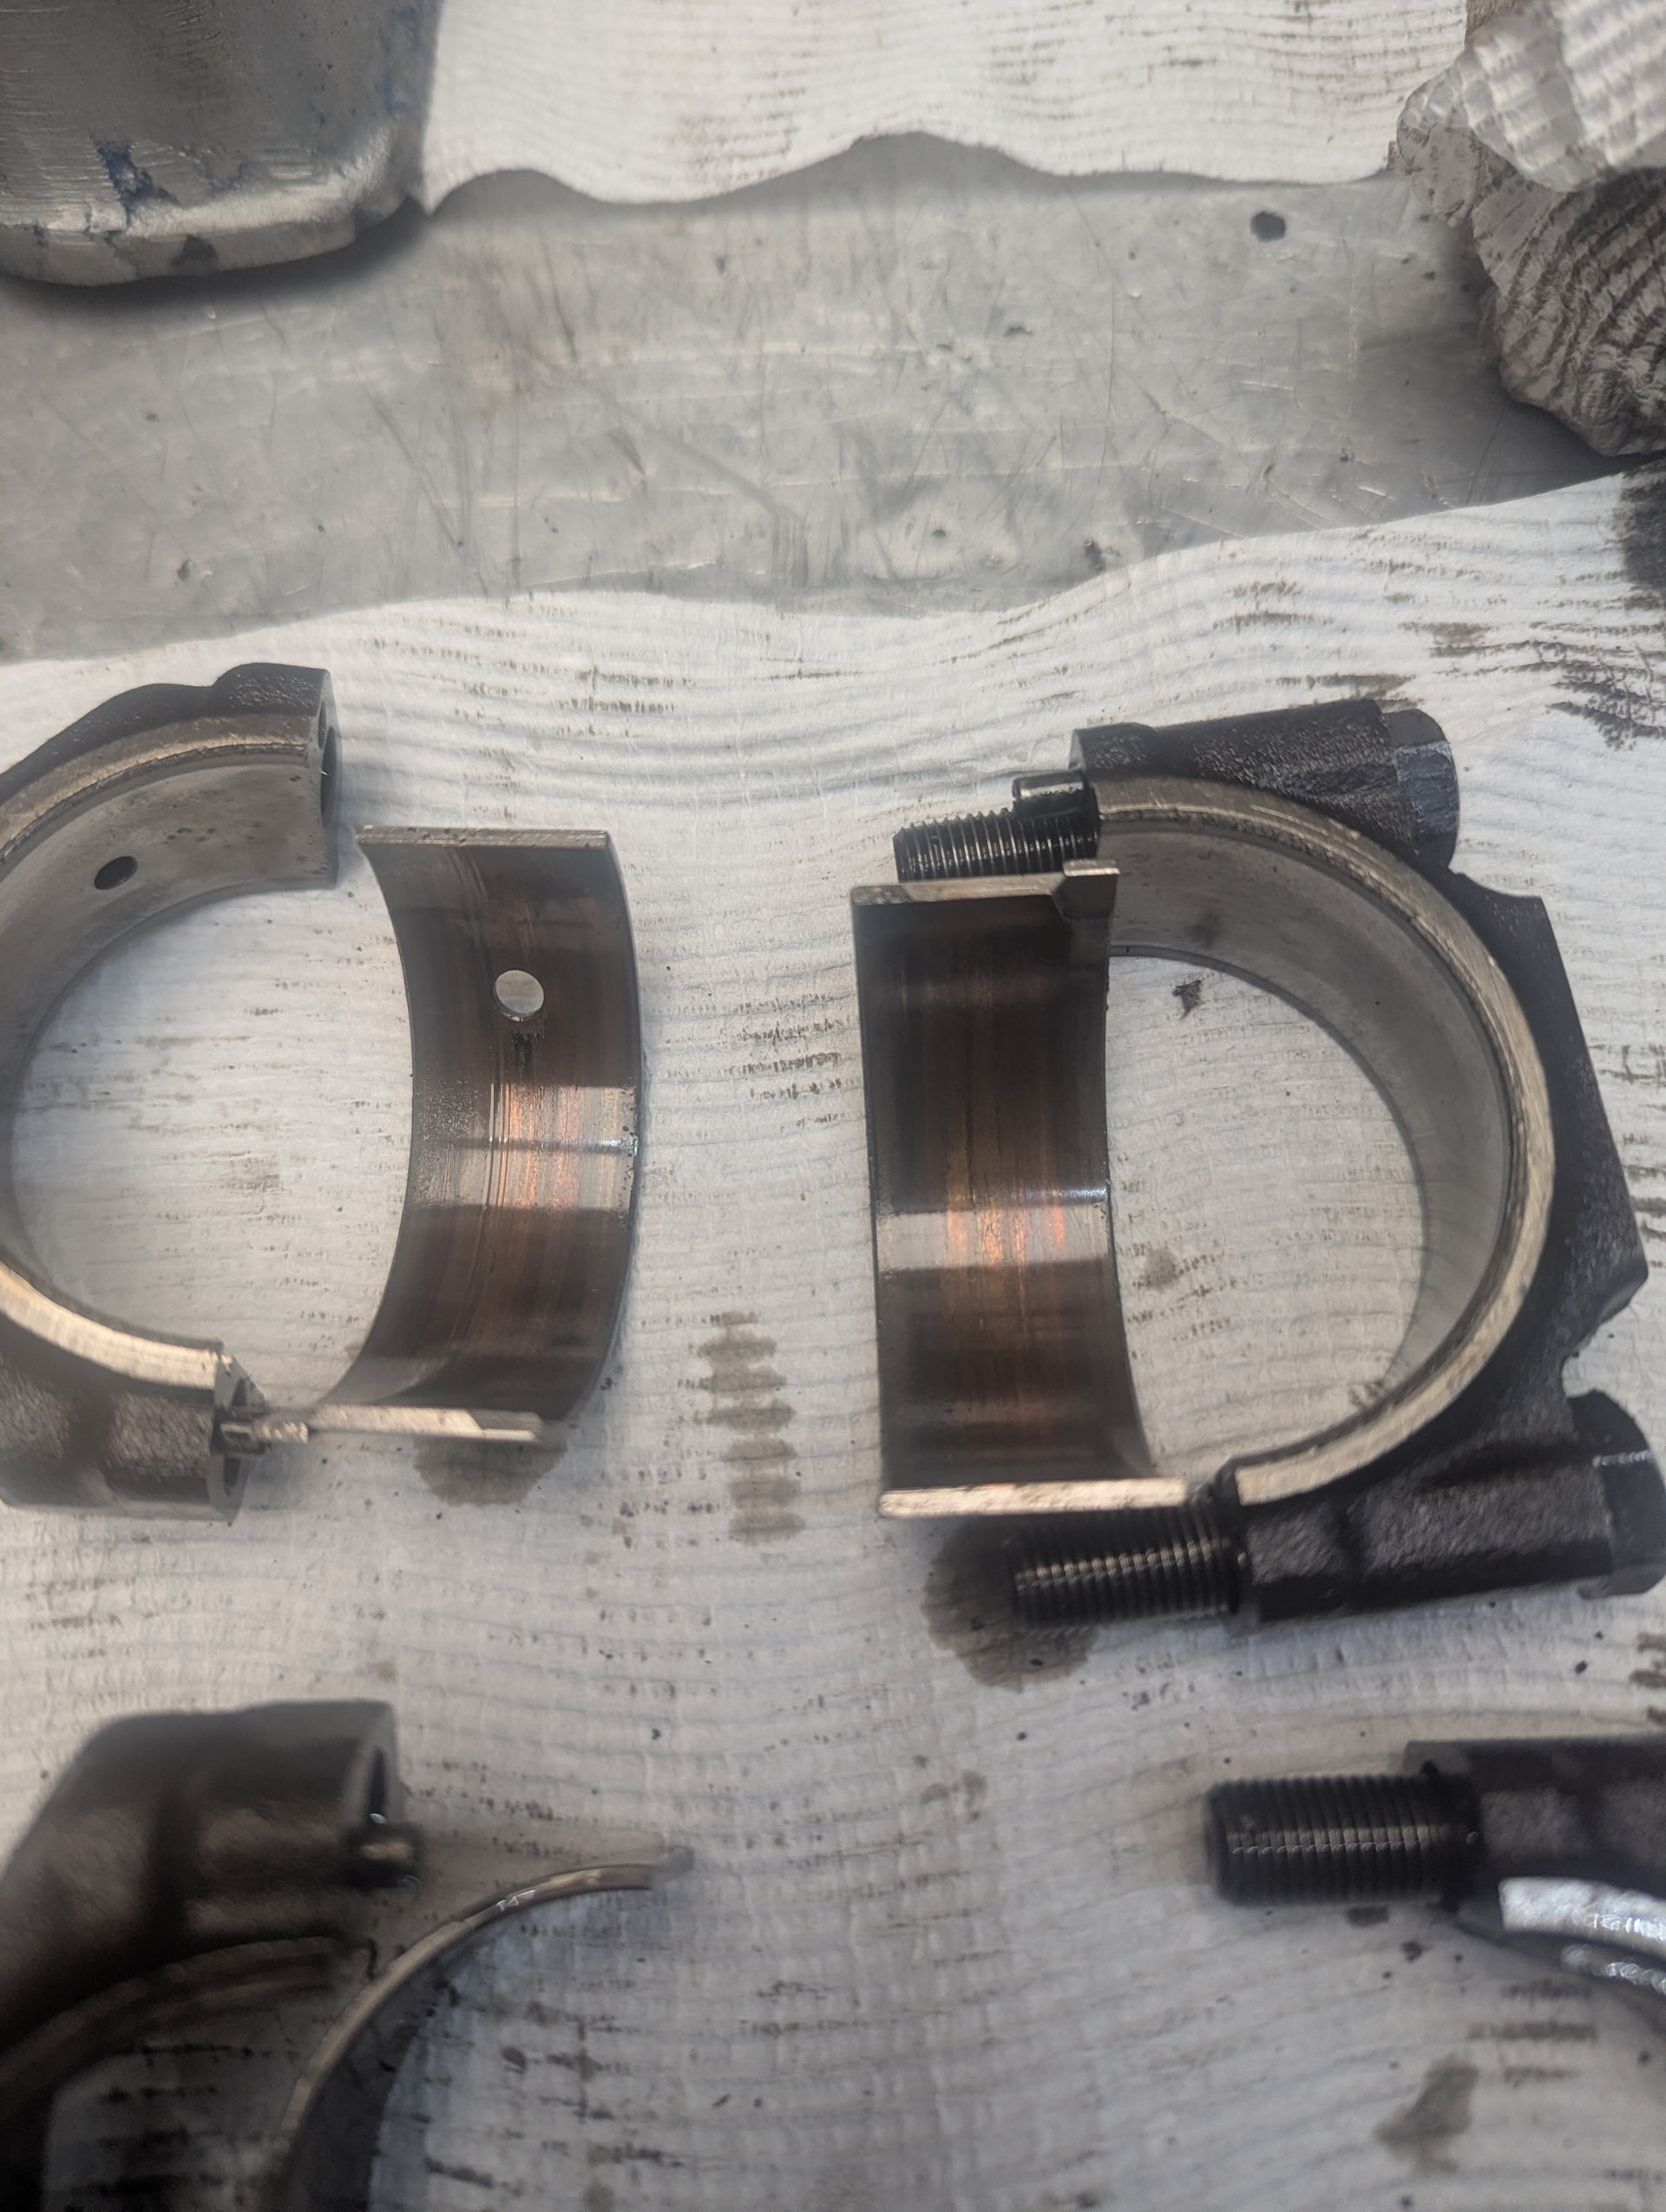
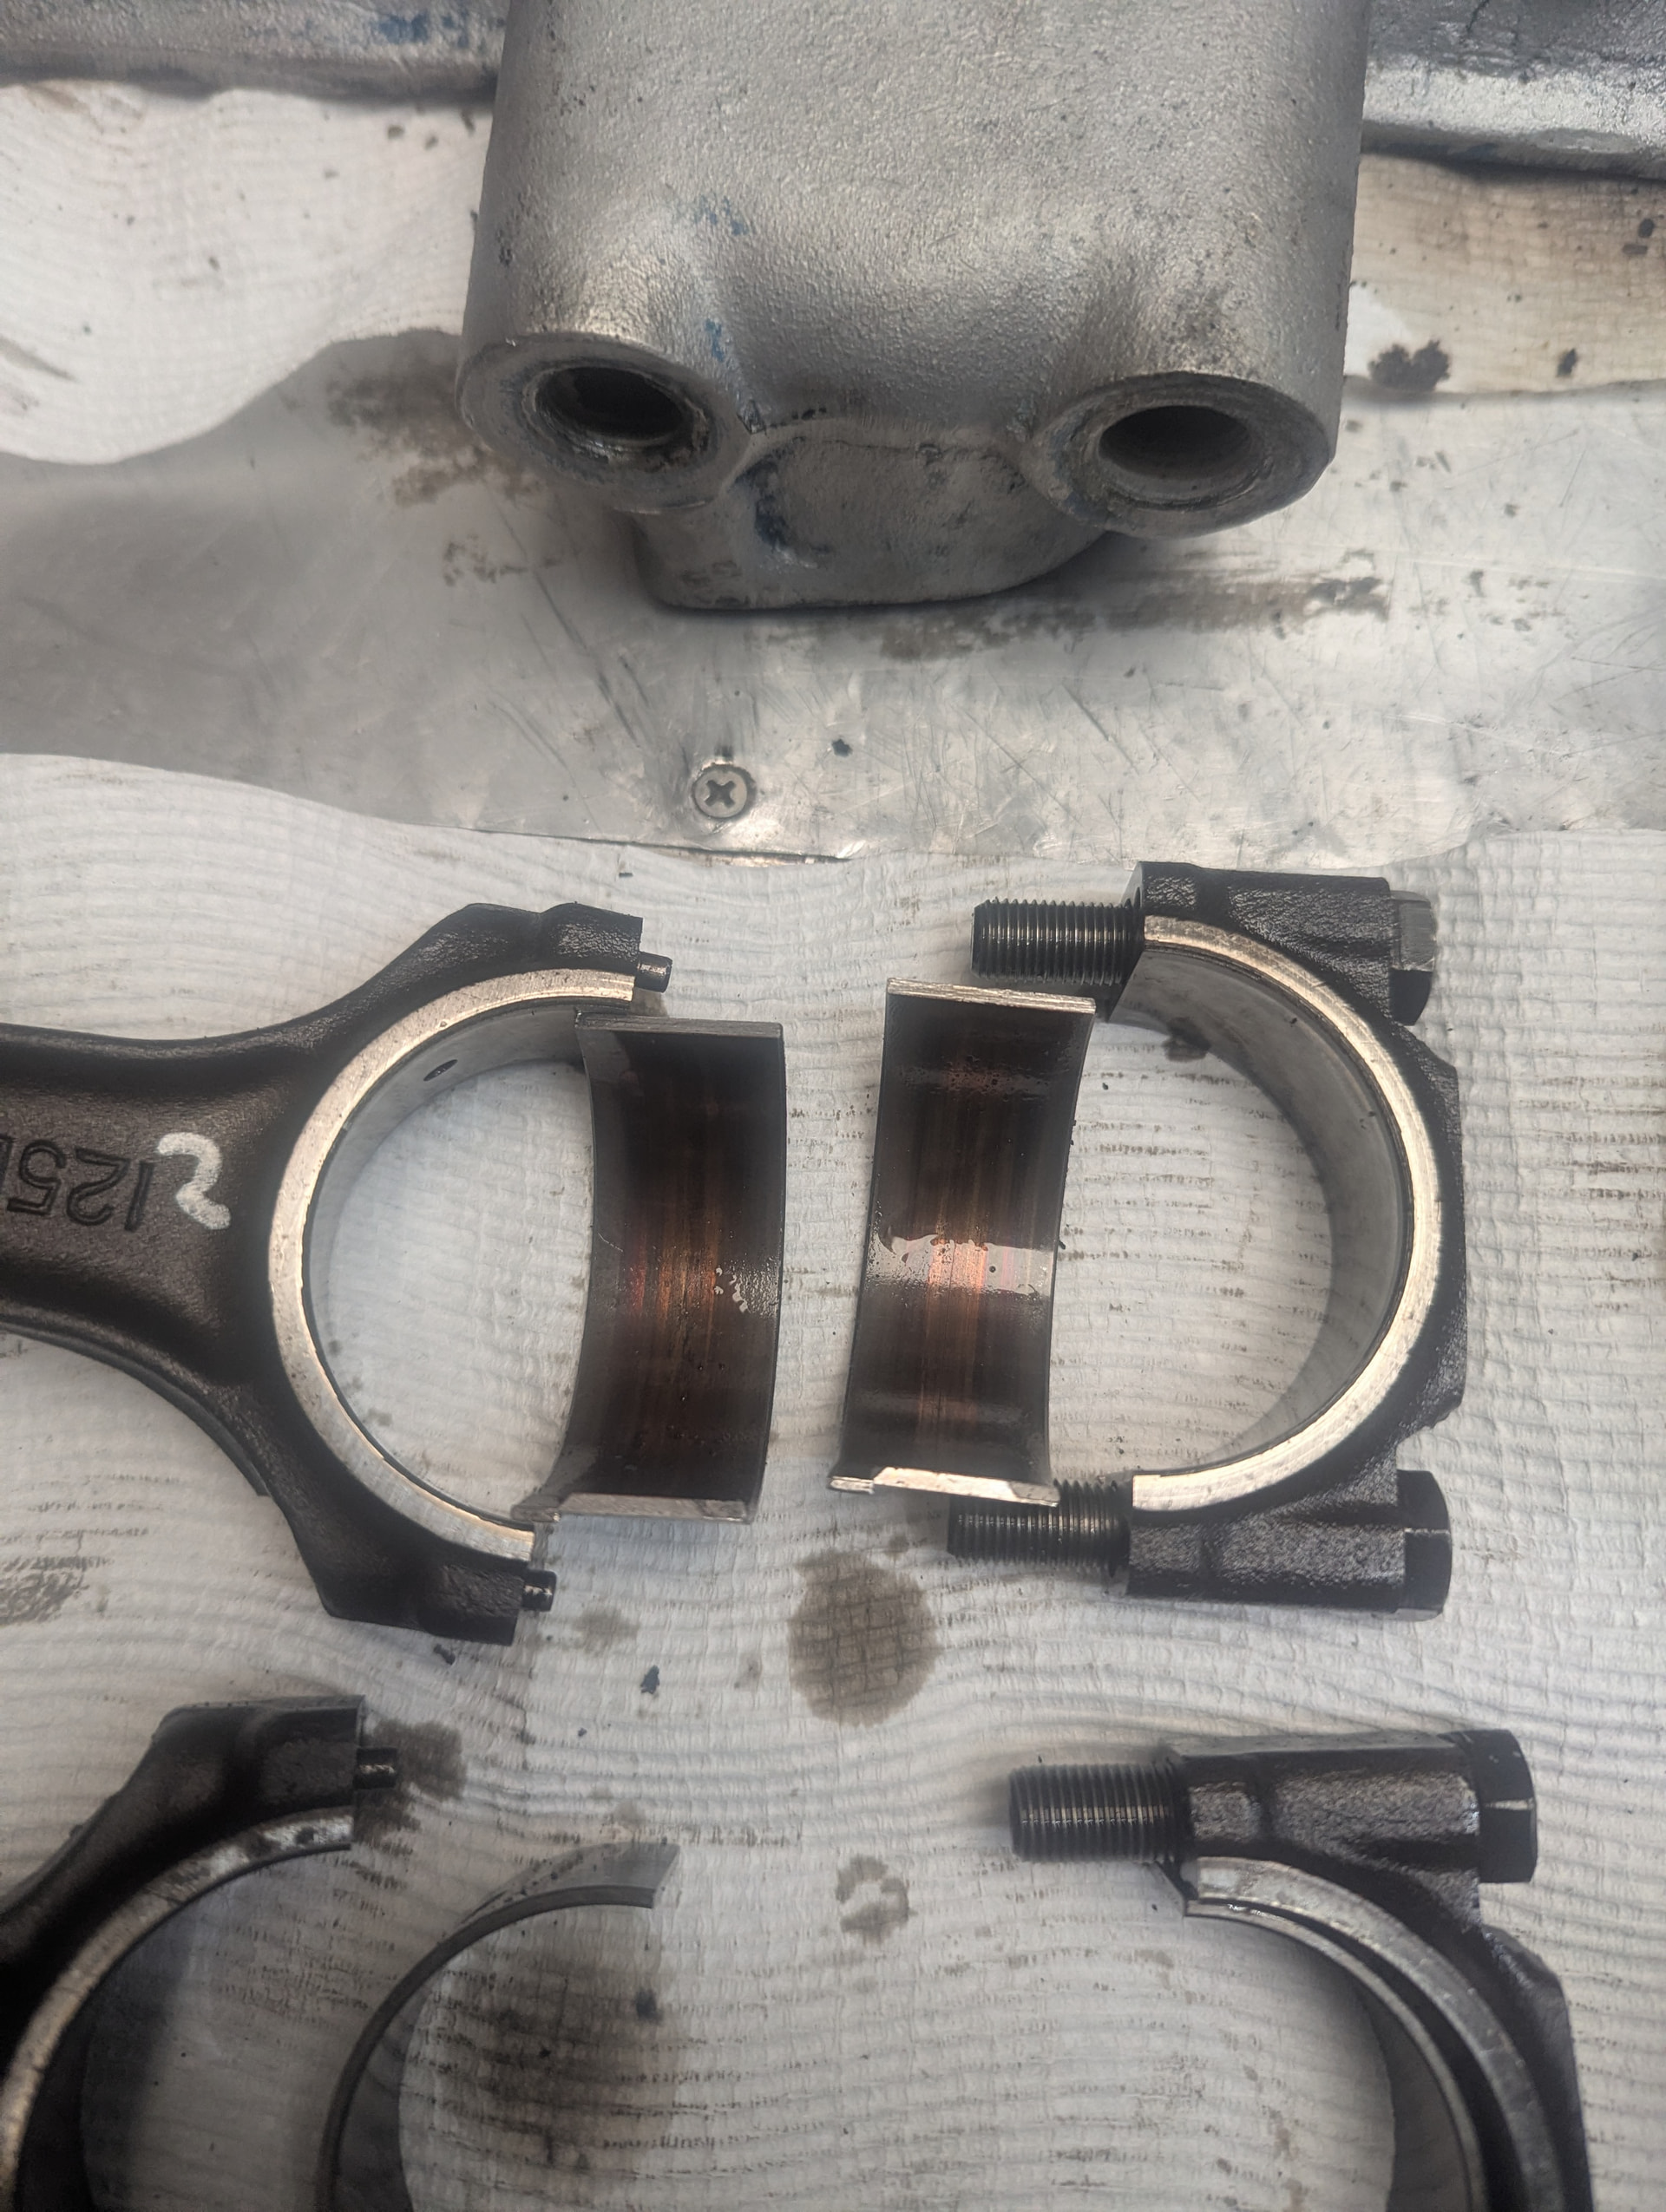
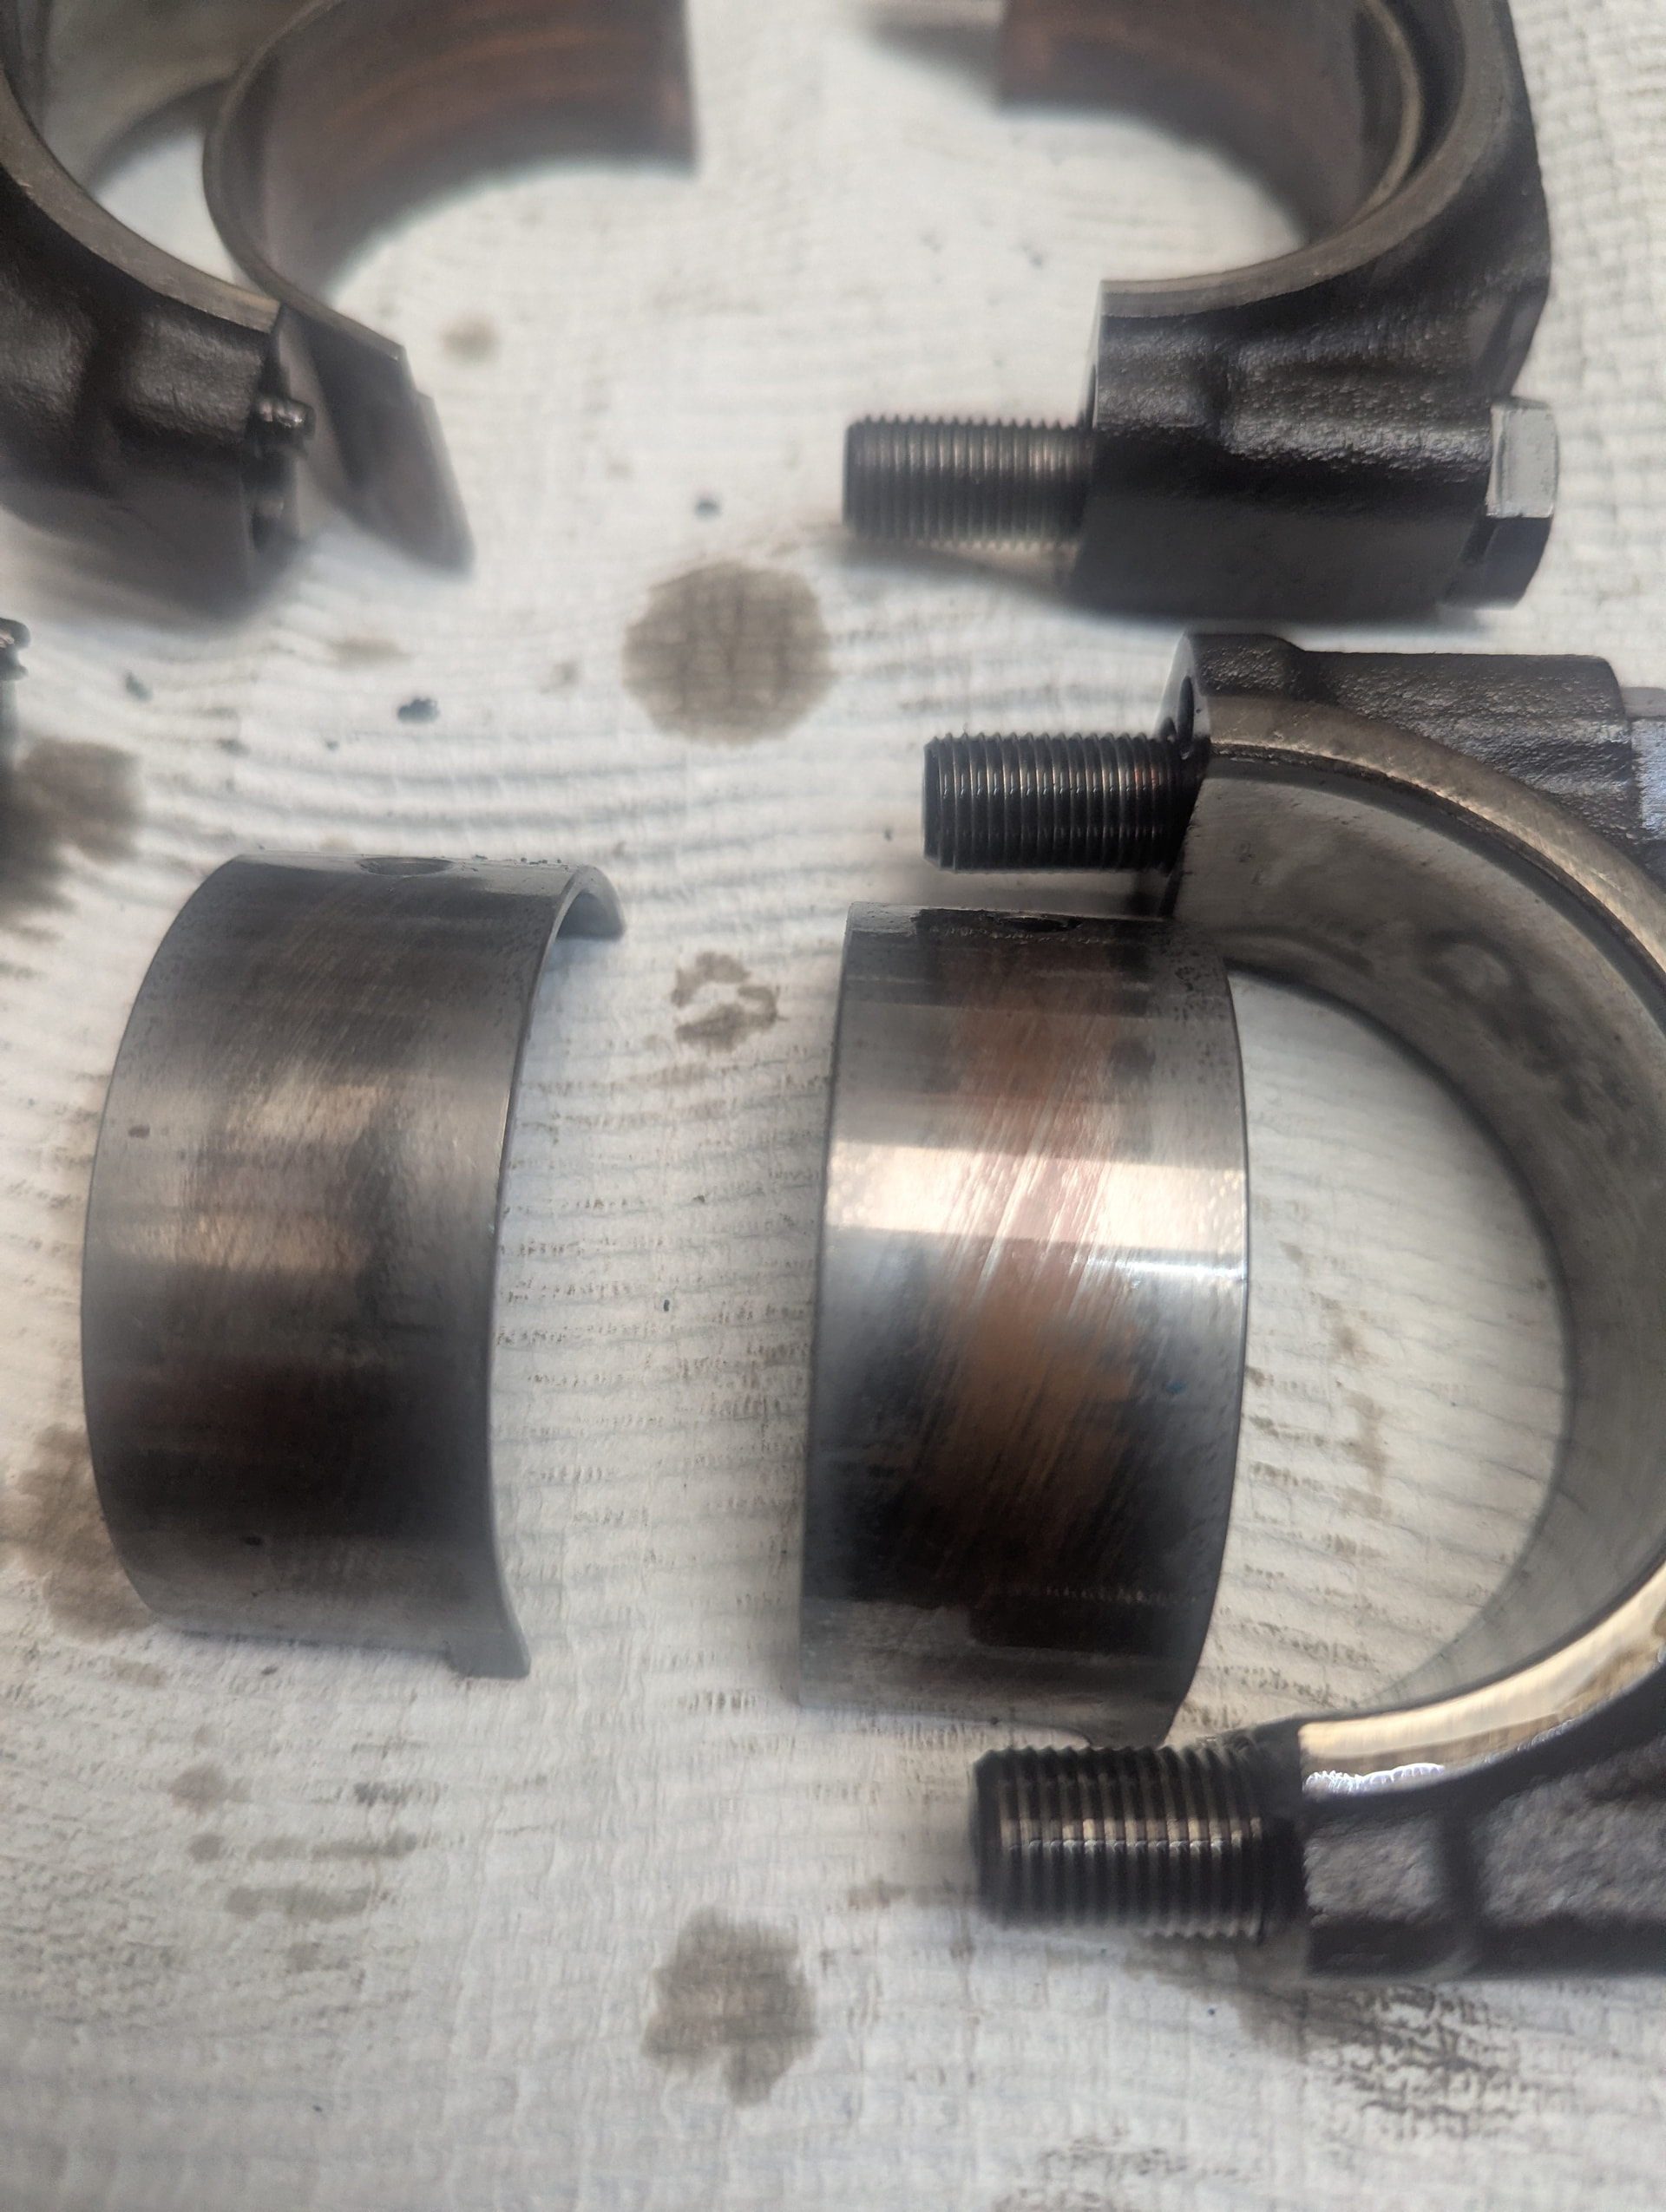
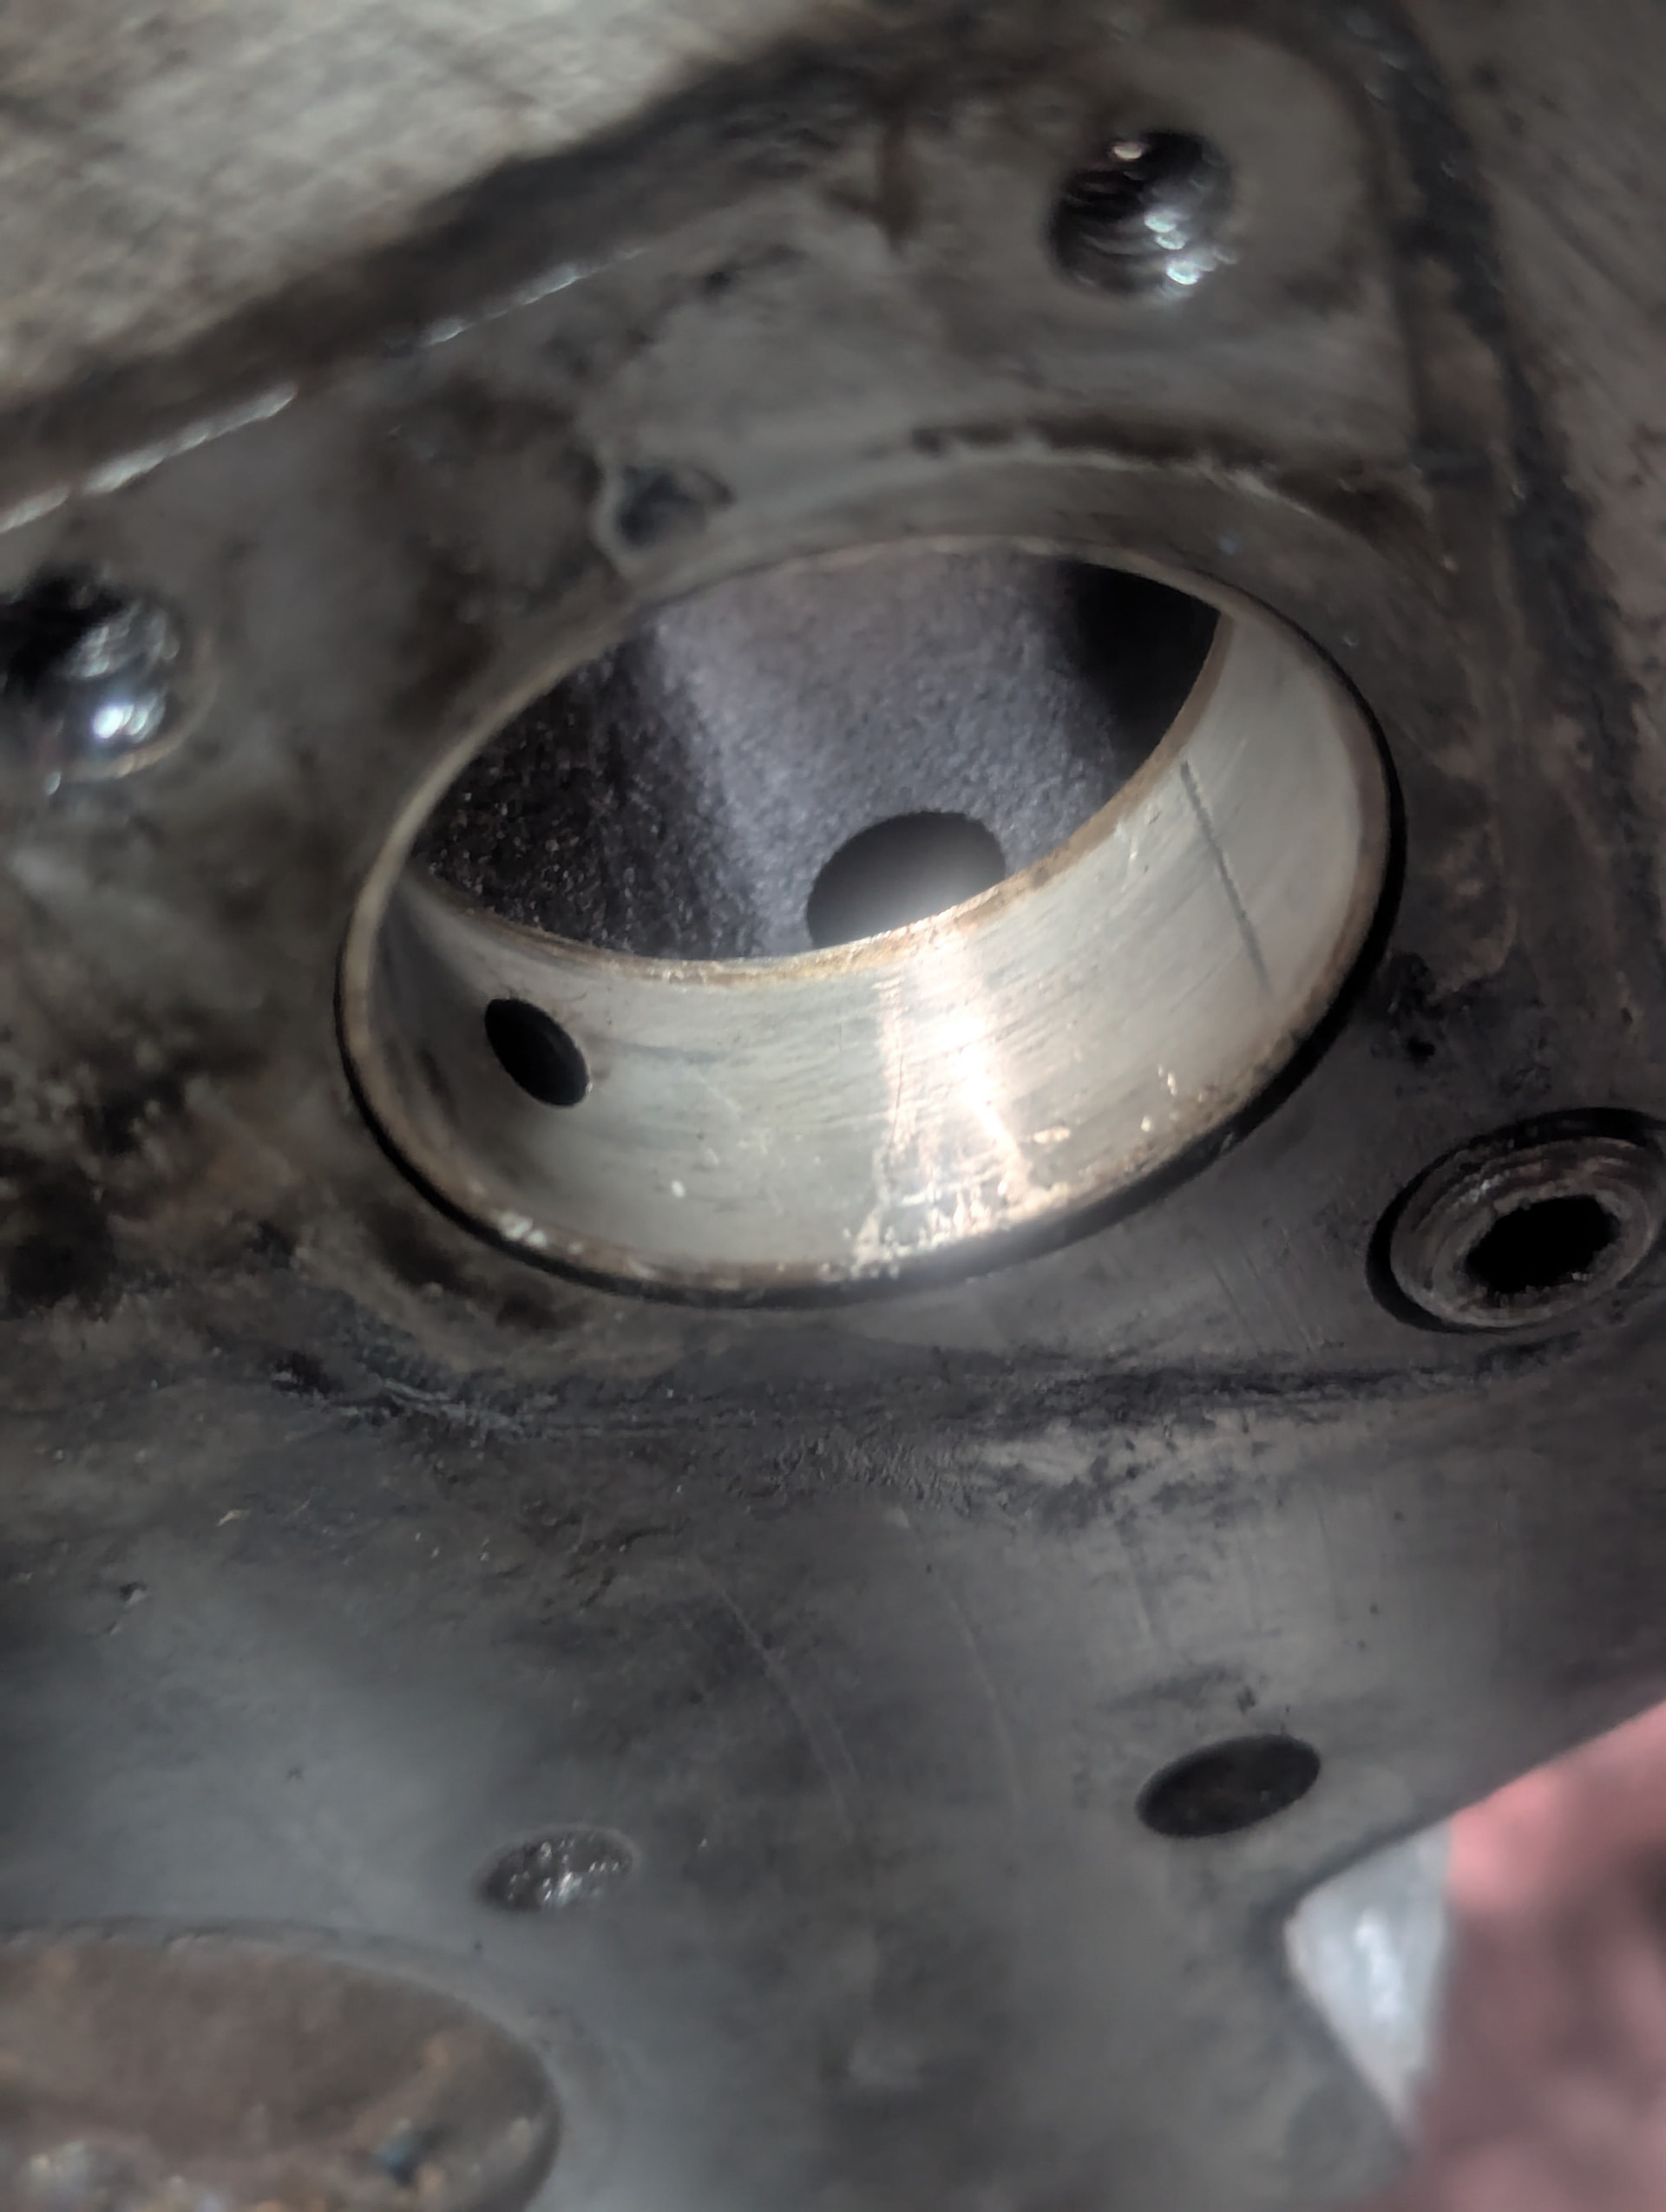
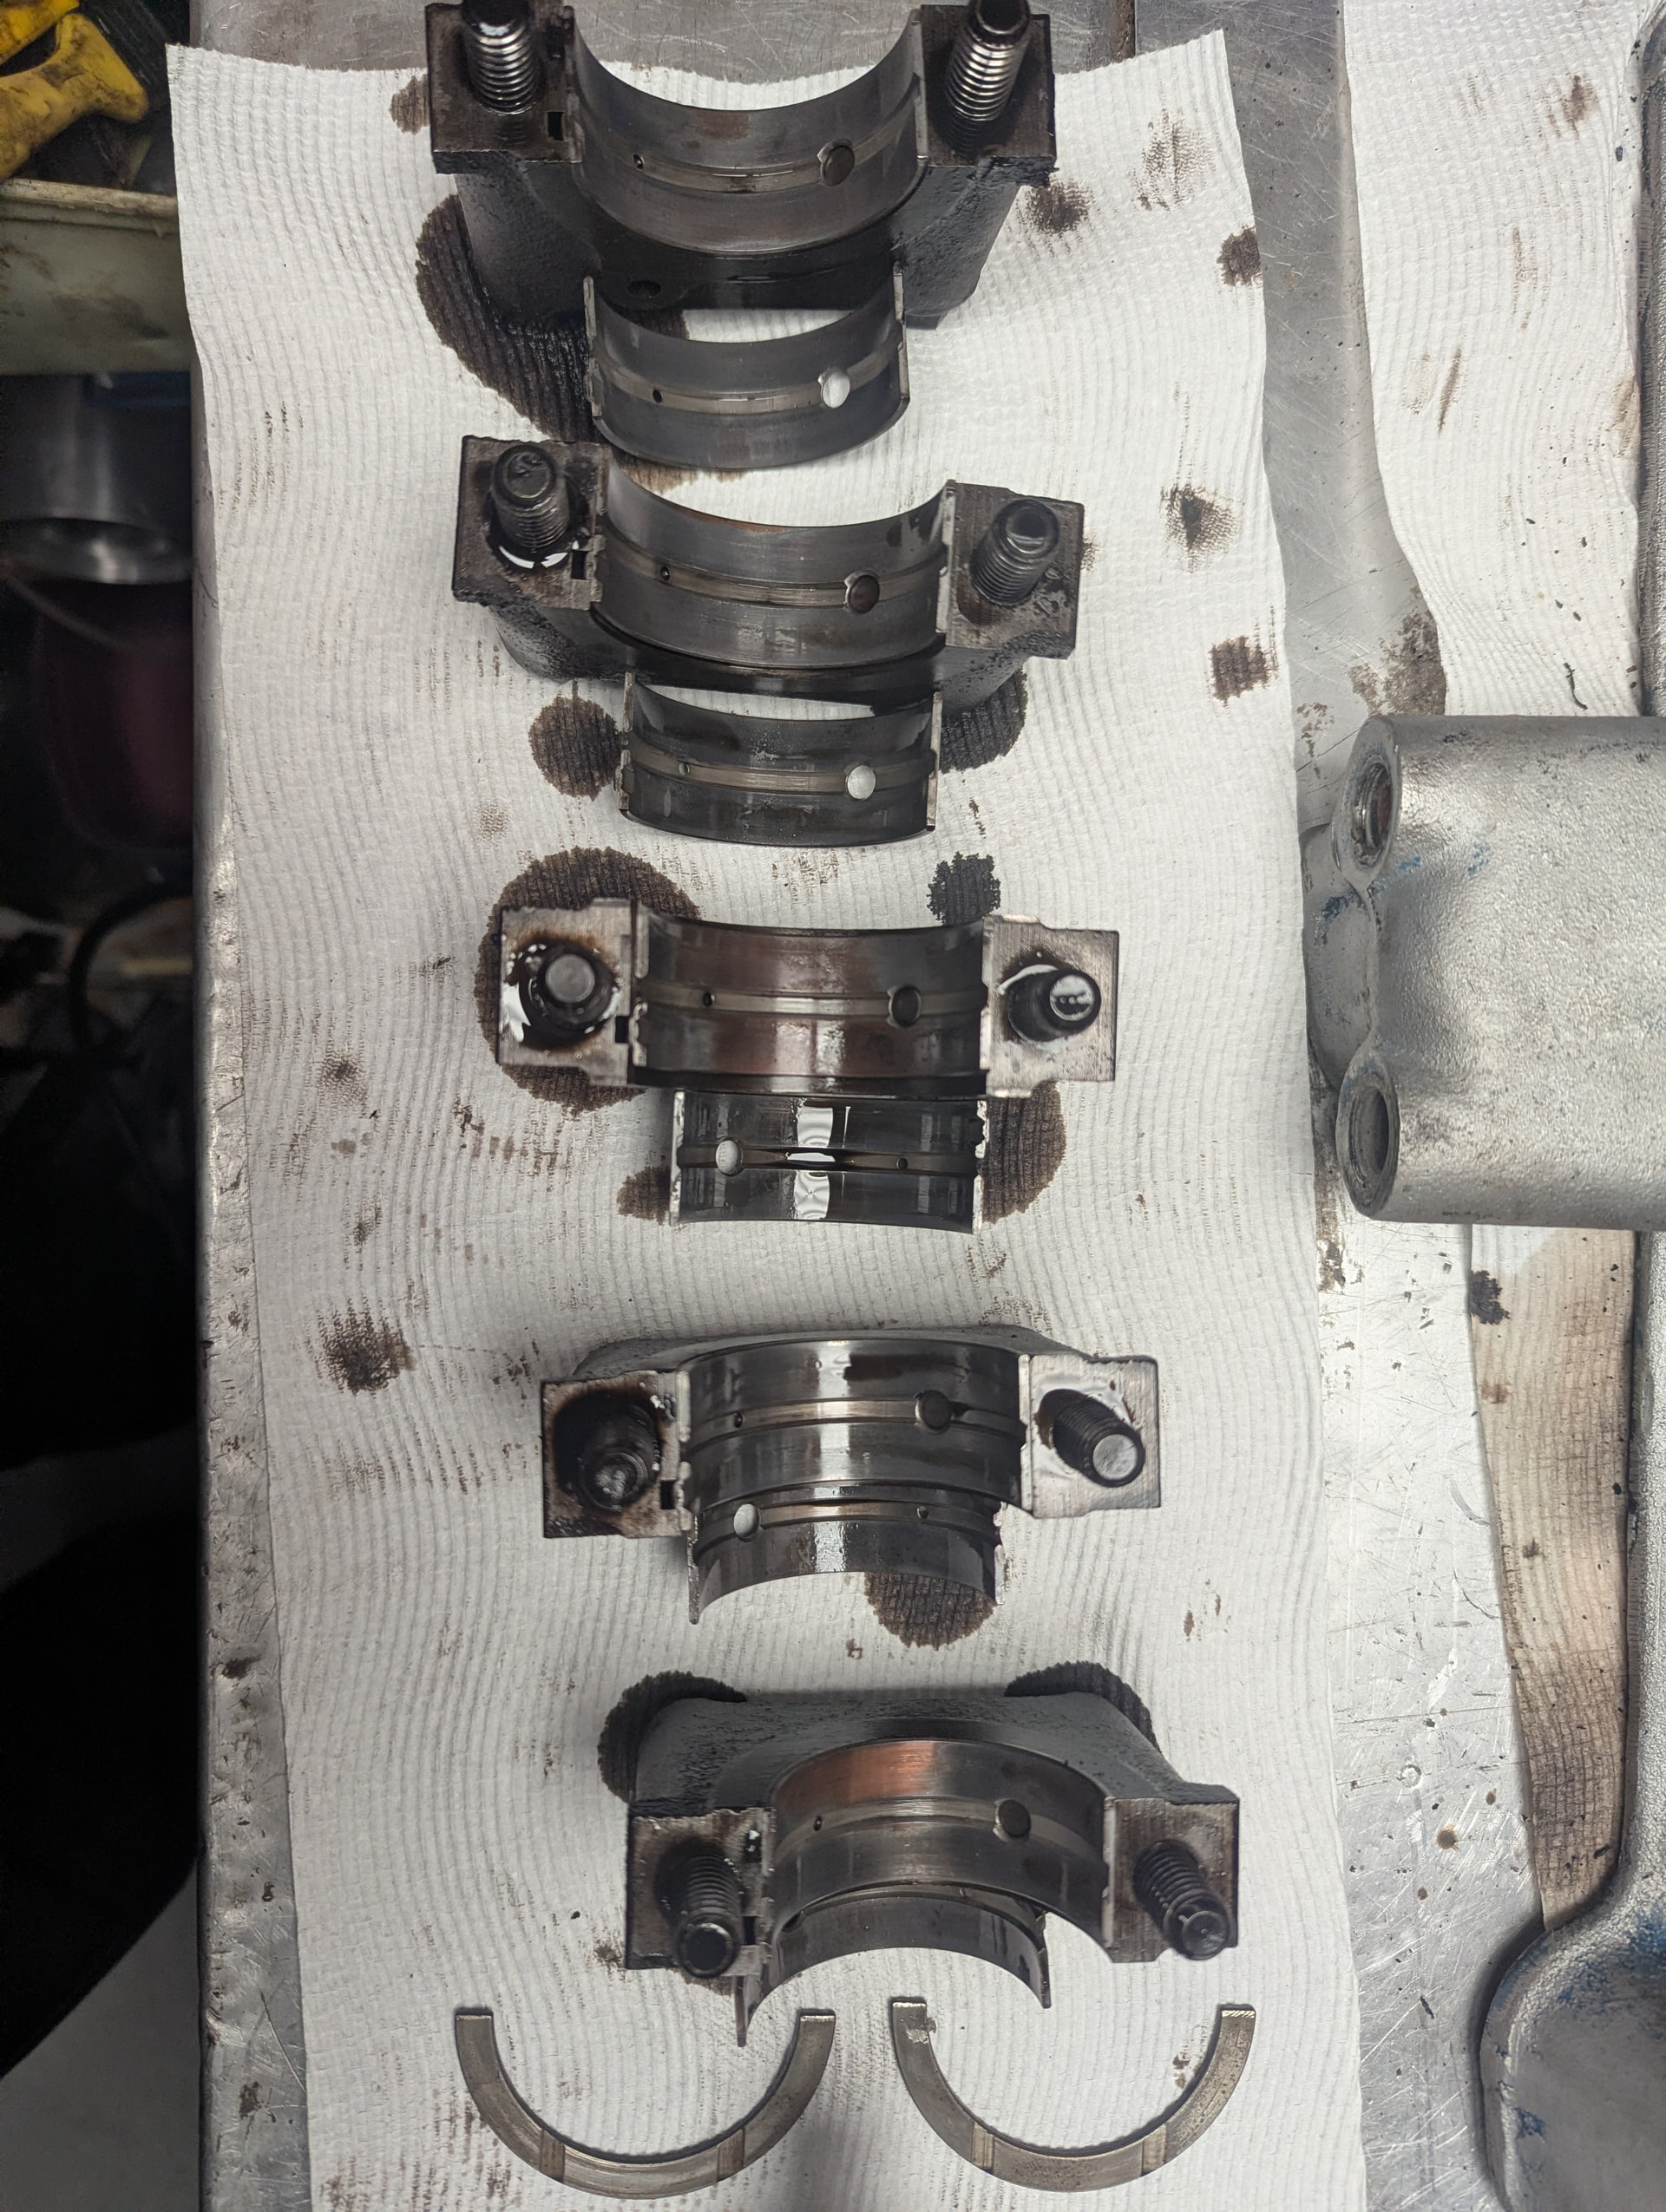
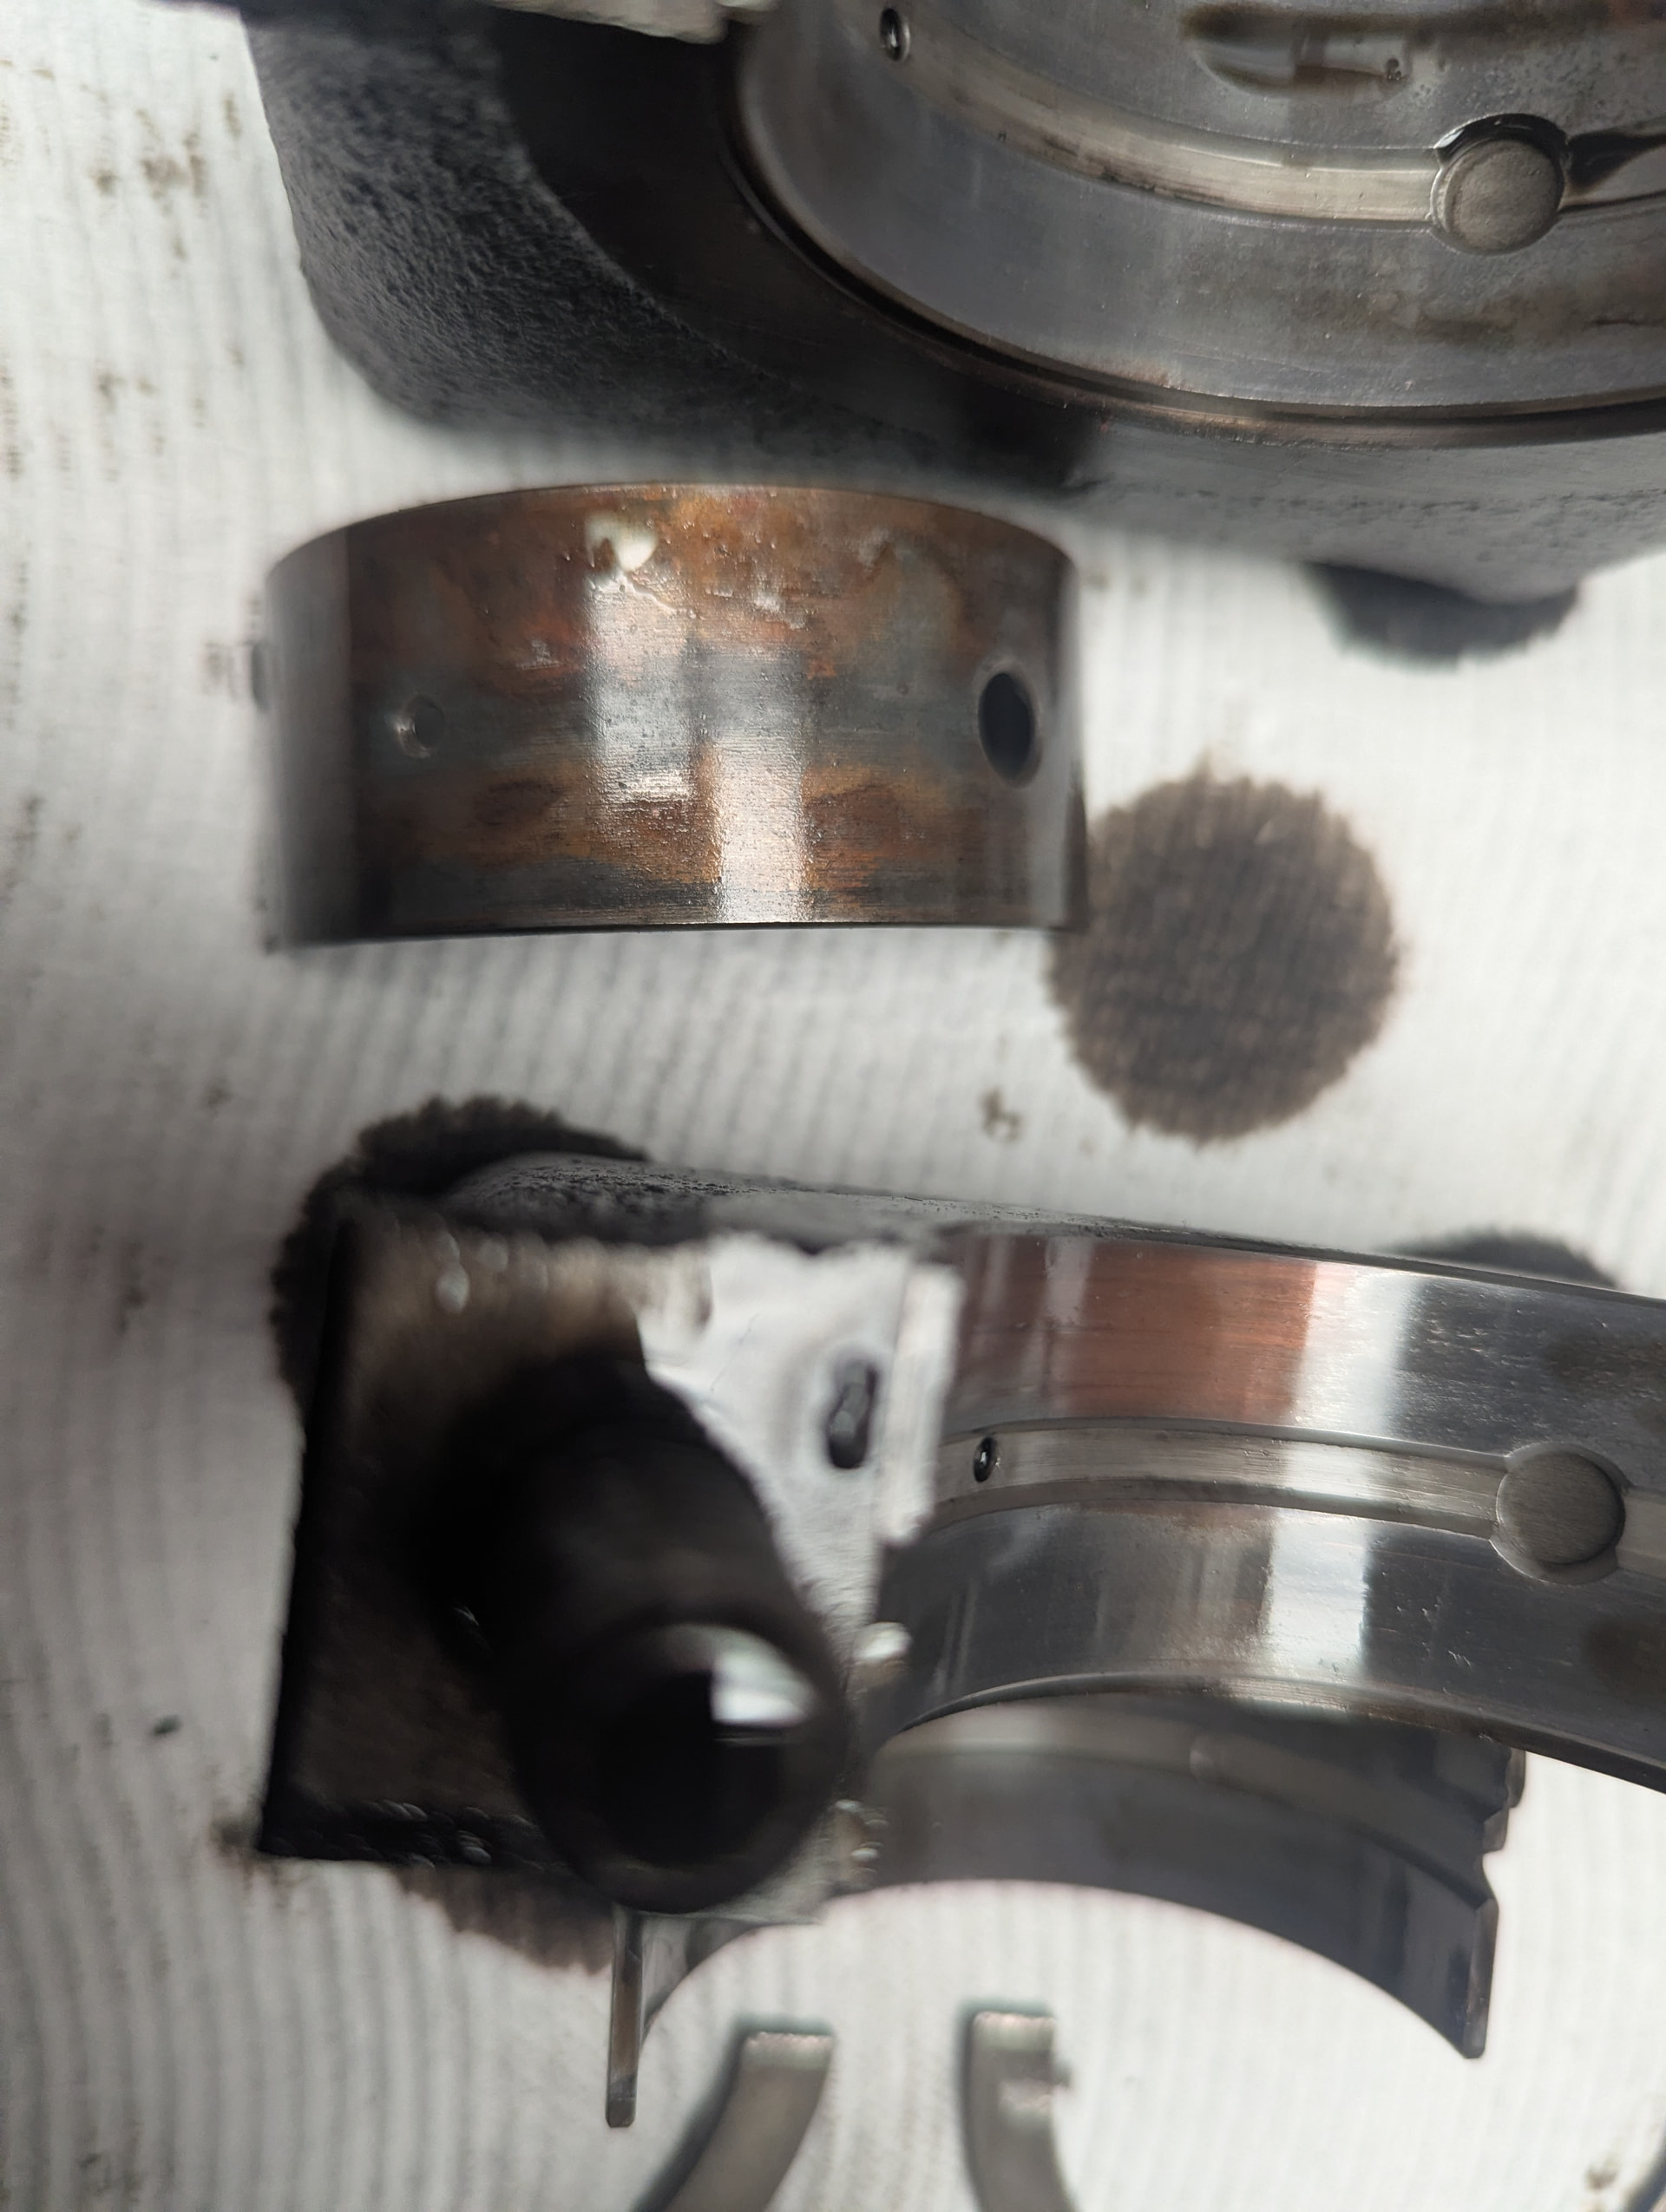
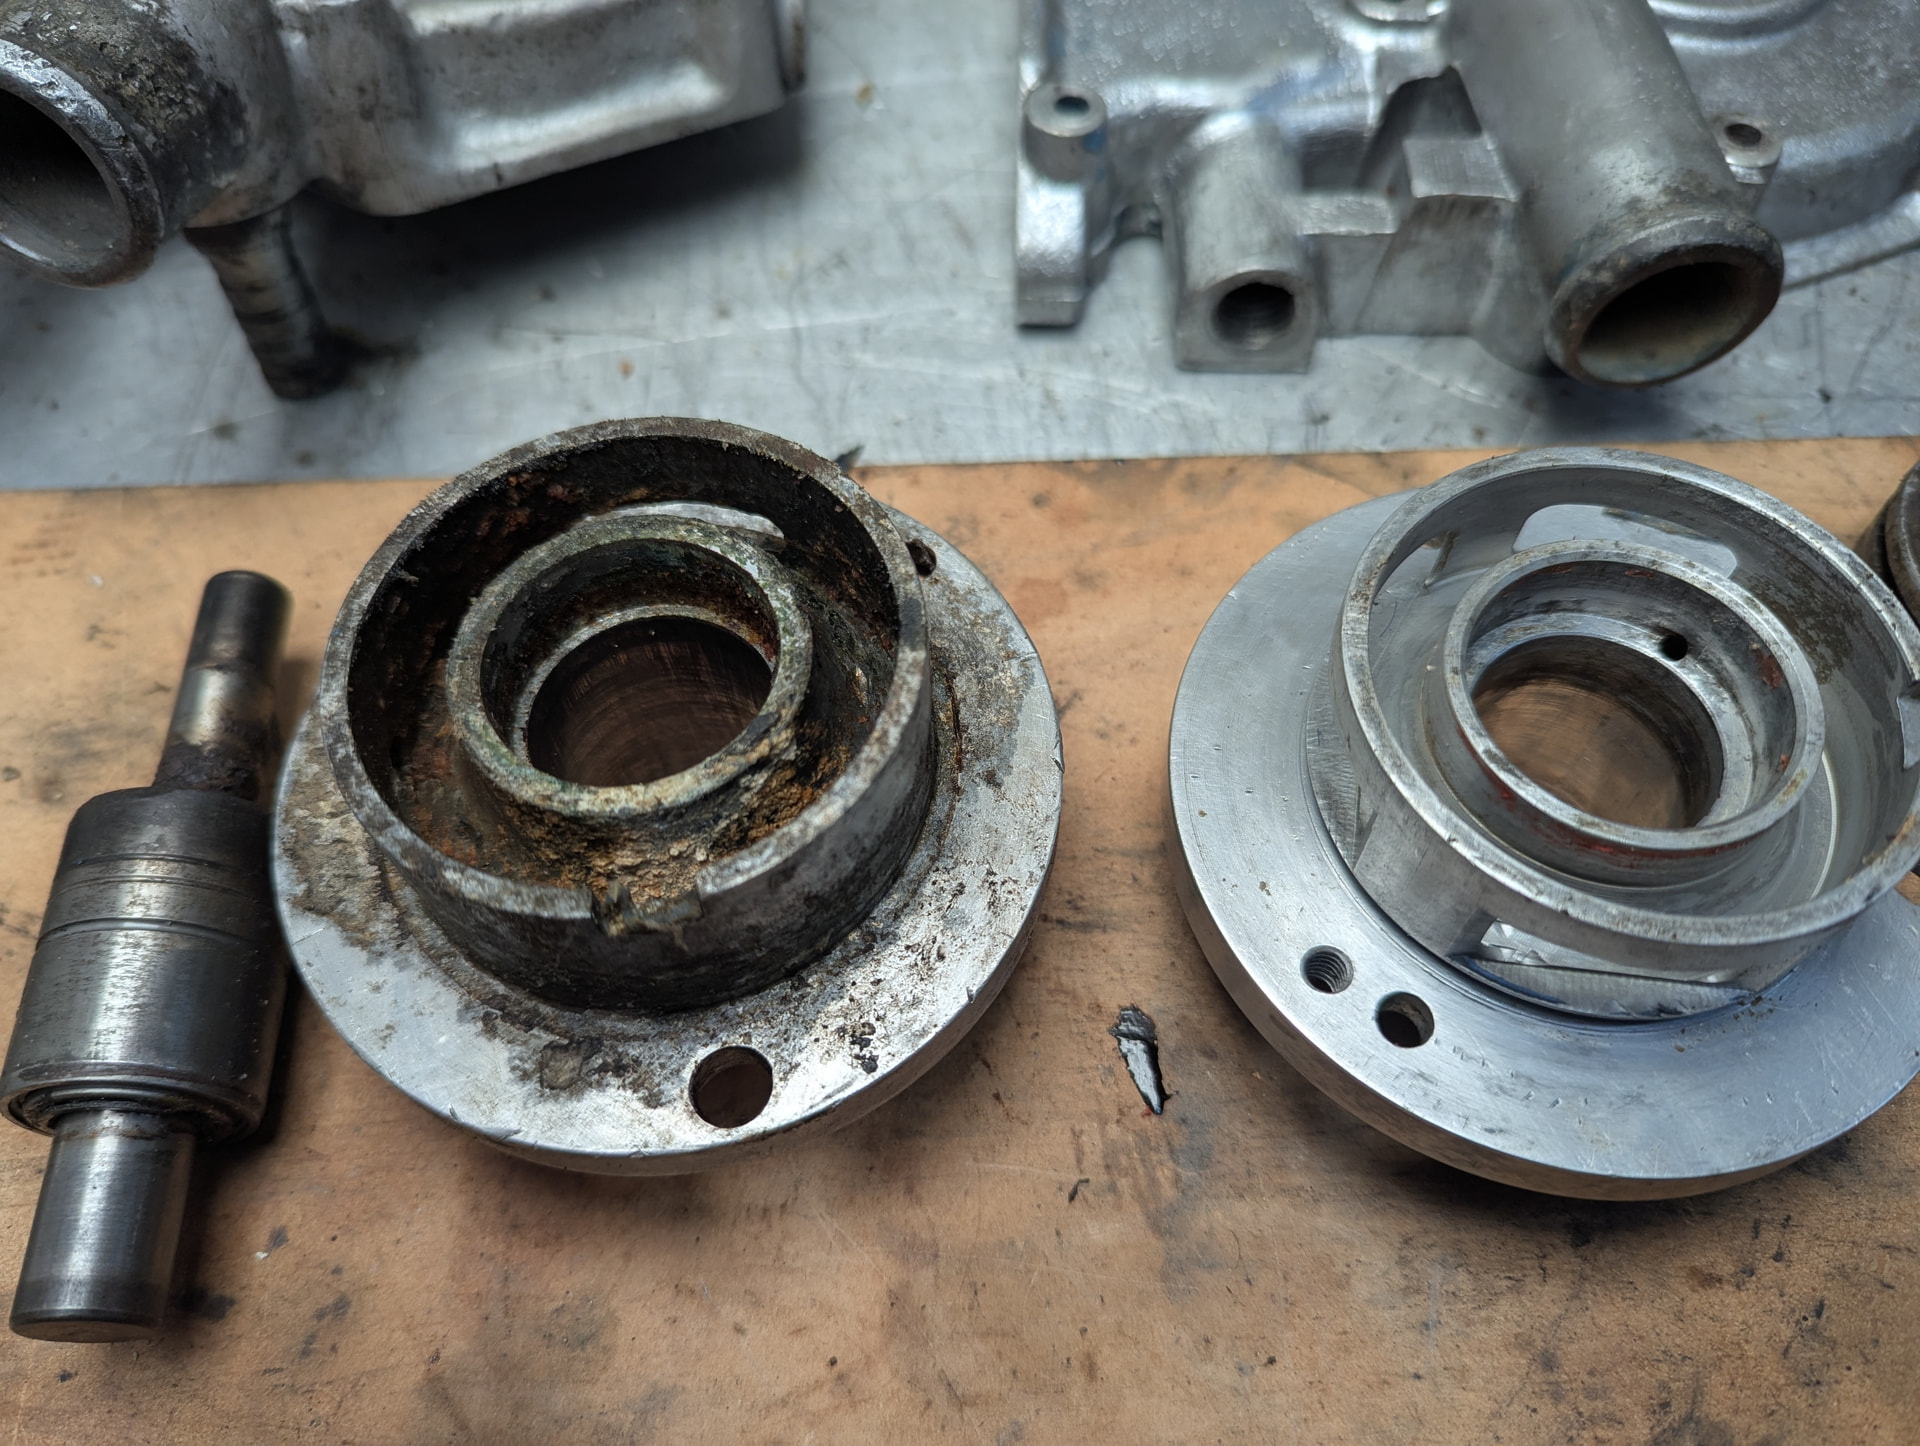
Main bearings similarly worn to big ends especially the centre main. Bearings also loose in the caps probably due to this wear. I need to check the big end and main caps bore diameters to ensure they are round and in specification.


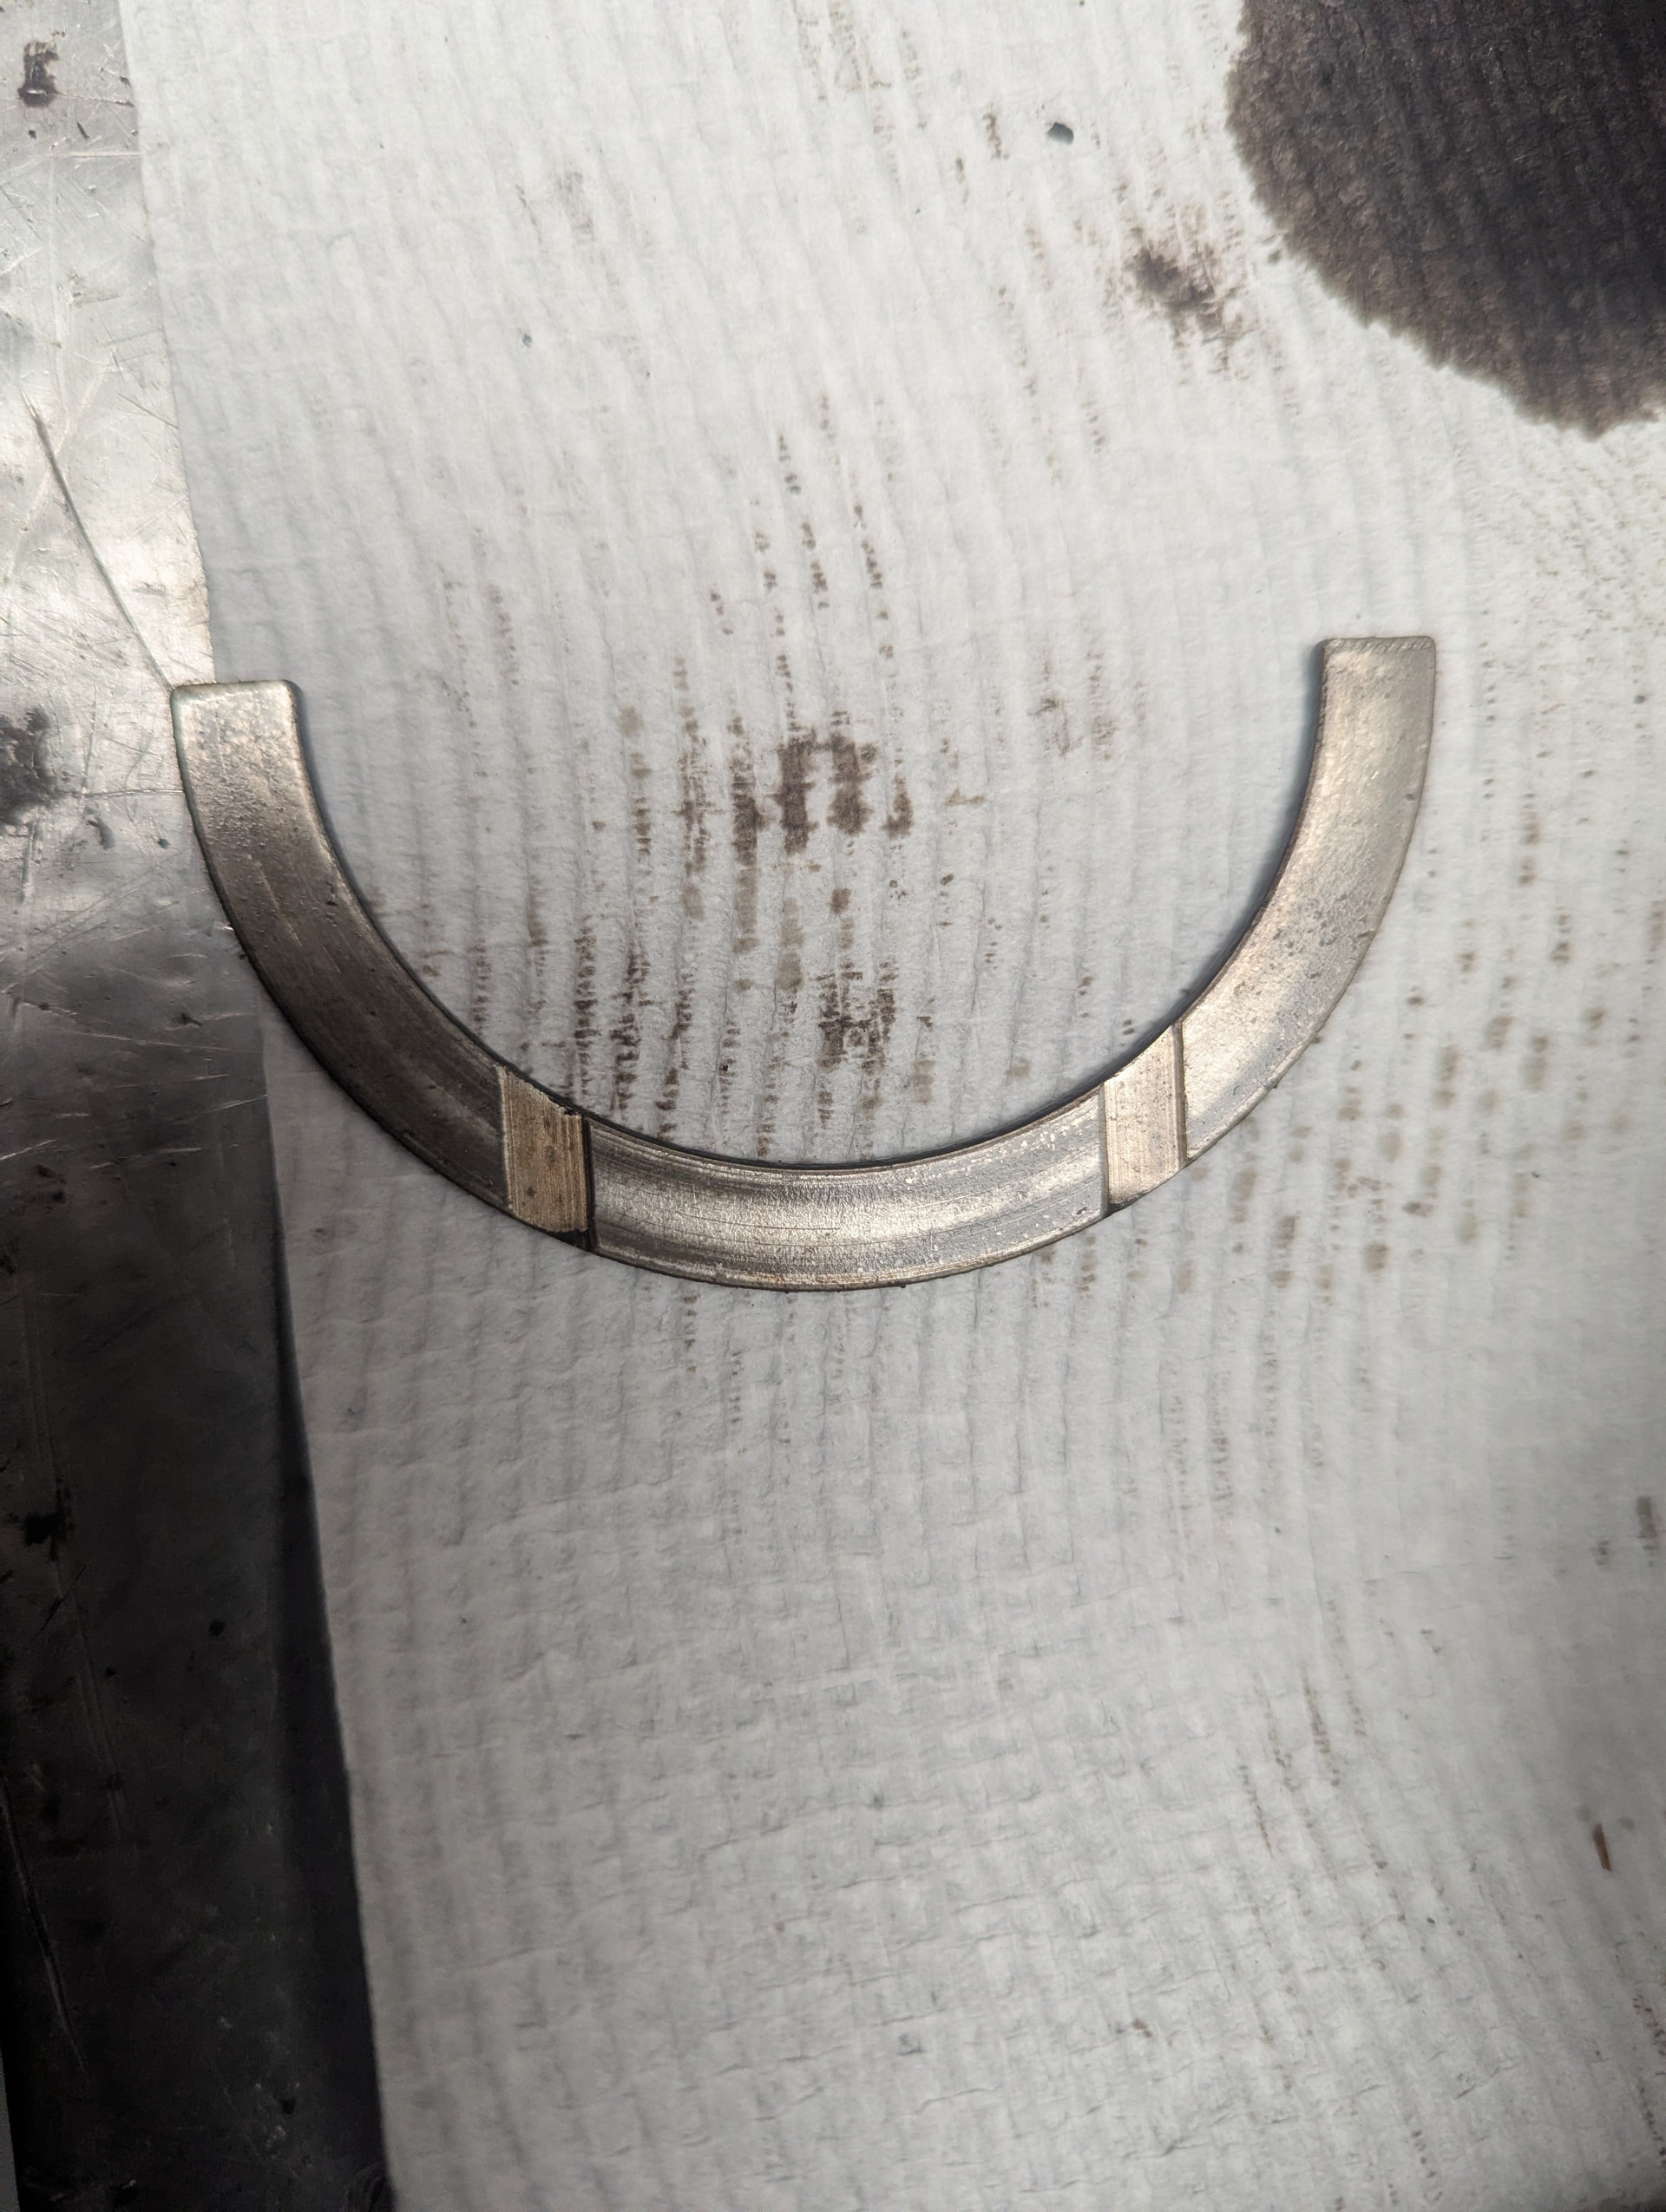
Thrust bearings were good

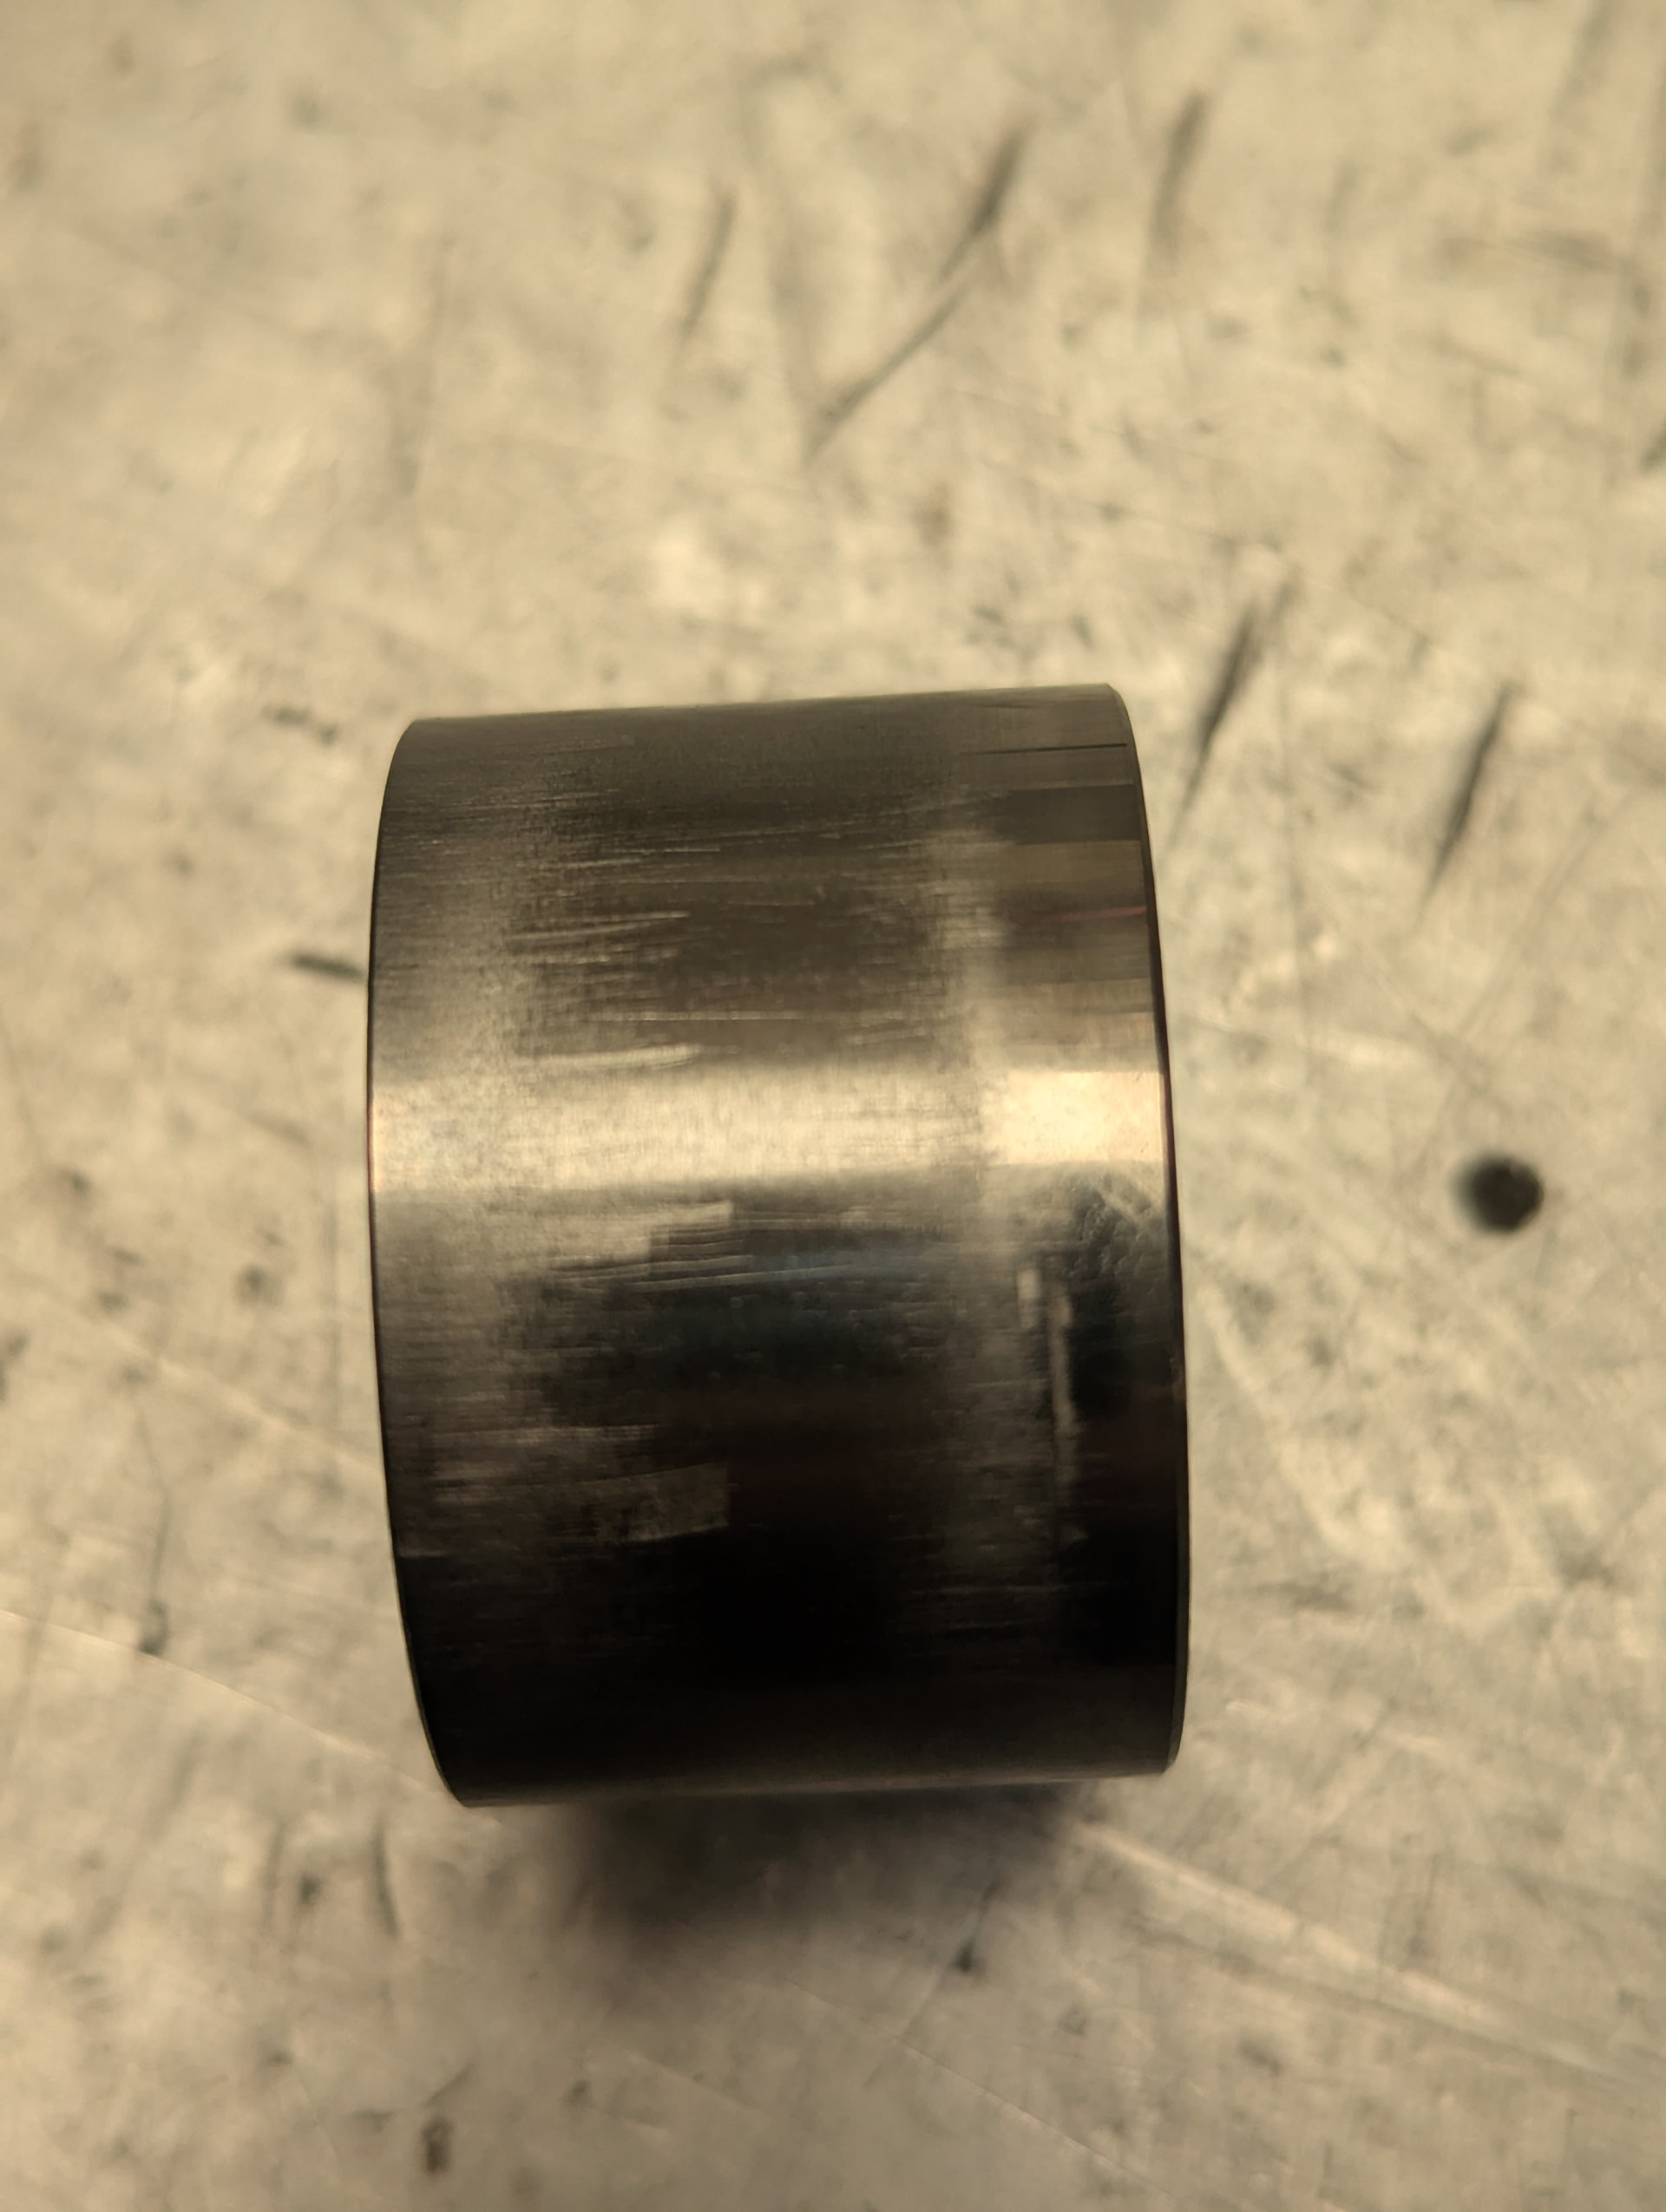
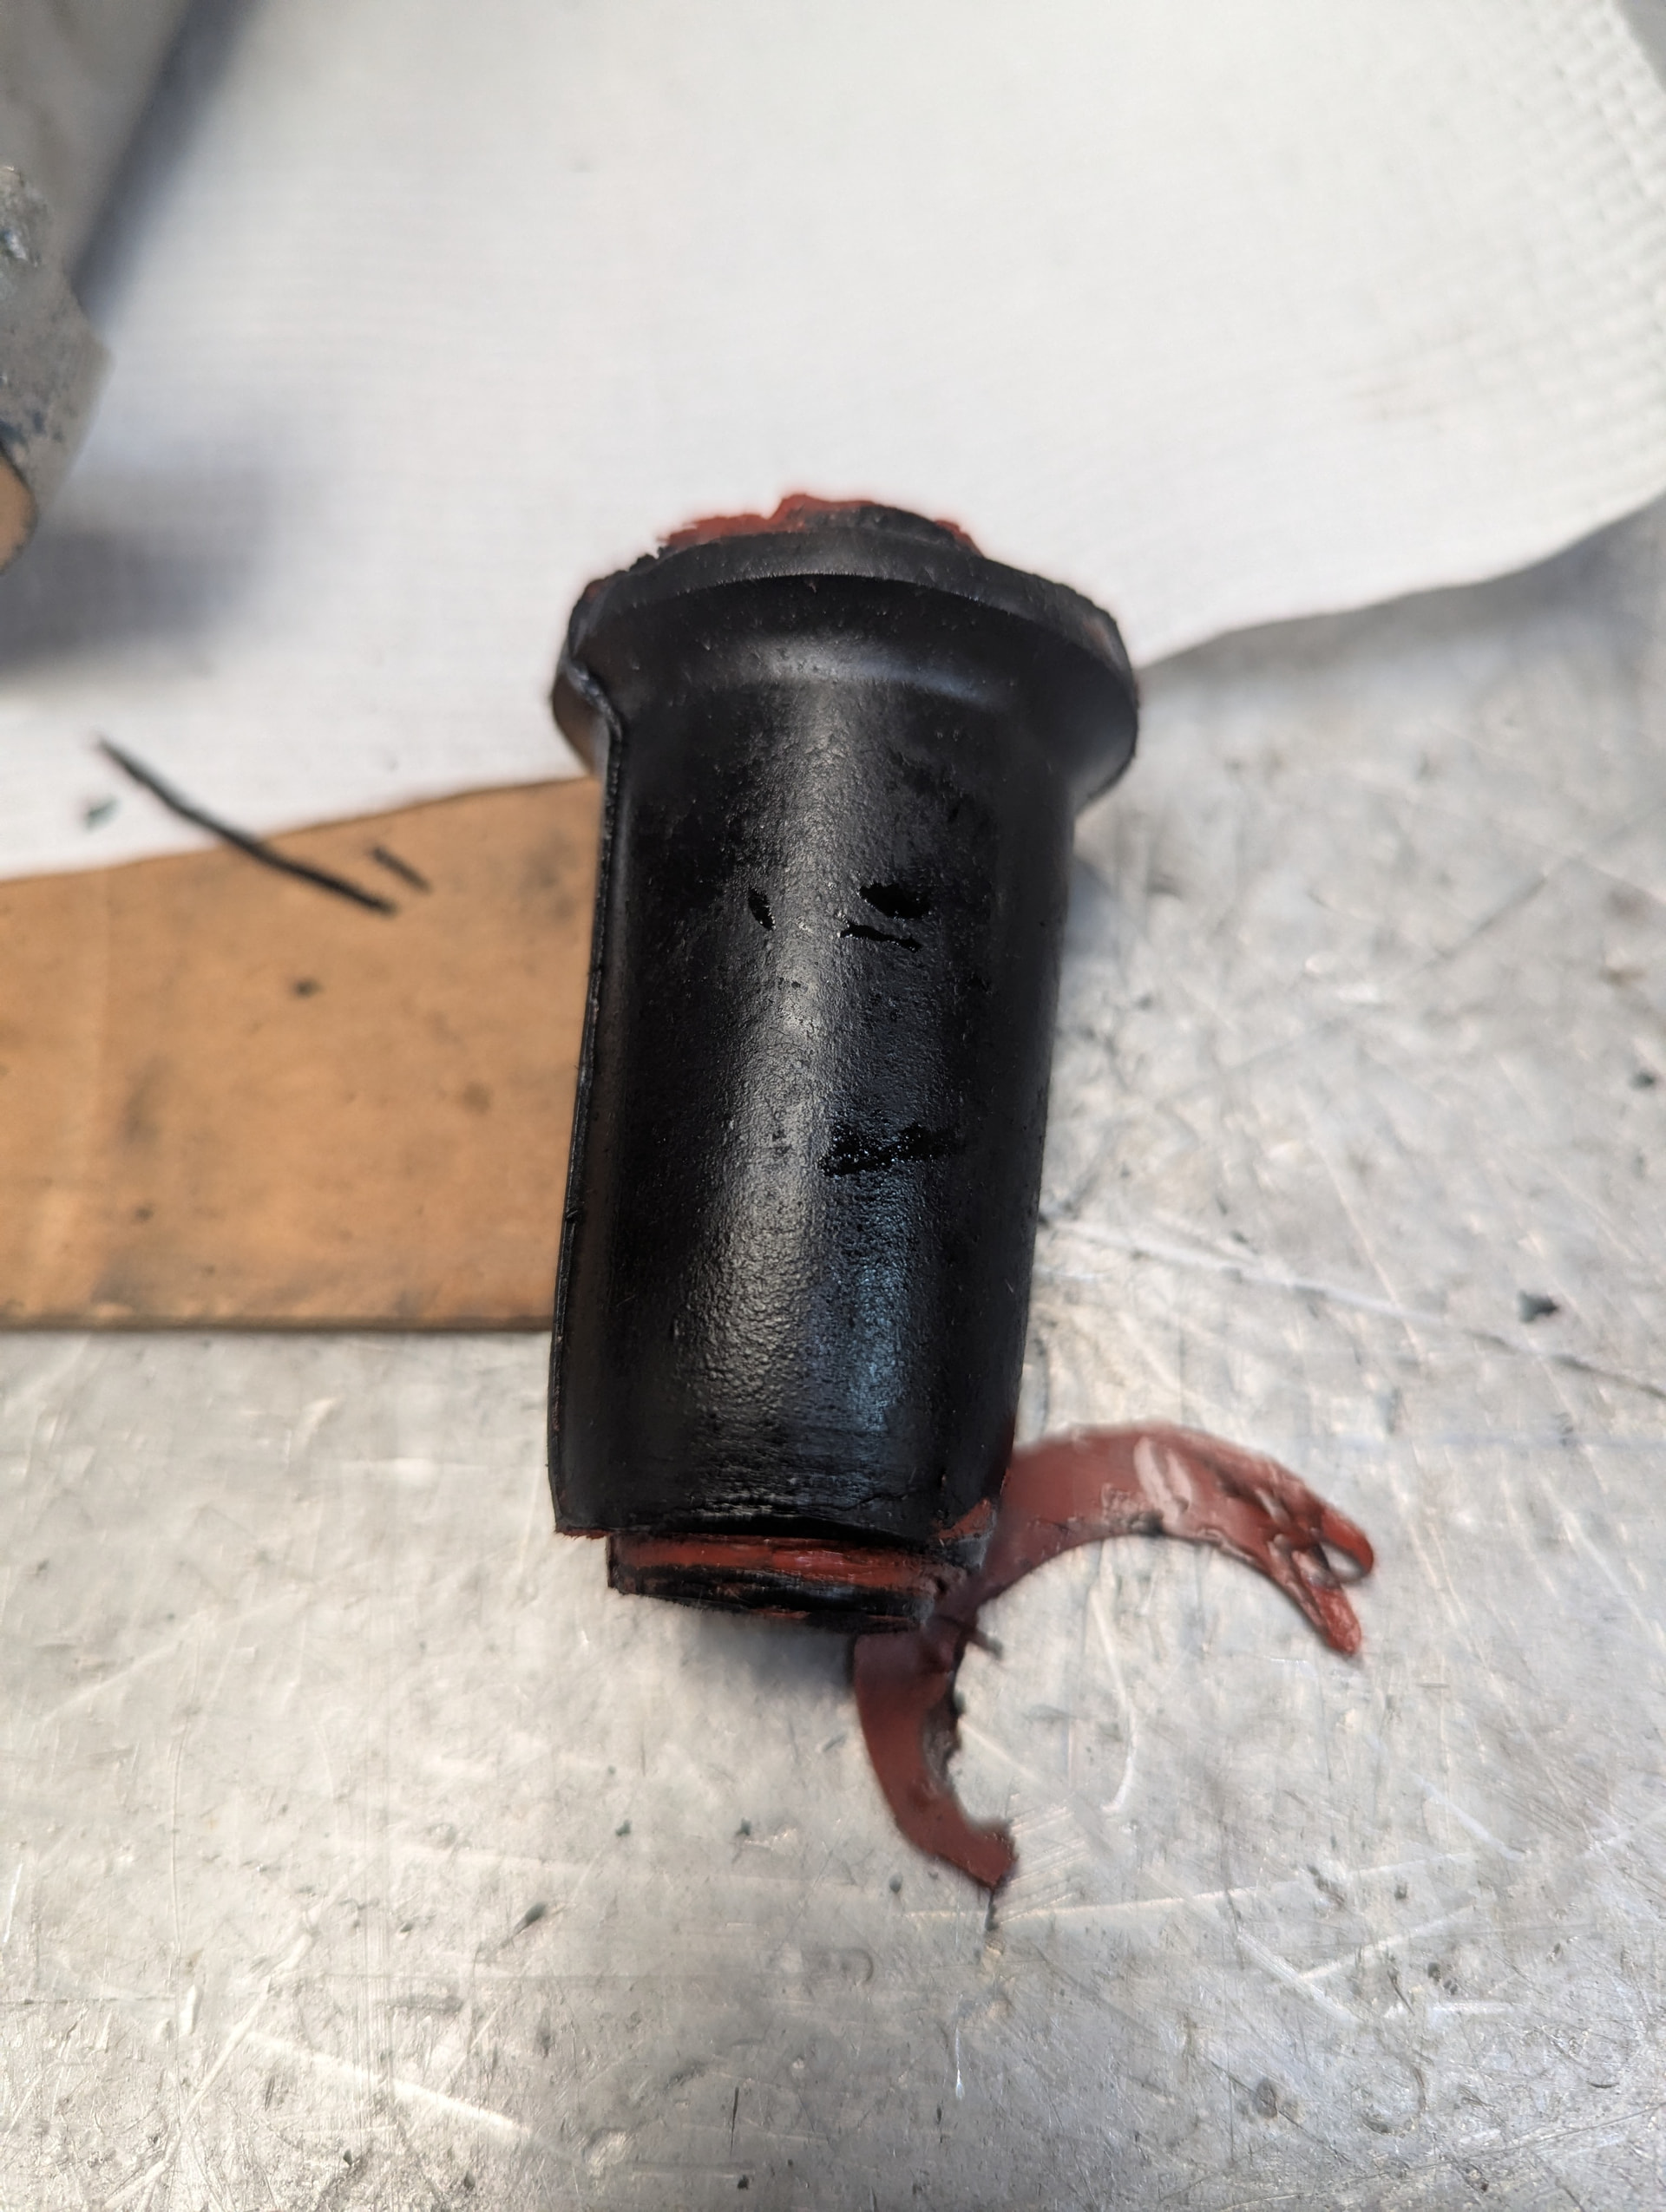
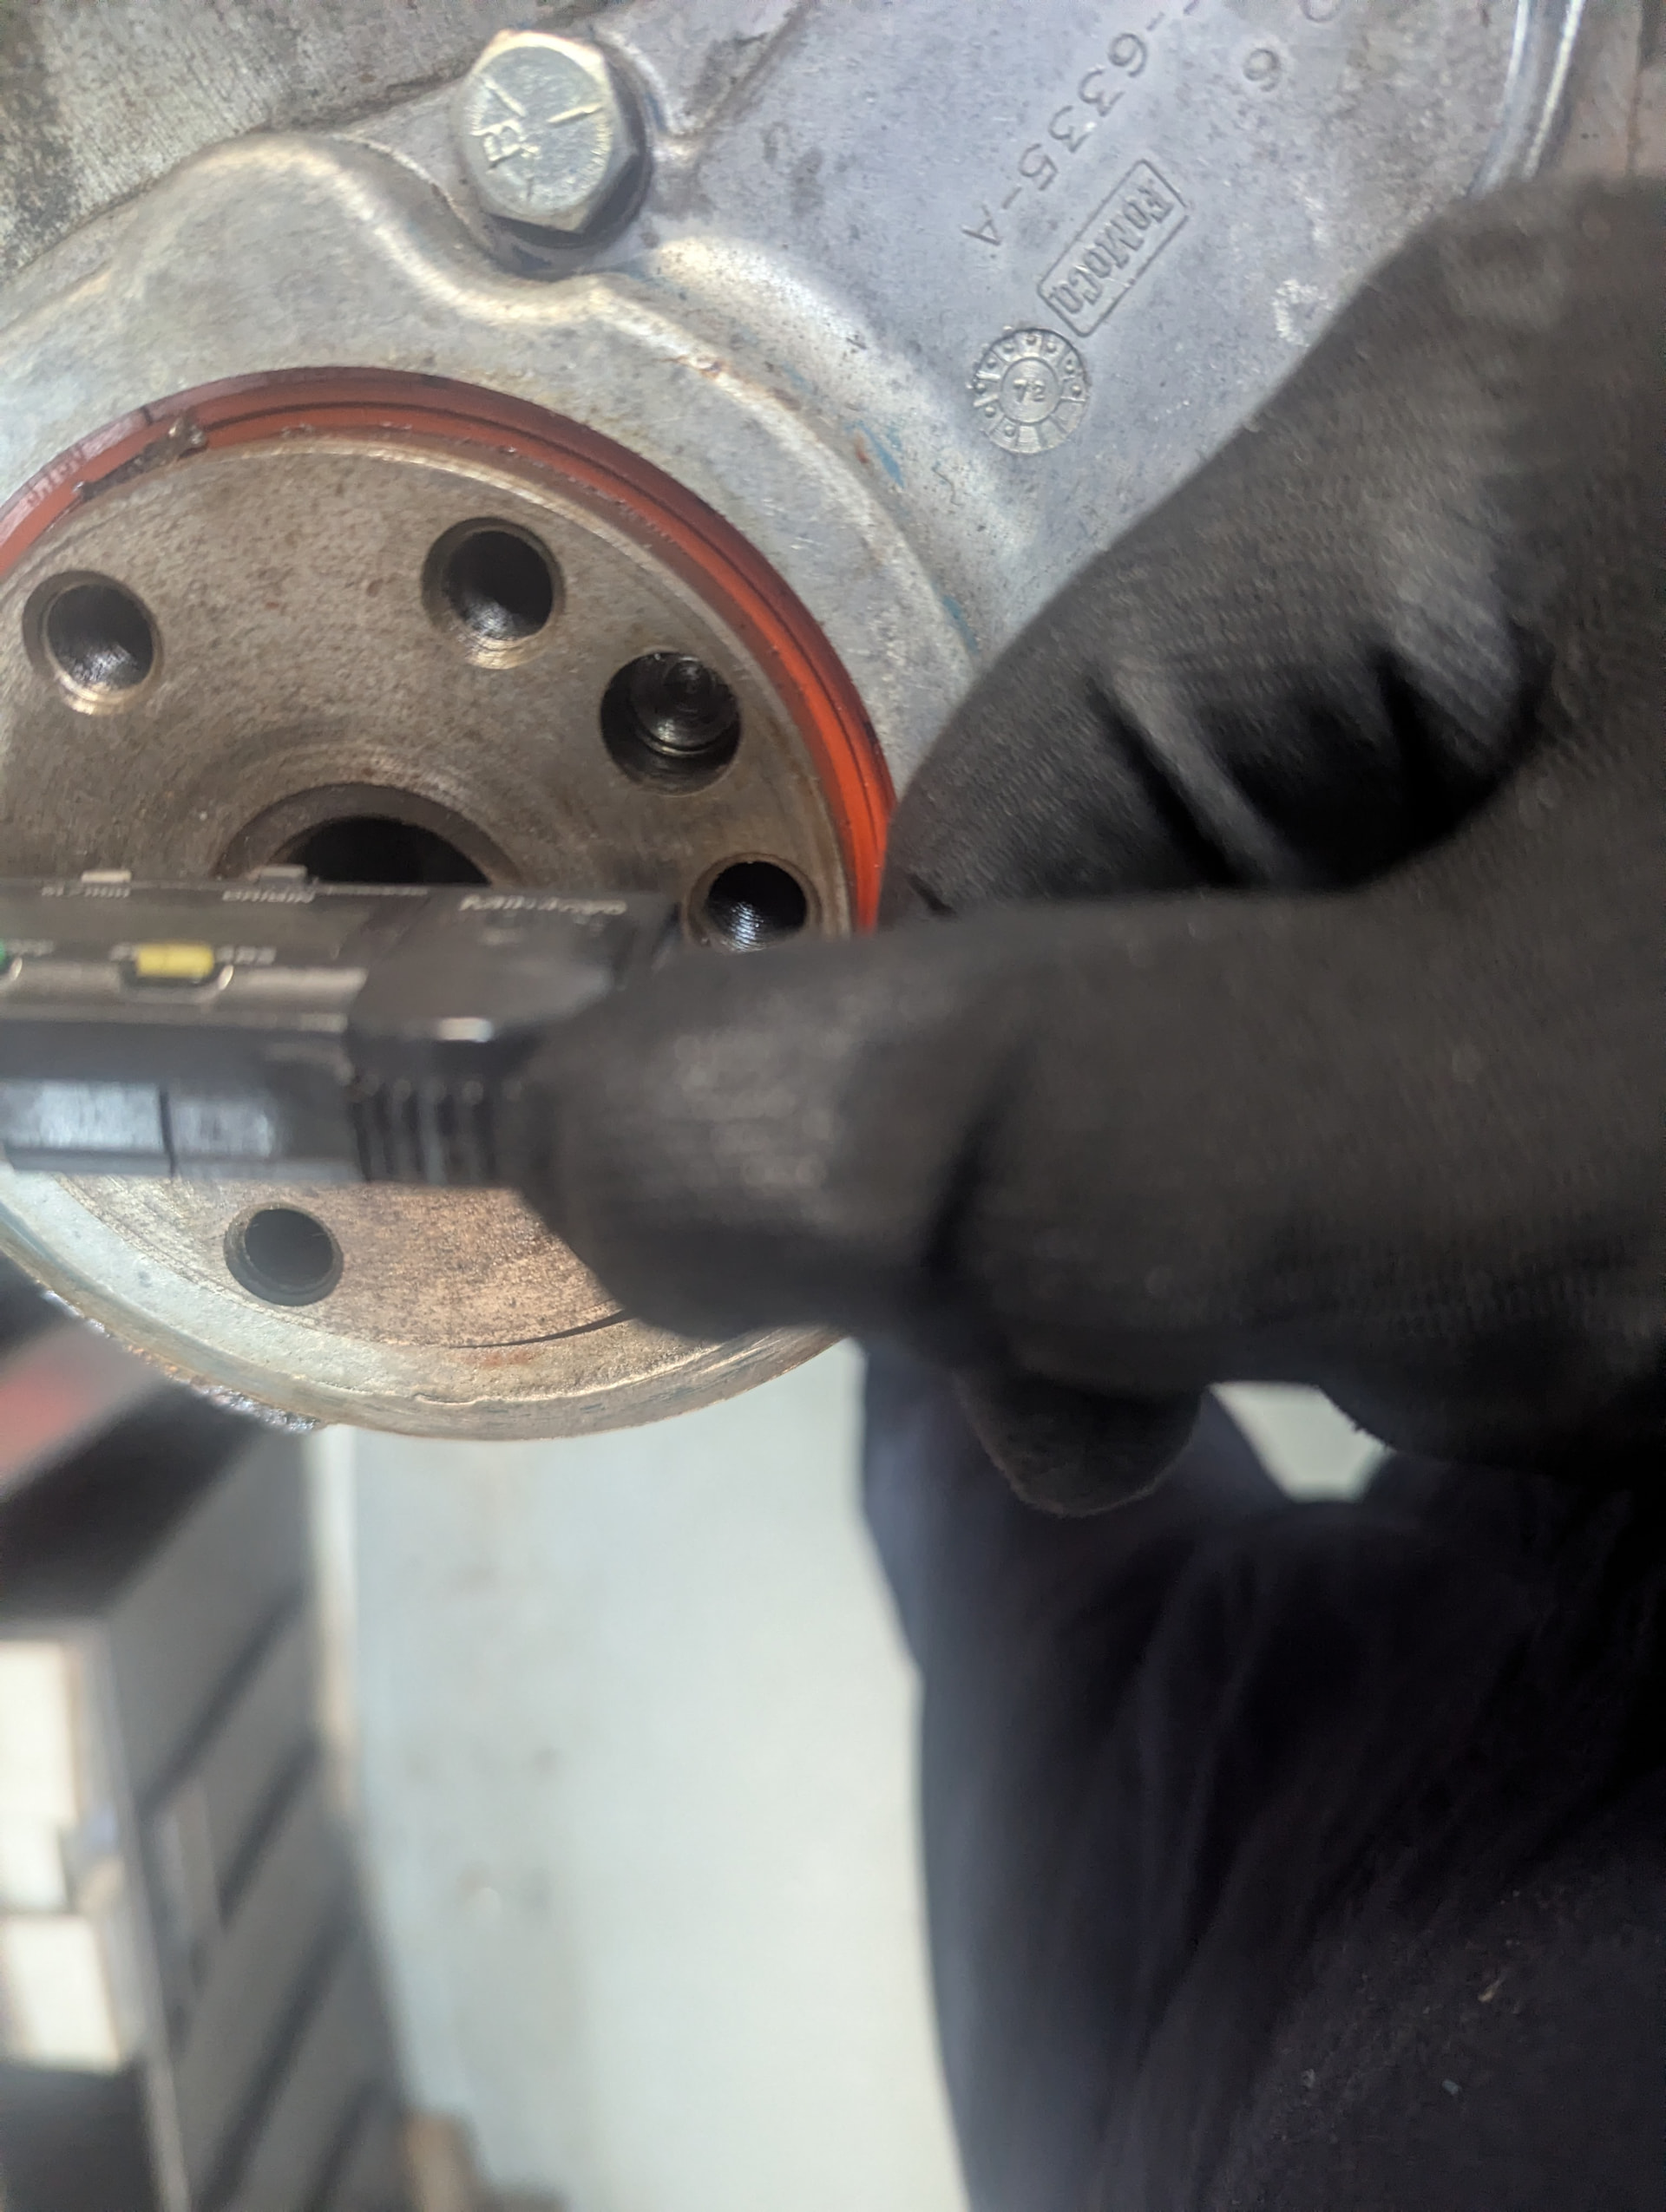
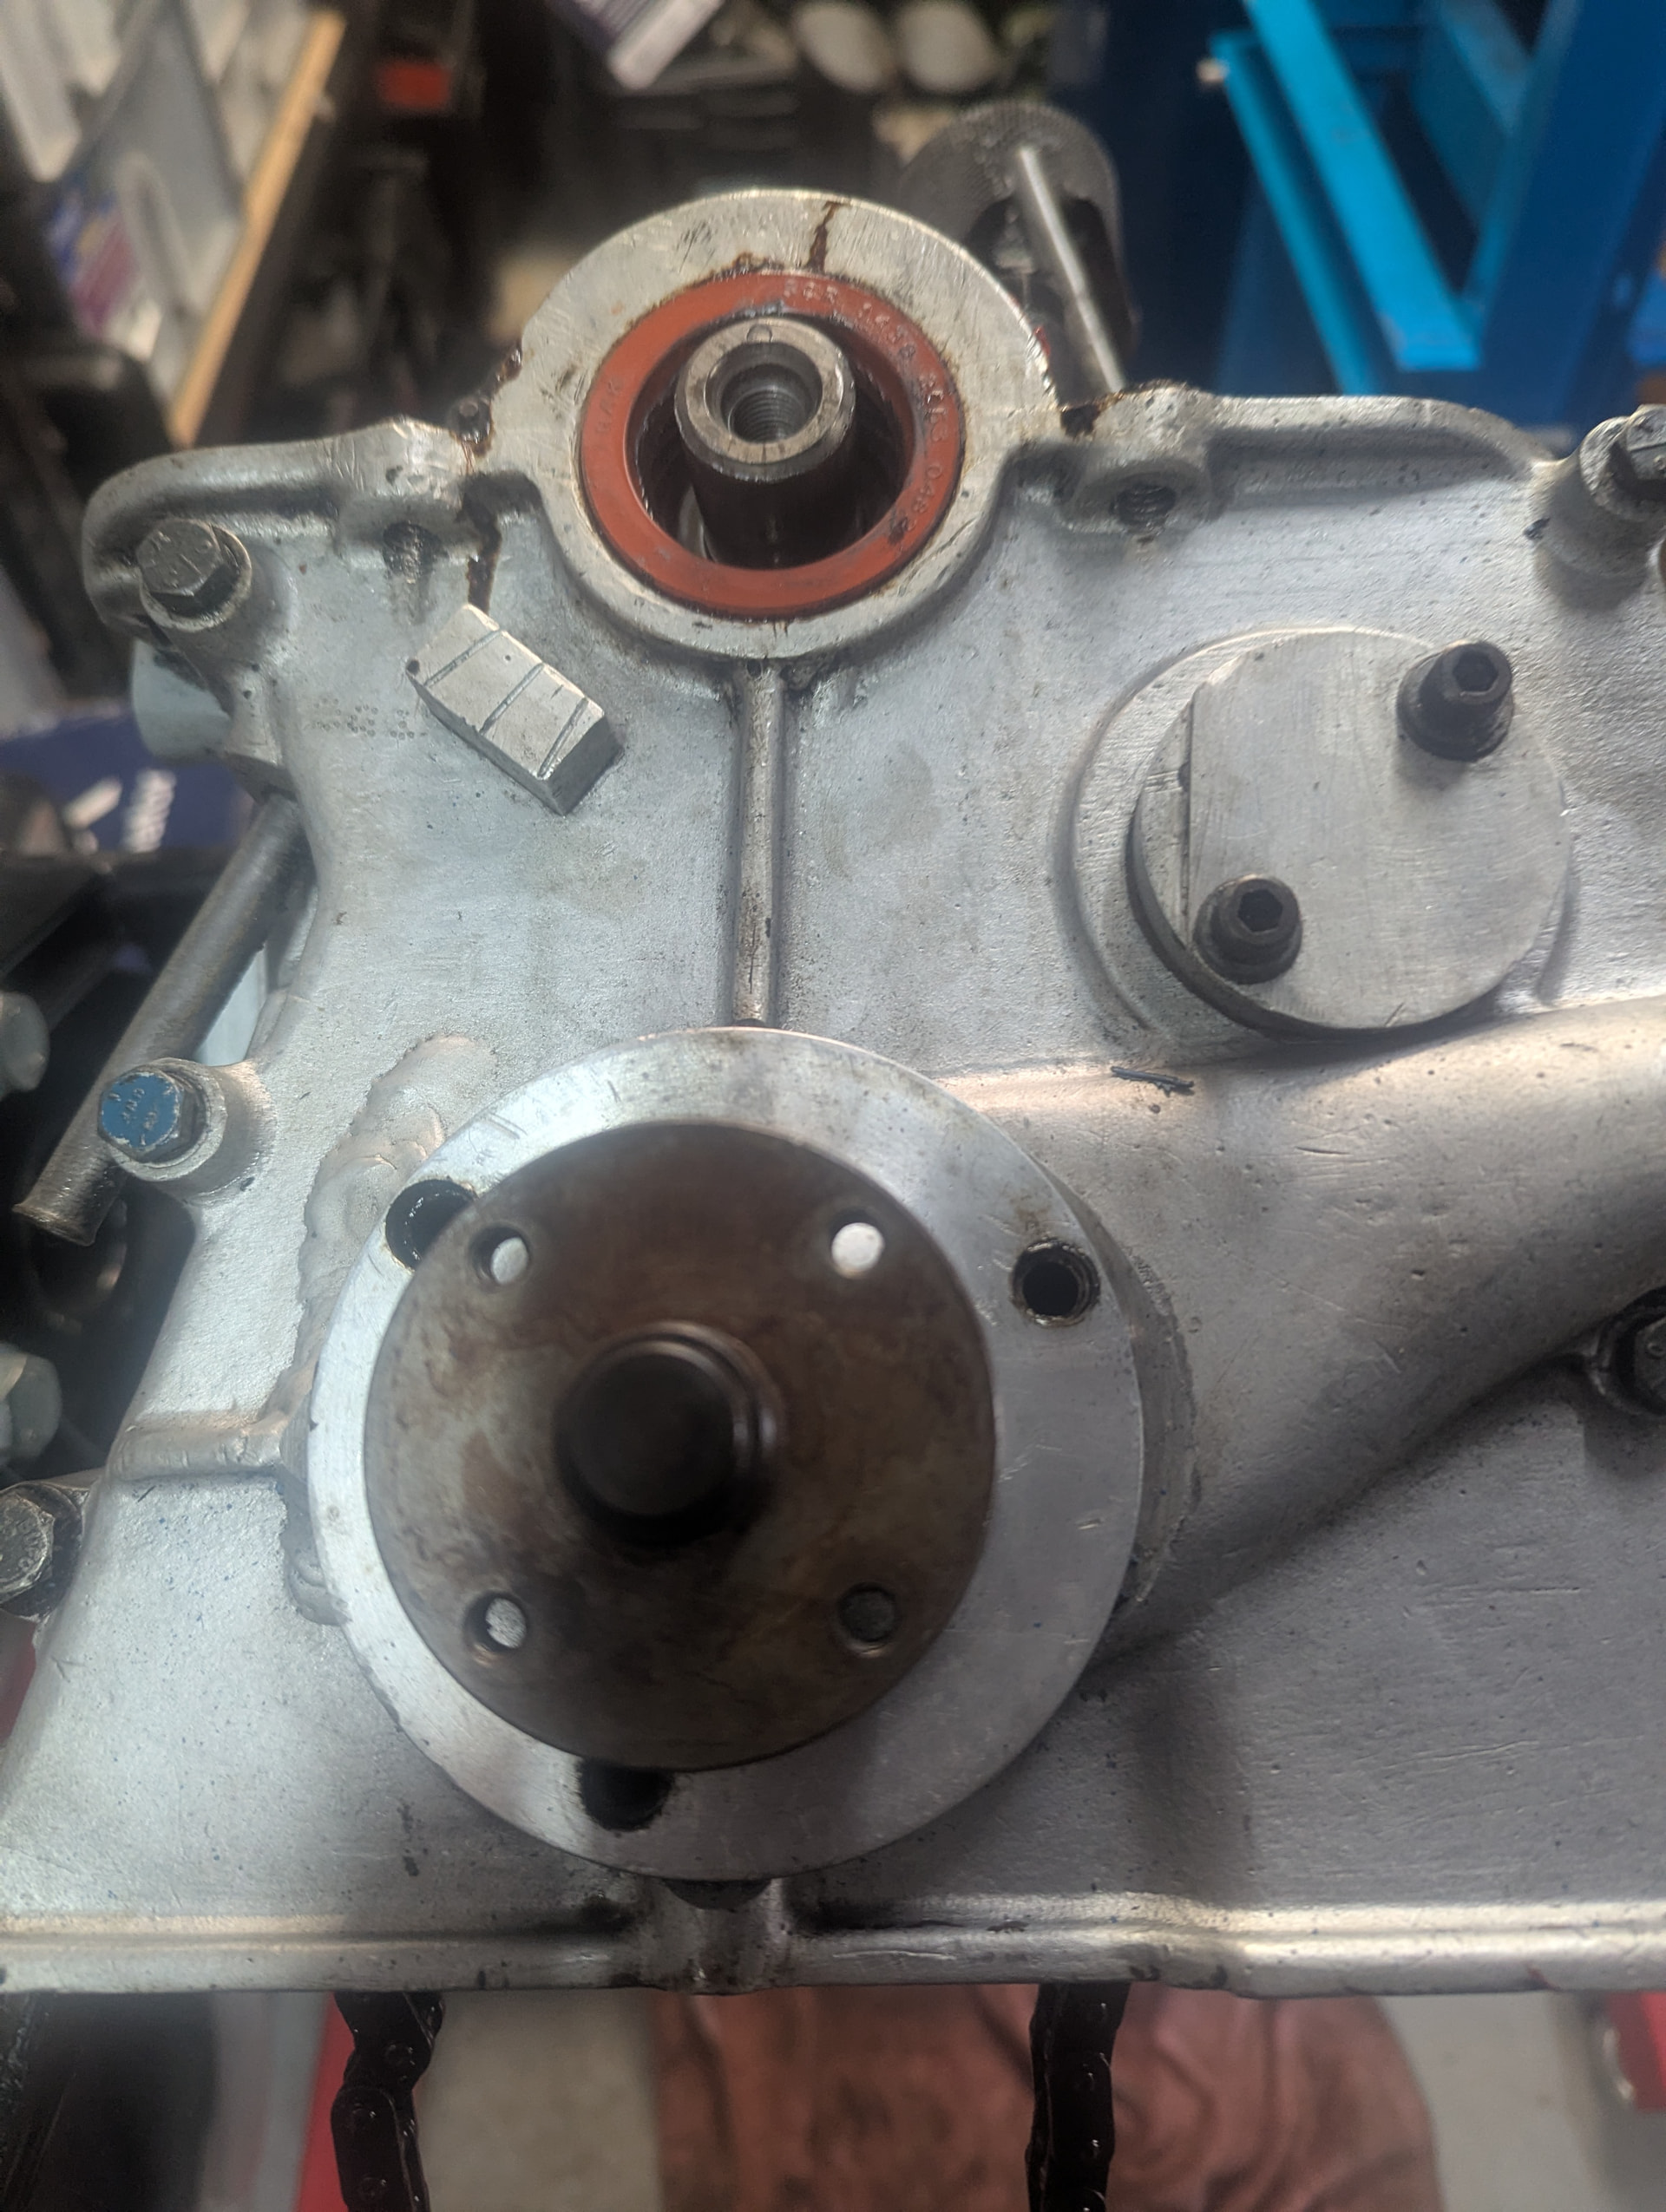
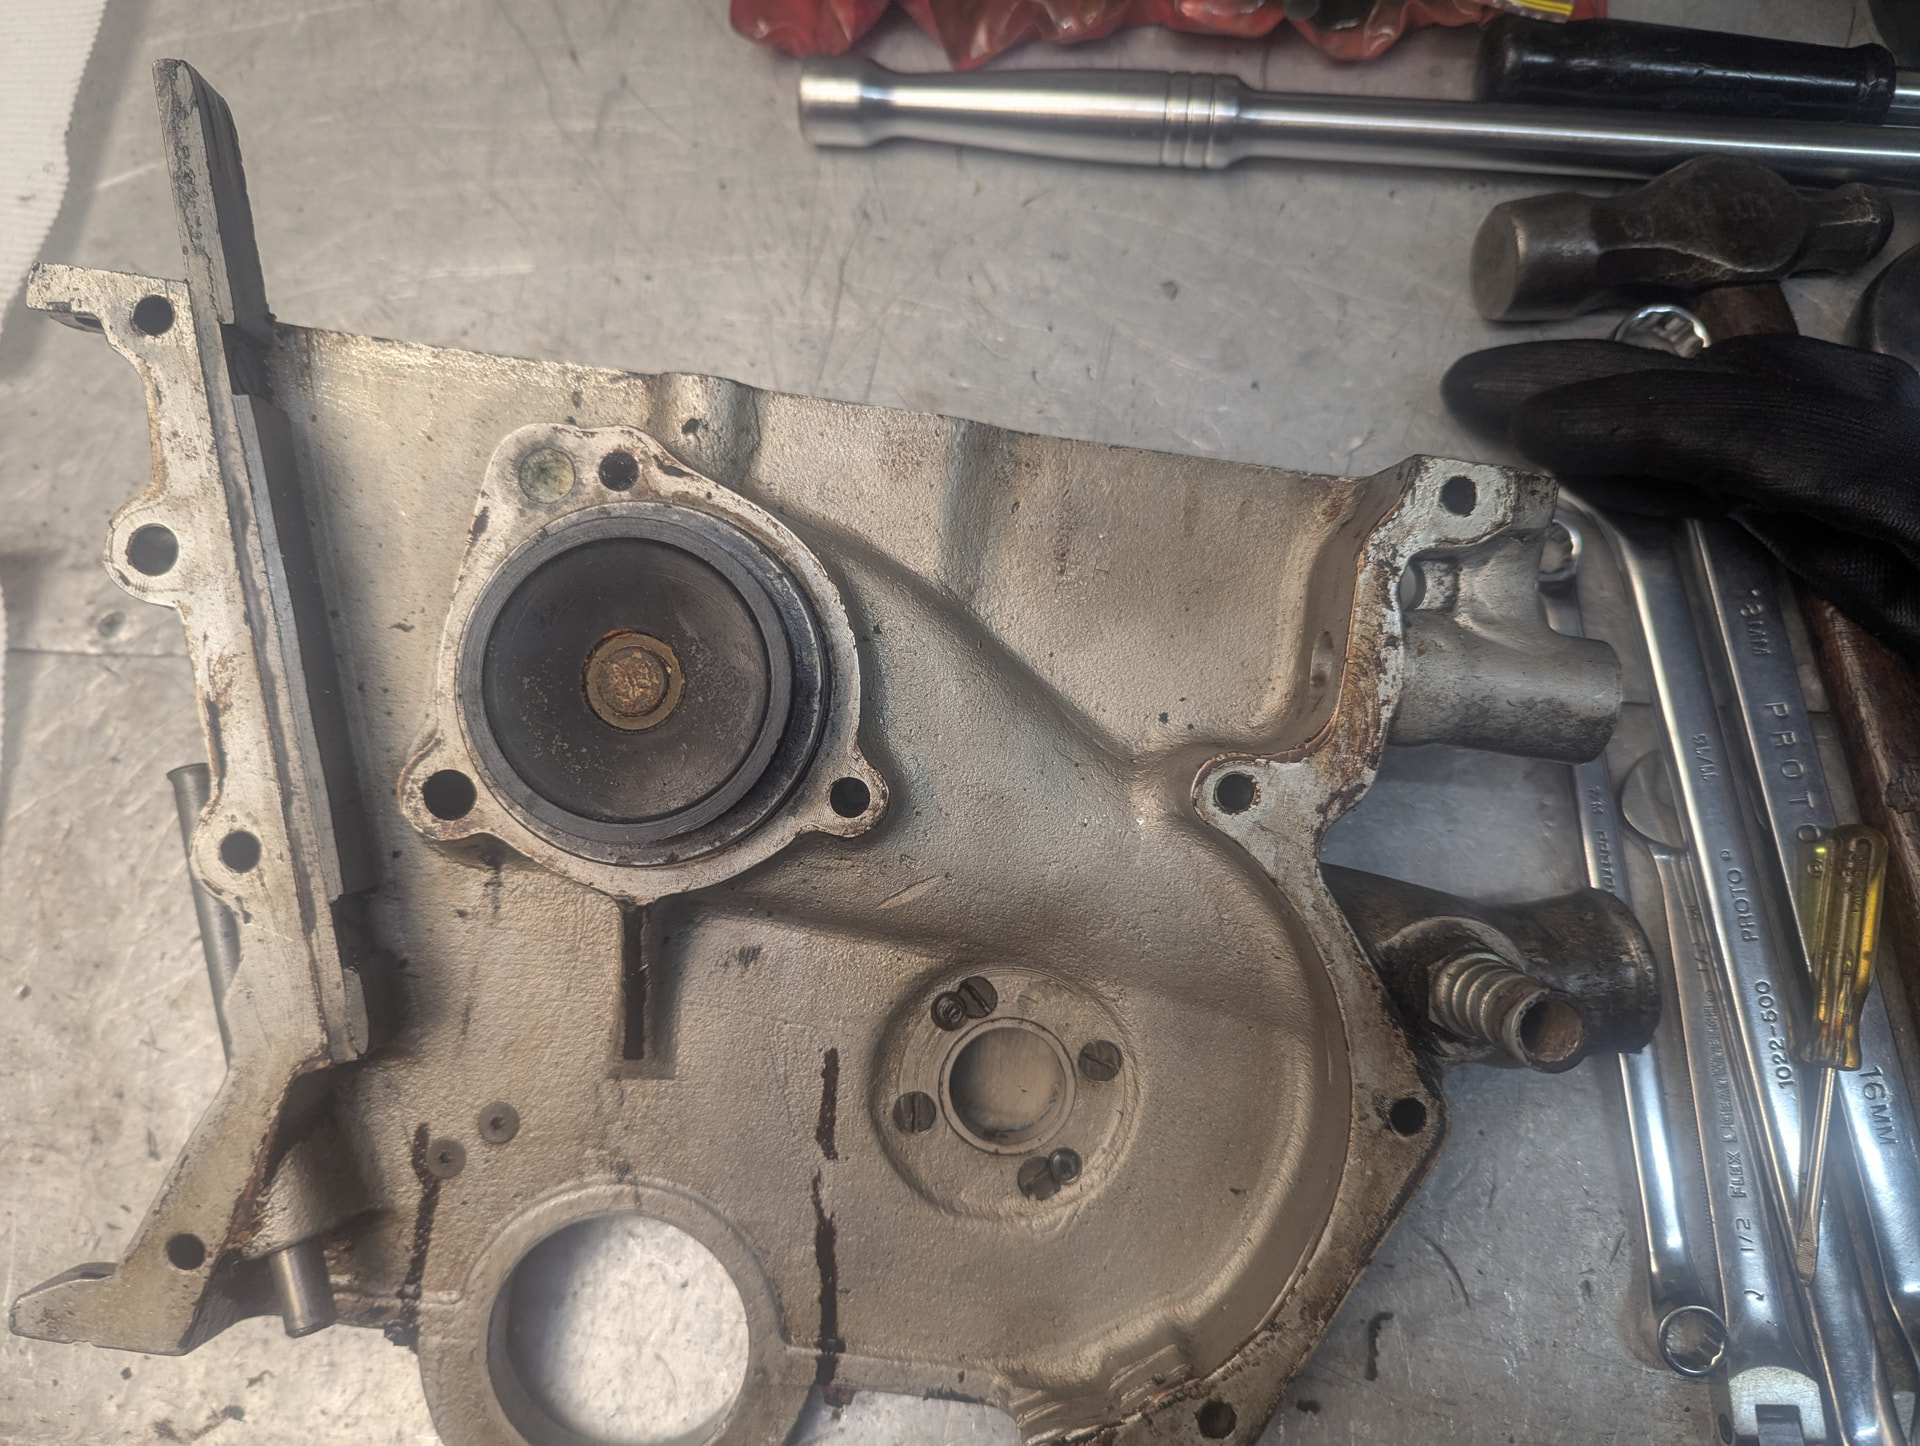
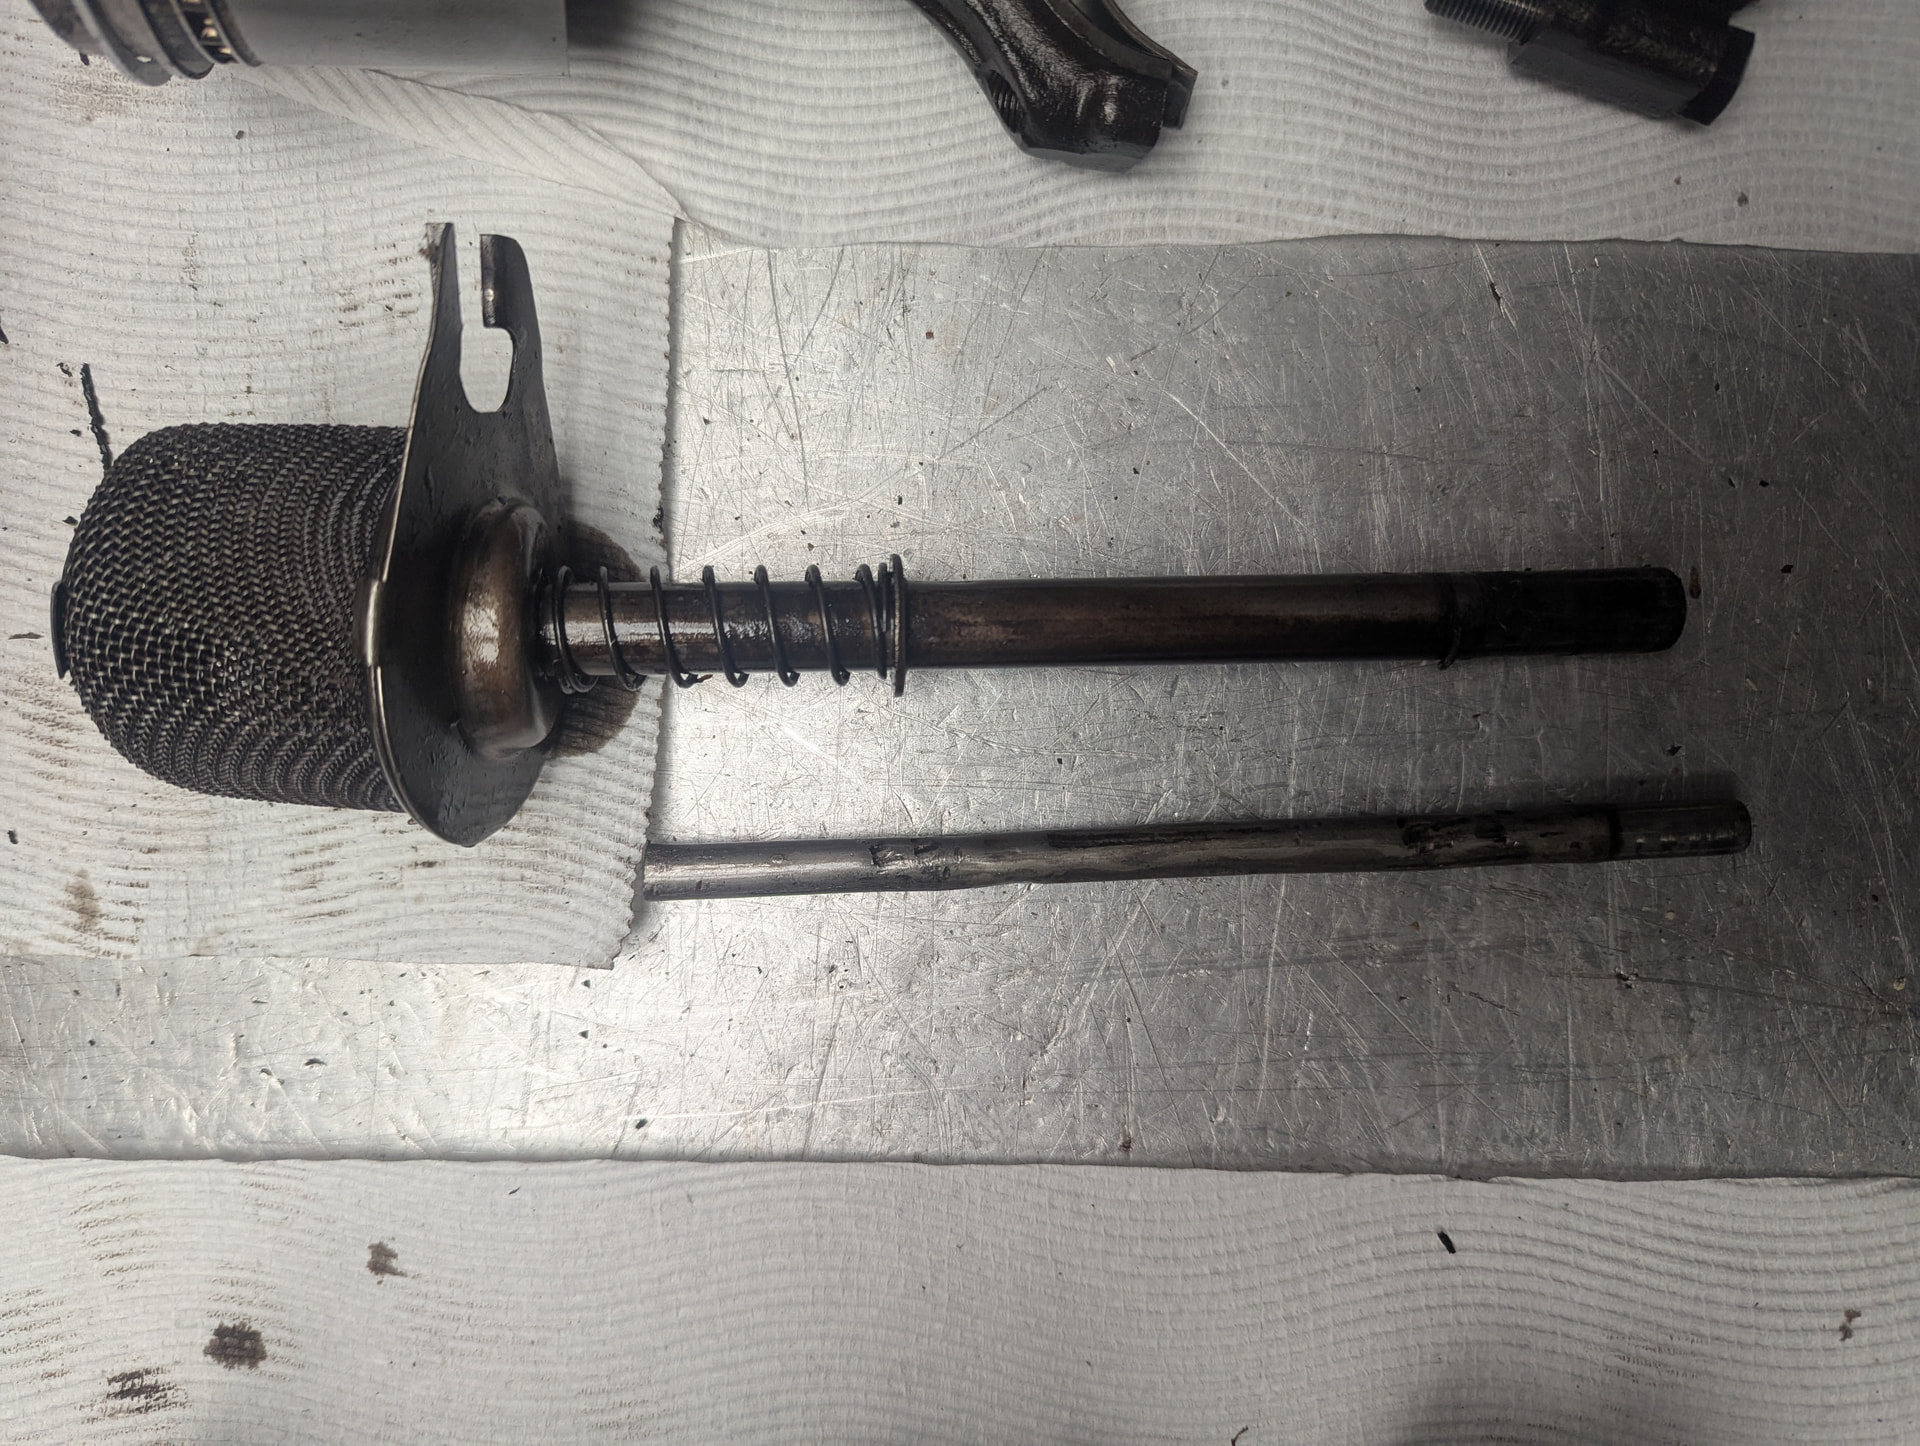
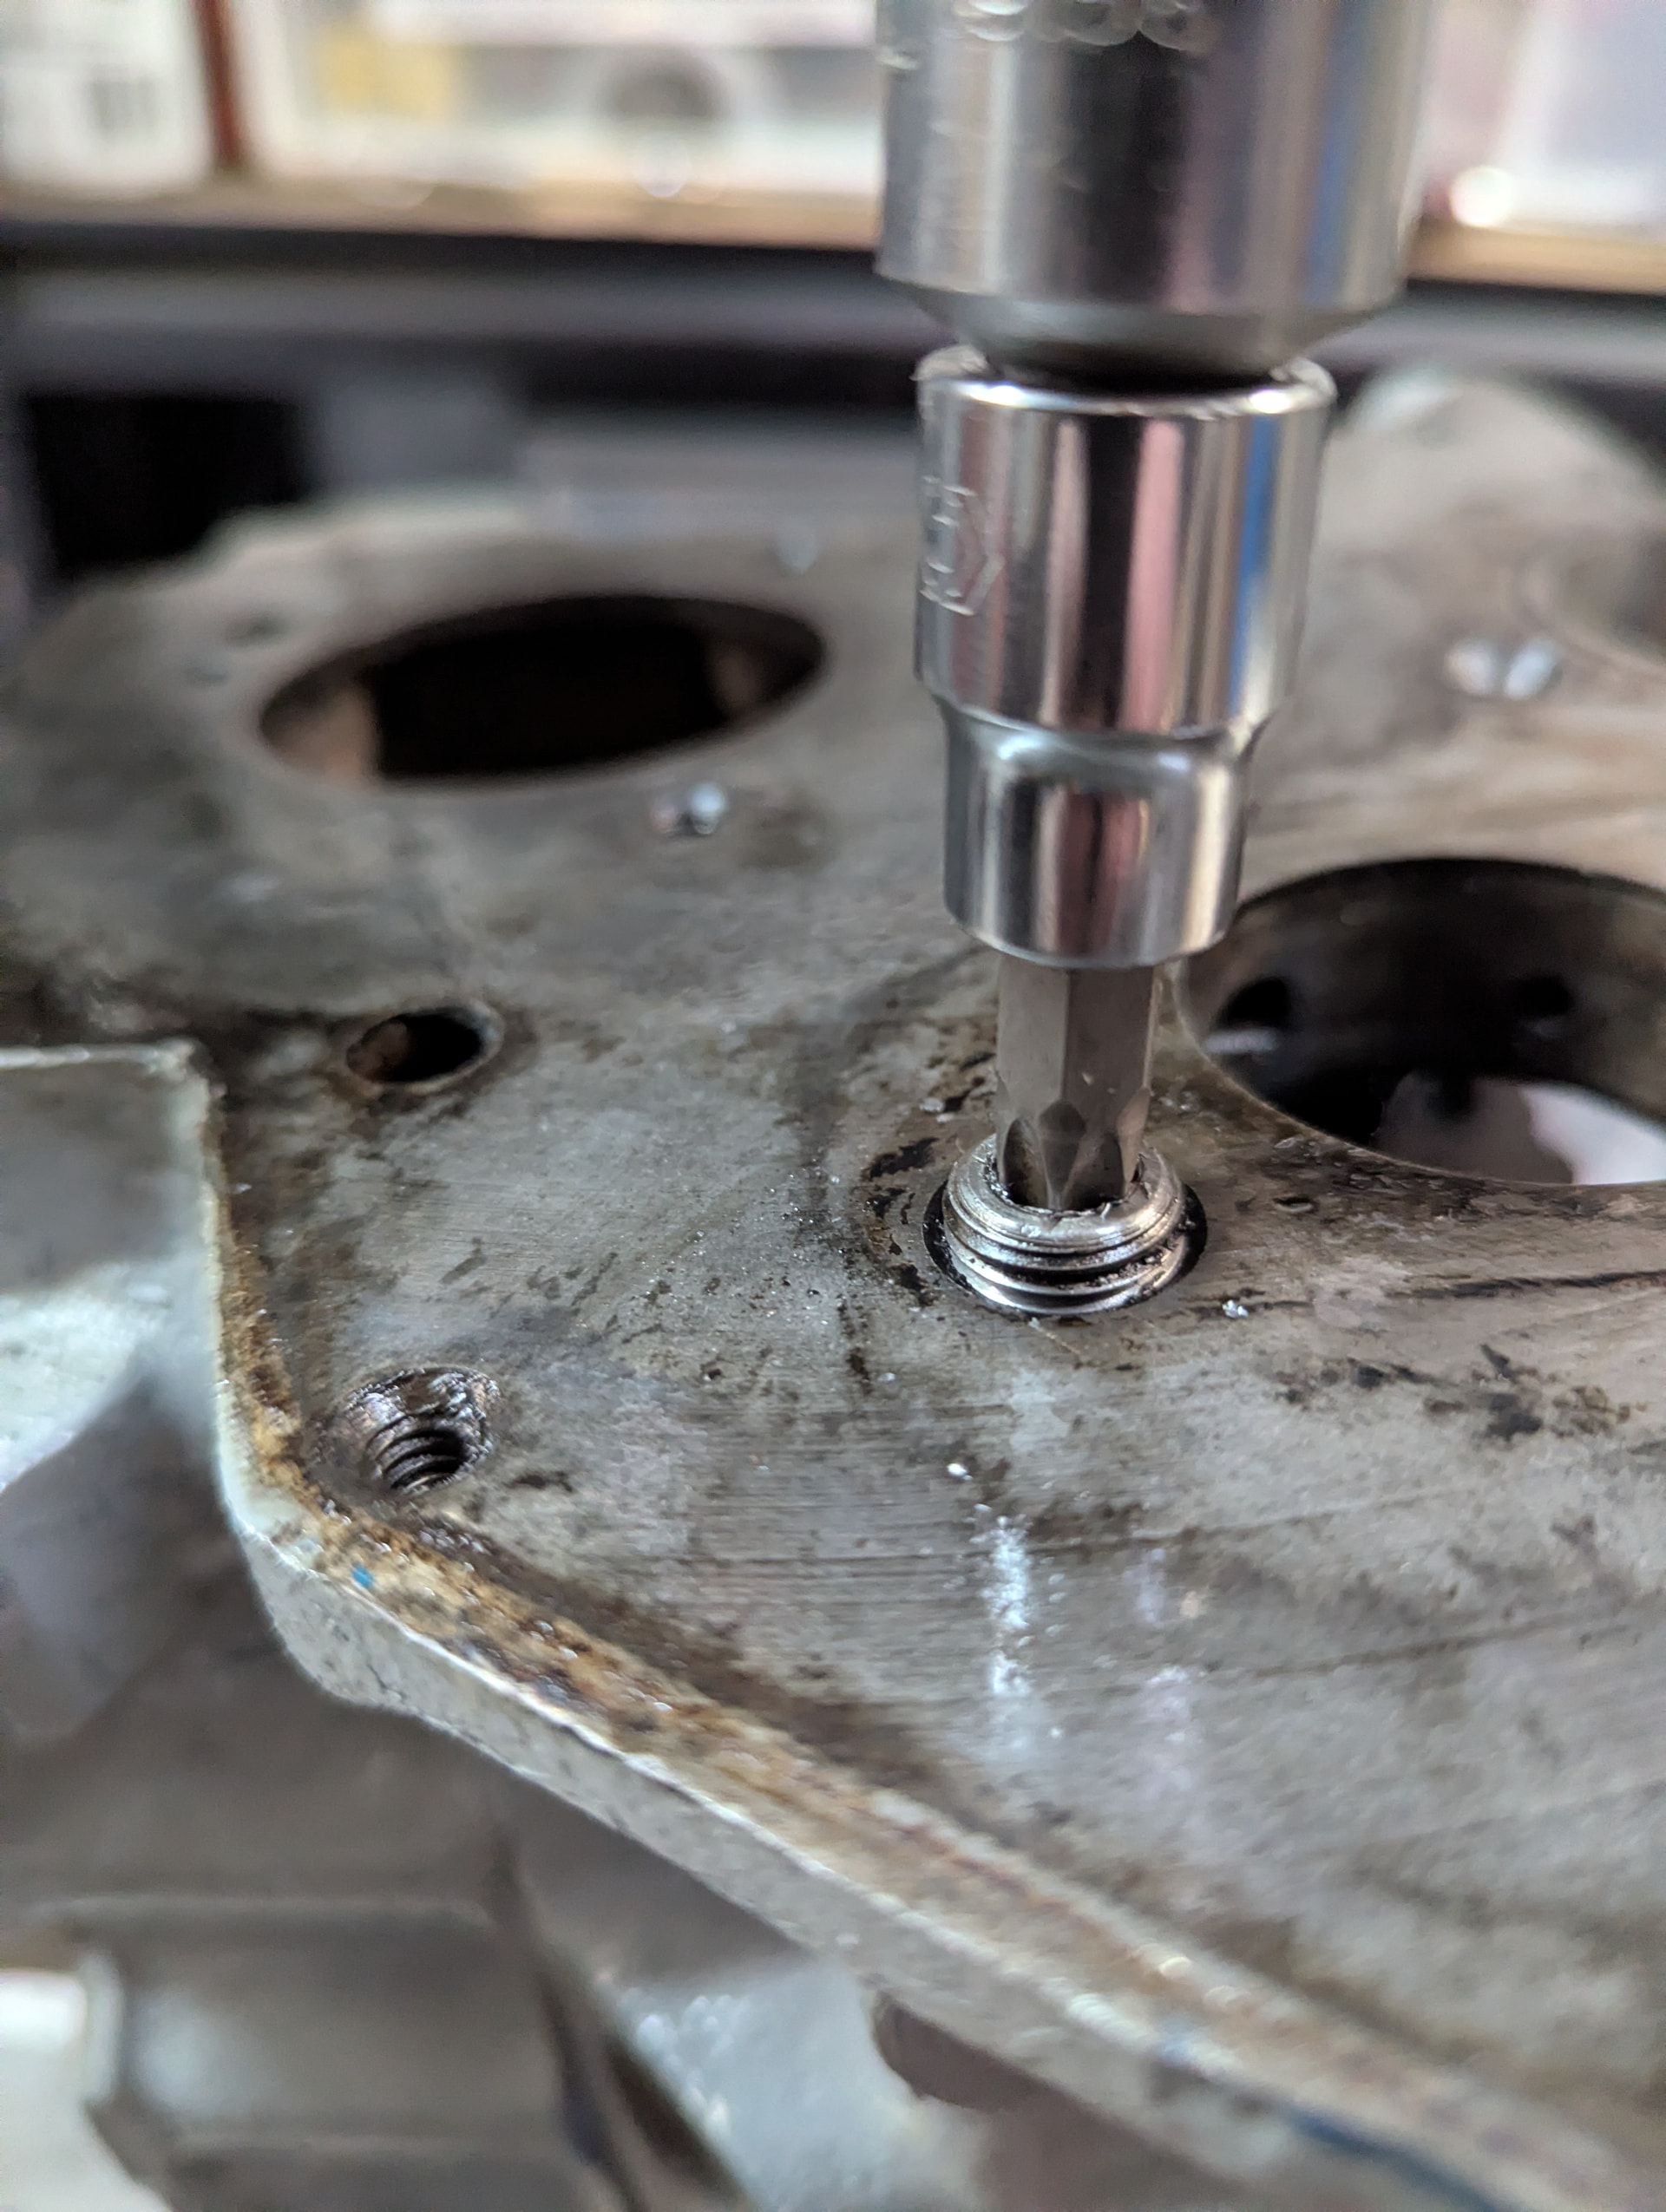
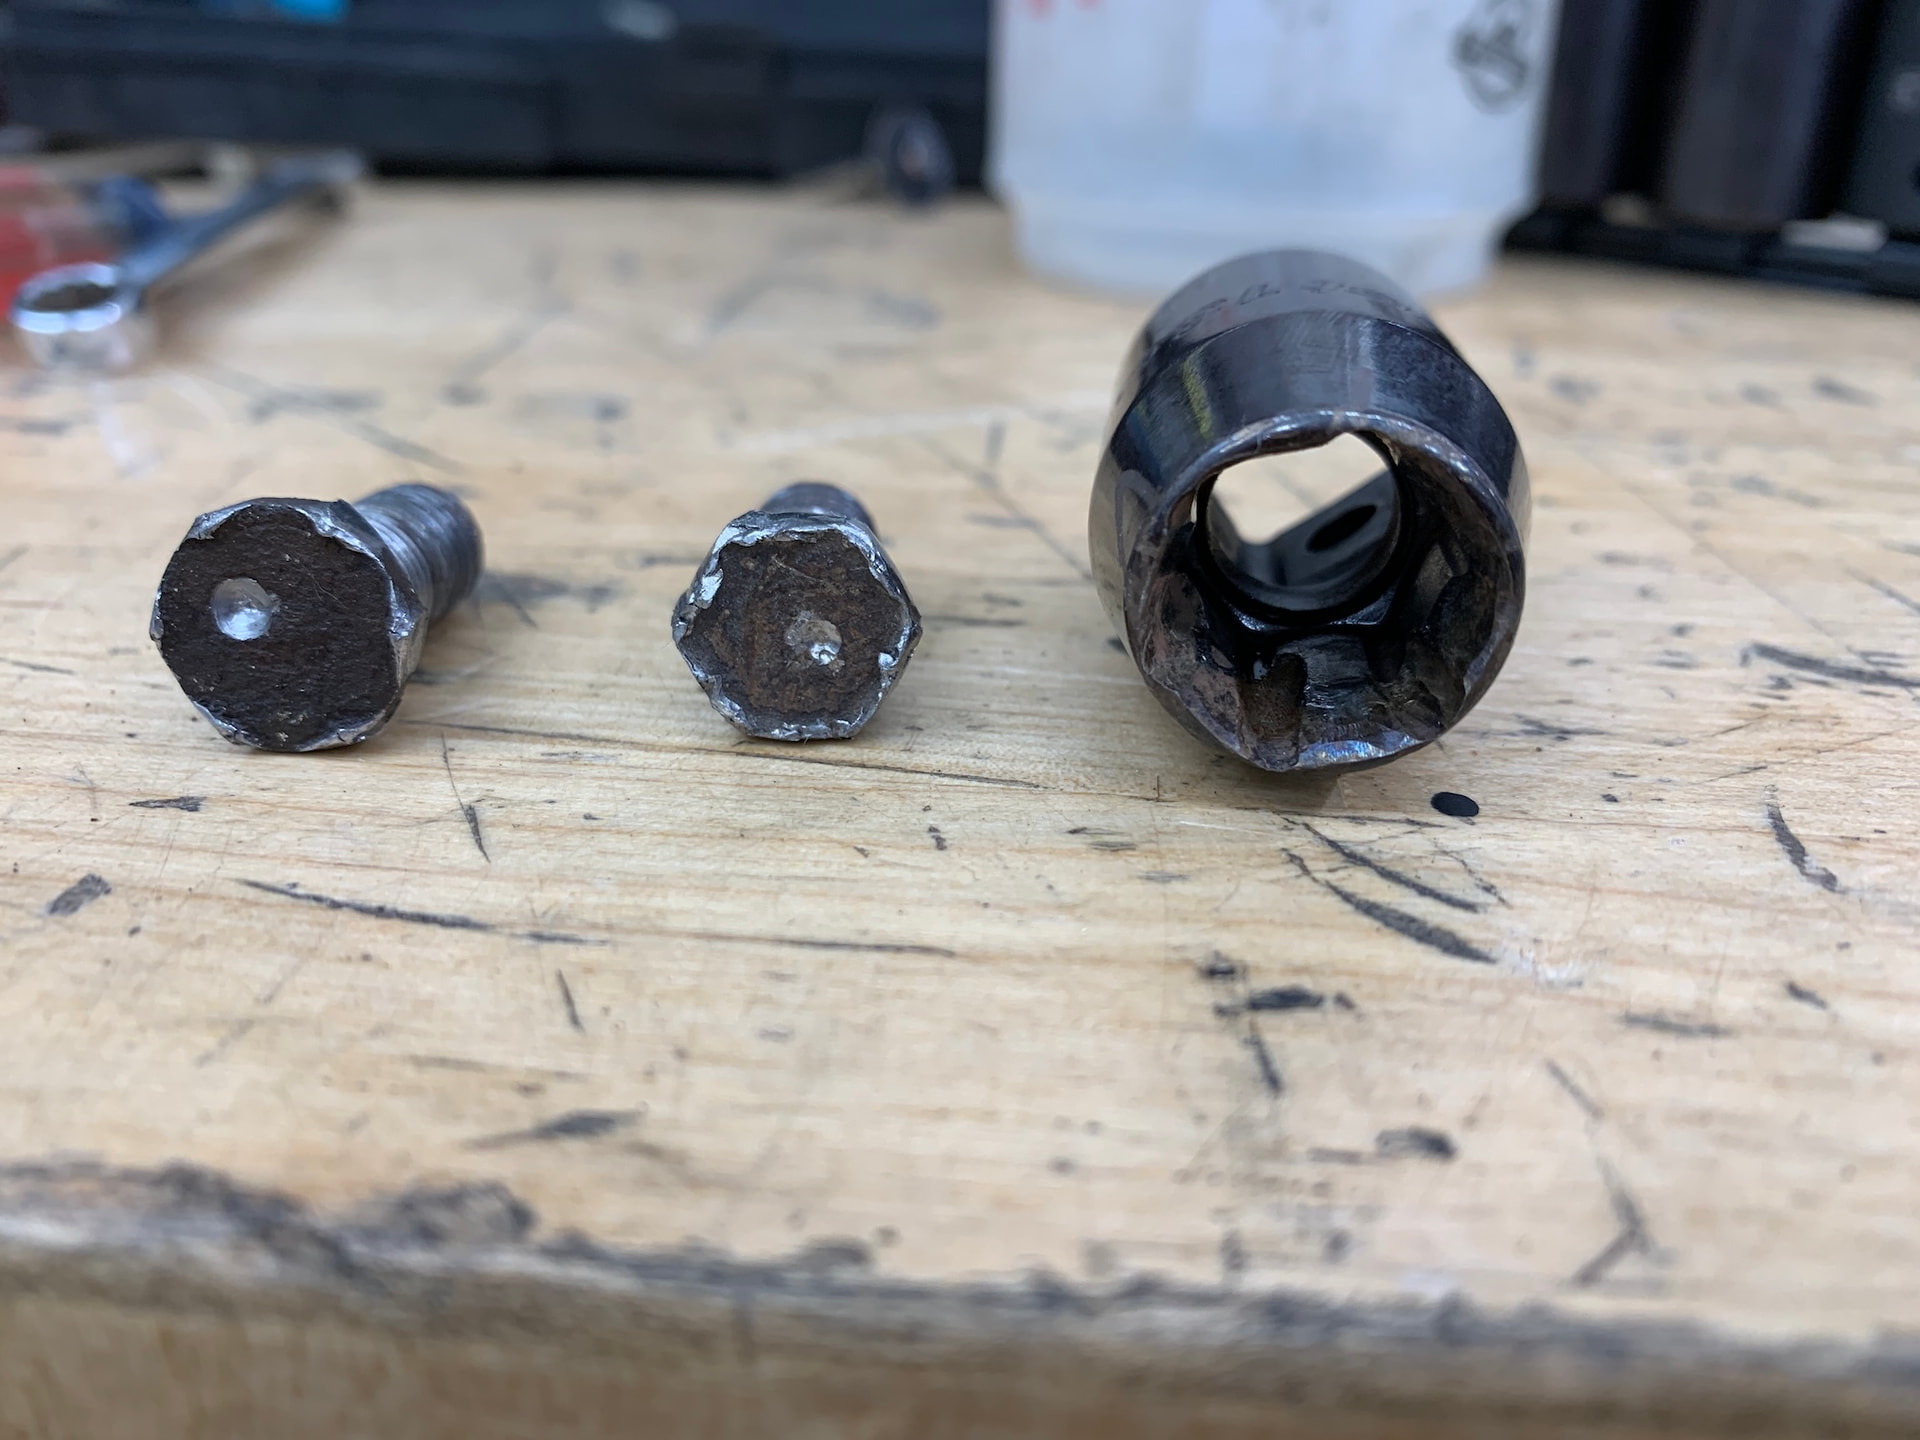
Pulled the oil pickup and drain return tube. Both had been removed previously I presume when the block was rebored in the 70’s and showed signs of damage from this process

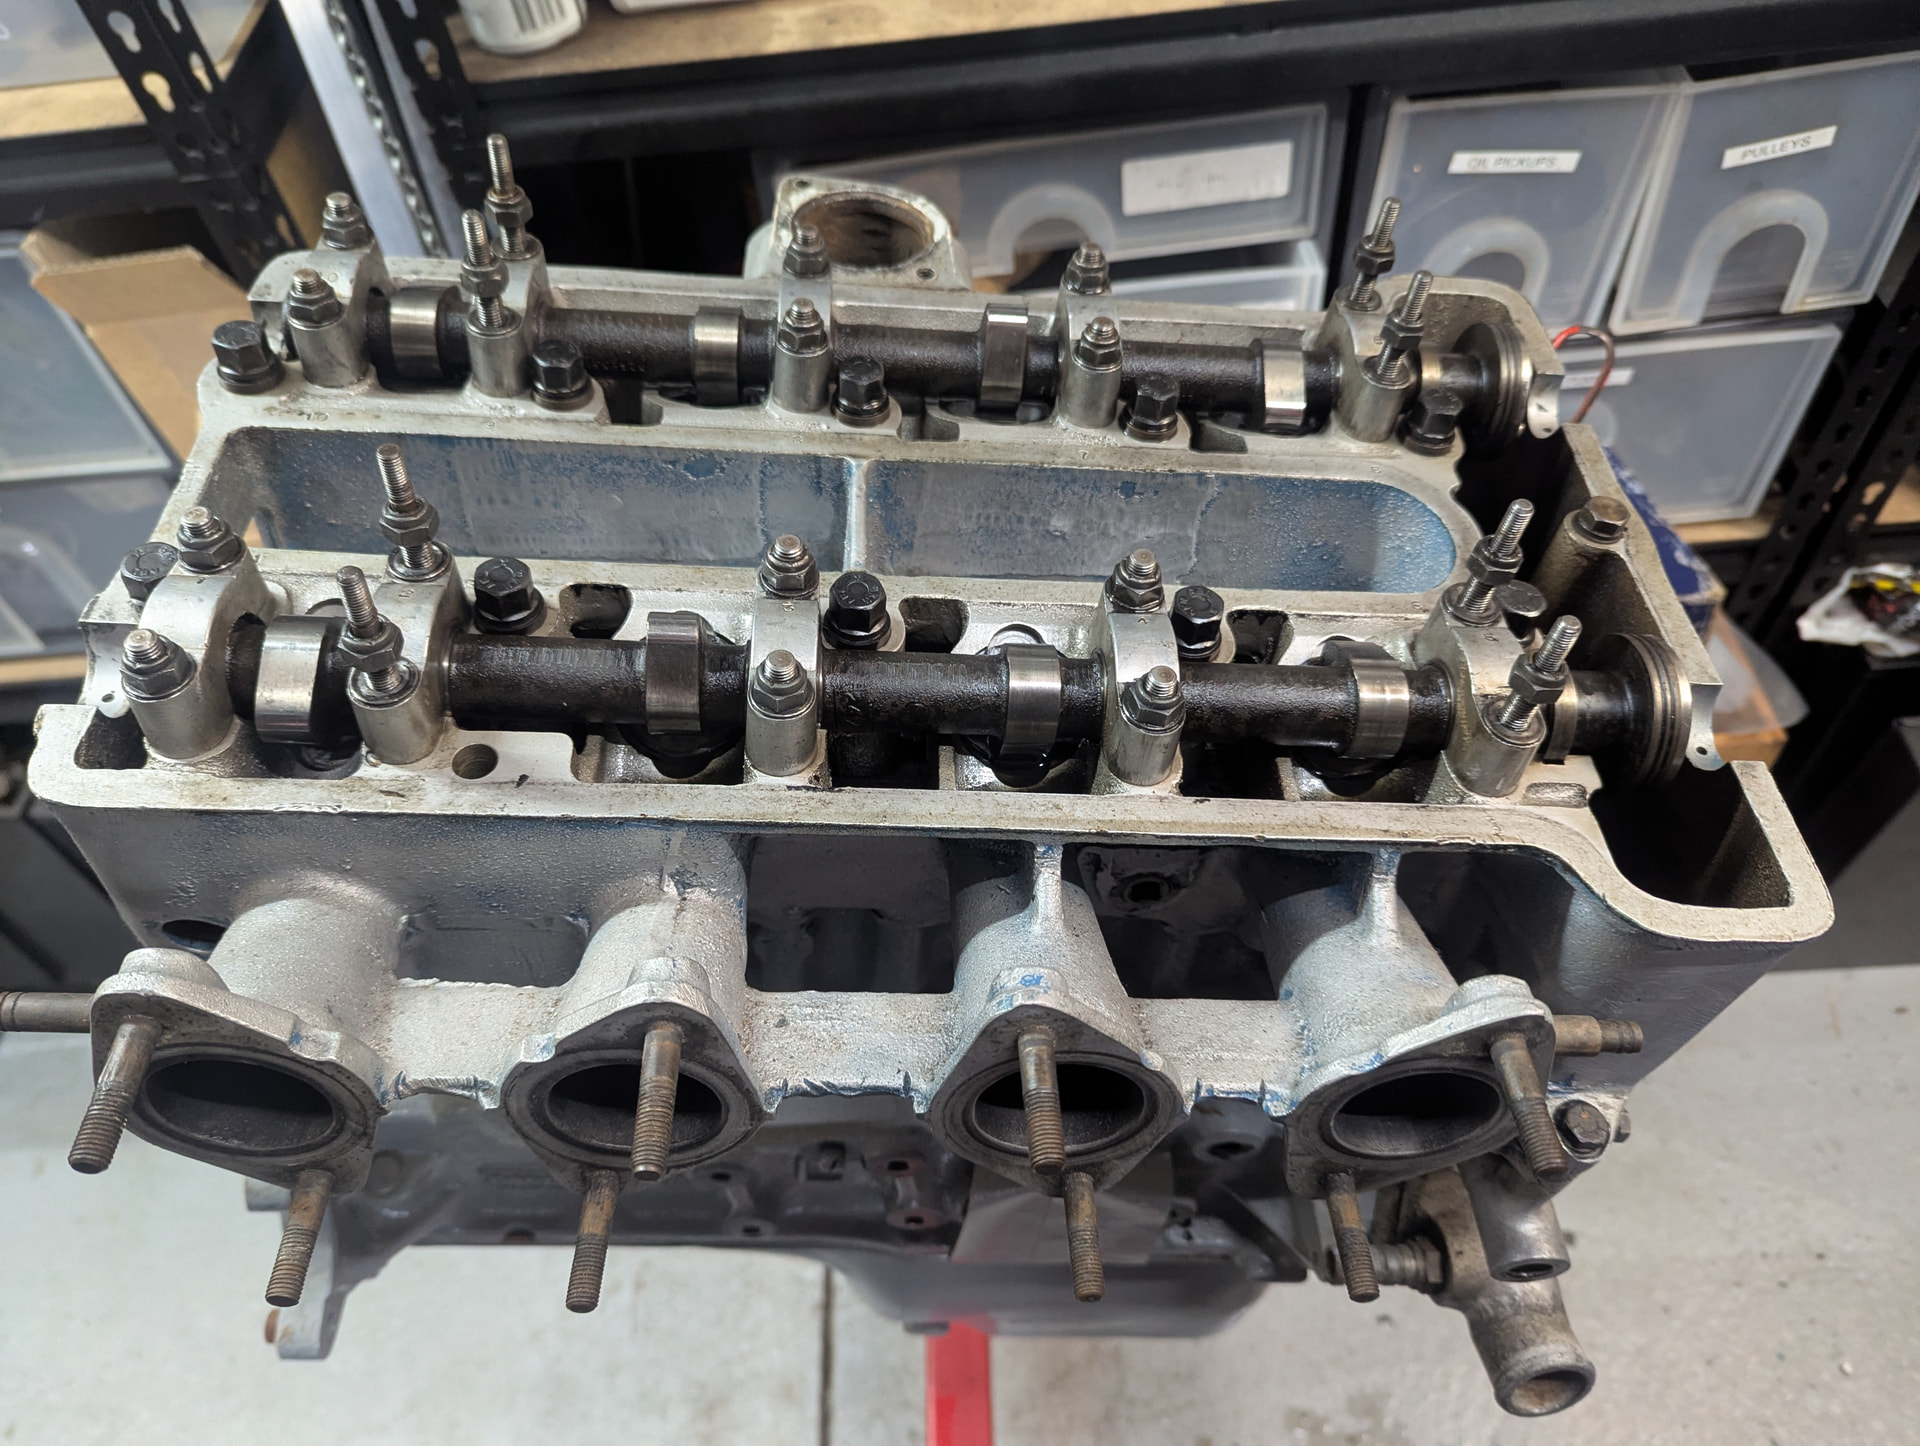
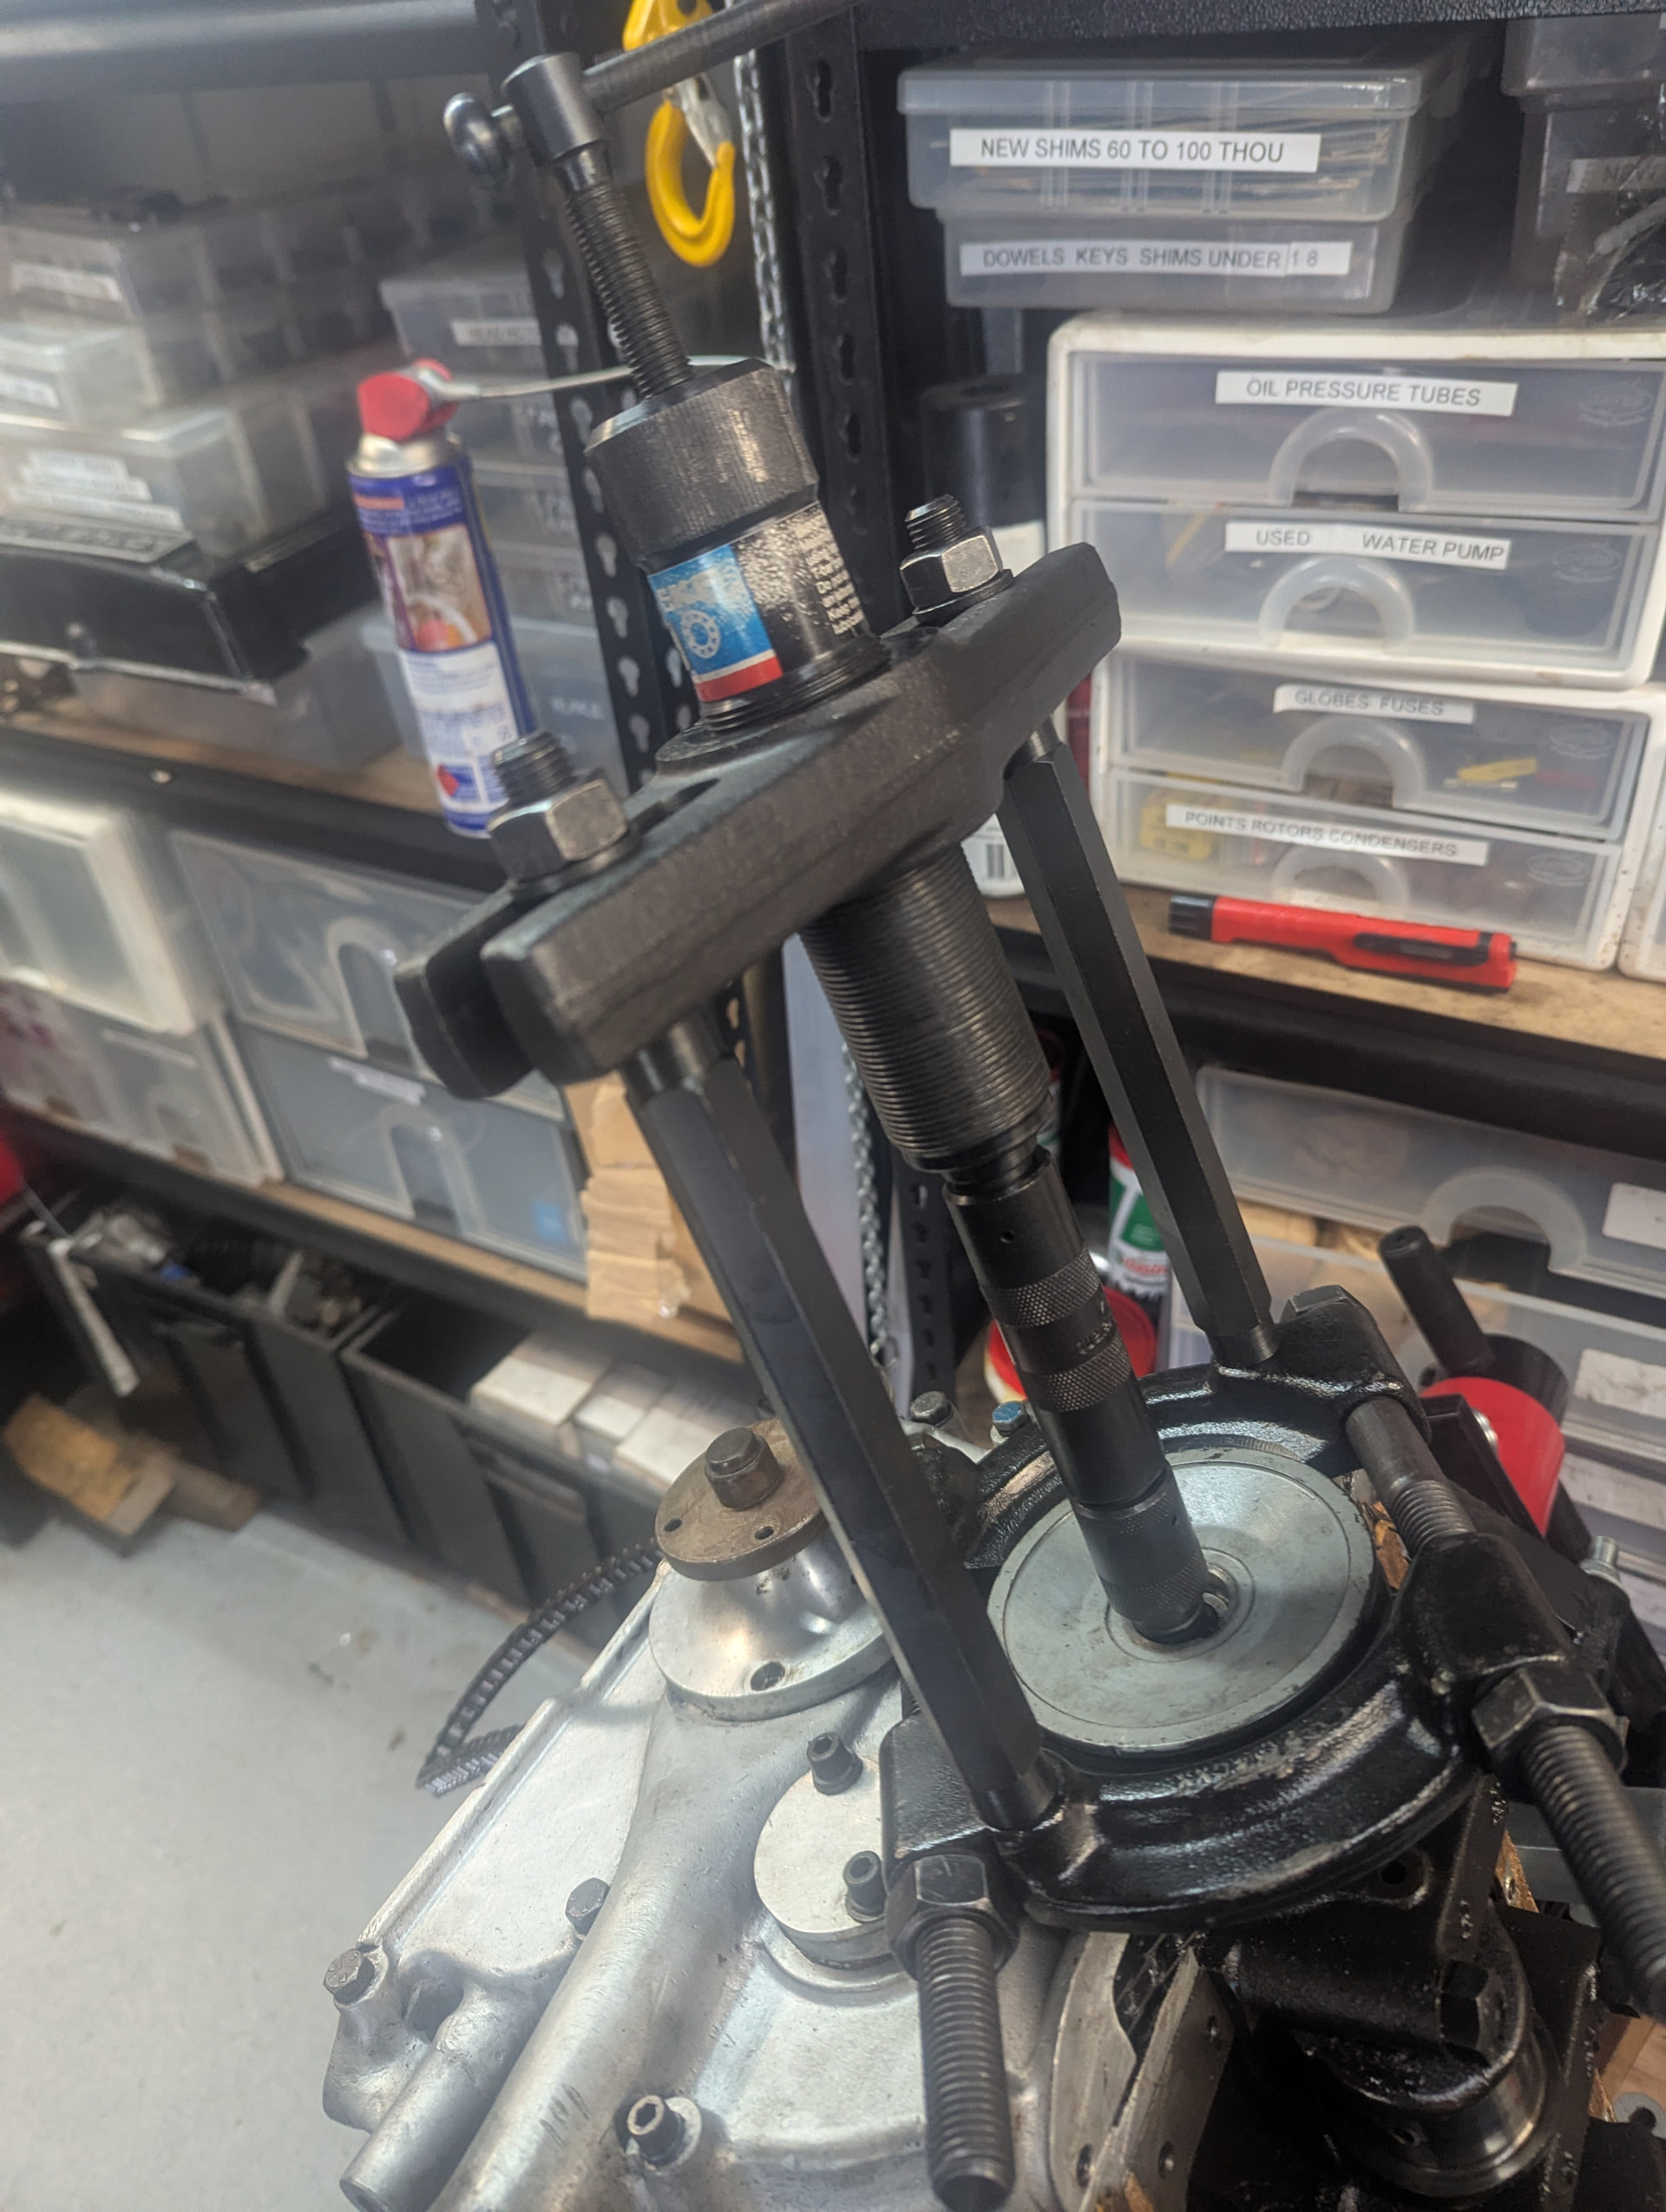
I then started doing the fun stuff… measuring up and assessing what’s needed for the rebuild, so broke out the precision equipment.

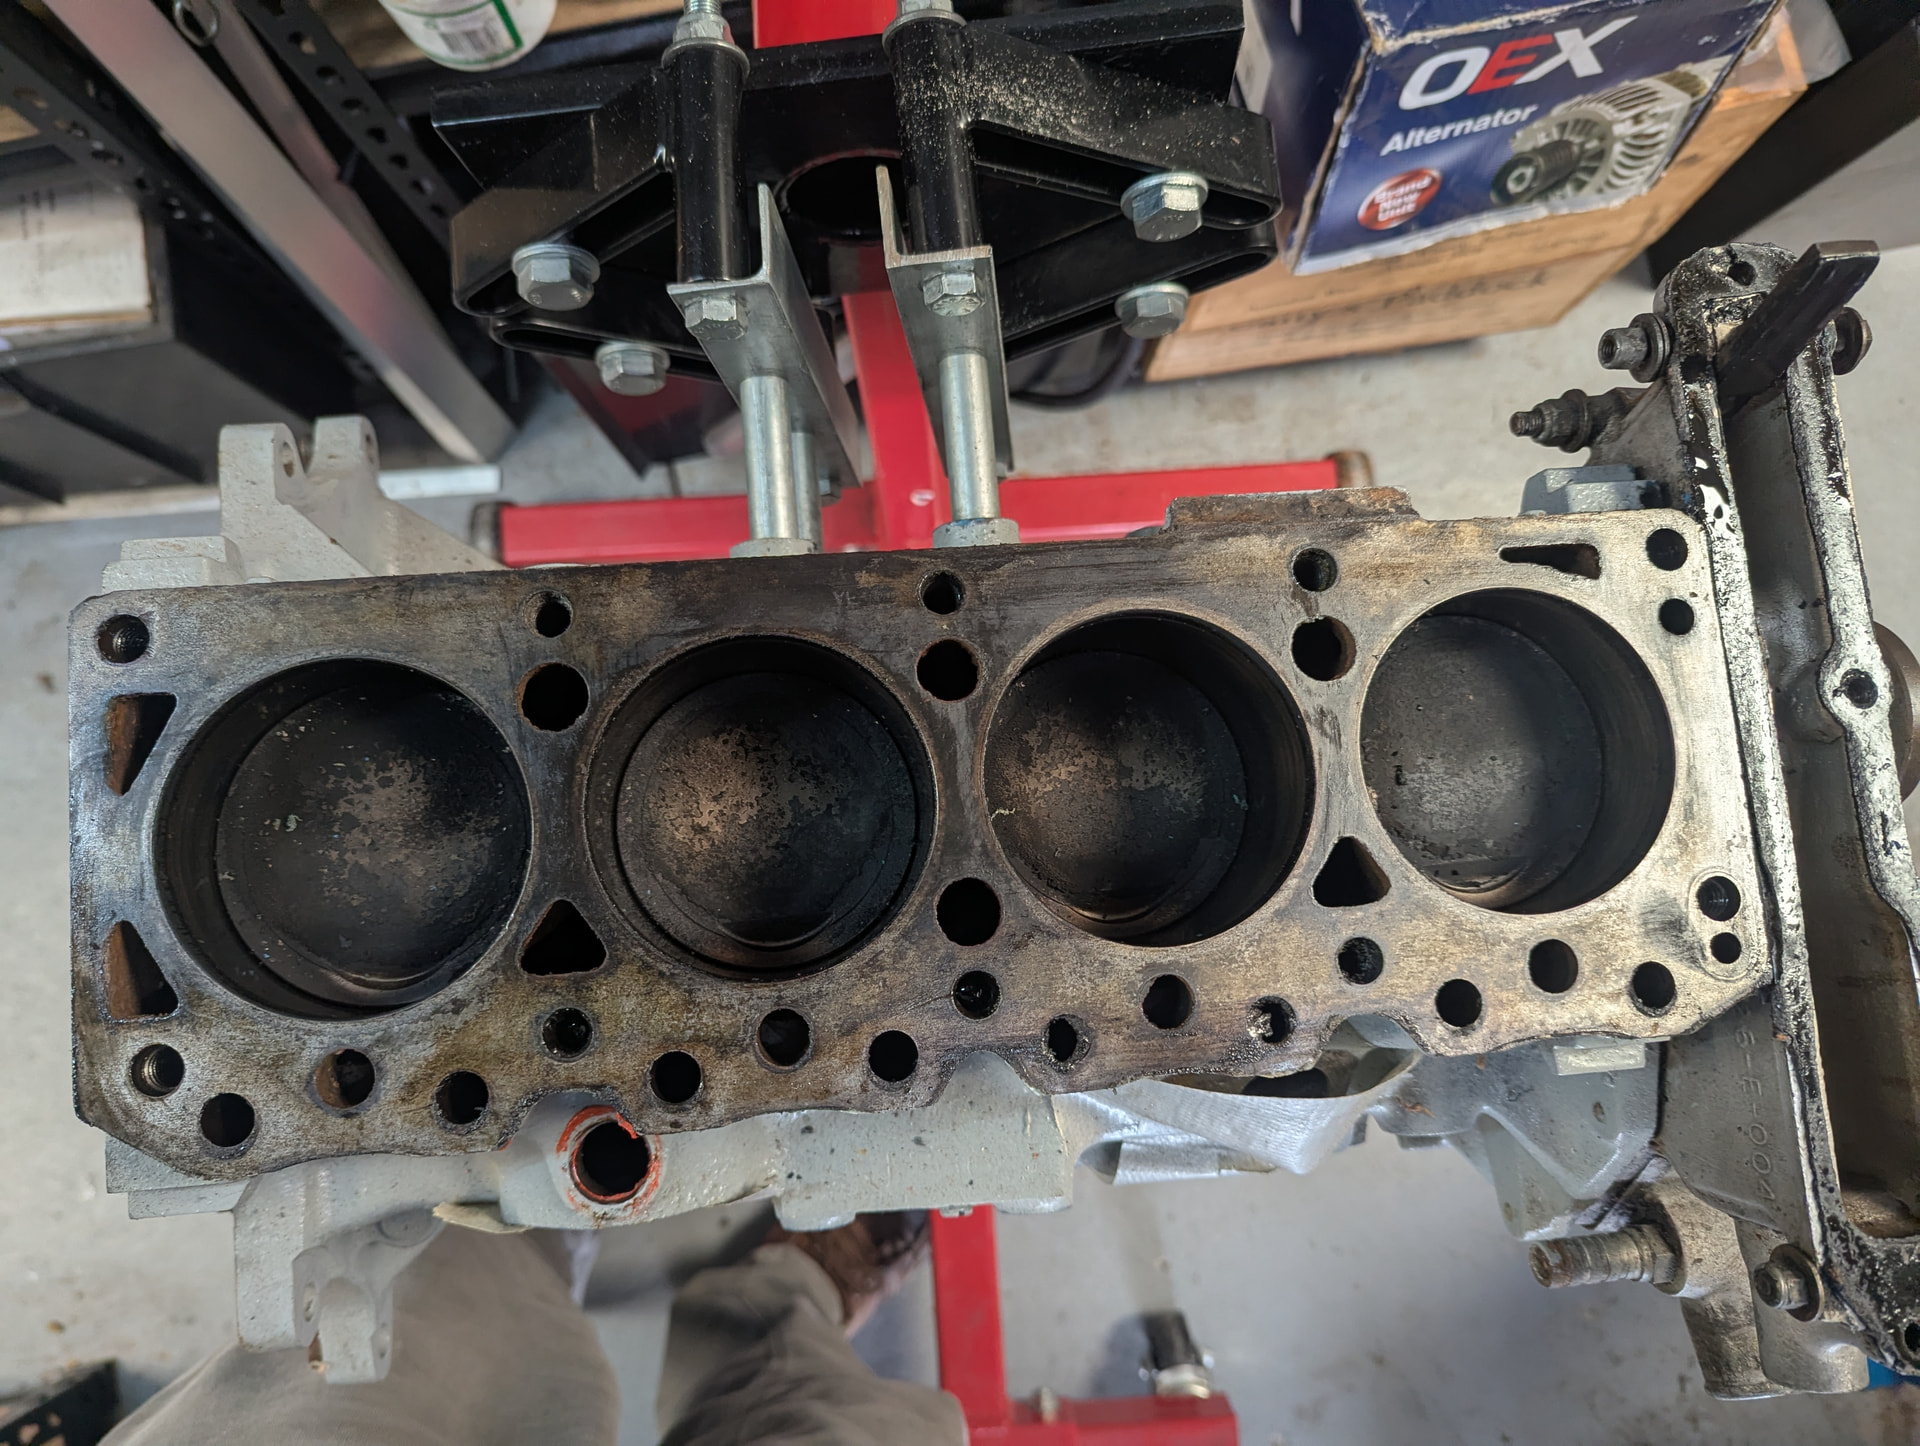
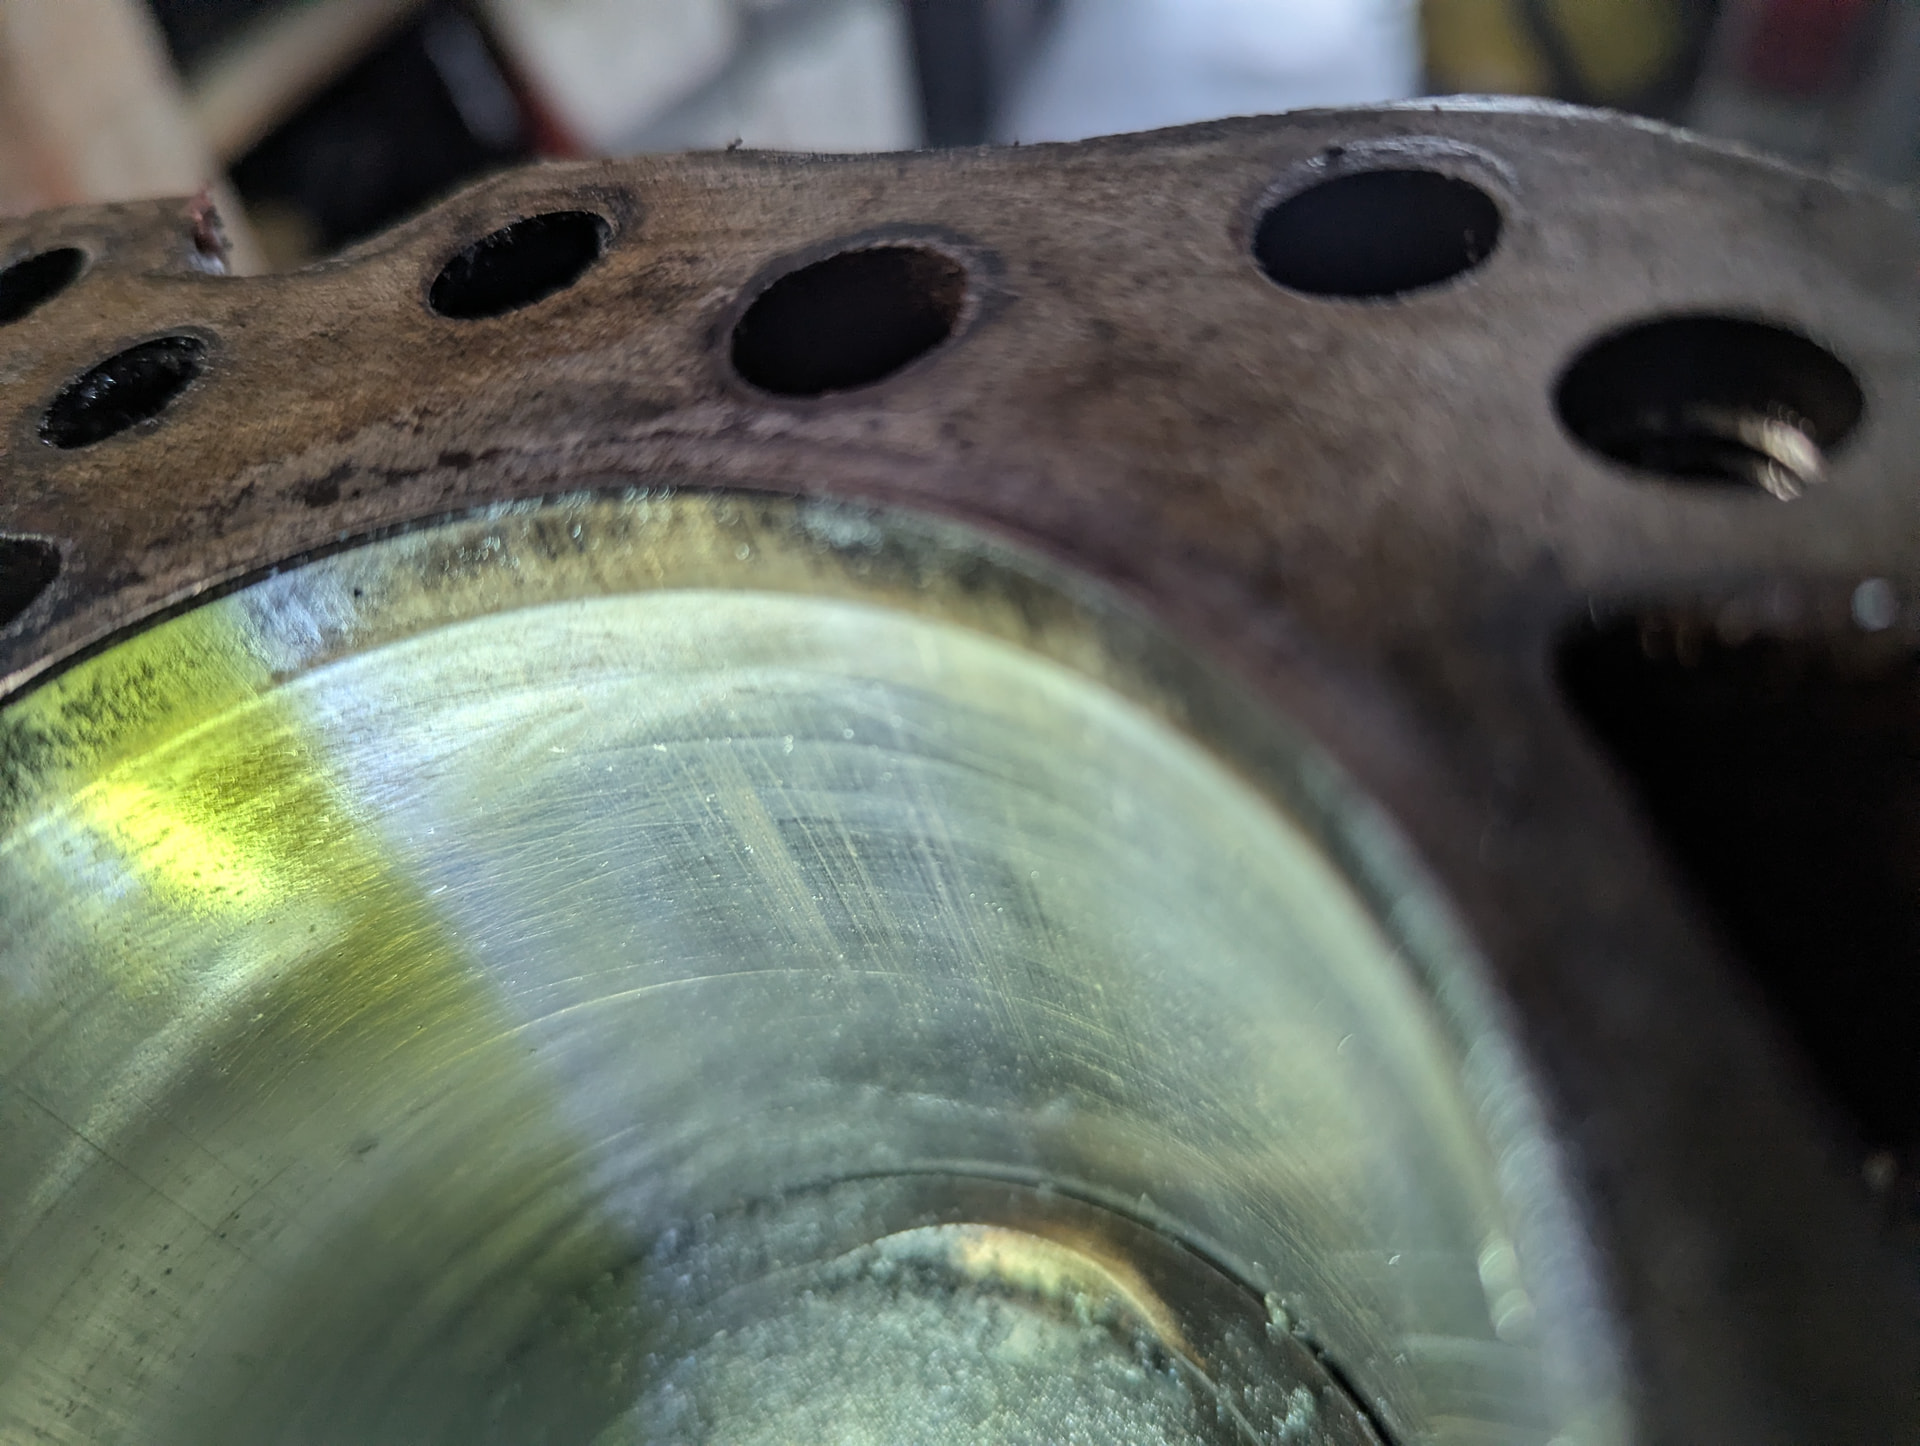
Block bores were accurately 83.50mm in non worn areas
In the wear areas bore was 83.53 to 83.54mm across the thrust faces and 83.51 to 83.54 mm on the non thrust faces. So after honing for new pistons and rings it will be at least 83.75mm bore . Tony Ingram sells pistons (or at least used to) to suit this size bore with a “block saver piston”. In any case I can always go direct to CP or JE pistons for a suitable low compression height piston to suit the honed out bore.

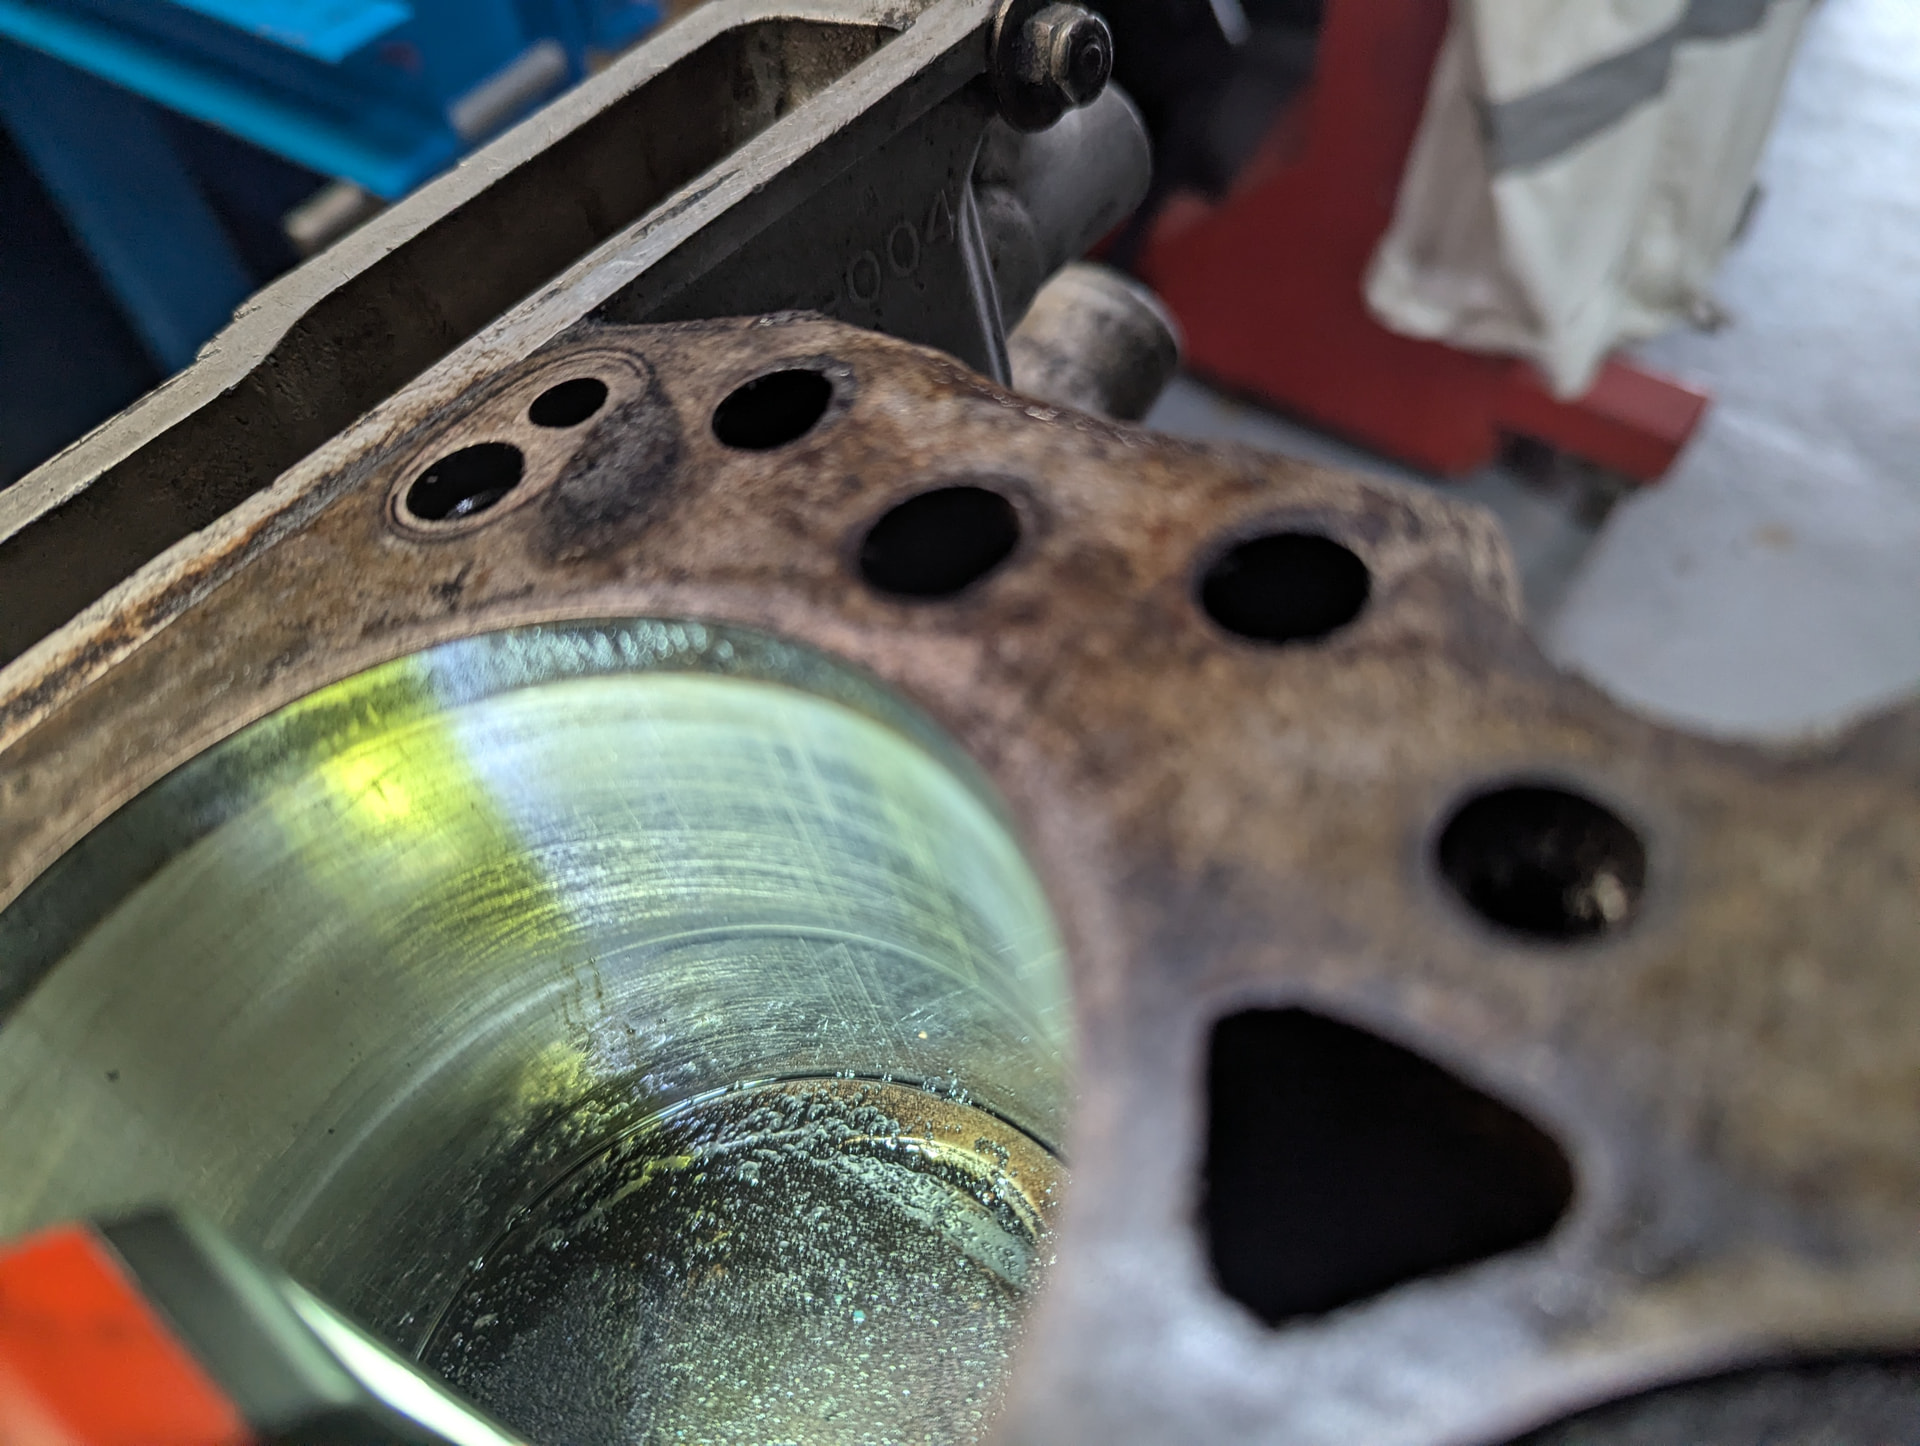
I then got out the ultrasonic thickness tester to check the bore walls thickness as typically an 83.5 mm bore is pushing the limits unless its been properly offset bored to compensate for core shift.

This showed a minimum wall thickness currently of 2.31mm low down on the non thrust face of No4 cylinder due to core shift as I feared, the rest of the cylinders were fine . When the block is honed it will be down to 2.2 mm which leaves me in a dilemma. 2.2mm is maybe just OK on the non thrust face low down in a small area. My normal aim for a road engine is a minimum of 2.5mm. I need to do some more detailed measurement of the thin area to decide if I take the risk with this block.

My alternative is start with another block and offset bore it correctly or use my spare race engine short block I have just built and not completed the final engine assembly. With this block I would just have to pull the current crank and pistons and put in a 1600 crank and low compression height pistons. Another alternative is just complete the build and put my spare 1600 race engine direct into the Plus 2 and just change the cams to make it more road suitable. I will lose a little mid range torque compared to a 1700cc but will have similar top end power.

Need to consider further all the alternatives and my budget and reliability aims for this build.

Just a real shame a good 701M block has been potentially ruined by poor rebuild work many years ago, but I have seen this a number of times previously. Never pay big money for the so called better 701M block ( or any block that been bored beyond 82.5mm for that matter without a detailed ultrasonic wall thickness survey

cheers
Rohan

1 Like

Hello Rohan

Reading this with interest. Maybe this question displays my ignorance but I’m interested to know why when considering your options with wall thickness you didnt include installation of liners?

Thanks again

Baggy

Liners are generally a false solution unless going back to the original block 81mm Ford bore or Lotus 82.5mm bore. To fit liners you have to bore the block out even further reducing the wall thickness to under 1 mm if you want a 83.5mm finished bore with the liner. This results in the thin block wall cracking behind the sleeve and then the liner sleeve itself cracking. Been there done that.

Maybe with offset boring for the liner you can maintain an acceptable cast bore wall thickness behind it but you are into equally unexplored territory and fitting liners is not cheap so its expensive experiments

cheers
Rohan

1 Like

Thanks Rohan - I knew there would be a reason :slightly_smiling_face:

Hi Rohan
This is a great post but can you explain to me what you mean by offset boring of the block.Do you go across the block in a zig zag format and do you have to get an offset head gasket made
Regards
G

Offset boring is when you bore the block slightly off its current bore centre line. This is used to even up the wall thickness by taking more metal off the thicker wall and less on the thin wall preventing the thinner wall section getting too thin.

This is done by setting the bore head on the centreline and then moving it in the required direction based on a detailed ultrasonic survey of the bore wall thickness. How much offset can be done depends on the bore size increase as you the boring head needs to cut all around the bore still. It also depends the direction of the offset and the amount of float available in the rod bearings to accommodate longitudinal offset.

Most offset boring I have done is less than 0.5 mm offset when boring a block from ford standard 81mm or Lotus 82.5mm to 83.5mm

Most wall thickness variation is due to core shift versus the nominal bore centreline. Almost all blocks have some core shift and typically this means when one part of the wall is thick the opposite part is thin

cheers
Rohan

2 Likes

Got it Rohan
Thanks
G

Work continued with a lot of measuring and calculation so not much to photograph.

I did a lot more measuring on the block bores and the thin area of 2.3mm is only a few small spots in about a 25mm x 25 mm area with most of this area being thicker. After discussions with Tony Ingram I decide to go with pistons to suit a 83.75 mm bore and hone out the bores from their current worn 83.54 to 83.55 mm to suit. CP pistons are on order through Tony and should come after Christmas. I will clean up the block and once I get the pistons then send it out for honing and a skim to clean up the top face. I also checked the main caps bore and they were perfectly round and in the specification tolerances.

The head is already finished as I decided to use a spare racing head I recently rebuilt and is ready to bolt on. Given my retirement from racing i dont think I will need it as a ready spare now and i still have 3 other spare heads so I dont think I am going to run short if i want to build more engines

Pistons are a 36mm deck height which gets the piston 0.4 mm below the top of the block after it is skimmed to clean it up and using the Cosworth length (4.826 inch) Carrillo rods I have . Aiming for a 10.6:1 compression ratio to suit the 285 degree 0.44 lift cams I am going to use. With the head chamber of 41mm which is larger than normal and why i decided to use this particular head as this requires an intruder including the valve cut outs of 3.64 cc or about 2mm high with the 1700cc displacement. I have ordered pistons with a slightly larger intruder and I can machine it down if needed to fine tune the compression ratio when I do a dummy build.

I still need to decide what to do about a crank. I have a spare standard 1600 crank ( 2737E) which is from an early crossflow. I need to measure it up and crack test it but it should be OK. It will require the journals polishing at maybe A$300. The alternatives are a new cast SCAT Formula Ford crank at about A$1300 or a Chinese Adracing / Maxpeeding steel crank at about A$2500. The rest of the bottom end will be good for 8000+ rpm as one of my aims was to keep the reciprocating mass as light as possible due to the longer stroke which the forged pistons and Carrillo rods achieve. However for a road engine that does not need to go beyond 6500 to 7000 rpm with the cams selected (though they will work up to 7500 to 8000 rpm) the steel crank is not really needed. If my current crank does not work out I will probably get the SCAT crank.

I did spend some time pulling apart the front cover which was a locally made cartridge type using a modified standard cover. There was a lot of corrosion and deposits around the water pump seal area. The front cover itself has had a very hard life before I got it as part of an old race engine I bought in bits for my first competition engine build over 40 years ago, with stripped sump bolt holes and multiple weld repairs. I have another locally made cartridge cover and I will use that as its in better condition. They use the same larger bearing as the Dave Bean cartridge pump uses with the same impellor shaft end modification with it ground down to fit the standard seal and impellor.

The corroded one on the left out of the engine and my spare one on the right. You will note the seal mounting area is different on the one I removed and it used a larger diameter non standard seal mounting.

cheers
Rohan

2 Likes

Getting all the bits ready to go to the machine shop for honing the block once I get the pistons and balancing the rotating assembly. Ordered a new crank chain drive sprocket from SJS as all the spares I had including the one that came off the 1500 crank out of this block were worn. I should be here 6 days after I ordered delivered by UPS to Australia.

Die penetrant crack checked the 2737E 1600 crank that i will be using and no cracking present . The bearings are all standard size but will need grinding to 10 thou undersize as the surface is to rough to just polish out.

Pulled the two remaining plugs out of the block. The front plugs had never been removed by the look of it and they did not want to move. After a few heat and chill cycles and a few days soaking in penetrating oil they were still stuck and I could feel the 1/4 inch hex starting to strip out if i applied more torque. So i drove a T45 Torx into the socket and with about 50 ft/lbs of torque they release. No corrosion on them and also no sealant they were just tightened up excessively.

I will keep cleaning and checking and getting ready for reassembly all the remaining parts. The block should be ready mid January

cheers
Rohan

1 Like

A somewhat similar solution to my removal of the shallow head bolts holding the rear struts, although I was dealing with a good deal of corrosion along with age. The bolts fought me the whole way out; at some point the heads began rounding off and I was unable to continue turning them. I used the next size smaller socket, ground the flats at a bevel using a Dremel, and hammered the socket onto the bolt head. The modified socket effectively re-hexed the bolt head and I was able to finish removal. It was a total bear of a job. I spent a full two days in the garage removing 4 bolts!

This must be why we love lotus cars, they keep us on our toes with all sorts of challenges!

Richard Hawkins

Kept working on the engine build in the last few days.

Die penetrant checked the crank and it was OK with no cracks. Checked the journal roughness and to rough to polish out so just needs a grind to 10 thou undersize.

Got my second spare race head back from the machine shop with new guides, seats and follower sleeves. Need to still measure up the valve seating but the guides and sleeves installed to my specifications perfectly. Not sure which head I will use for the 1700cc road engine. the other will be a spare for my Elan along with the spare 1600 short block.

I had not removed the exhaust studs on this head and went to take them out. As usual 5 came out without issues but 3 gave me problems, One had about half the thread missing in the head when I removed it so I will helicoil that one. The other two would not budge after penetrant and multiple heat and freeze spray cycles. Finally one gave up and came out with no thread damage. The other unfortunately sheared off about 4 mm below the head face. Could not move it with punch or an Ezyout after centre transfer punch and drilling

Drilled it further out on the press drill. Then cleaned up the remainder with a small carbide grinder in the Dremel until I could peel off the remainder with a pick. Cleaned up the thread with a chasing tap and can securely fit a bolt in but will also fit a Helicoil into this one.

The joys of old cylinder heads and why most race shops just want to work with new SAS heads

cheers
Rohan

2 Likes

Hi Rohan,

following your report eagerly and with the usual interest. I know it is early in your project but since my project engine will be quite similar my question is: you aiming at a roadgoing 160 hp will you stick with a standard exh. header or will a large bore header and system become necessary? My cams are Newman 280/420.

Quite likely you will see some bits out of the car when you drop in in spring.

See you then in good health I do hope -

Matthias