I’m posting this as a sort of “self motivational” thing, because if I say I’m rebooting a stalled resto, it commits me to do as I say - or something!
You may recall I have been restoring a Series 4 Elan SE a while back, then I sort of dropped off the radar. The reason for this is another classic vehicle that I bought, rather on a whim, and of course it needed stacks doing to it (including a replacement engine and a full interior rebuild). It’s a VW Type 2 “Bay window” camper, and I’m pleased to say it is finally in a state where I can put it to one side (figuratively and literally) and get on with this little Lotus.
So, where are we?
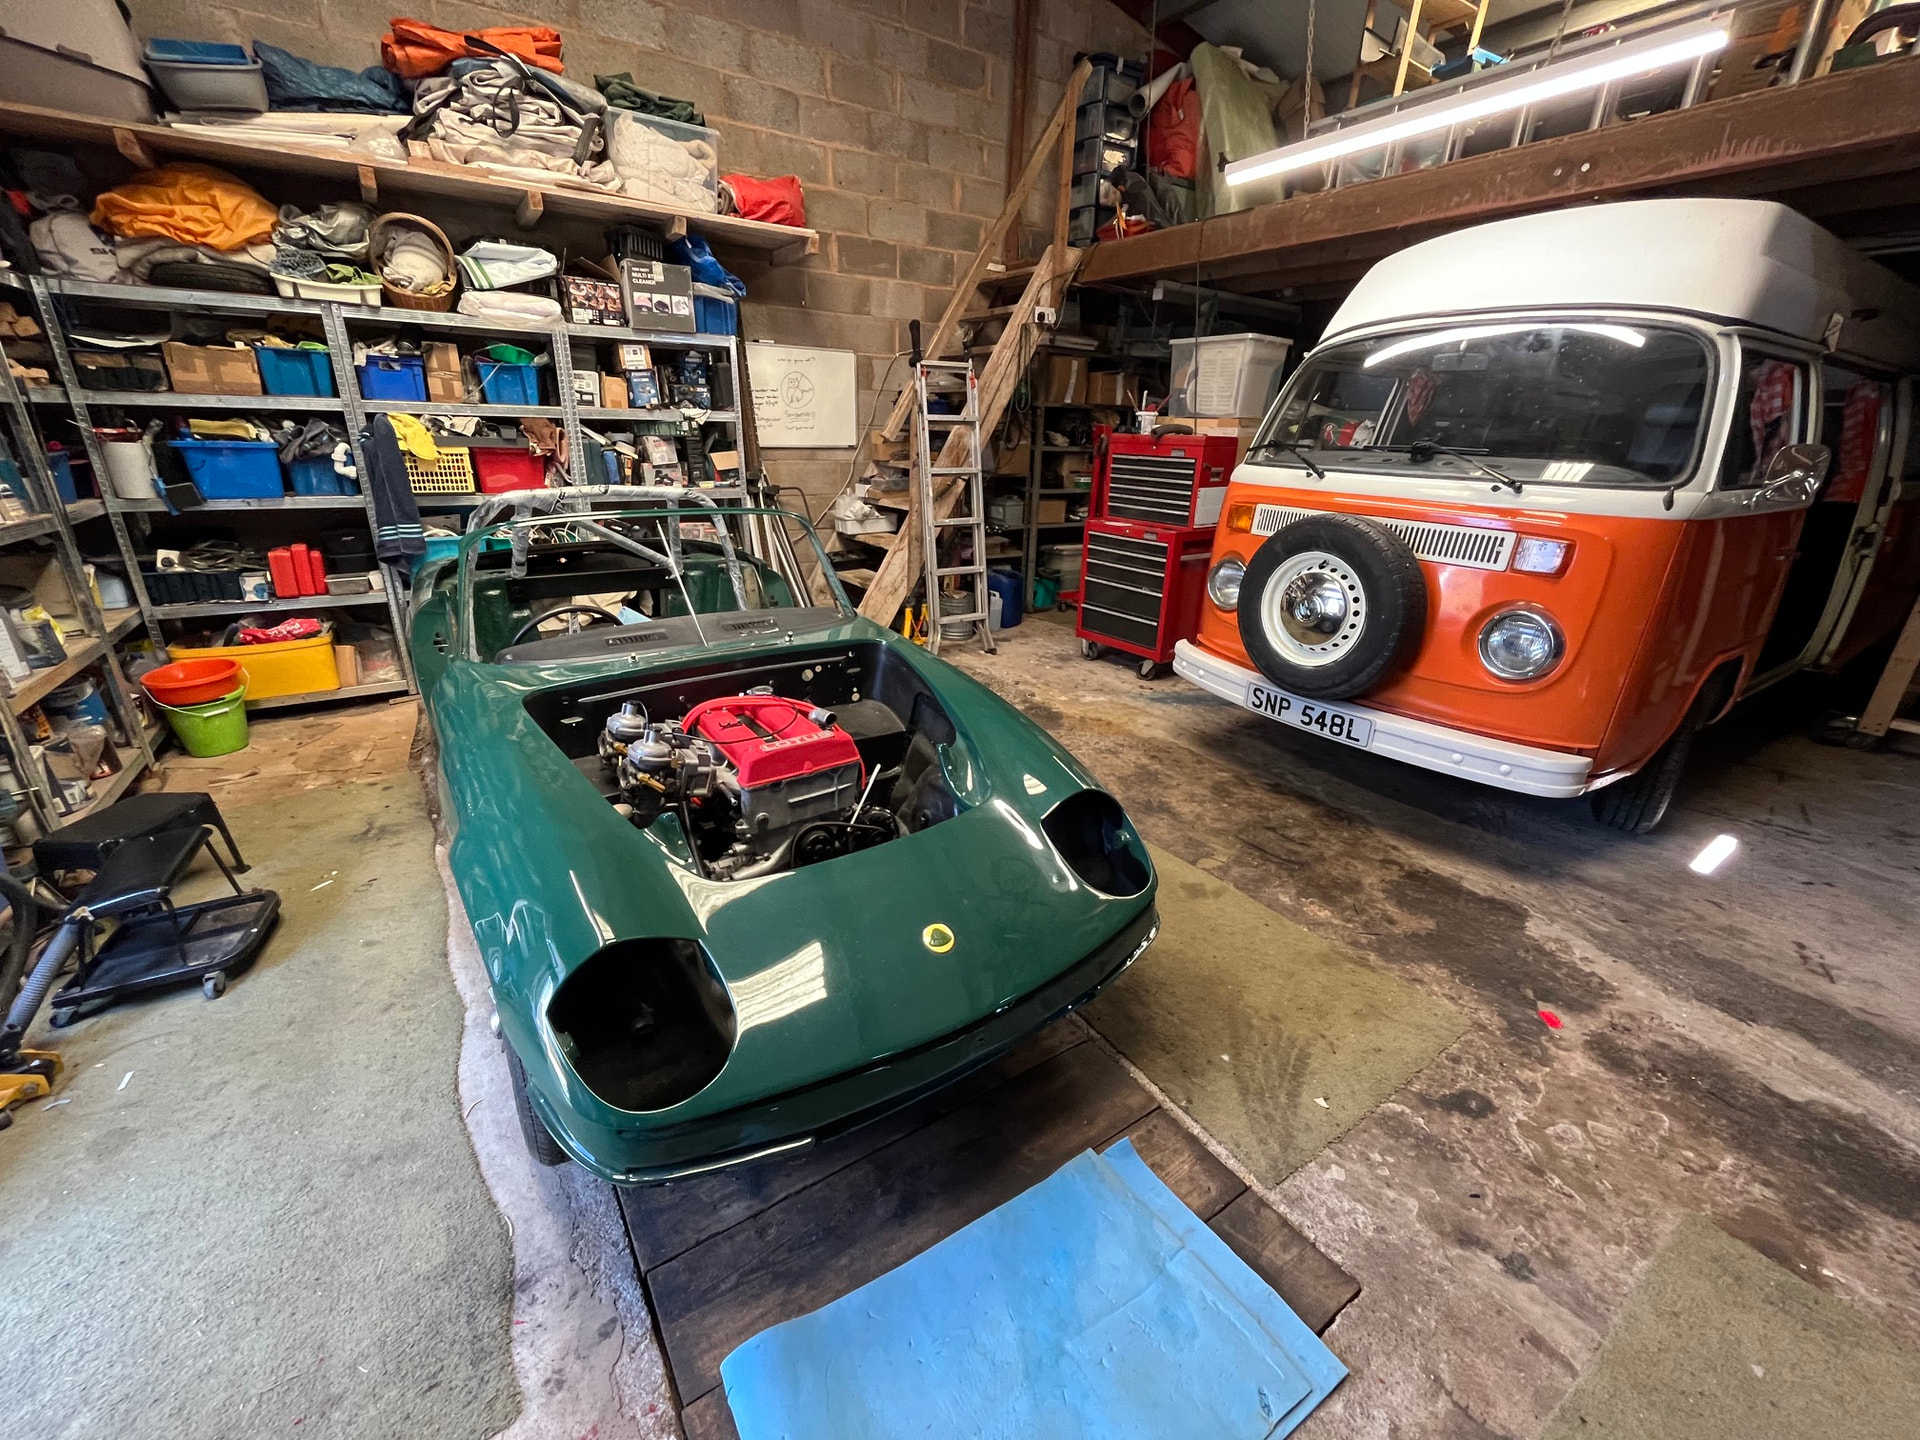
One very hot sticky morning (actually, this morning), I went out and swapped the VW and Elan around. Now the bus is under my workshop mezzanine and the Lotus is over the pit. In “Pole Position”, if you like.
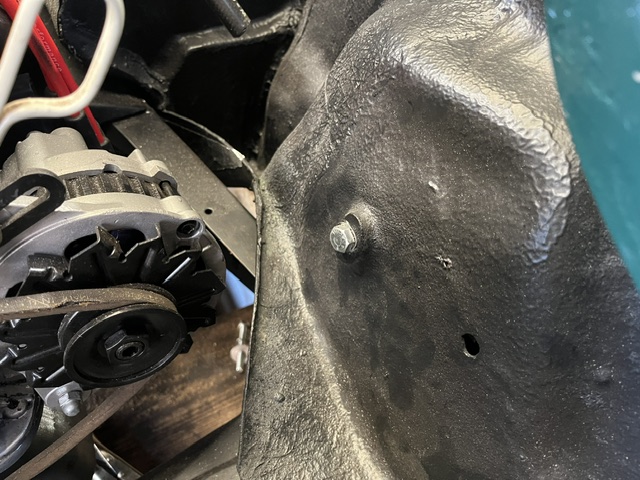
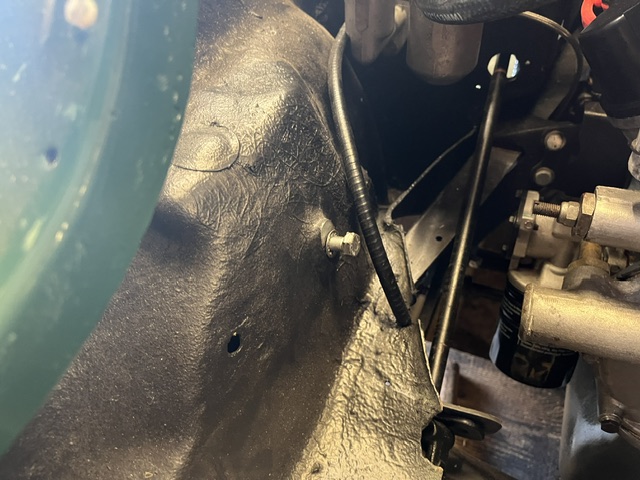
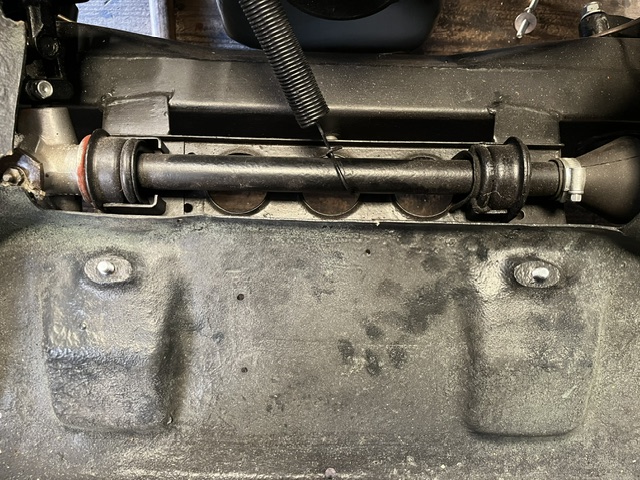
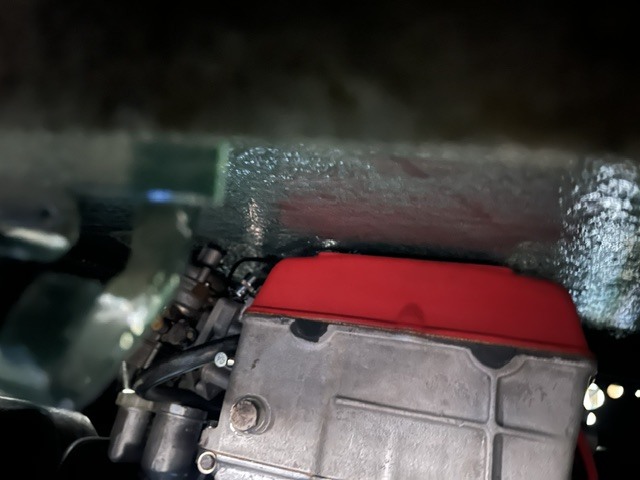
As can be seen, it’s all rolling chassis with running gear and brakes / suspension fitted. The rebuilt engine has been successfully run up and it sounds like a sewing machine. Even has the steering wheel in, though that is temporary because it relies on the dash being present. I need it to be able to move the car round the workshop. The current problem is one of body / chassis alignment. You can see that the rollbar is in and this means the rear turret bolts and cross brace are also in. As are the seatbelt mounts, and all the body / chassis bolts under the car including the ones under the nose cone. These have the factory spacers that the nose cone rests on. The only bolts I can’t get in are the front turret bolts in the engine bay, they are just not vertically aligned. Now, either the turrets moved when the rust damage was welded, or the body sagged slightly in the paint booth. Hopefully the latter. I measured the chassis when it came back and it was spot on.
The only option I can see is to remove the front spacers and pack with washers so that the turret bolt holes align properly (they are already drilled out somewhat, so that’s not going to be done again). They look OK in the horizontal plane, it’s just the vertical that is the issue. The nose needs to be closer to the chassis, in effect. And yes, I see this might lead to clearance issues between the engine and bonnet…
How thick are these ‘factory’ spacers? I’m assuming thicker than just washers.
Why not put a lump of plasticene on the cambox front (with a bit of polythene on top) and do a test fit of the bonnet. That will tell you how much room you have to play with.
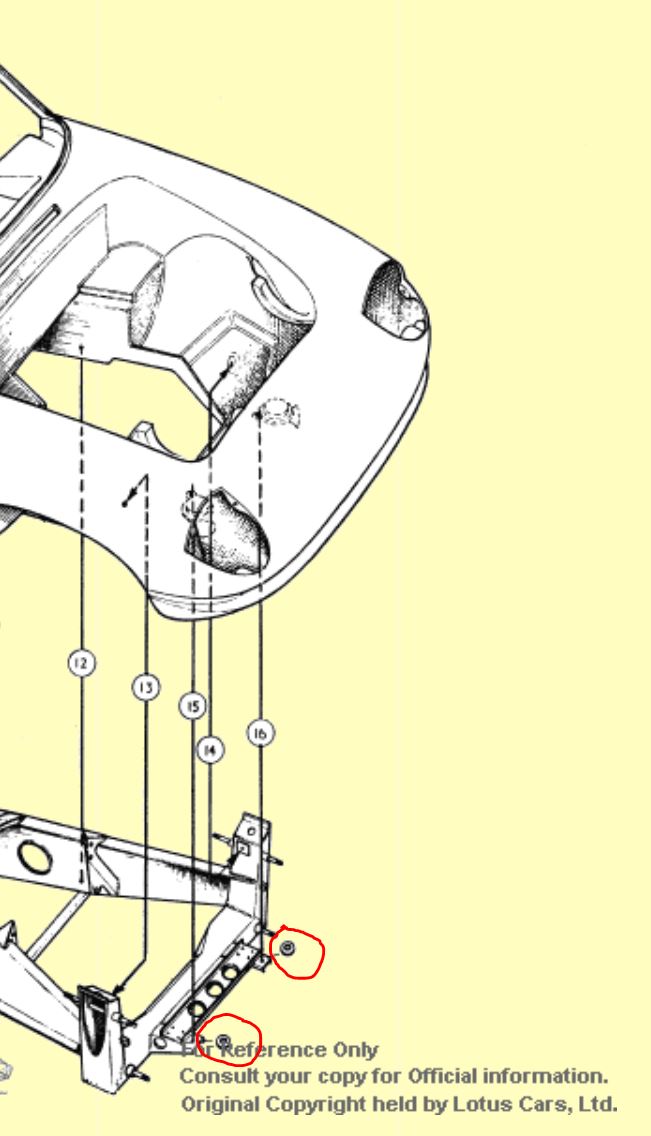
(Thanks to rdent for reproducing the picture on their web site!)
See these little washer things circled in red? Can’t work out where they are in the parts list but these are the items I refer to. They are not really washers, because they’re about 10mm thick, hence I call them “spacers”.
Anyway. Good idea re: Plasticene, thank you! If only I had some…
I would remove spacers, fit the two front turret bolts and fit washers or packing on the two frontmost (horn) bolts so that the nose section of the body is not stressed.
No Plasticene, mix flour and water and maybe make some thick dough
I agree with Elanman99. I don’t see how it’s possible to fit those spacer between the frame and body. I believe they’re supposed to be spacers for the horns to sit on.
No way there should be 10mm spacers there. With the body fully settled, most bolt locations will need zero or perhaps 1/16" to 1/8" shim washers. The most I’ve ever needed on the four Elans I’ve done body R&R has been 1/4" at the very rear of the chassis (bottom plate). I don’t recall ever needed shim washers on those front two bolts, but anything is possible with 60 year old GRP. As Elanman99 points out, just make sure you aren’t flexing the body at all when tightening chassis bolts. Settle the body fully down, shim until snug, then tighten the bolts. Oh, and the next person to remove those bolts (perhaps future you) will be grateful if you use some anti-sieze on the bobbin threads.
Thanks for the advice, all - I’m relieved to know those spacers are not supposed to be for the body - chassis interface. Has anyone got a picture showing them in situ?
Anyway, this morning I pulled them, loosened some of the bottom bolts and did some body “manipulation”, with the result being the bolts could be made to fit without any further fettling.
Next job will be to remove the side impact protection bars, because they have some welded in bolt sleeves that are not used on a road car, which are pressing hard on the inside of the sill. I actually have a crack in the fibreglass on one side, and in the paint on the other! Fortunately these will be covered by the SE trim, and they are on the lower section of the sill anyway, so should be invisible. But I need to grind those tubes down flat so as not to make it worse. Then, maybe I can stick this flake of paint down with something…