Omnitech 1700 engine installation

QED sent my parts last week as promised. Except the package was returned by FedEx a few days later due to some type of paperwork error on QED’s side. :banghead:. It’s now gone out again, and tracking shows it is moving through FedEx’s UK system, with expected delivery on the 15th.

I spoke to John McCoy again, and it looks like I really should go with a remote oil filter. He modifies the oil pump to increase pressure and explained that by sending the filtered oil through the new AN-10 port on the exhaust side of the block, it allows far better oiling to the mains and rod bearings. Apparently, the stock oiling brings the filtered oil through a 5/16" internal passage, which can also be prone to some aeration.

Space is tight, so I’m wondering where others have located a remote filter? The only location I think will work is in the nose where the factory relays normally mount, and where I’ve mounted my fan controller; However, running the two hoses back to the engine may require clearancing the side mounts on the new Coolex radiator. I’ll need all the parts on hand to be certain.

1 Like

On Saturday, FedEx tracking showed the QED parts were now in LA, with an expected delivery day of Wednesday. Due to a personal commitment, I’ll be unable to touch the car for 2-3 weeks starting on the 28th. In the interest of getting the engine running and any issues (hopefully) sorted prior to my hiatus, I decided to delay the remote oil filter conversion until after the engine install is complete and the car is back on the road. I don’t want parts orders for that setup to push the install out until mid May.

However, when checking the tracking this morning, I was greeted with the following message:

I’ve been ordering car parts from the UK since 2003. Everything from wet and dry sumps to ECUs, engine internals, engine installation kits, exhaust systems, seats, dashboards, and even full fiberglass bodies. I’ve had some headbanging issues along the way, but nothing like this. It’s been a comedy of errors. And apparently that comedy has been renewed for another season :frowning:

1 Like

Sorry to hear that John. I’ve just read through the thread. Really interesting. Thanks for posting.

Sean.

Thanks Sean. I called FedEx and was told that the paperwork is required for a “steel mill product” and there is nothing I can do on my end. QED needs to file the proper paperwork through FedEx UK. Given I spent over two months attempting to have him file a claim on the original lost package without success, I am not expecting quick resolution and suspect I will have to pivot to Plan B.

My Plus 2 experience with the Coolex aluminum wide radiator and remote oil filter might not be exactly the same in your Elan. That said, FWIW….

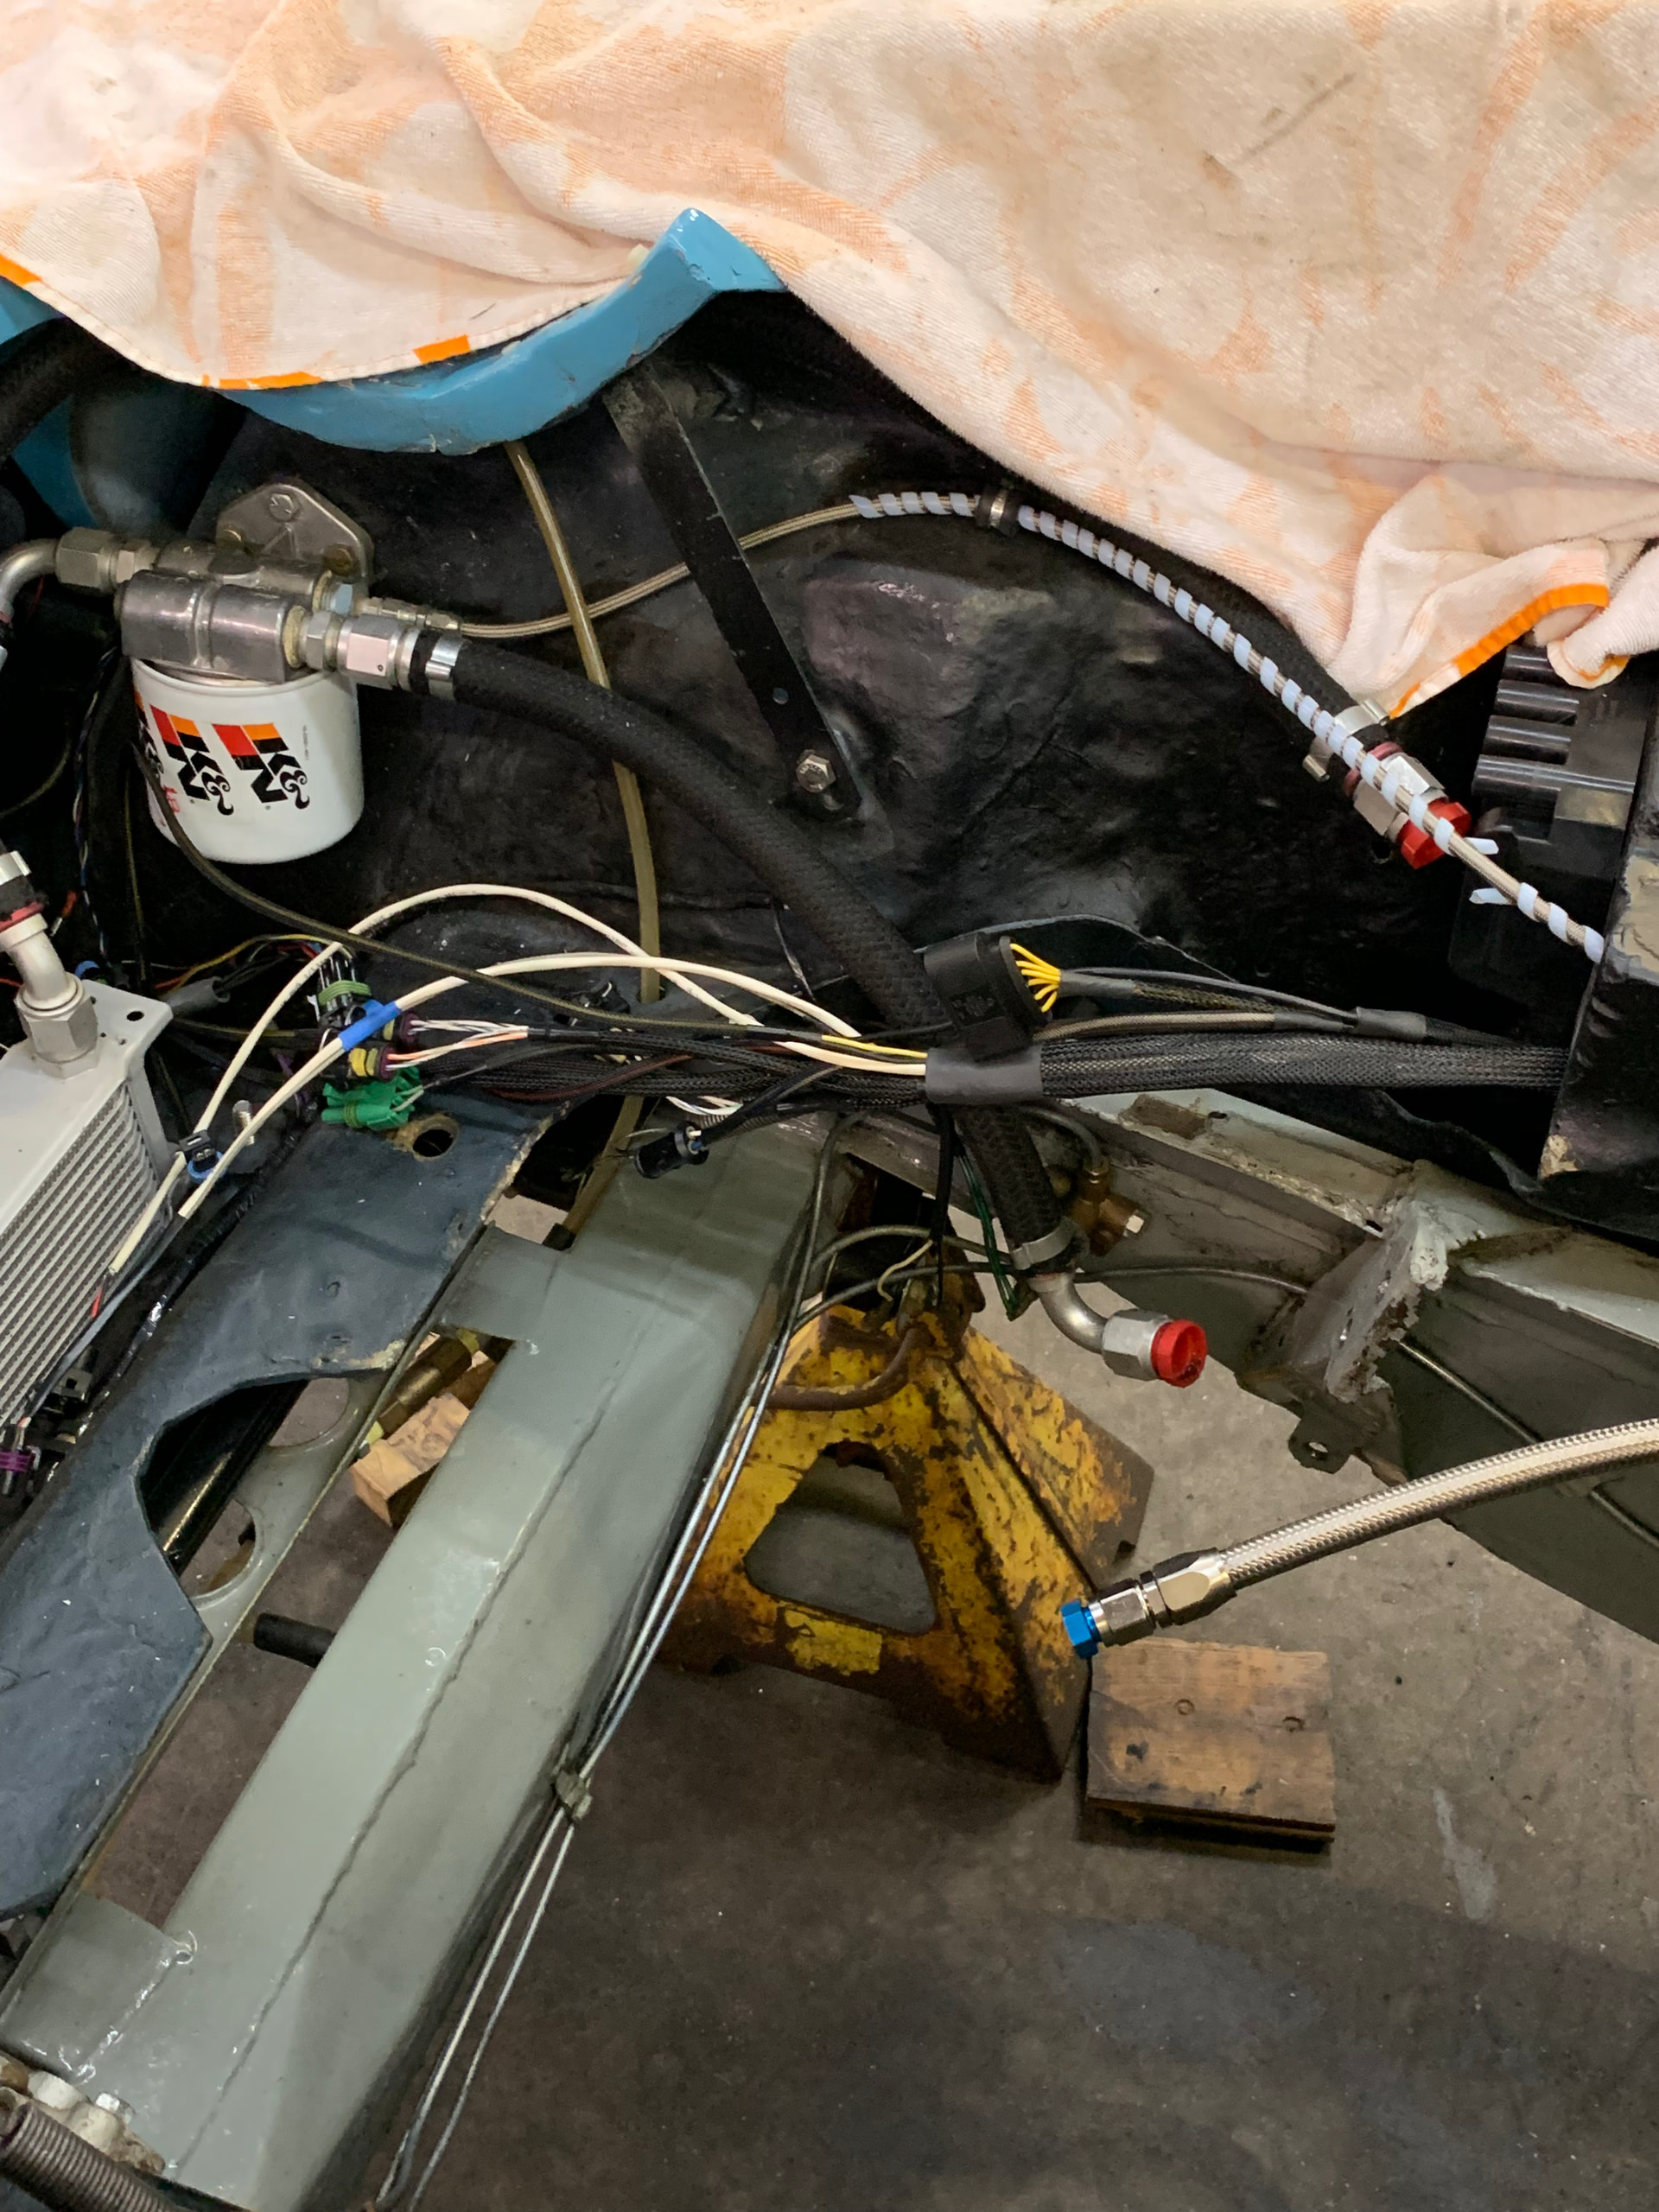
The encouraging news is I didn’t need to clearance the radiator mounts as the oil filter AN flexible hoses fitted easily on each side of car nose. I did cover the hoses with dense foam pipe wrap from the home improvement store to prevent any rubbing.

I had a bit more fussing to route the vent hose from the front of the cam cover to a catch bottle in the nose. Also used foam pipe wrap at the radiator mount. I located the catch bottle pretty much in the centre of the nose as in my car there was a sort of drain hole in the base of the nose that accumulated a drain plug screwed in to the bottom of the catch can.

I located a conical K&N style air filter on the left (driver’s) side of the nose. Best to locate this first as it takes the most room. It is well ahead of the catch can. As mentioned earlier, I think I used 3” diameter trunking to the air filter as that is all I could fit past the radiator mounts.

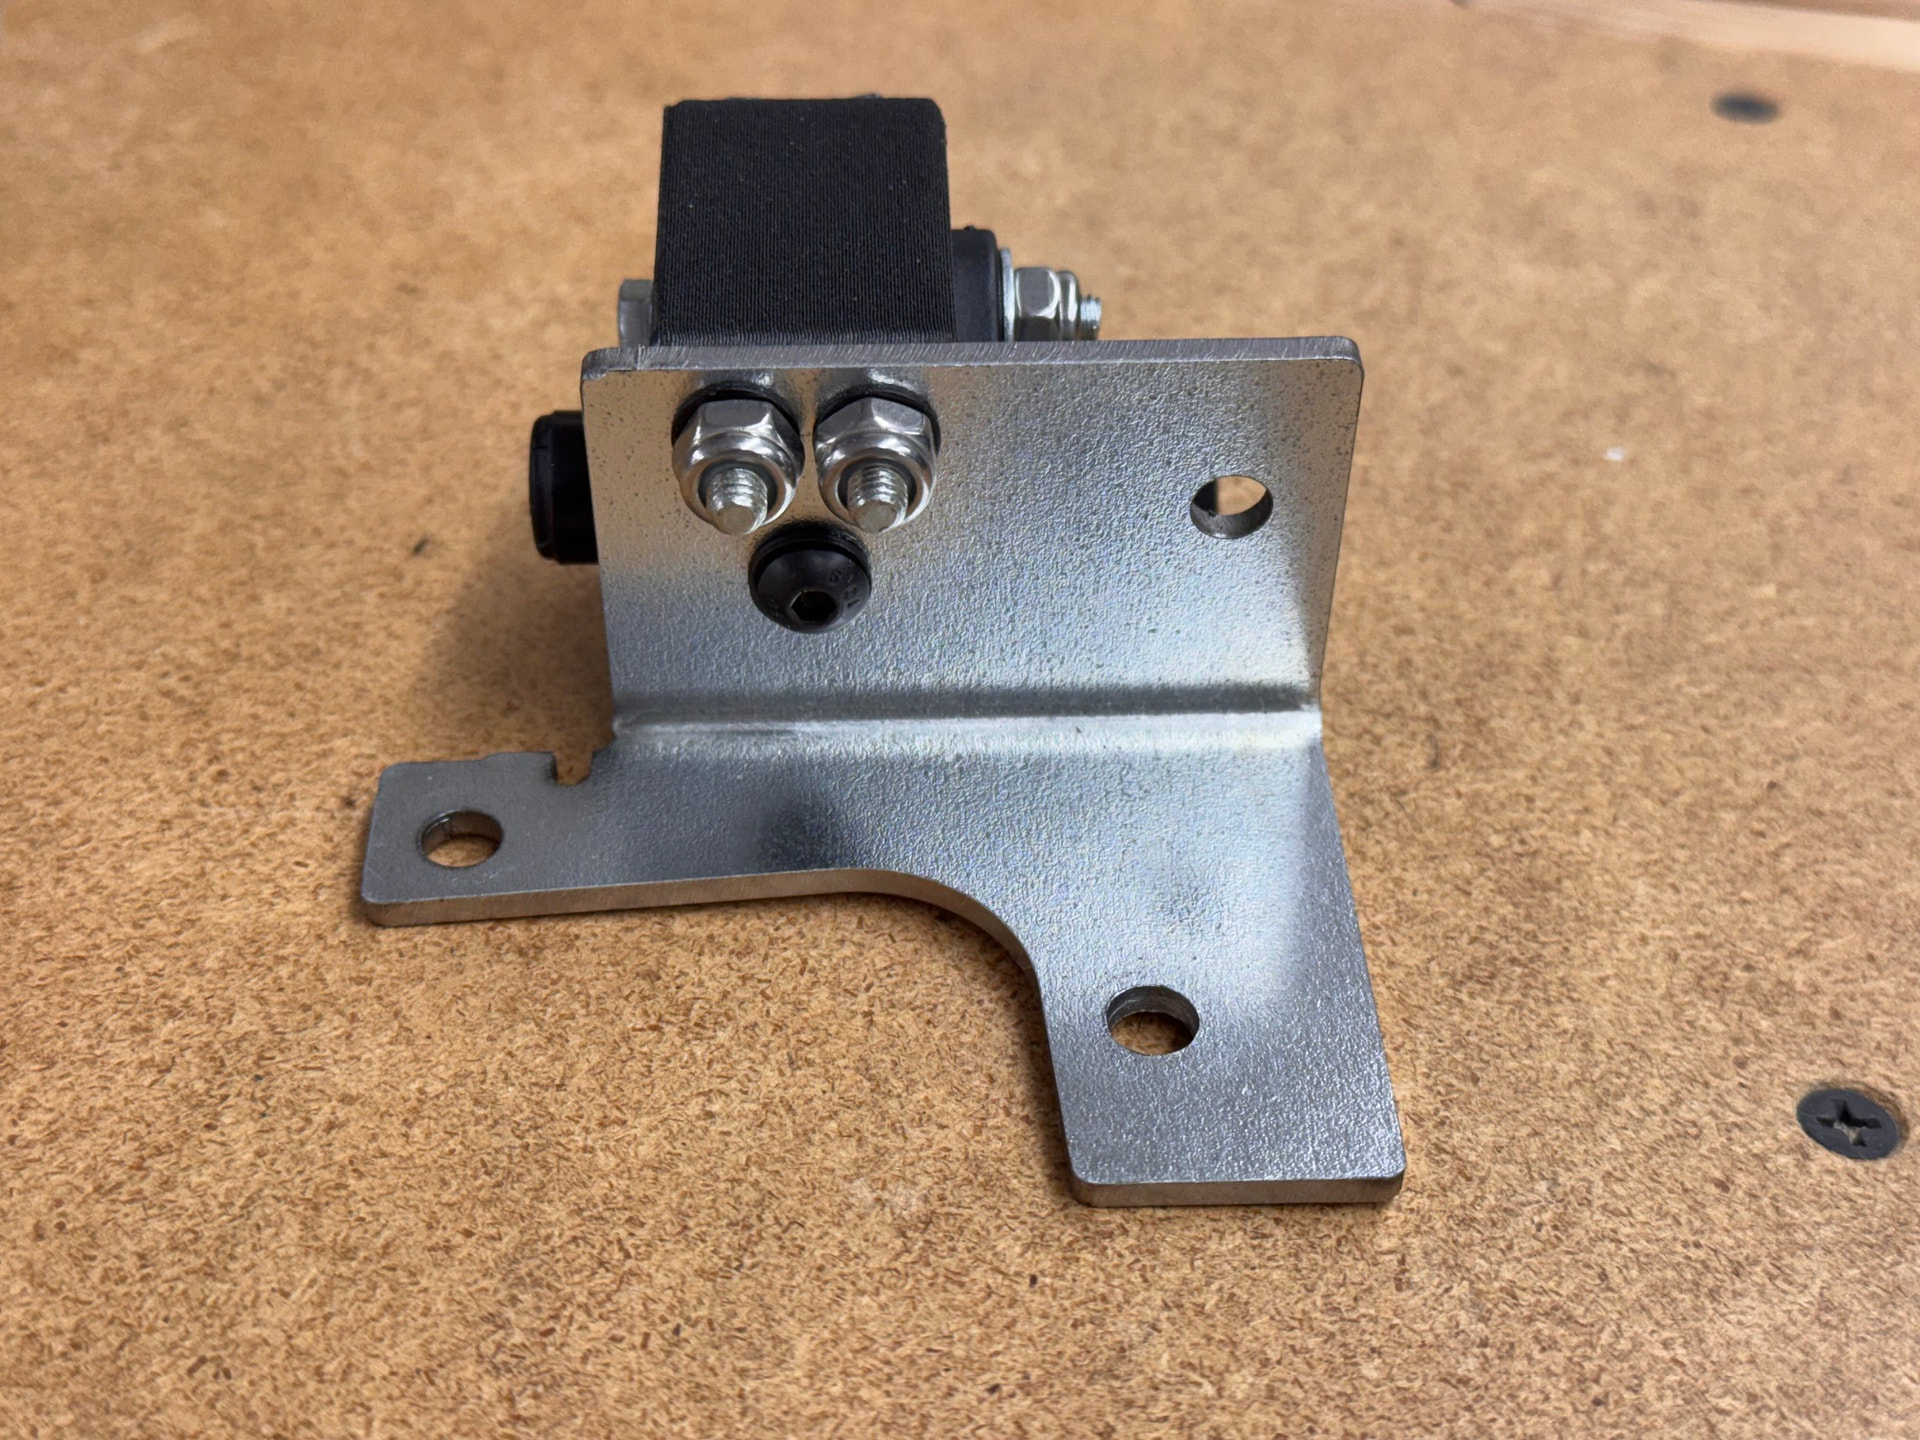
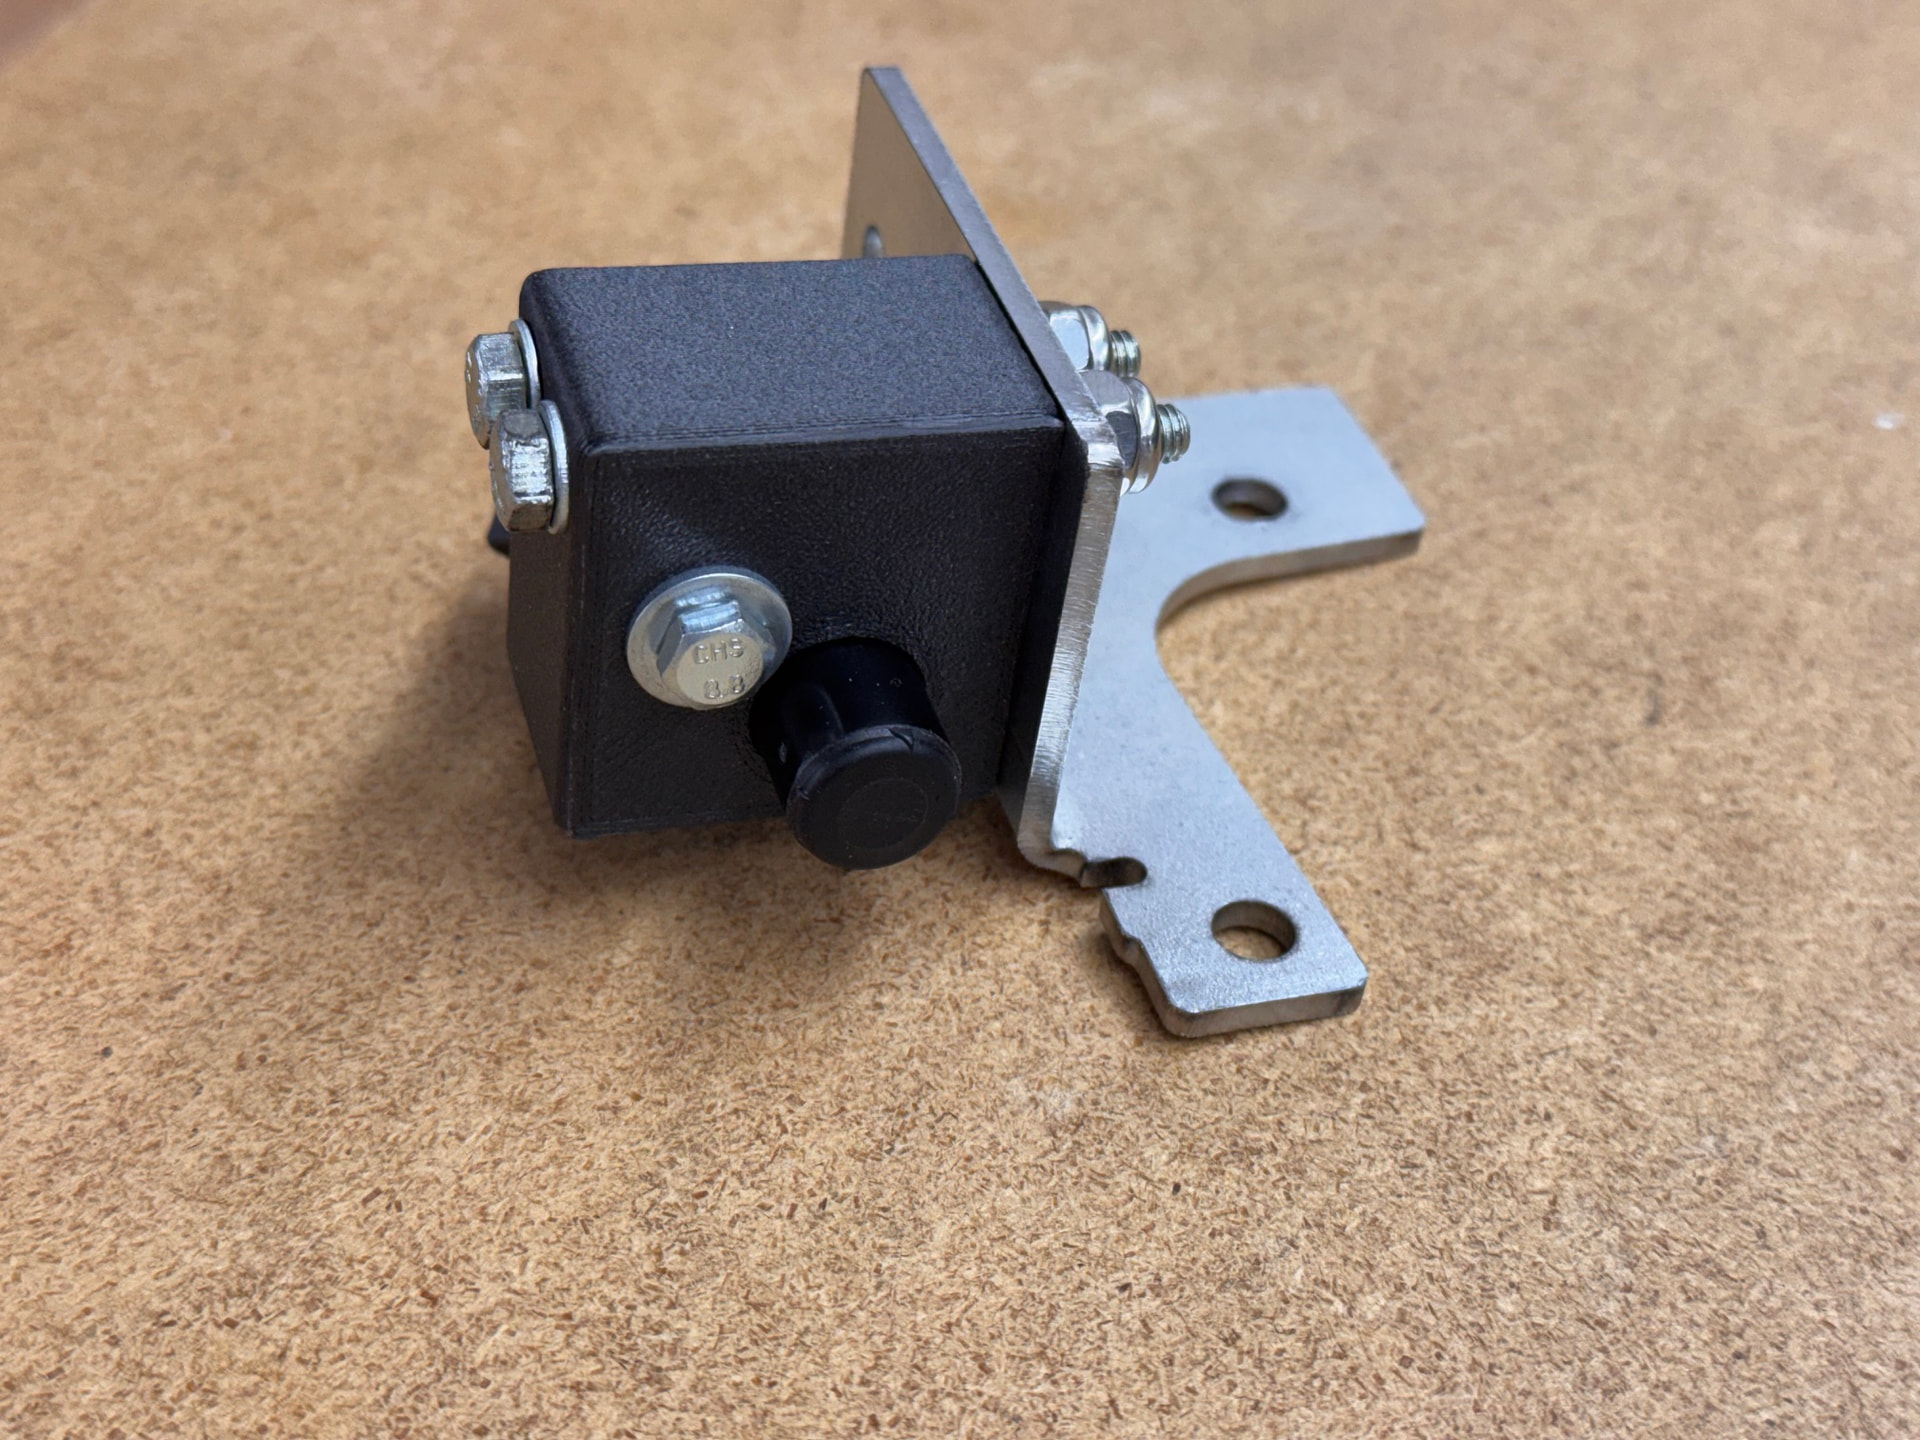
My spin-on oil filter mounts into the nose on the right (passenger) side. I used some aluminum strip to form a simple bracket. I had already mounted one lateral piece of aluminum U-channel material across the nose cone to hold a couple of small PIAA driving lights (basically used as Daytime Running Lights). The U-channel attaches to the top of the oil filter bracket; without this additional support I would really worry about cracking the fibreglass trying to move a stuck filter canister. I also used the same bracket to mount a small air horn.

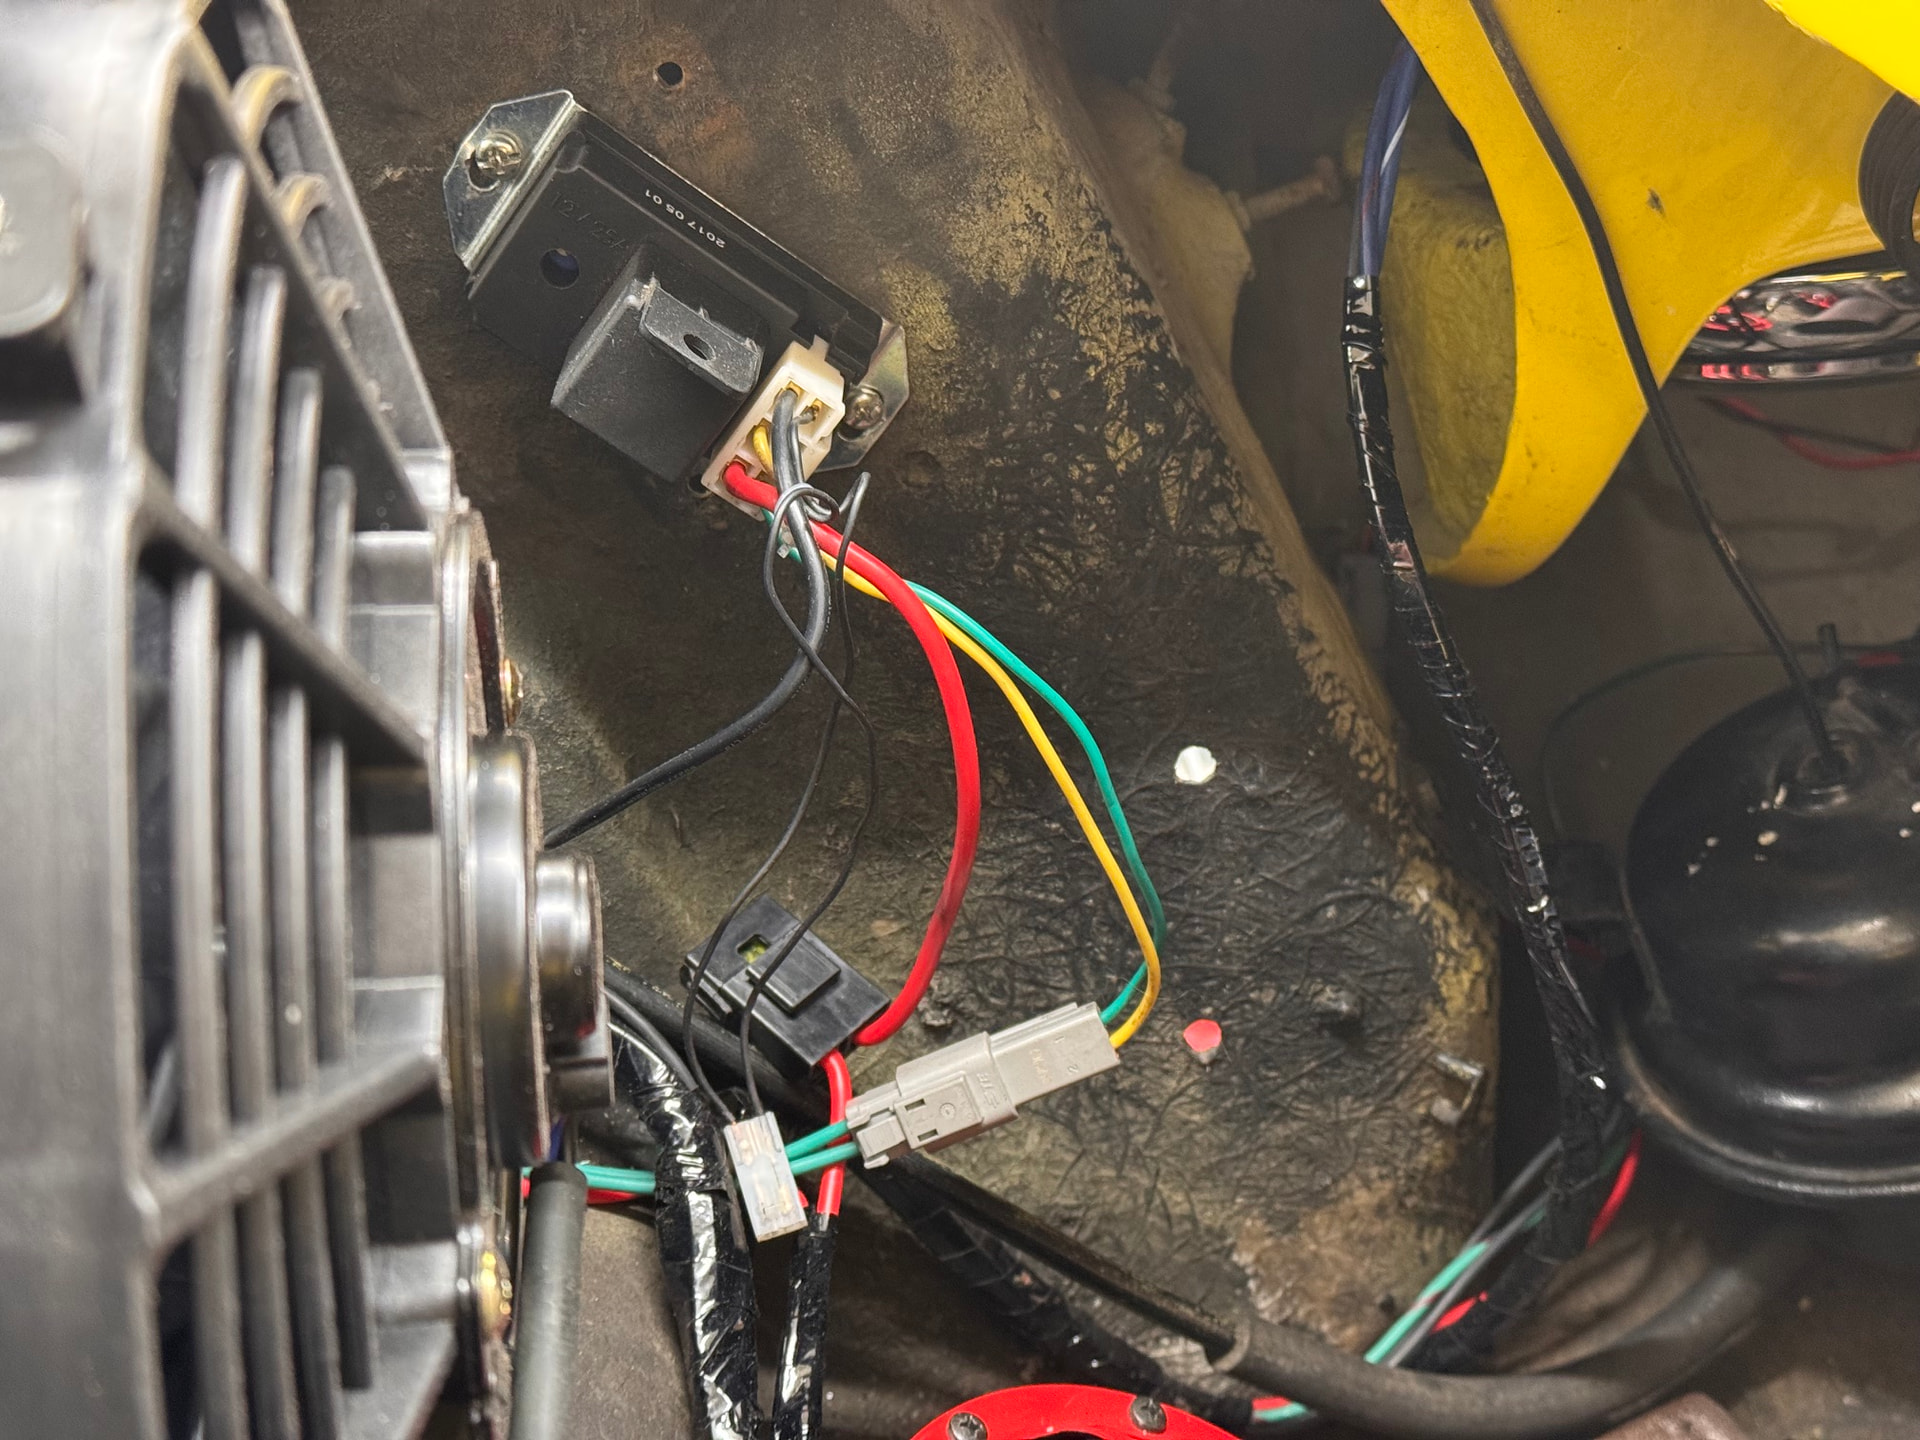
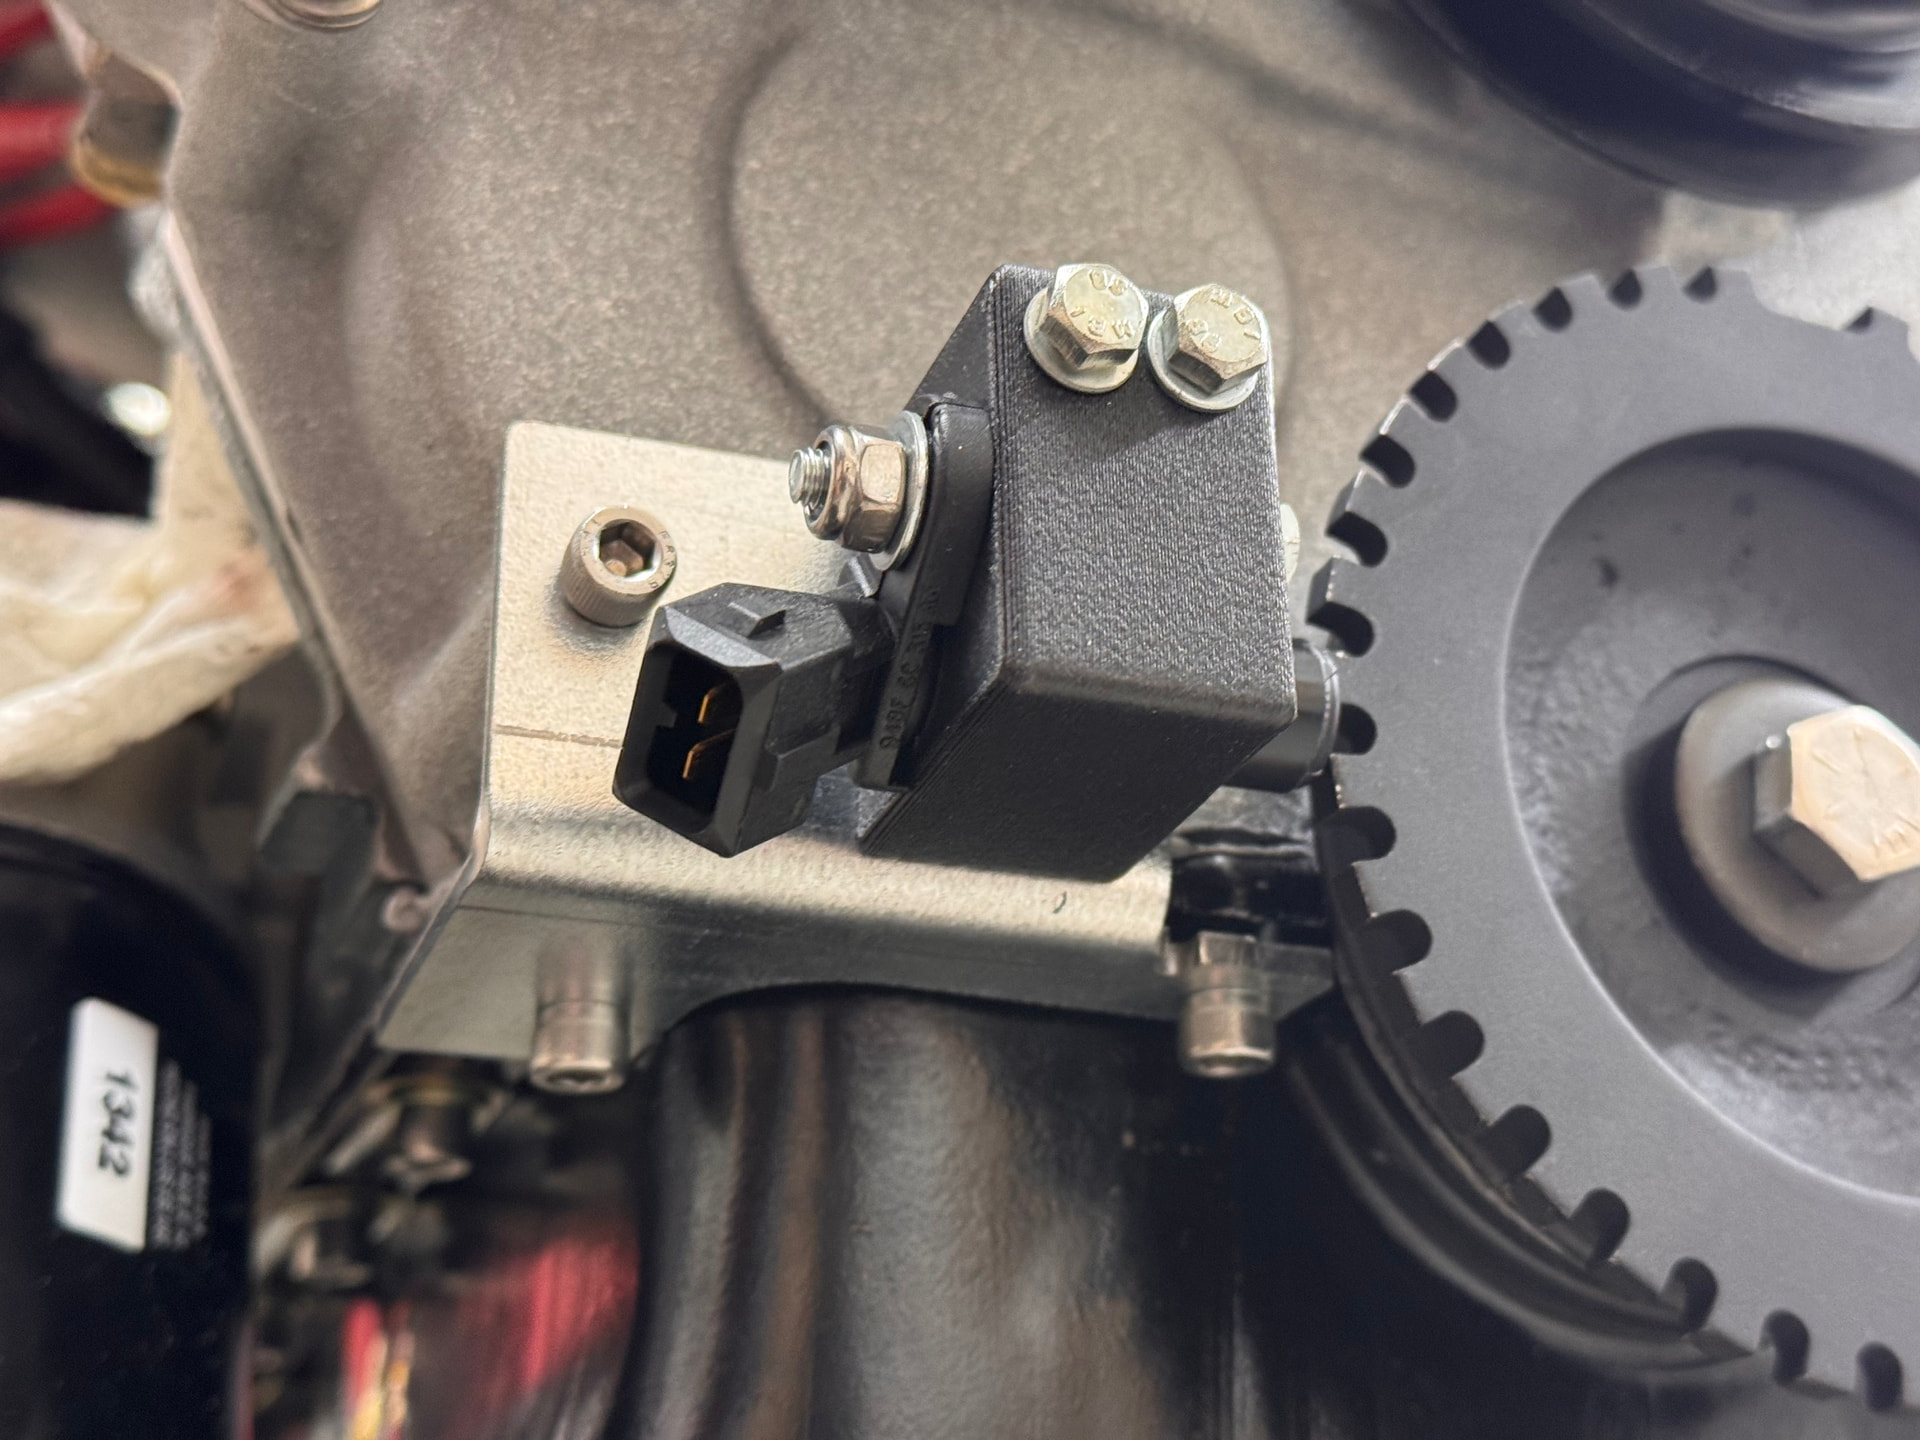
My electric pod motor is on the right (driver’s) side with its own independent mount. My fail safe system only needs one pod motor.

It all fits but definitely needs a bit of thought.

HTH Hoping for better luck on the rest of the project. Good idea to wait on the remote filter due to all that is going on, but I have found limited access to the AN nipple on the exhaust side of the engine. This might make doing the oil filter a bit more difficult. Much easier with the engine and radiator out of the way.

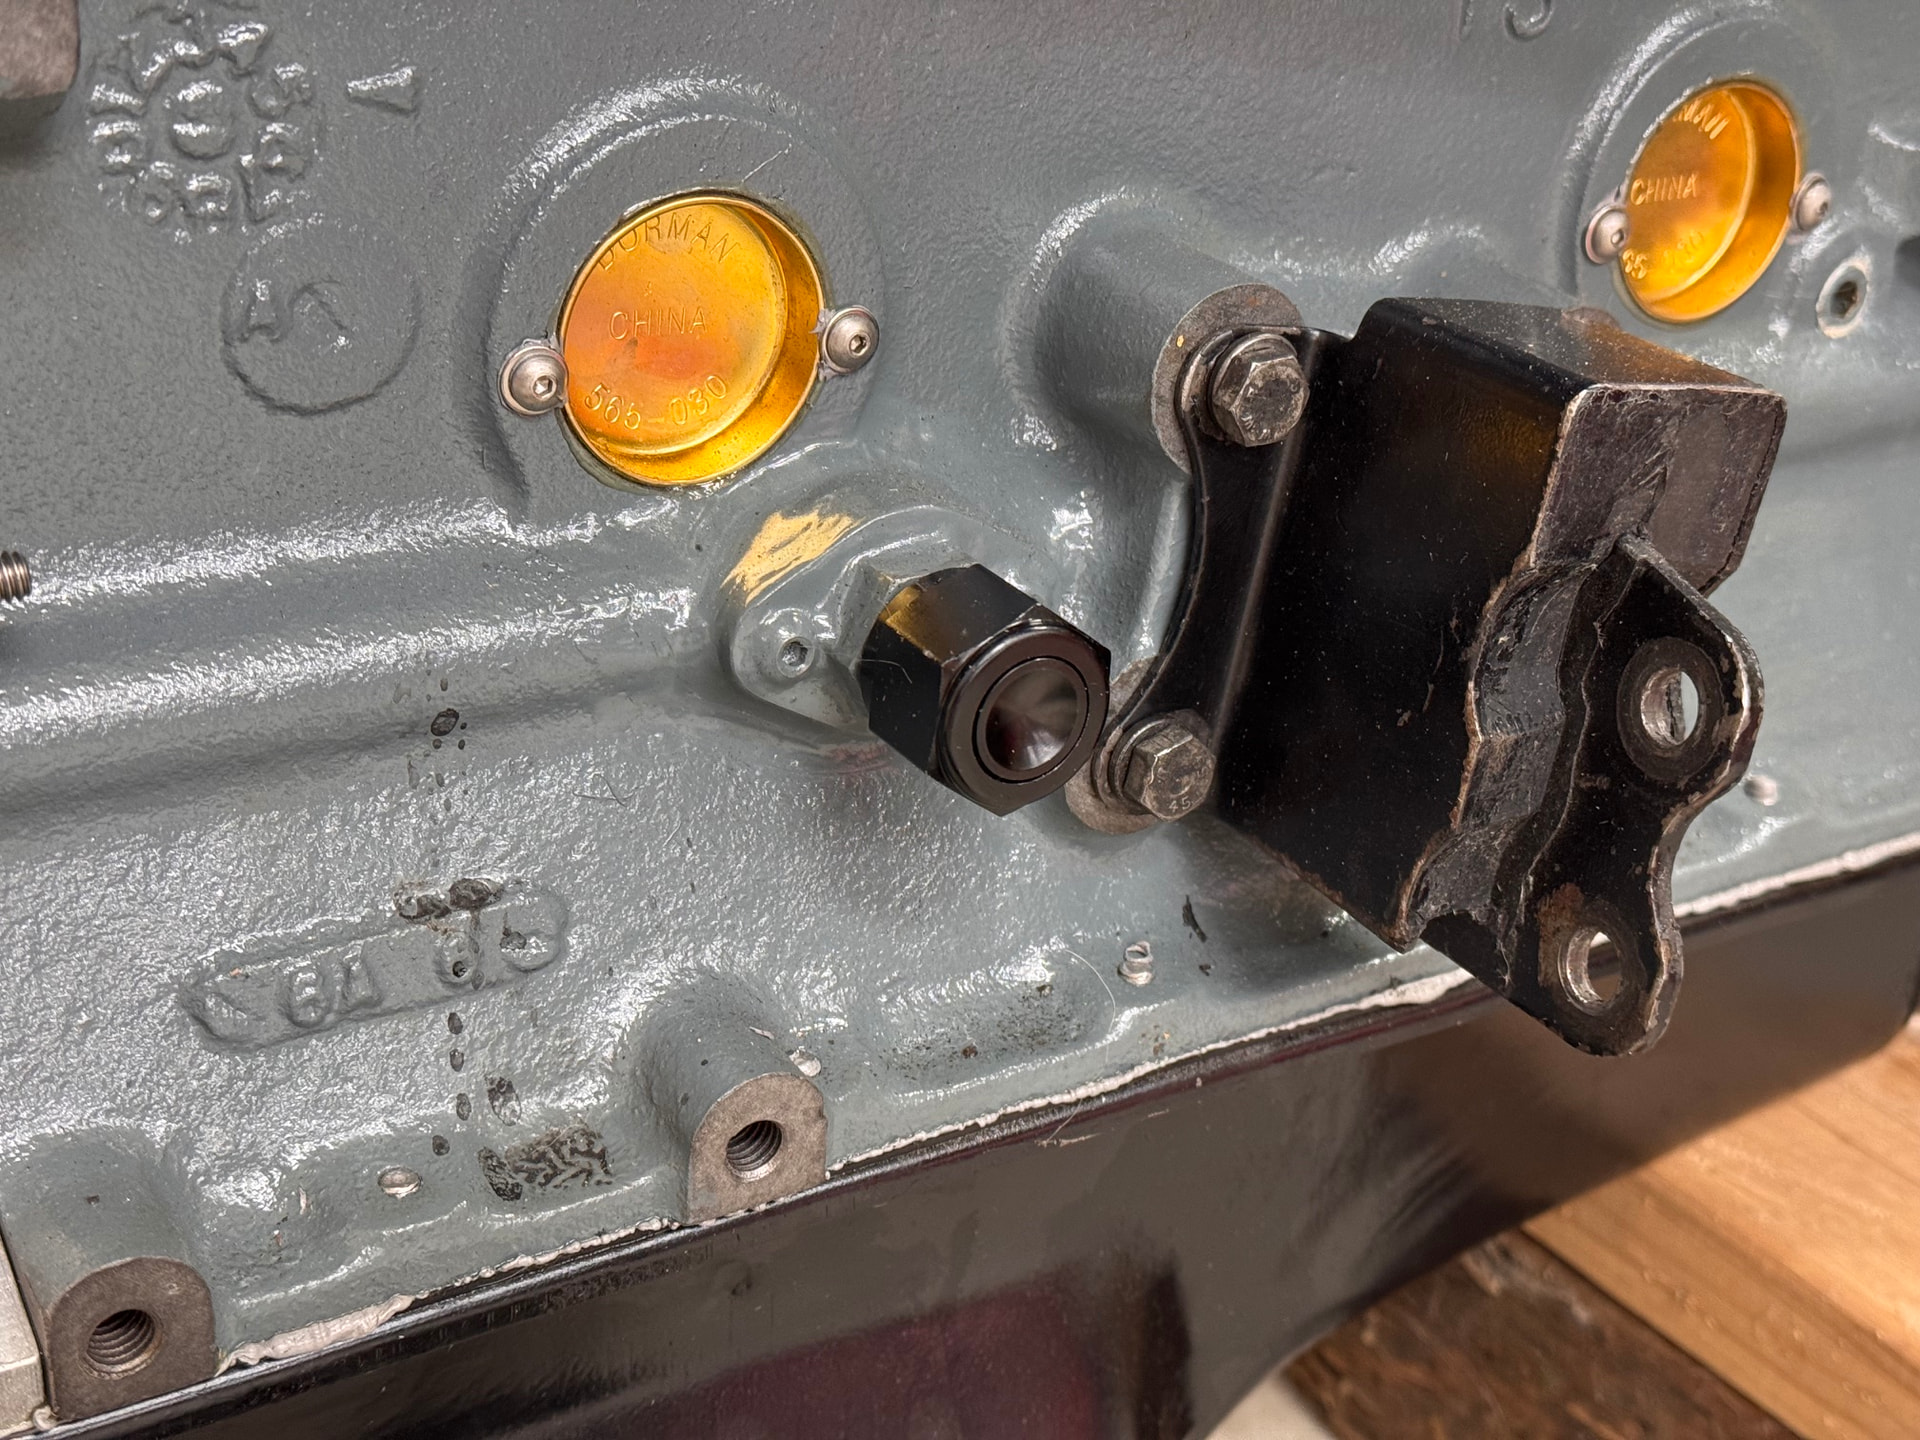
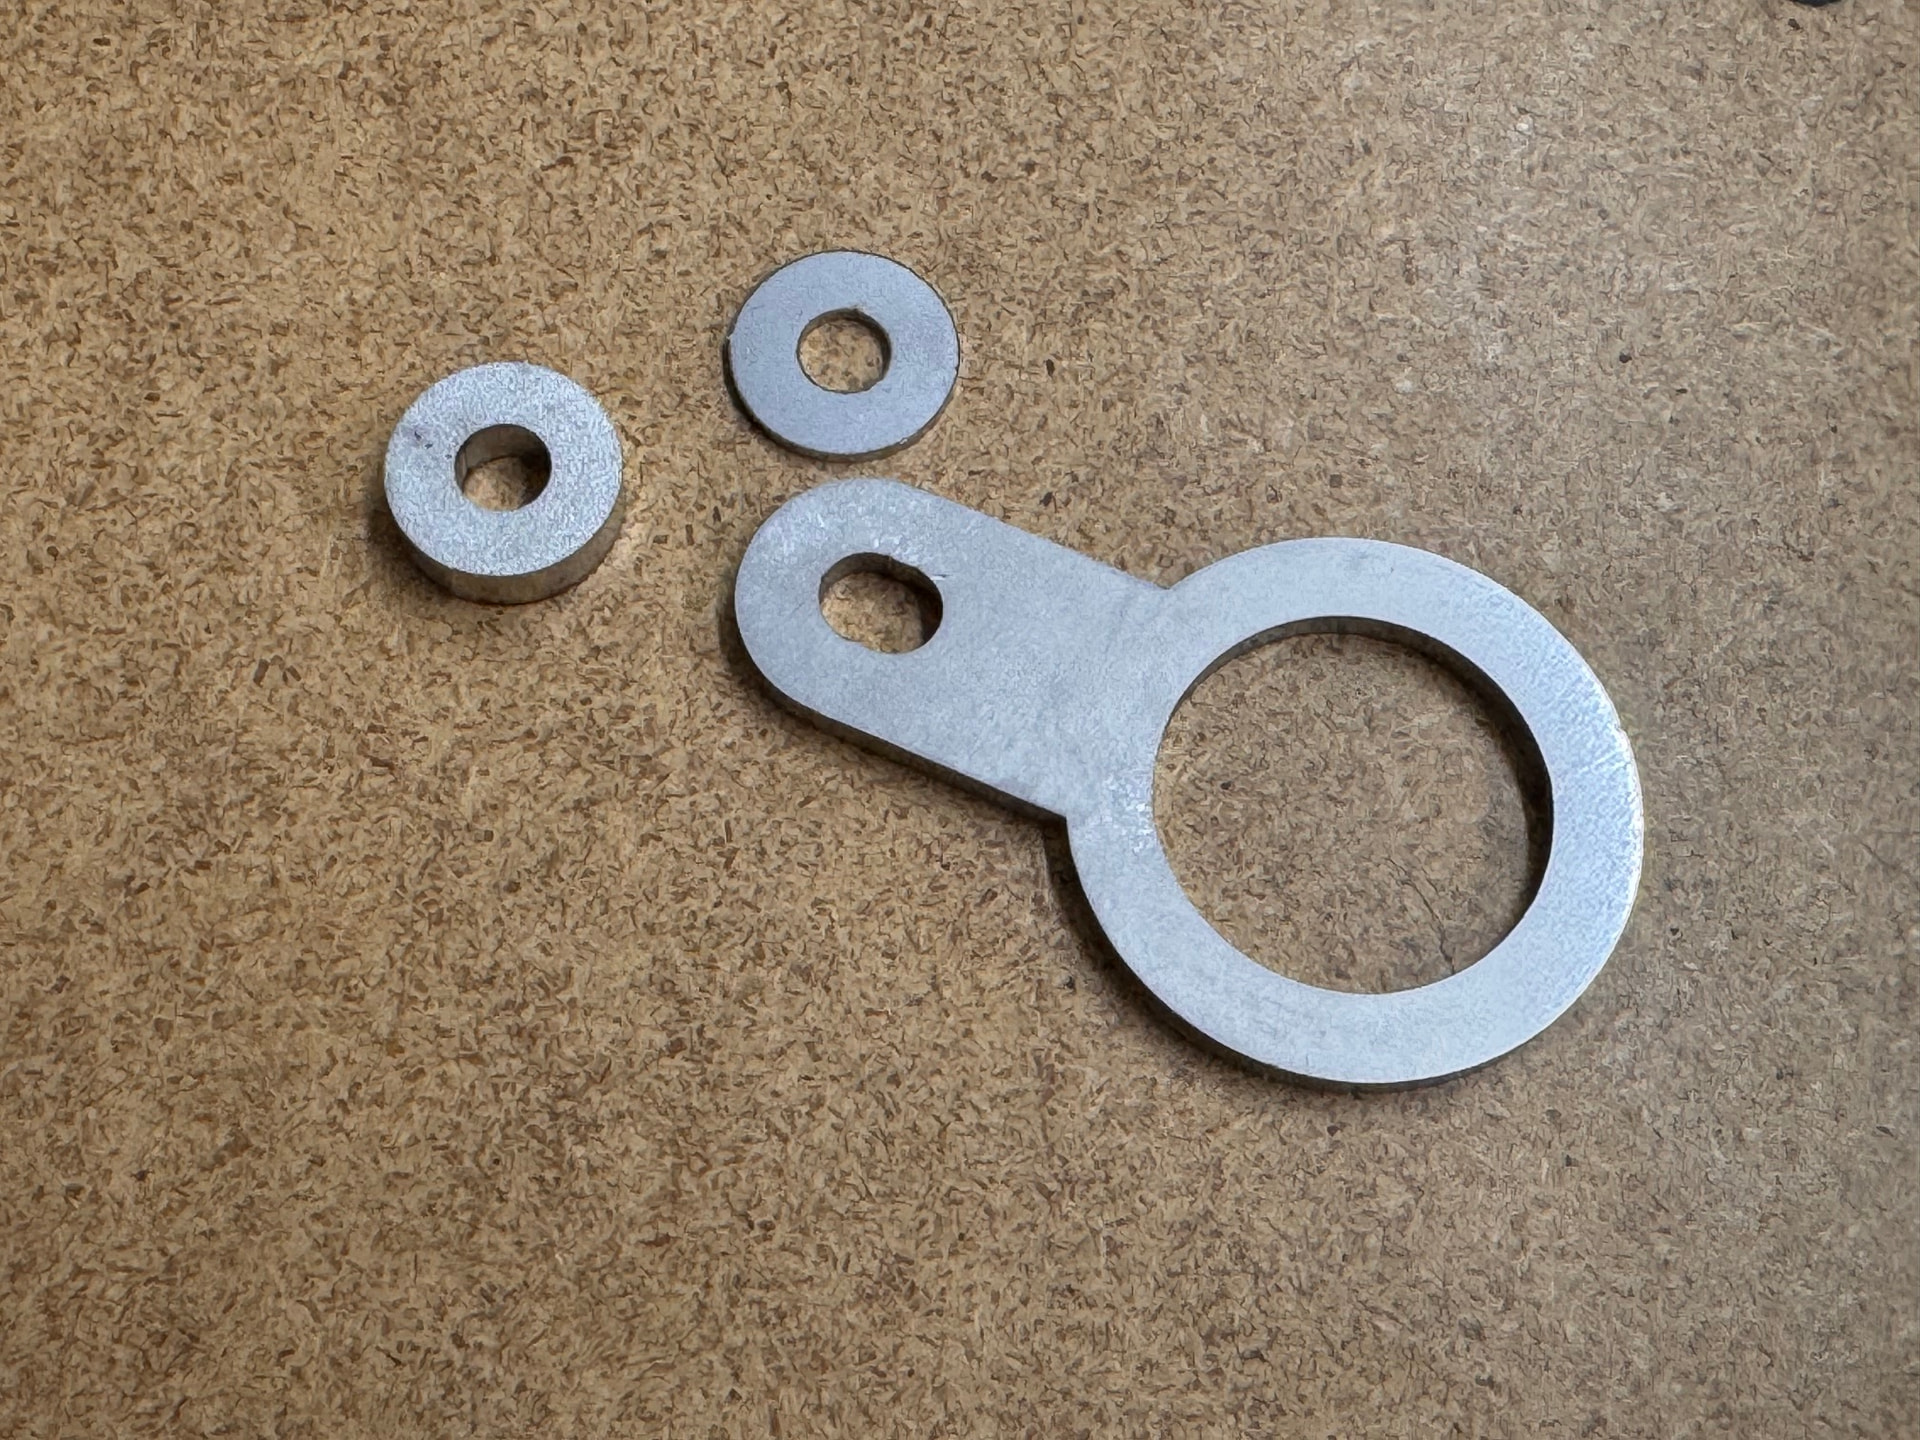
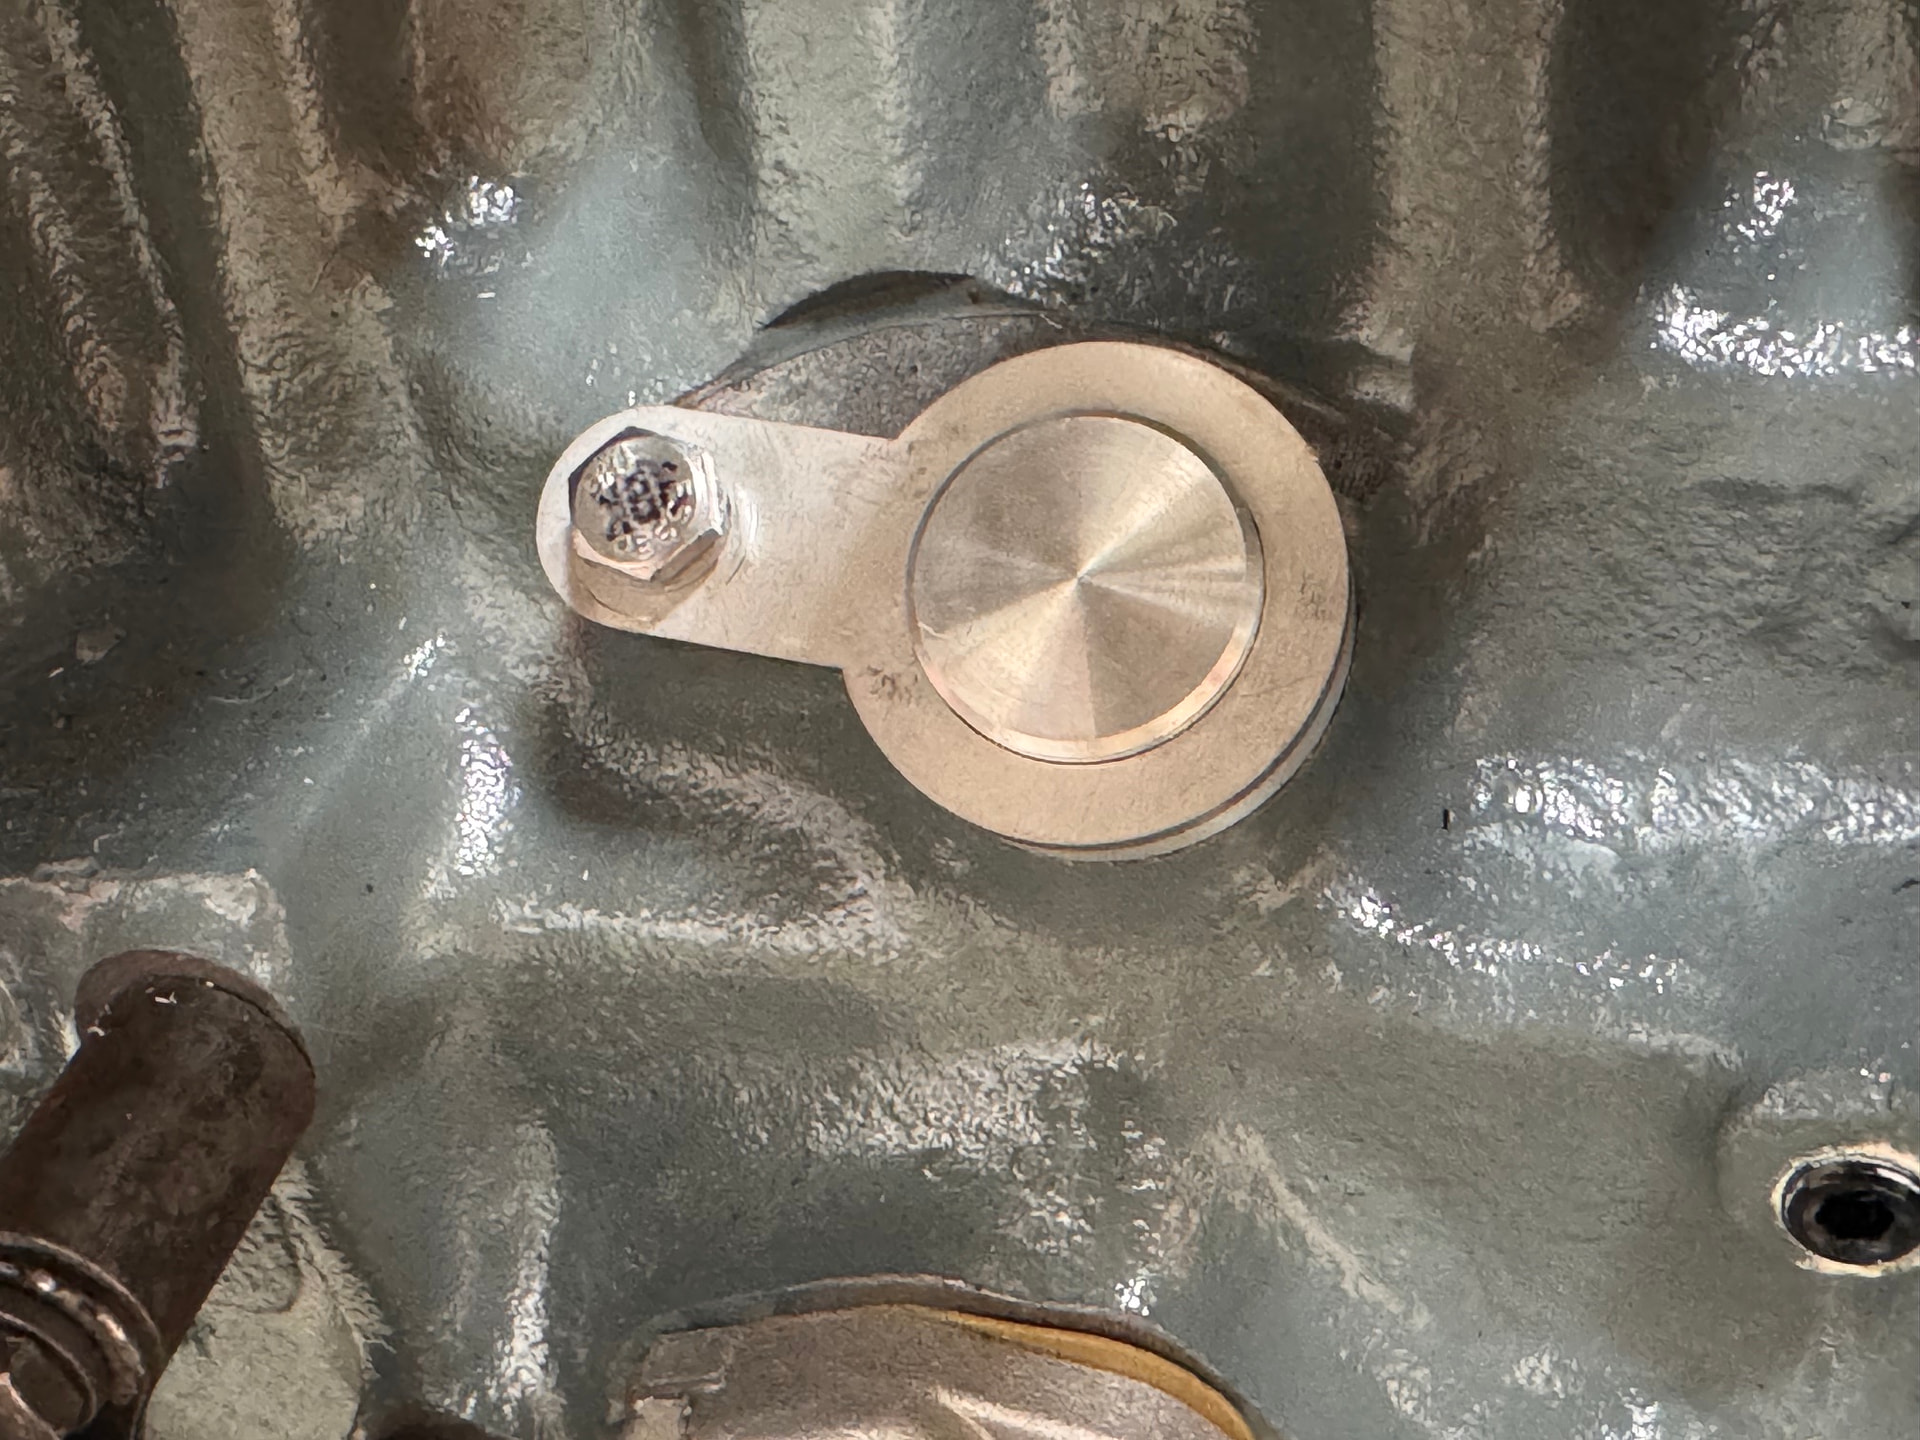
I had some leaking at the exhaust side nipple. As John installed it I don’t know details of the threads, etc. I was able to get it to seal by tightening. Not sure if this area had to be tapped into the block or is usually a blanking plug?

Another suggestion would be to pressure test the hose fittings and nipples in the oil filter bracket before finalizing the bracket attachment. I found they needed enough torque to seal that the oil filter mount needed to be stabilized while tightening; relying on the fibreglass was going to damage things.

All the best with the project. The car is going to be awesome!

Stu in Calgary

Thanks Stu, I know it may be a little more difficult to add later, but I think there will be enough room. Worst case – I hope – is that I’ll have to drain the coolant and remove the radiator. Good suggestion on assembling the remote oil filter head and pressure testing before installing it on the body.

This engine is built on a new block that appears to have a boss that John drilled to add the AN -10 fitting. My older, original block doesn’t have this boss.

Nose of the car is the best option for the remote . I’ve used a couple of times . It does necessitate extracting the oil filter through the radiator inlet in the nose .

+1 to oiling on the other side of the block -

Thanks @cabc26b I was looking at that same location but on the left side of the car (air box feed hose goes through the right side). Regarding access, with my radiator temporarily installed, it appeared the filter could be accessed from above with the bonnet removed. Is there something about your setup that prevents that or am I being overly optimistic?

The QED drama appears to be over. I called him this morning to explain the situation and that he needs to contact FedEx UK. long story short, he’s frustrated and no longer plans to sell to the US. Given my confidence in him sorting this quickly was low, I gave him the option to cancel the order and refund my payment from January. He jumped at the offer.

After hanging up, I placed an order with Trigger-wheels.com for a universal trigger wheel that I’ll have attached to my existing crank pulley. I also purchased their distributor blanking plug (much nicer design than QED’s) and universal crank position sensor bracket. I’ll either modify that or create something from scratch.

2 Likes

After the trigger wheel arrived, I had a local shop affix it to the crank pulley and true the edge on a lathe.

With that back in my garage and installed, the CPS bracket measurements could be finalized. Rather than follow the QED approach shown in the first photo below, which bolts to two of the oil sump bolts then holds the sensor with two metal loops and a bolt, I opted for a metal bracket that also uses a front facing timing cover bolt to improve rigidity. A 3D printed block bolts to the bracket and clamps the sensor in place. Doing it this way meant I could alter the CAD file for the block until test prints resulted in exact clearance between the edge of the trigger wheel and end of the sensor. Unnecessary overkill, but that’s part of the fun of this project. It also gave me an opportunity to try out the sheet metal features of the CAD package I use and try one of the online sheet metal cutting and bending services.


Next up was installing the plug for the now vacant distributor port. It’s well made and fits, but mounting it was a little problematic. The outer diameter was too large to use with the stock distributor clamp, and the top hat portion was far too small. Taking the easy route, I mocked up something the right size in CAD and had it laser cut.


The engine can now go in, however, a hand injury means that likely won’t occur until mid-July. Once installed, I can finish up the remaining jobs, the biggest of which is having the 2" exhaust mid-pipe swaged to fit the 1-3/4" RD header and have the bung welded on for the WBO2 sensor.

6 Likes