When I called on Wednesday, QED said they would resend the missing parts shipment the following day. When I followed up 24 hours later to confirm they had gone out, I was told there was no tracking number yet but that the parts had been boxed and were waiting for pickup. Now that another two days have passed without a FedEx shipping notification, I’m not overly confident that actually happened. Fingers crossed that’s just my natural pessimism talking.
In other news, I had planned to print extensions for the air horns supplied by Omnitec. While they are beautifully made aluminum bellmouths, at only 35 mm long they tend to favor top‑end power over mid‑range torque. My goal was to significantly increase their effective length, but I quickly found that spacing out the #4 air horn by any meaningful amount introduced fitment issues. Even without a spacer, the edge of the bellmouth already meets the airbox base, and because the airbox lid narrows as it moves upward, adding length would prevent it from closing.
Plan B was to either buy 2-1/2" Weber air horns or design my own. The latter sounded more interesting, so using ChatGPT, I worked through an air‑horn shape that balanced overall length, outer lip diameter, and an appropriate flare to reduce the risk of airflow separation. Those results were modeled in CAD and a test part was printed. After a few small adjustments, I ran the design through a CFD package to check for glaring problems. Surprisingly, the results look good —at least when compared to CFD data for other air horns that are generally considered to be well designed. The following photos show an Omnitech air horn next to the redesigned version, the CFD results, and the new airhorns attached to the engine.
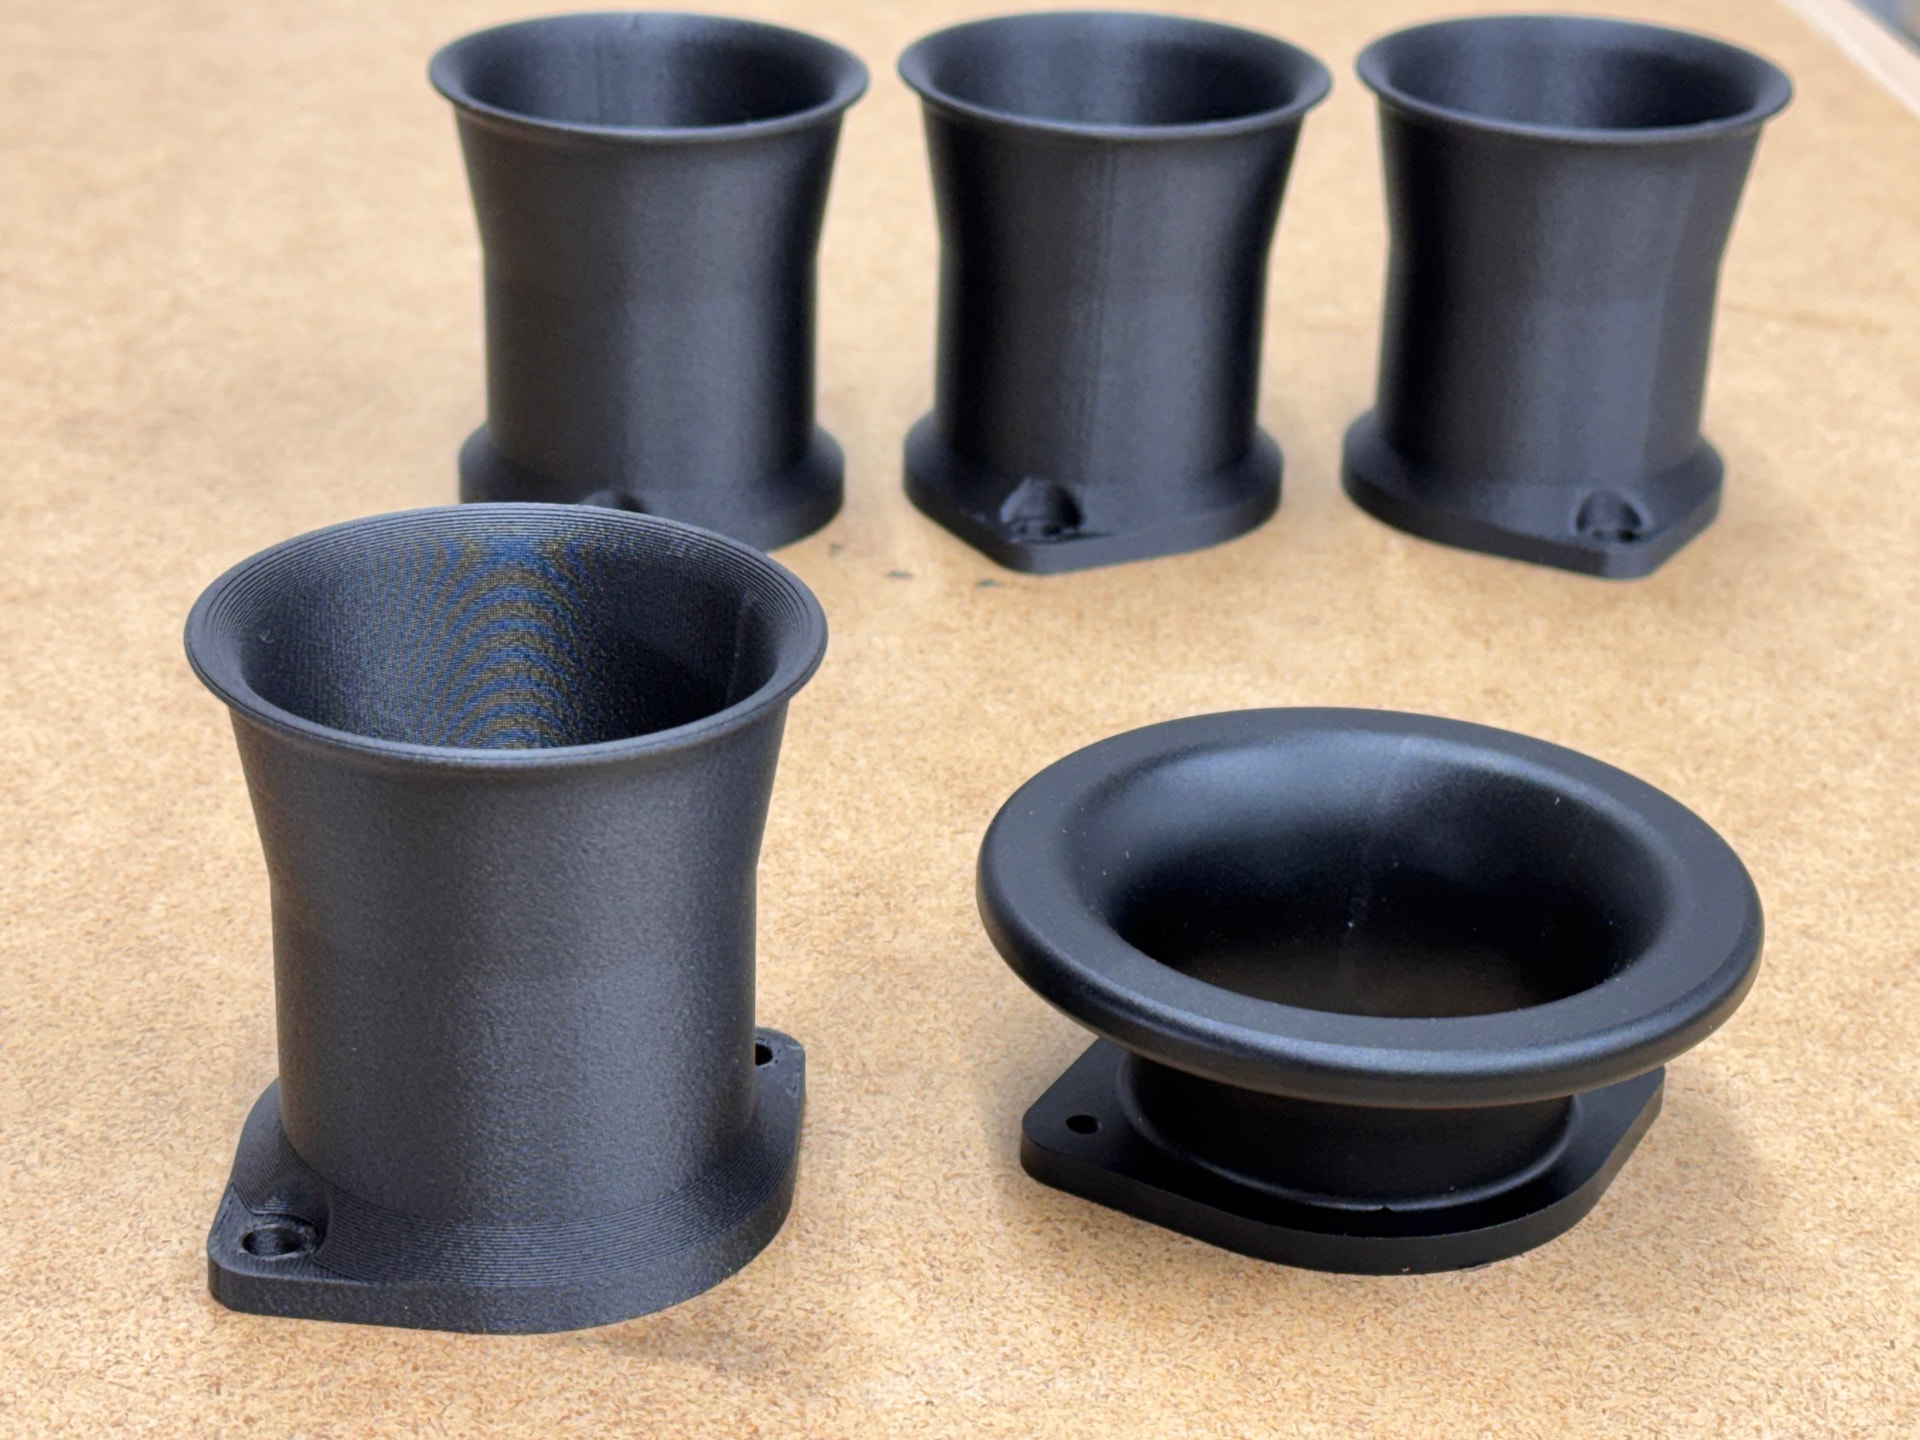

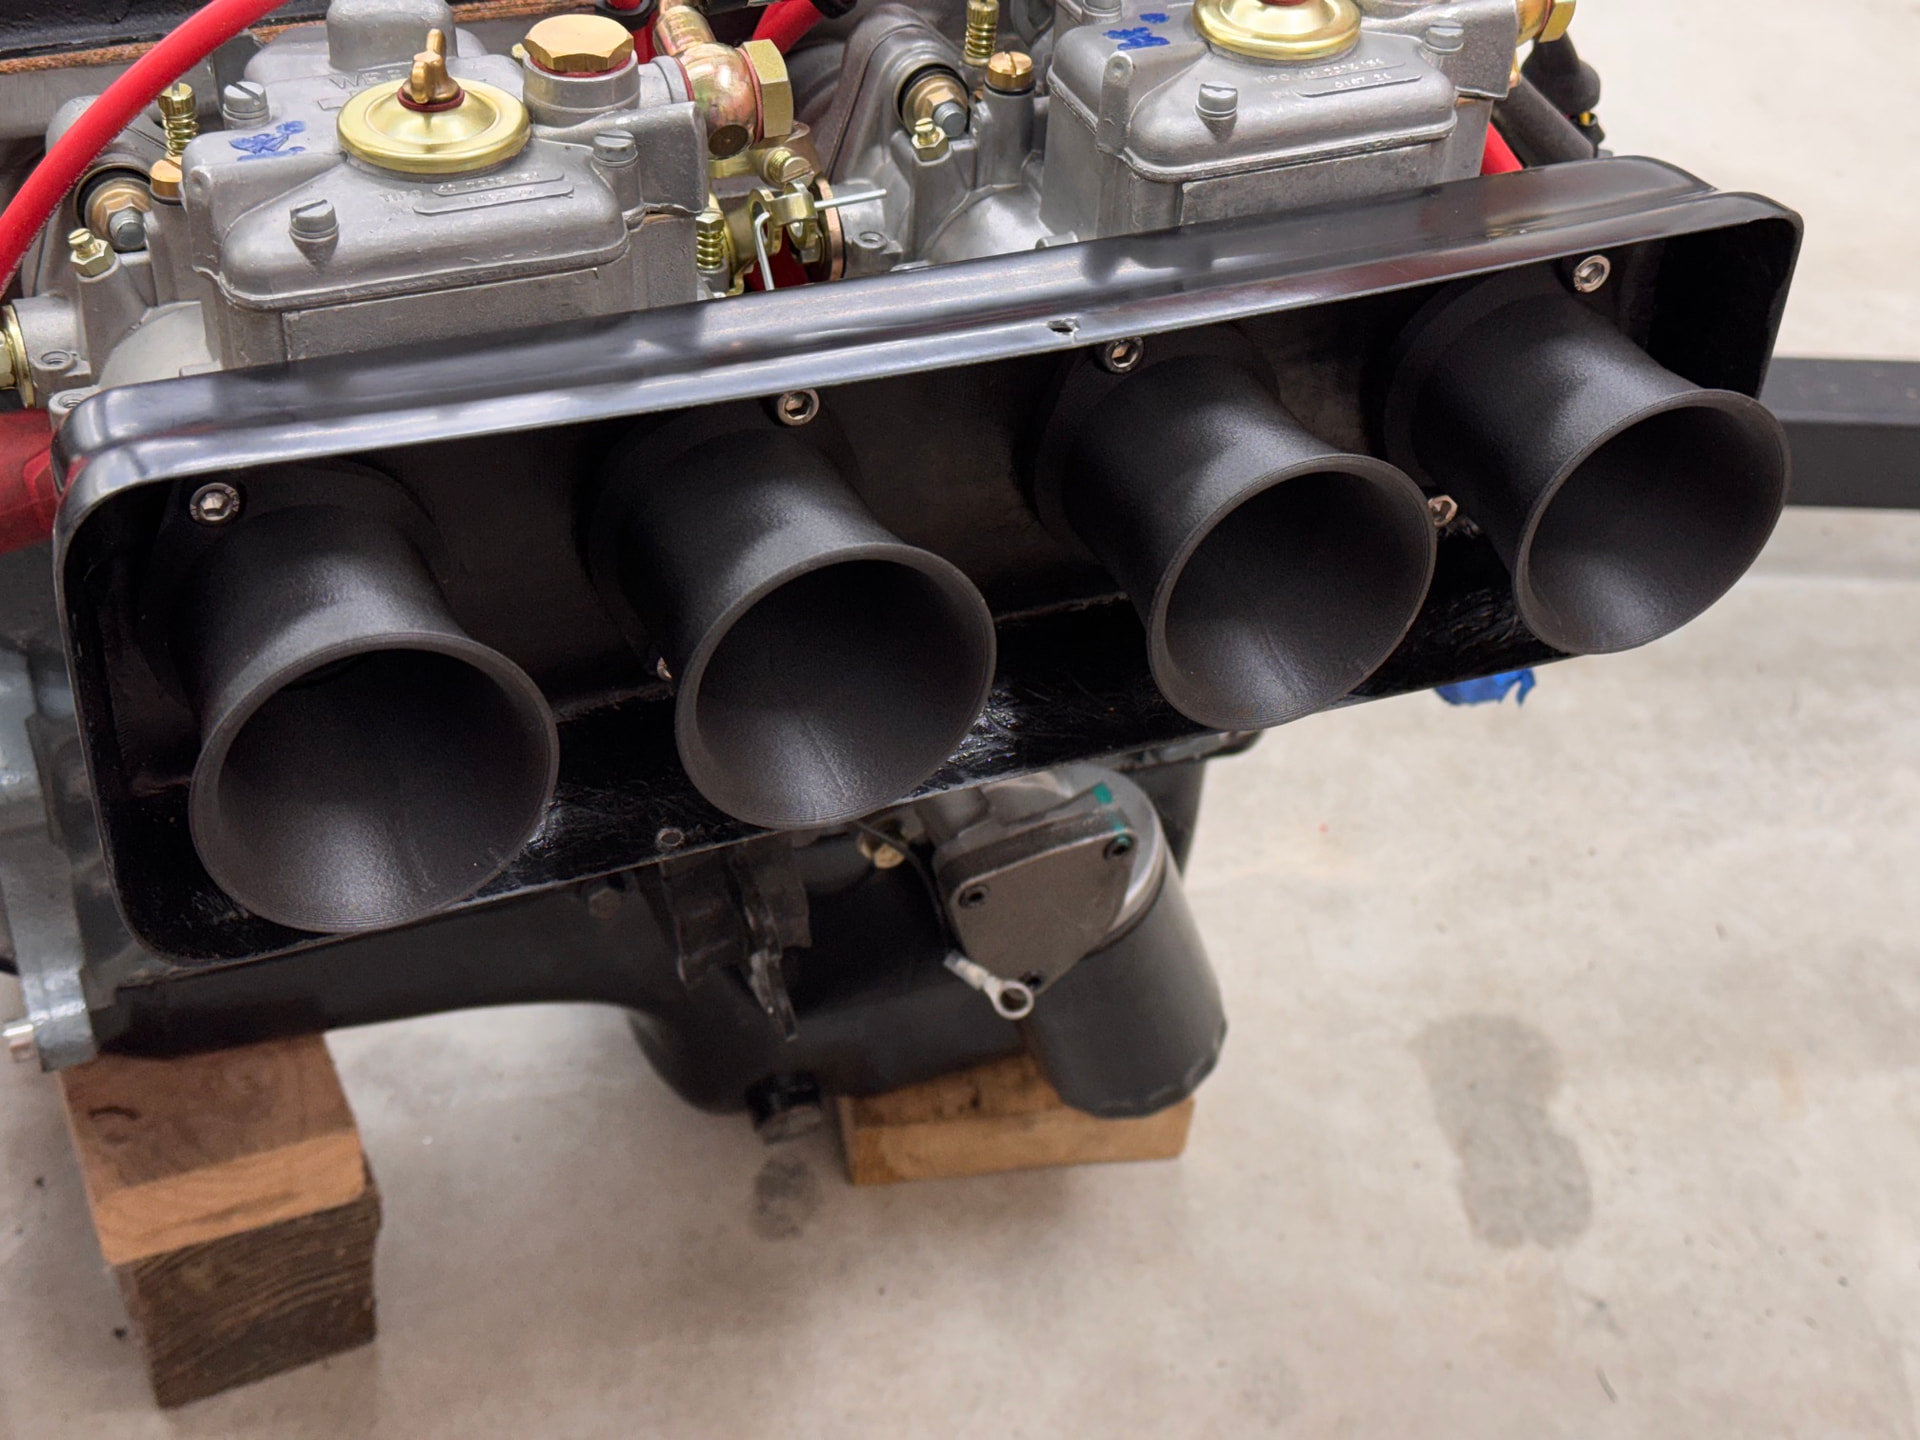
For the 3D printing nerds, I used PET-CF, which can easily handle under bonnet heat and is compatible with fuel.