Off-season bodywork

I’ve had my Sprint for 7 years now. After a bit of a slow start given life, and all, I focused on reliability and drivability issues. I’m willing to declare victory in that battle - this year’s 2700 mile trip to LOG41 was trouble free.

So now it’s on to the bodywork. The list of issues includes:

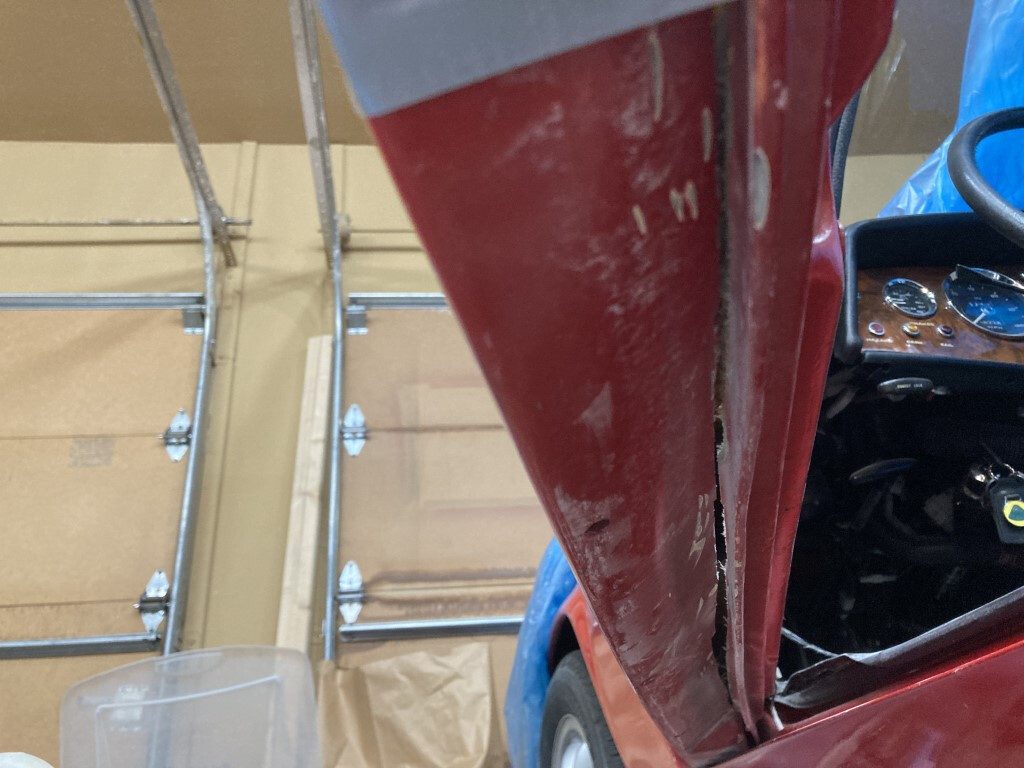
  1. A pretty significant crack between the upper/inner corner of the left headlight opening and the bonnet opening.
  2. Several smaller cracks radiating from both headlight openings.
  3. A “dimple” in the bow near the Lotus badge
  4. Some stone chips on the front end
  5. Some scratches and stone chips on the front bumper
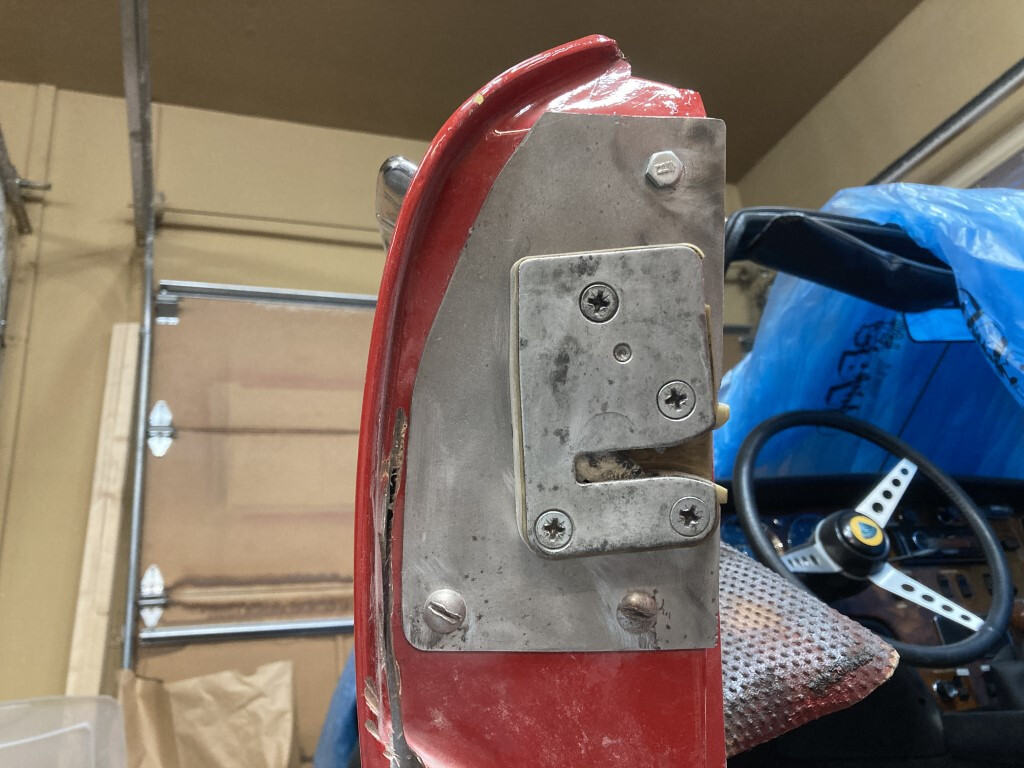
  6. The usual lower rear doors sticking out.
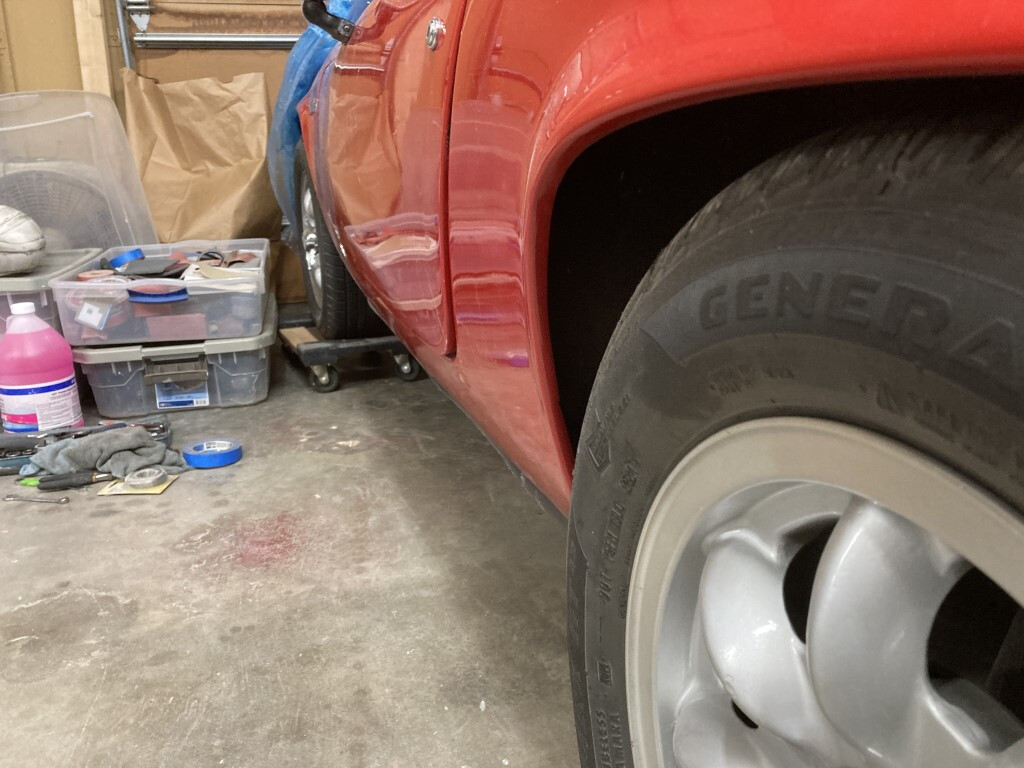
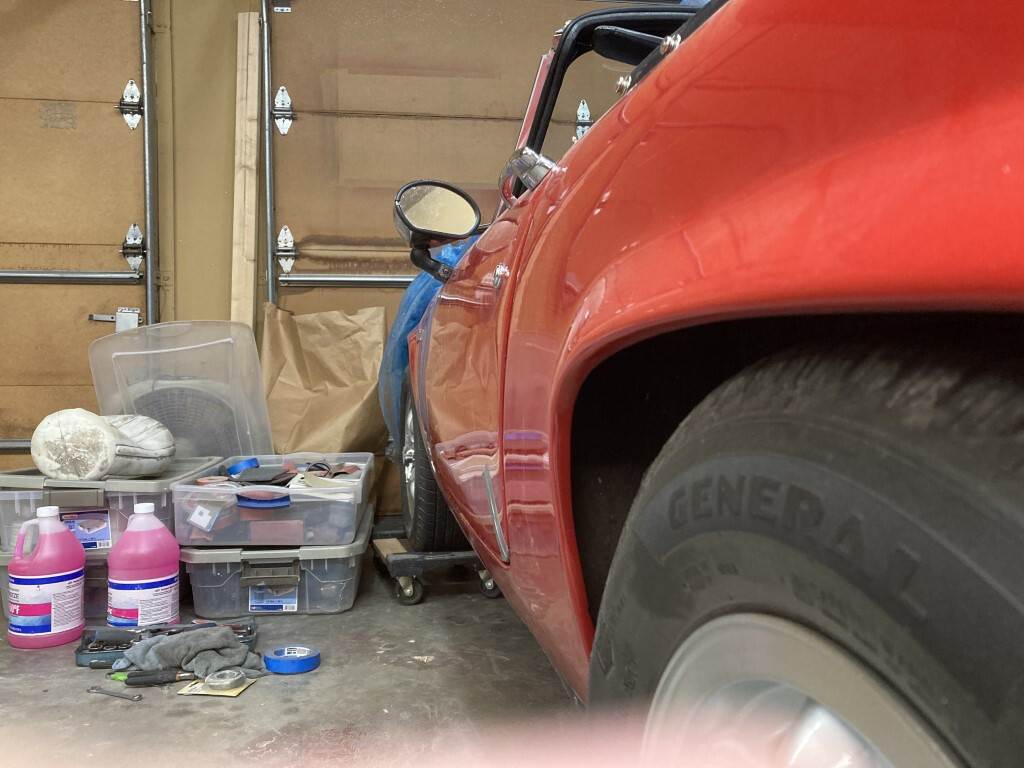
  7. The usual (?) upper/rear of the front fenders being ‘below’ the upper/front of the doors
    :sunglasses: Some star cracking on the left rear fender where the battery contacts the fender wall.

At the last two LOG’s, Gary Boudreaux held tech sessions on using epoxy and fiberglass cloth options he’s used in aircraft construction for Lotus fiberglass body repairs. Conveniently, I already had some West System epoxy and fillers for sailboat repairs, and Gary graciously gave me enough cloth for the the above repairs (principally #1).

So I started with #1. The plan was to remove the radiator, headlights, headlight raising mechanism, and grill to provide access. Then grind out the reinforcing ribs underneath the crack in preparation for a patch. Prepare a patch of 4 layers of “Ruttan Cloth” wetted out with epoxy, and apply it to the underside of the crack. Let it cure, then grind out the crack from above, down to the patch level. Make out a patch of 3 layers of cloth and apply it to the ground out crack. Then mix up some epoxy and micro-balloons to about the consistency of wet peanut butter and apply it to the cured surface. Then sand that back down to the body profile. Finish with some glazing putty for any pinholes, then prime and paint.

For the smaller cracks, grinding revealed that they were in the filler above the mat. So for those I used patches of “deck cloth” wet out with epoxy, covered when cured with the micro-balloon mixture, sanded back down to the body contour and then primed.

The dimple just got a filling with the micro balloon mixture, etc…

The bumper scratches and rock chips, as well as the chips on the front end, just got some glazing, sanding, and priming.

Re: the “Ruttan” and “deck” cloth. The Ruttan cloth is 7 oz/yd, so quite substantial and strong, but also drapes and conforms exceedingly well. The deck cloth is 1 oz/yd, and a very tight weave that replaces the use of tissue. Both are available from “Aircraft Spruce And Specialty Co.” - aircraftspruce.com

Epoxy resin is preferable to the polyester resin that Lotus used due to it’s much higher adhesive strength, as well as the fact that it doesn’t shrink over time - so fairing compounds made out of it (i.e., the micro-balloon mixture) don’t expose the weave over time.

So at this point the front end is ready for paint. Next up is going after the lower-rear door issues.

NIce writeup, thanks. Will we see it at next year’s LOG?

That’s the plan.

Steve,

For what its worth, I spent some time at Option1 recently discussing their approach to bodywork.

They are proponents of ‘nothing but polyester resin’ in body repairs. Their argument was that the repair needs to behave in exactly the same way as the surrounding material to paint or the environment or eventually it will appear through the paint. I did point out that the factory used polyester filler to rectify the body prior to spraying which they acknowledged, but said it introduced problems.

There have been some on here who have sheathed the entire body in tissue mat using West System epoxy instead of polyester, and I believe they have had good results. I think the question about using a different binding agent to the original polyester is more to do with patch repairs. I am embarking on bodywork myself, and trying to figure out the best way forward. I would be interested to hear how your repairs look after a couple of months.

Good luck.

Interesting. I’ve read a lot, and talked to a lot of people, but never heard that. IMO, body men tend to be a bit superstitious - something goes wrong, they don’t understand why, so they come up with some explanation and revert back to something they’re sure about. Understandable - the last thing they want is a job coming back to them. They tend to find something that works for them, and stick with it.

I’m with you on the polyester filler question - why would it be an issue when the resin used in the layup is also polyester? And what’s the alternative, especially if you believe that epoxy would be a problem for some unstated reason?

I’ll keep you posted, but I’m obviously not expecting issues. Gary’s used this approach for multiple cars and swears by it.

Now it’s on to fixing the classic Elan bottom/rear door stick out issue.

But is it an issue if it came from the factory that way, and in its 50th year? Given all the other upgrades I’ve done to the car - cv axles, alternator, massive radiator, electric headlight lift, etc., I might as well upgrade this ‘feature’ as well, especially give the other body repairs I’m doing over the winter.

I’m doing the standard “split the outer skin from the inner frame, make enlarge the cut width to = the amount the skin needs to come in to be flush, and fiberglass it in place” approach.

I’ve heard of two strategies to doing this: 1), scribe the door bottom to indicate the cut, remove the door, cut out the scribed area, fiberglass and reassemble; and 2) make a jig that fits the vertical profile of the door skin, with two long bolts that then pass through holes you make in the skin and frame, then tighten the bolts to pull the door skin in, making the slit width larger as needed.

I had issues with both these approaches, basically about getting the modification depth correct. With 1), the cut is made off the car, and you won’t know if it’s correct until the door is remounted. A lot of work to do if it’s not right. With 2), you’ve got to have the window out, which means you can’t latch the door, so again, how do you know you’ve made the correct adjustment?

My approach was to make up a sheet metal plate that matched the back end of the window frame, that allowed me to attach the latch with the window removed. I could then mount the latch to give me the same ‘stick out’ that I had originally, make the slit, move the door skin in, close the door, check the adjustment, and repeat as necessary until I got the bottom/rear flush. A piece of duct tape is all it takes to hold the outer skin in place. Then glass the outer skin in place.

Earlier this week I made up the latch attachment plate. Today I cut the slit and adjusted until I had the bottom/rear flush with the fender. There’s still a bit of a ‘bow out’ around the door key area, but if I feel compelled there’s enough door skin thickness to work with to make that flush. The bottom edge is a bit proud as well, but that’s not very prominent, so I’ll just let that go.

Next to do, fiberglass the skin in place, and hide all the evidence of my butchery.


Andy, my bodywork looked like crazy paving before I embarked on rectification over 30 years ago.
I have yet to have a single crack reappear, and a lot of the roads in NZ aren’t that flash.
I vaguely remember going through my process years ago on the forum, but it was ignored and everyone carried on re-inventing the wheel so I can’t be ar*sed repeating it.
If you haven’t got under way yet, and haven’t decided how you’ll do it, PM me and I’ll go through what I did, or easier still phone you.

Ralph.
N.Z.

Hi Ralph,
Maybe you could just kindly remind us of your technique please.
Many thanks in advance.
Next time i visit my family in NZ we can take a beer together.
Alan

Yes please… or at least a link to your prior post…

Hi Steve,

Before you fibreglass up the door, if you haven’t already done so, I suggest that you refit the window frame to check that there is still enough space between the door skin and the bottom of the frame, especially in the centre where the pulley bracket is located. On my S4 LH door I can not get my fingers fully between the bracket and the door skin, and the door is still standard.

Mike

Pretty much covered in these posts.
viewtopic.php?f=36&t=26237&p=173266&hilit=+Paint#p173266

Cheers,
Ralph.

Good morning Ralph,
Many thanks
Alan

Thanks, that’s certainly the plan. My pre-cut measurements indicated that there was plenty of room for the .25" adjustment I needed.

Hi Ralph,
I’d be very grateful if you could either provide a link to your post or re-post it and I’m sure I’m not the only one who would like to read it. A Christmas present for us all?
Best wishes
Mike

I’v posted a link above Mike.

Ralph.

Many thanks, should have seen it!!!
Mike

Mike,

I got around to test fitting the window frame today, and took some measurements. With the outer skin pulled in, I measured .81" of clearance from the outside of the frame holding the pulley to the inside of the door skin. My adjustment amount was almost exactly .25". So at least on my door, there was about an inch of adjustment available. Re: the “finger test”, I could just get my fingers wrapped under the pulley and between the door skin, with some space to spare.

Clearly there was quite a bit of variation when they built these cars!

Regards,
Steve

BTW - does anybody have a trick for getting the top bolt fastened to the rear of the window frame? There are 3 fasteners for the window frame rear plate, the bottom 2 are machine screws that screw into nuts glassed in to the inner door frame, but the top one has no captured nut, just a hole, and I can’t figure out how to hold a nut in that spot, much less get a wrench on it. Apparently neither could the PO, since there wasn’t one there, on either side, when I got the car.

Thanks,
Steve

Hi

Very interesting and relevant thread, so thank you everyone.

I am taking delivery of a sight unseen but (supposedly) prepped +2s rolling chassis on the 22nd of Dec, so in 2 days. I am having it delivered to a spray booth where my brother and I will attempt our first ever car respray over xmas. I have been told by the guy who owns the booth to not attempt it myself.

I have bought enough white 2k epoxy primer for the first coat, then a high build 2k spray filler also white for the 2nd, then cream (RAL9001) base, and 2k Clear for the last. I was also advised not to paint the car cream, but I think it’s going to look great.

I also have a very ugly +2s for restoration that is going to need all the repairs detailed in this post and probably more.

To top it off I also have a painted body (by the PO) waiting for it’s Zetec chassis.

My wife only found out about the car I am about to paint a couple of days ago. It had previously been described as “parts” which it technically quite correct. Bit like all of them really. She can spot the bodies though.

All the best

Berni

Berni,

Good luck with your spraying.

If you haven’t already, please take a bit of time to read up on the health risks of isocyanate (iso) based paints and the precautions that need to be taken to avoid long term health damage. Its bad enough to have scared me away from using them.

Apparently there are now iso-free 2 pack paints available, but I don’t know enough to be able to recommend any of them. Perhaps others on here can advise.

Andy.