A year ago, I began looking at installing a/c into my '69 +2. I do a lot of a/c work on vintage BMWs, and there, the recipe is an easy one—buy a Sanden 508 rotary-style compressor or one of its Chinese clones, buy an aftermarket bracket to bolt it to the block, run it off the unused groove on the pulley that used to be used for the smog pump, either find an original Behr evaporator assembly and console or buy one of the aftermarket units that are available, buy a big parallel-flow condenser and a big fan and mount them in the nose, make the hoses, do the wiring, charge it up, done.
I pored over every post here, and the take-away was that there was no click-and-buy source for either a bracket or a pulley to mount a belt-driven compressor on the twink engine. The handful of posts on installations appeared to use custom-machined dual-groove pulleys and custom-fabricated brackets that mounted the compressor on top of the alternator. I live in Boston, and machine work here is very expensive; I ballparked that specifying and procuring a two-groove pulley and a bracket might come to $1000.
I had looked into the subject of electric a/c compressors for one of my columns for Hagerty and concluded that using one certainly wasn’t a slam-dunk. Fundamentally, anyone who says an electric compressor is more efficient than a belt-driven one, or that it doesn’t create a drag on the engine, is wrong. An electric compressor is spun by an electric motor which is fed AC current by an inverter which is fed DC current by an alternator which is spun by a belt on the crankshaft pulley, and the laws of physics tell you that it cannot possibly be more efficient than a compressor that is directly coupled to the engine. If it has an advantage, it can’t possibly be “efficiency.”
However, a month later, I began installing one anyway because there appeared to be no click-and-buy way to mount a conventional compressor and run it off the twink engine. Well, that plus I became insatiably curious whether, efficiency or no, with all the other variables, an electric compressor could be part of a system that blasts enough cold air in your face to be useful (which is the ultimate test any a/c system has to pass).
So I bought an electric compressor. These are readily available on eBay for about $200, cheaper on Aliexpress and Temu. The inexpensive ones have an external inverter to convert the 12V DC into 120VAC needed by the electric motor. The more expensive units have the inverter hidden inside. Due to reviews on Amazon complaining about nonexistent technical support, I elected to buy it from a Florida company called Qualy Air that is both an internet component vendor as well as an actual a/c repair shop. Their price was $300, but I told them that if they met the $200 eBay price and were responsive with tech support, I’d mention them in the pieces I wrote for Hagerty. We both held up our ends of the bargain, and they now use my electric installation in my Elan +2 in their advertising.
But it did not all go well or easily. Since you can click on the Hagerty pieces for more detail, I’ll give you more of a top-level view.
The first thing I did was install a parallel-flow condenser. Another poster here already specified the condenser size as 12x20. I found that these are available on Amazon for about $50. I pulled the two generic Chinese-made electric fans off the aluminum radiator that was installed two owners ago, found that the were actually puller fans working poorly in a pusher configuration, replaced them with a proper set of Spal pusher fans, mounted them on the condenser, and hoped that they would provide enough cooling for both the condenser and the radiator. While test-driving late last summer, they appeared to.
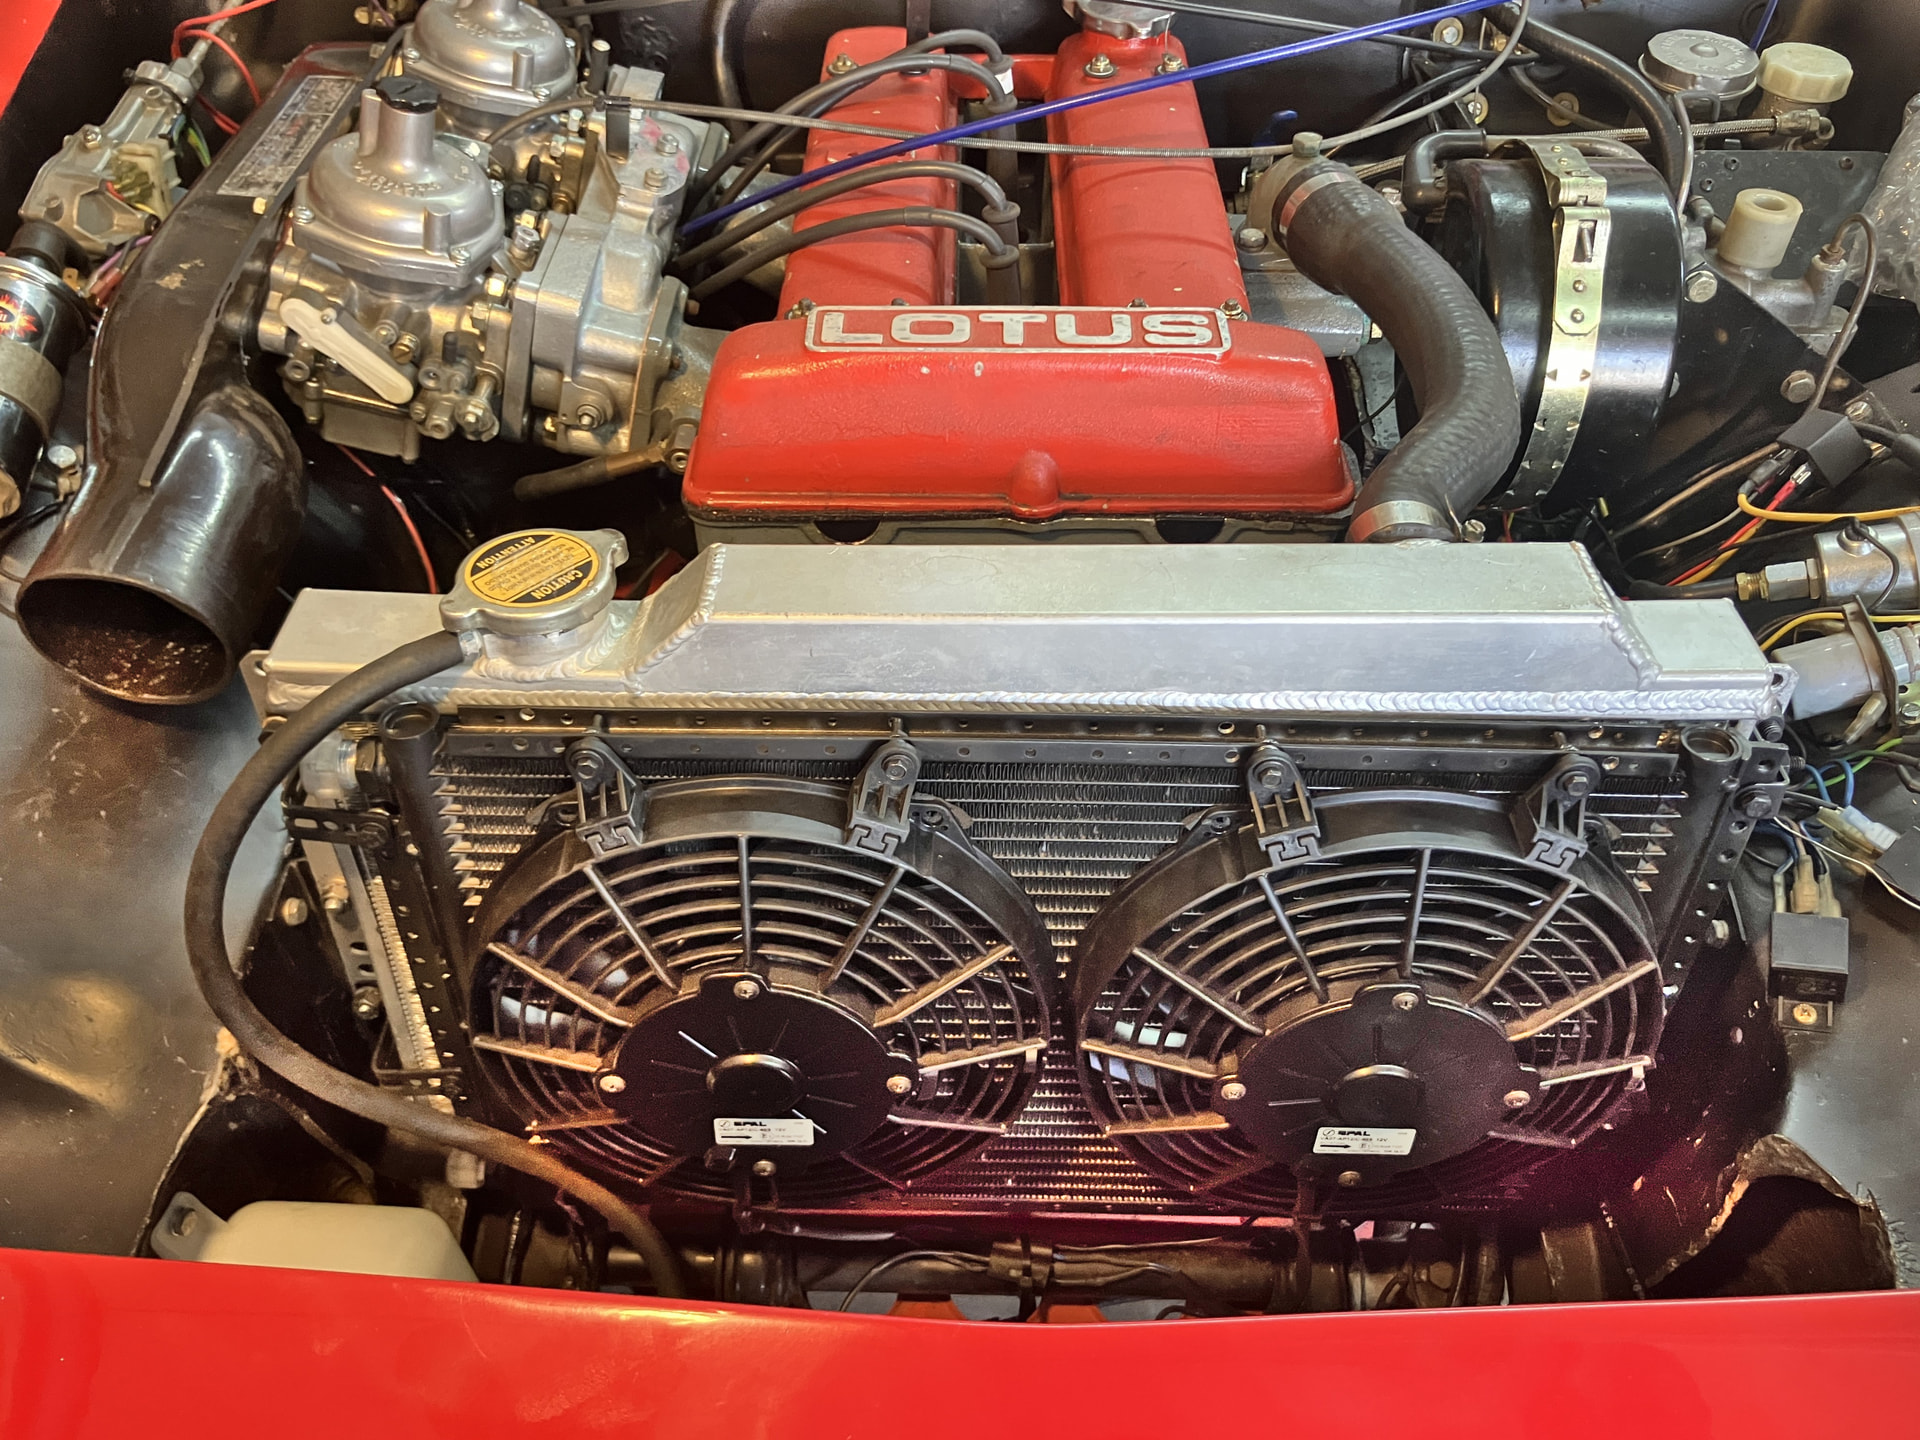
For the compressor installation, the compressor itself went into the nose where there was ample room. The inverter was mounted on the right vertical section below where the hood pivots. I used compressor fittings that had the charging fittings integrated. The only downside from a positioning standpoint is that I need to have the hood off to access the charging fittings.
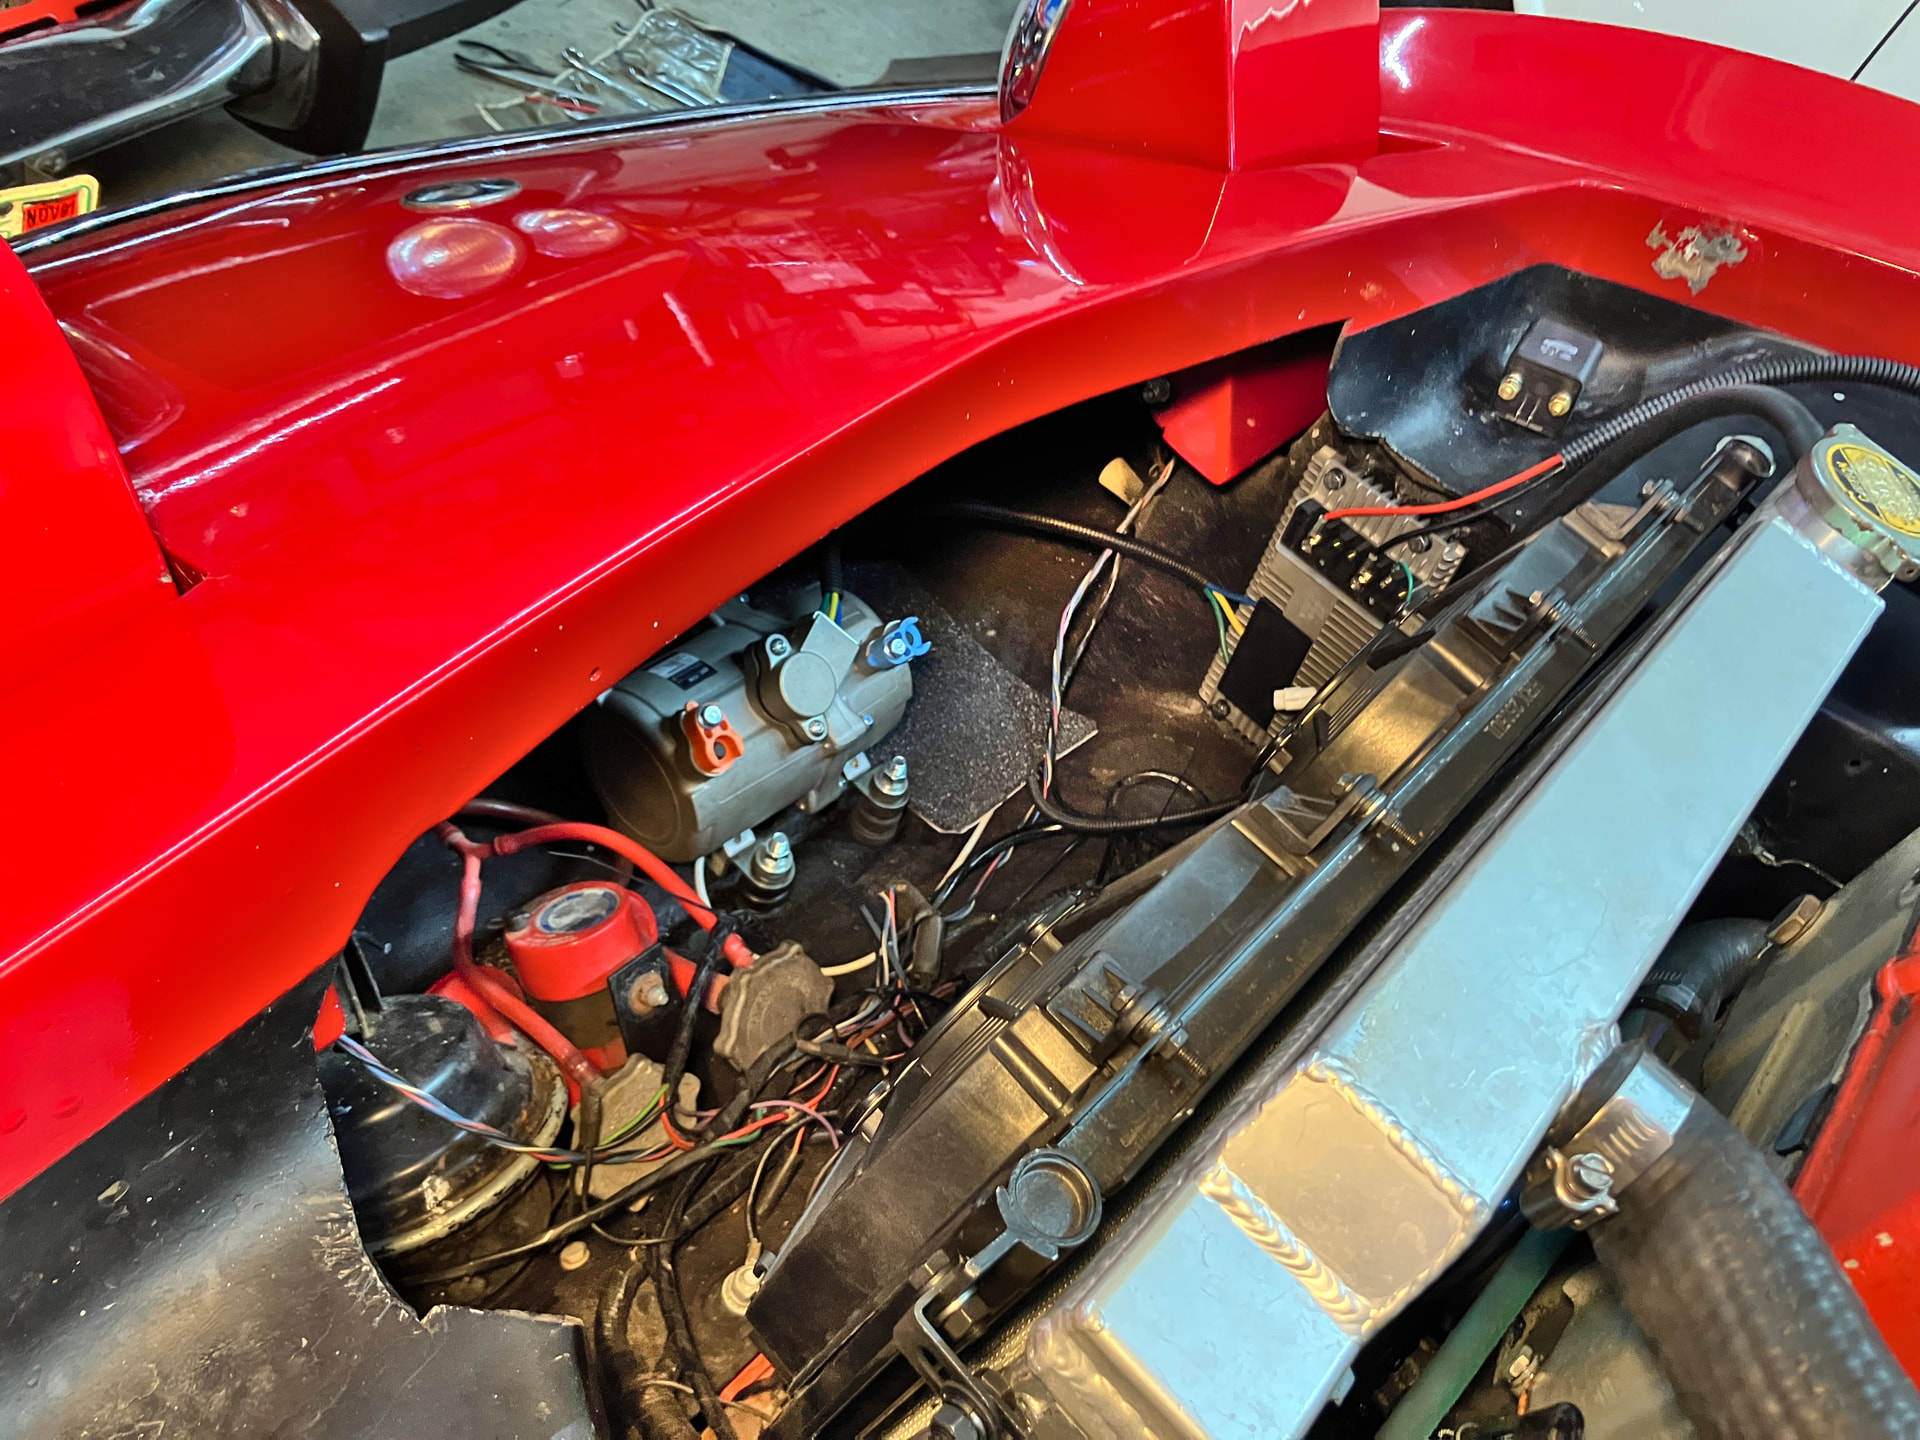
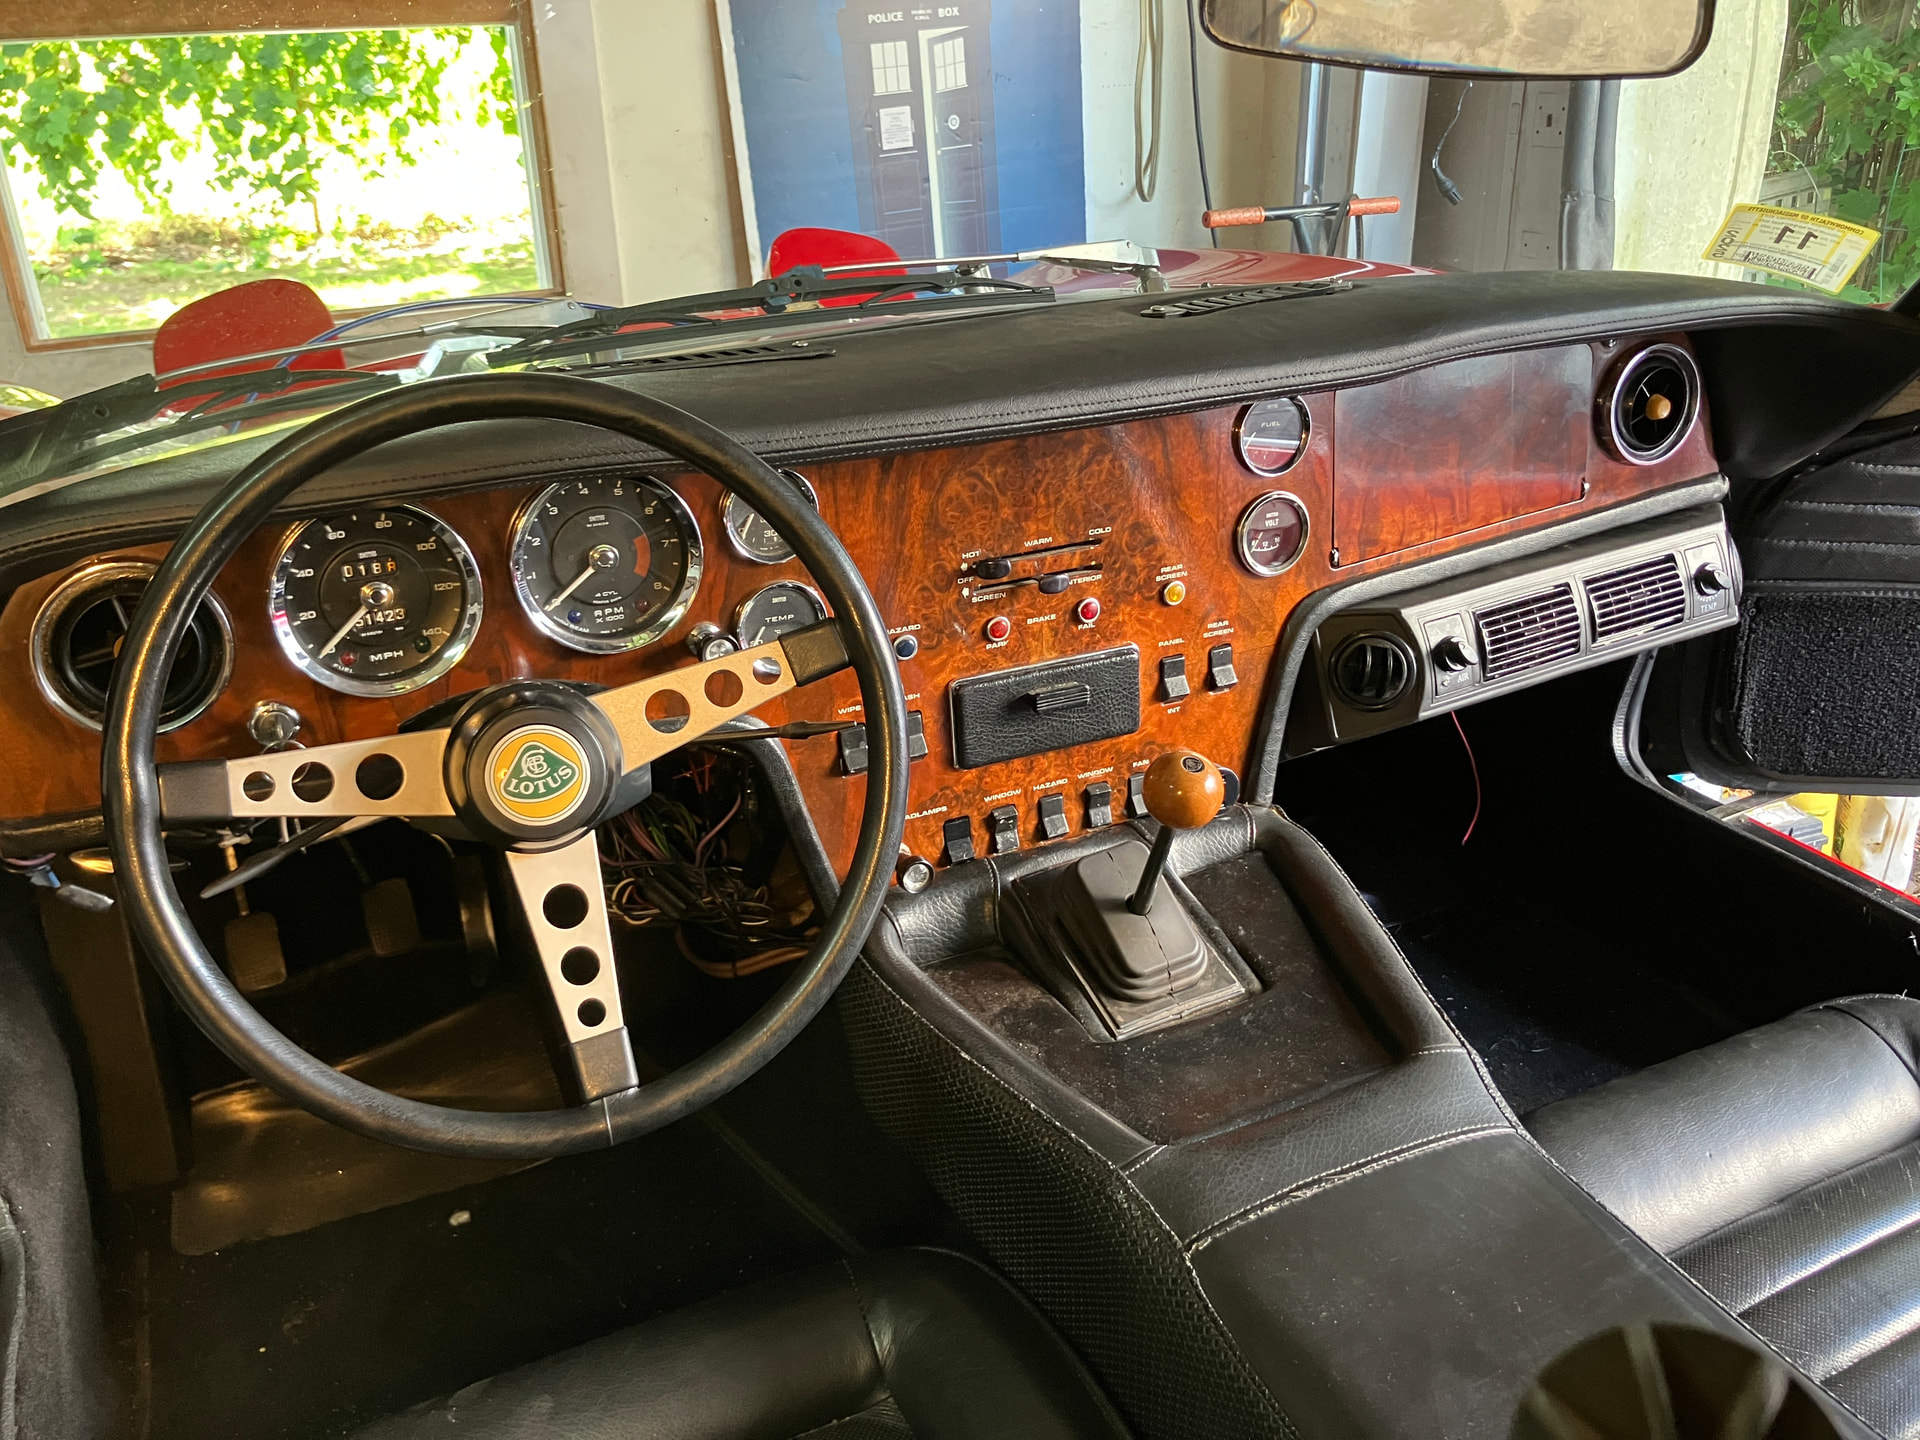
For the evaporator, I was in awe of the two posters who installed the Vintage Air Gen II Mini system behind the dash. Ironically, I had my dash out to deal with a mouse-infested heater box two winters ago, but that was right after I’d bought the car and I wasn’t ready to deal with an a/c installation. Not being certain that the electric a/c would even work well enough to be useful, I bought a 15.75" wide universal under-dash unit and fit it in the passenger footwell. These are widely available for under $100, but I found one on Temu for $48. I knew full well that, down the road, there might be an issue with it not blowing enough cold air directly at me, but I figured that I’d not only cross that bridge when I came to it, I’d be overjoyed if I reached the point in the journey when that was the only thing separating me from the land of air-conditioned driving bliss.
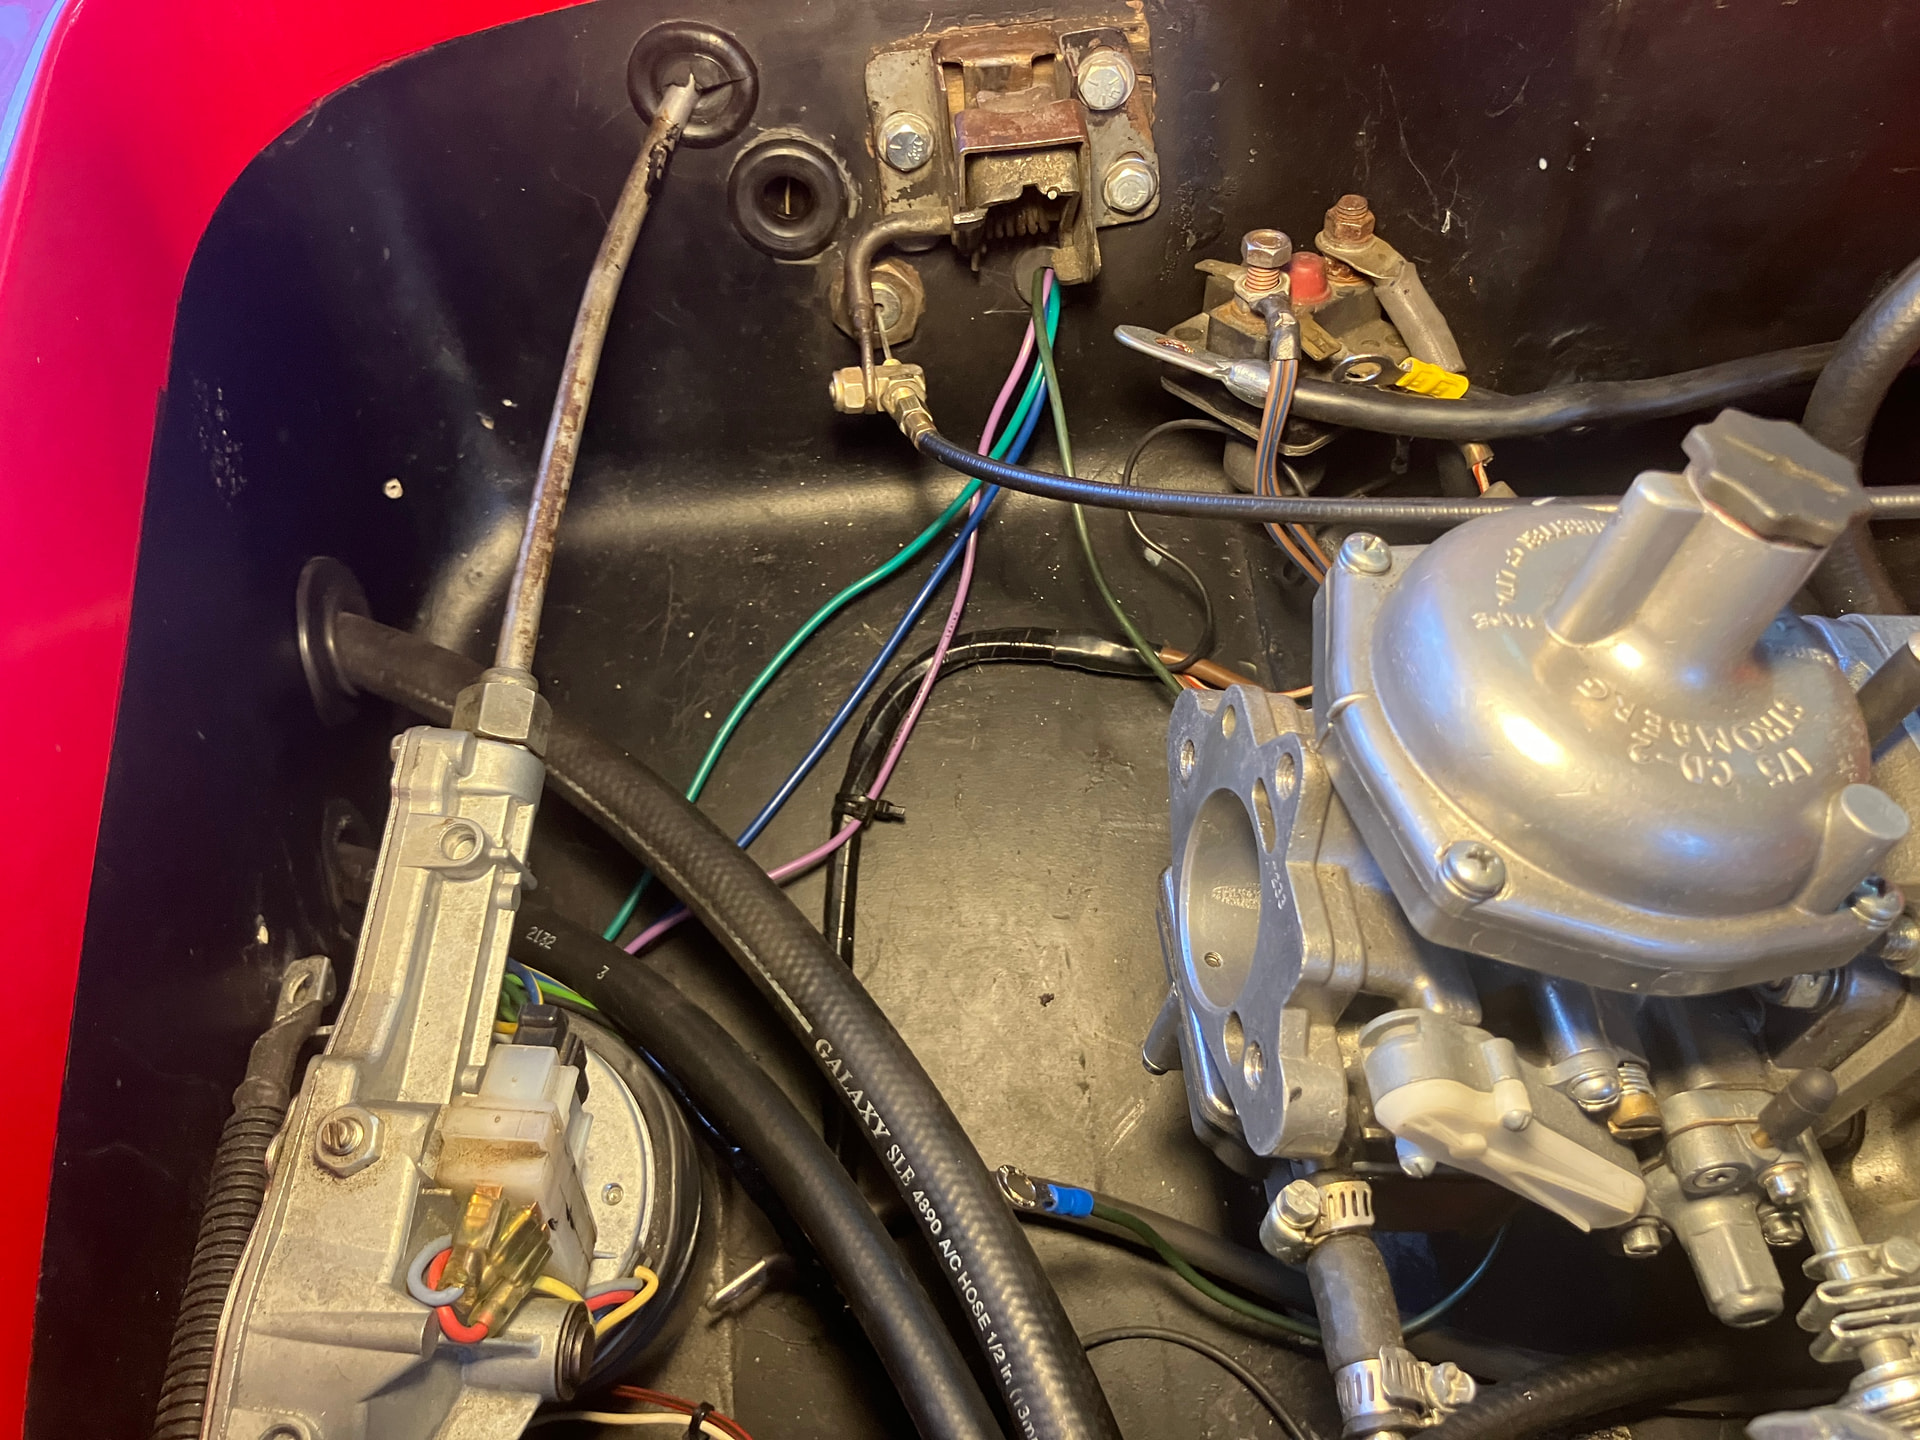
I used reduced-barrier hoses to make the holes drilled as small as possible. I assumed that it would be easy to drill holes directly through the firewall and drop the hoses where they’d reach the back of the evaporator, but the angle was too sharp. I wound up having to go in through the right inner fender.
The electric compressor draws about 60 amps. With the fans, it’s about 80. Obviously I needed a high-output alternator to handle the load. After a lot of measurement, I bought a 150-amp 13429 alternator used on a variety of Mitsubishi products from eBay vendor BNR Parts for about $200, as it fit the existing Ford bracket that was already on the engine.
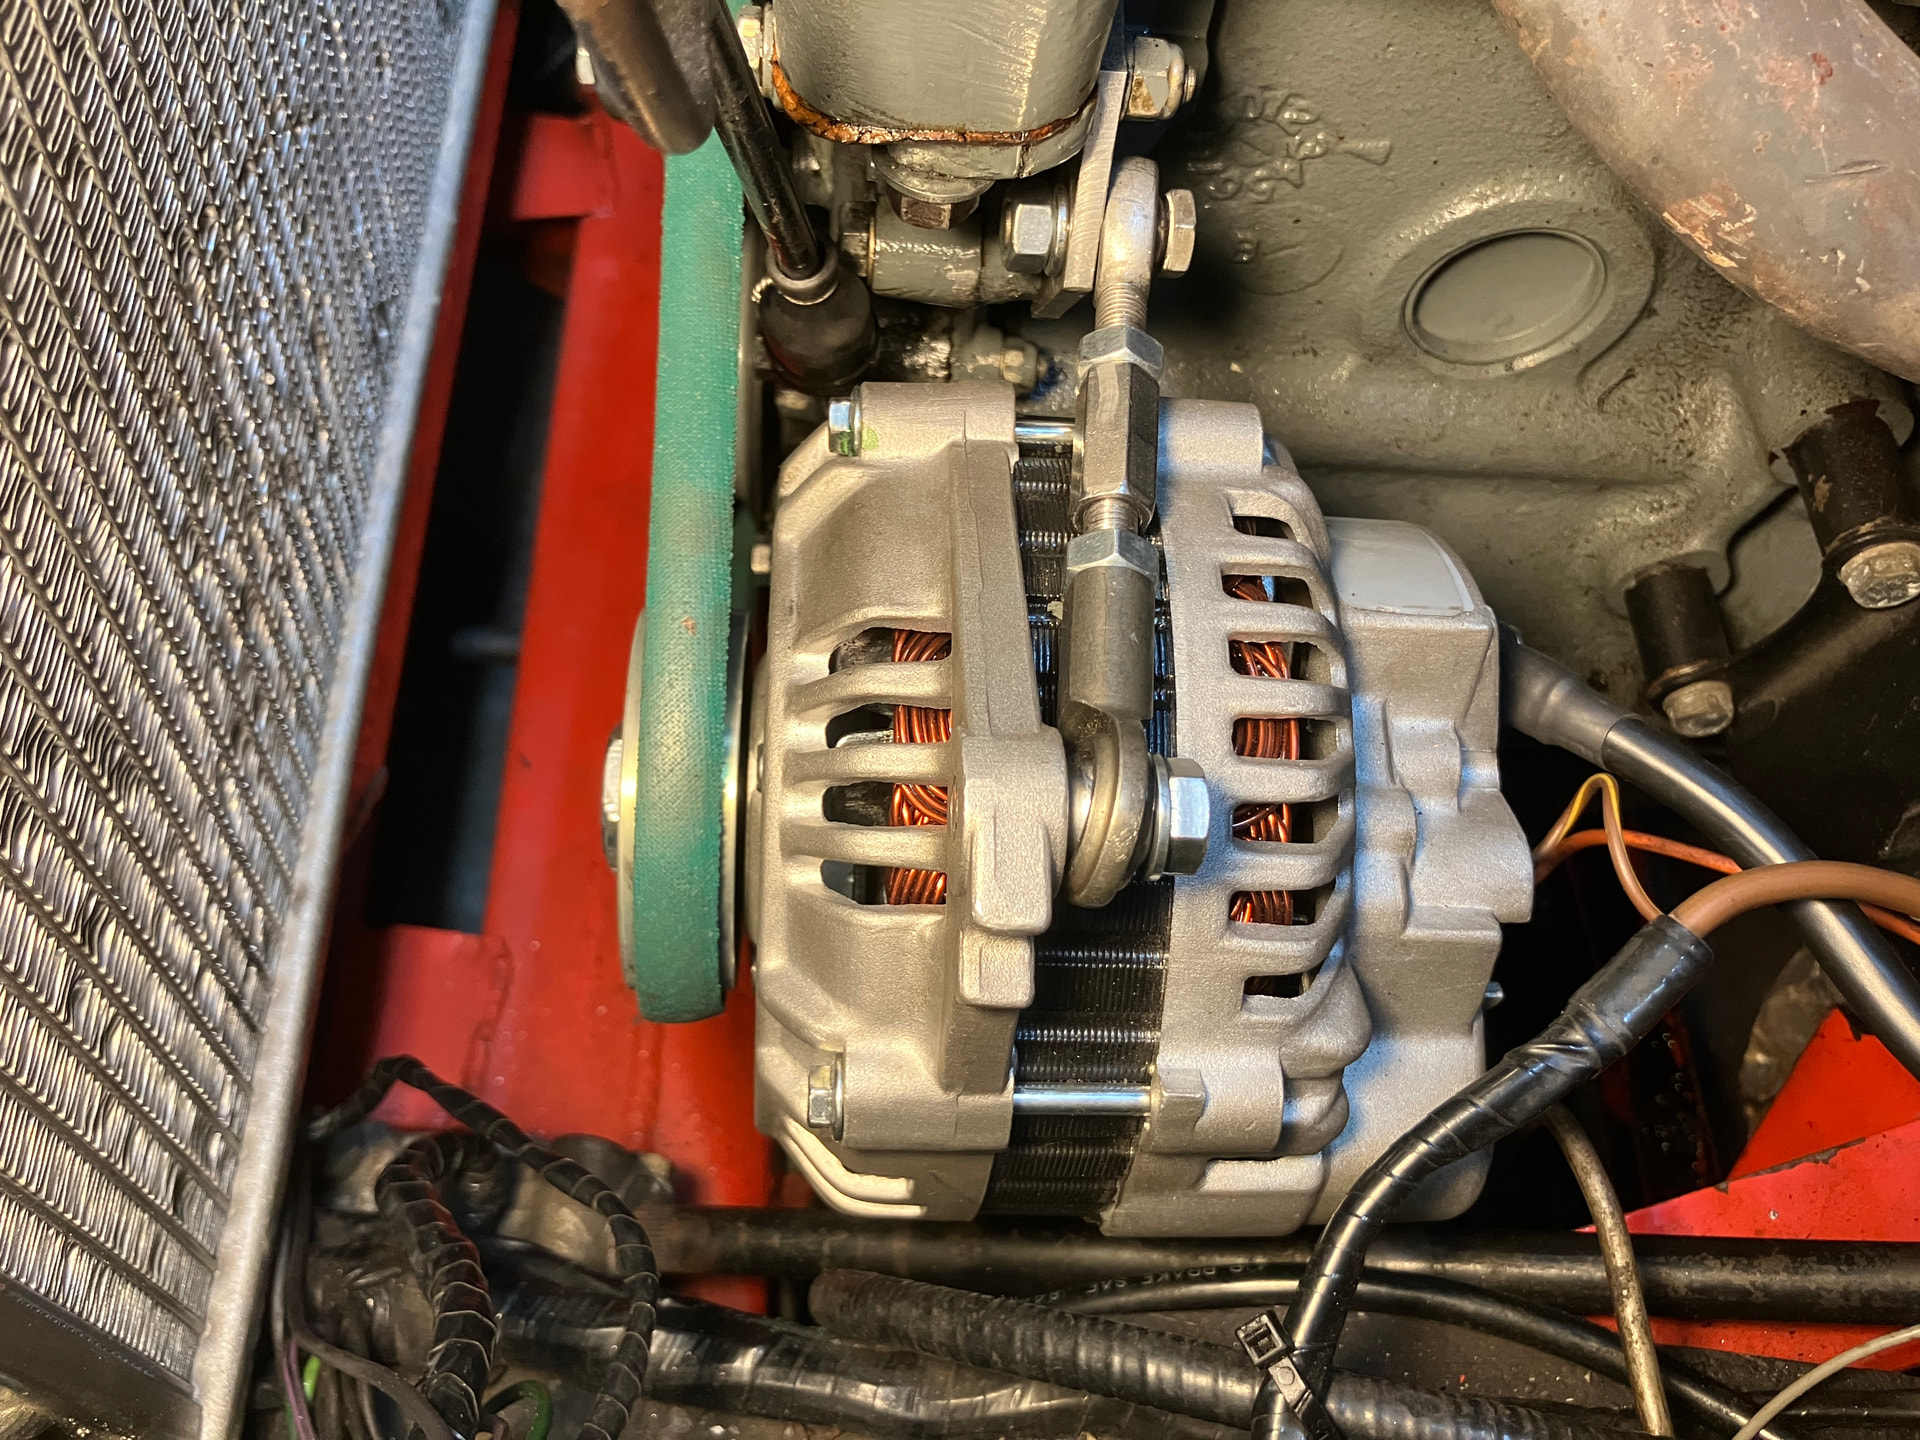
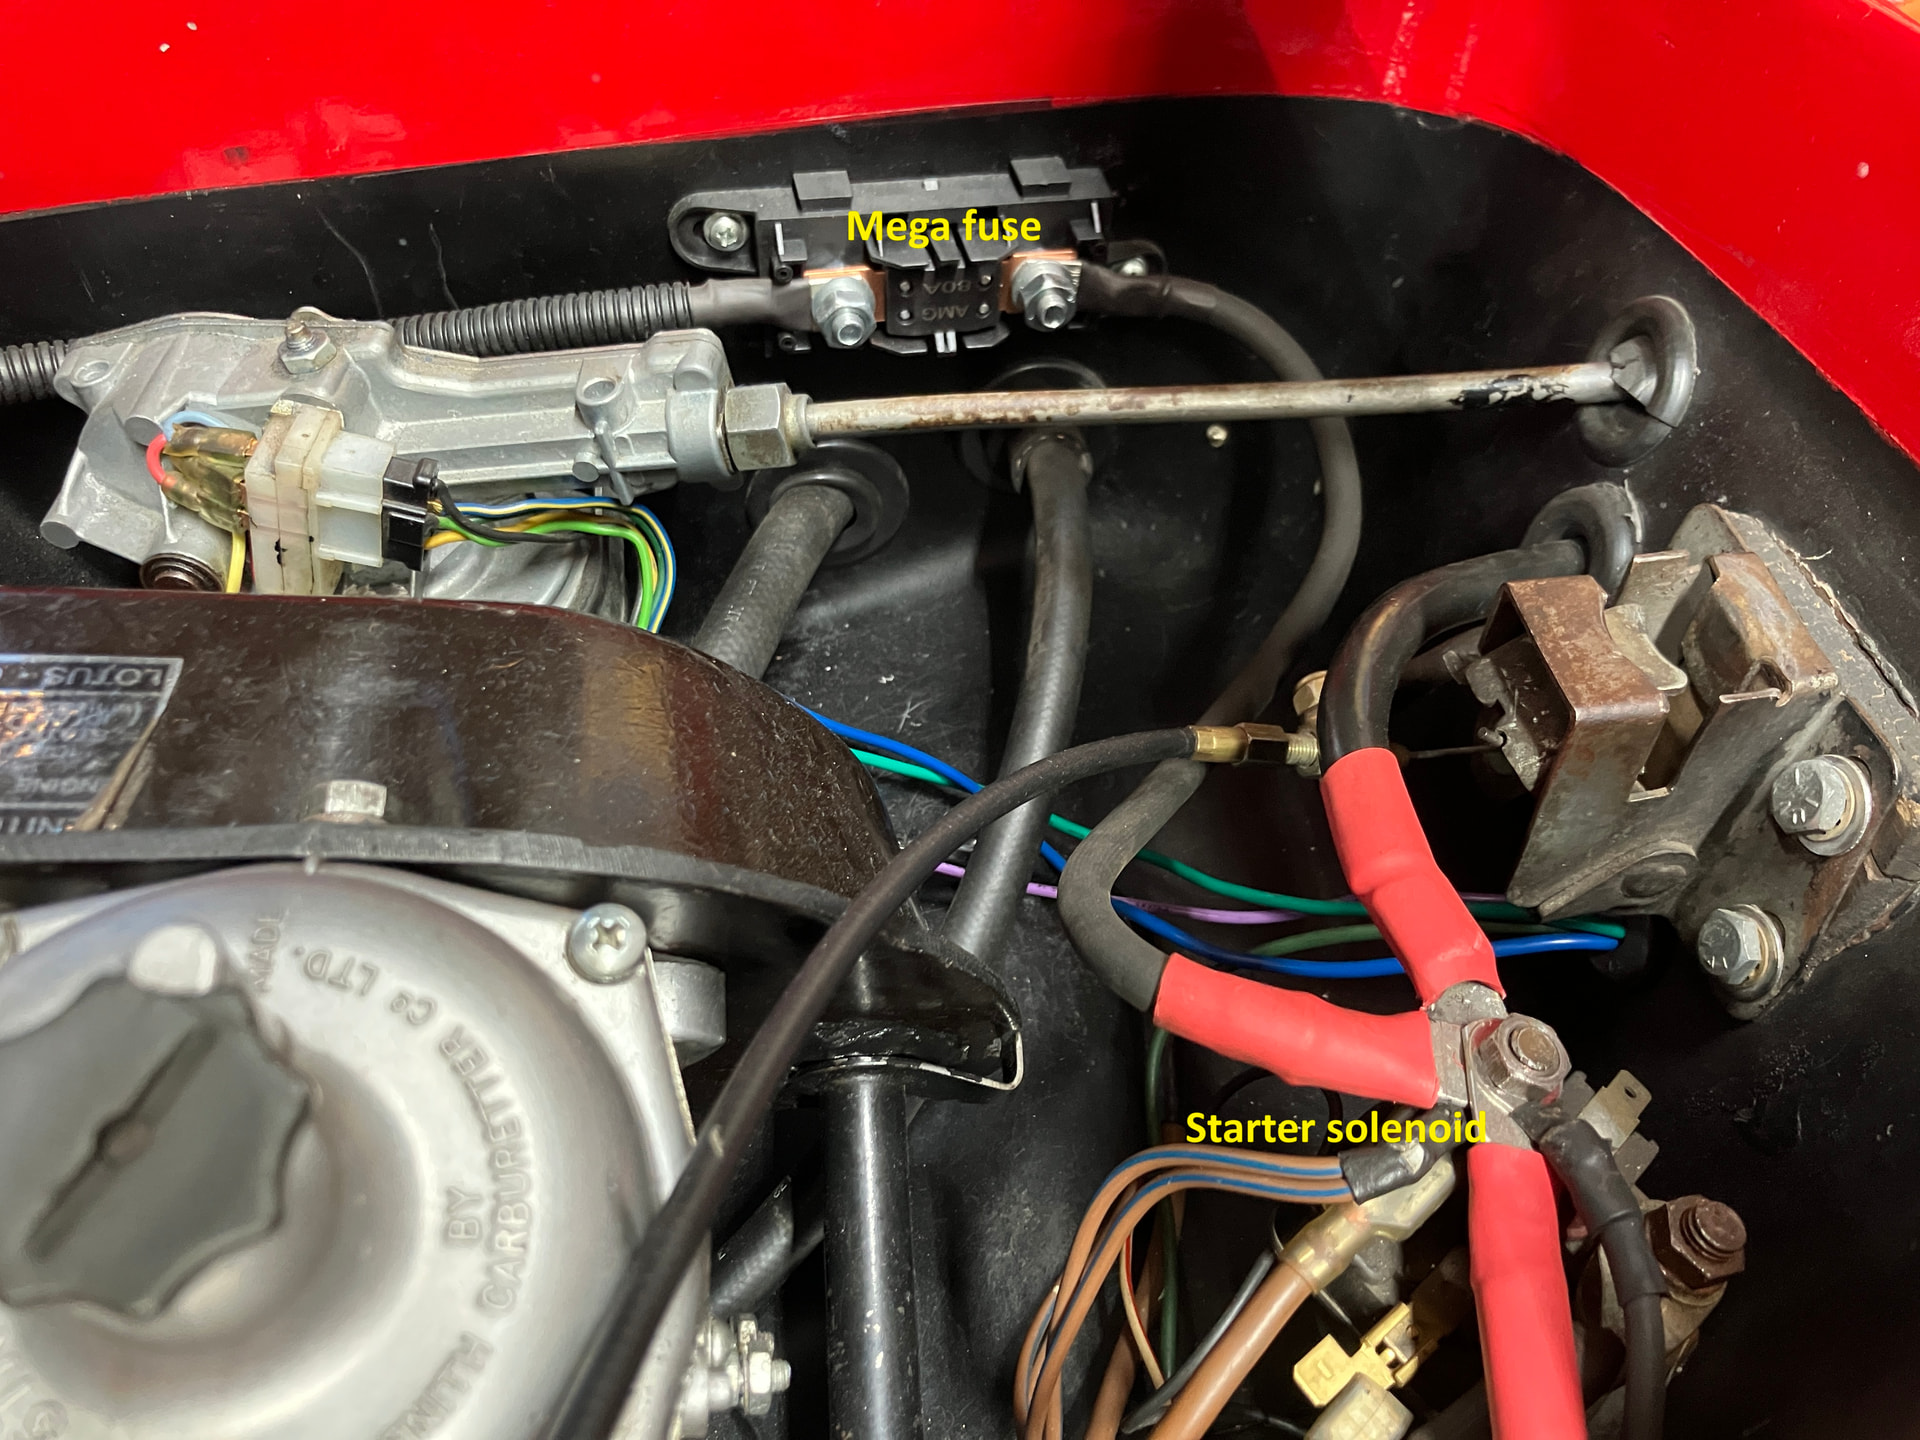
I wired the alternator to the fuse box, but also wired a separate circuit to handle the big load from the compressor and the fans, and set all that up to run through a mega fuse, switched on by several relays.
Unfortunately, the load from the alternator kept causing the belt to slip, and because of the fragility of the twink’s fragile water pump bearing, I didn’t want to overtighten it, so I took the invasive and expensive step of installing a Gilmer drive toothed pulley set, sourced from Burton Power (several members of this forum showed the Burton kit installed on their cars). This did not go well. Burton’s email said “The suggested kit is designed to work with the x/flow, however we do know this has been applied to the Lotus twin cam with modifications, unfortunately I can not advise what modifications needed carrying out.” But when I tried mounting mine, Burton’s pulley was 25 thousandths of an inch too small to fit over the water pump hub. Burton did not answer my direct question of whether the pulley’s inner diameter had been reduced since the other folks had installed it without difficulty. I nearly sent the kit back, but was able to reduce the circumference of my water pump hub slightly with a Dremel tool. I probably had the alternator in and out 30 times with a variety of washers and spacers to optimize the alignment. But I finally got it working.
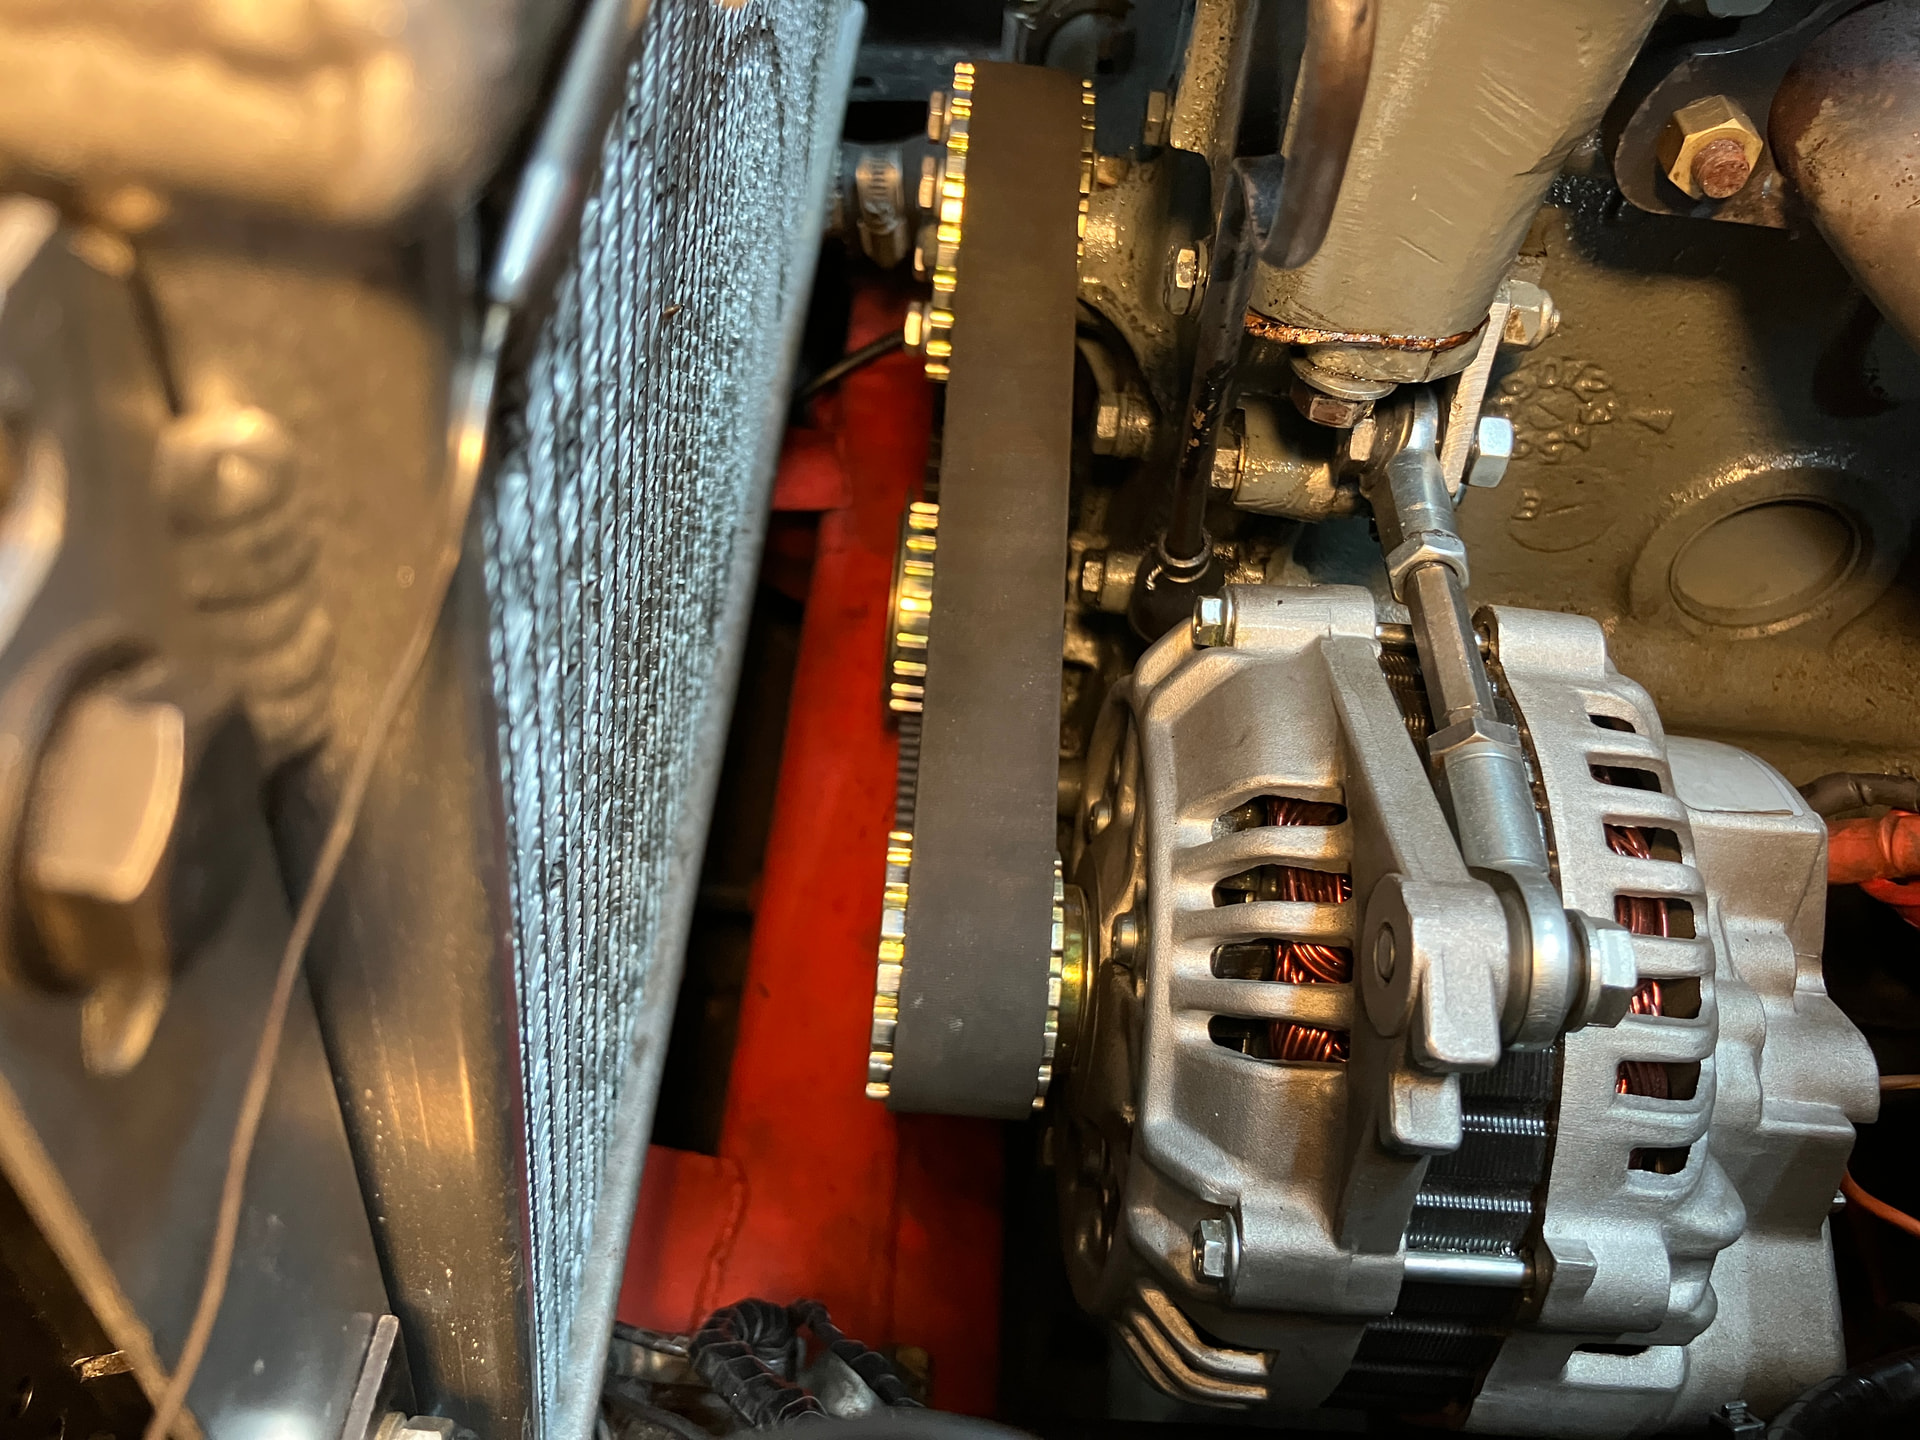
I drove the car that way through last fall, and while I hated the sound of the Gilmer drive (it doesn’t do the Fast & Furious supercharger whine; it’s more like a motorboat putt-putt at low load, and a loud chatter at high load), it seemed workable. And it being fall, I wasn’t using the air conditioning yet other than occasional testing.
When the hot weather rolled in last month, I found that the car ran hotter than I was comfortable with, a/c notwithstanding. I solved it by mounting a third Spal fan, this one a puller, on the back of the radiator.
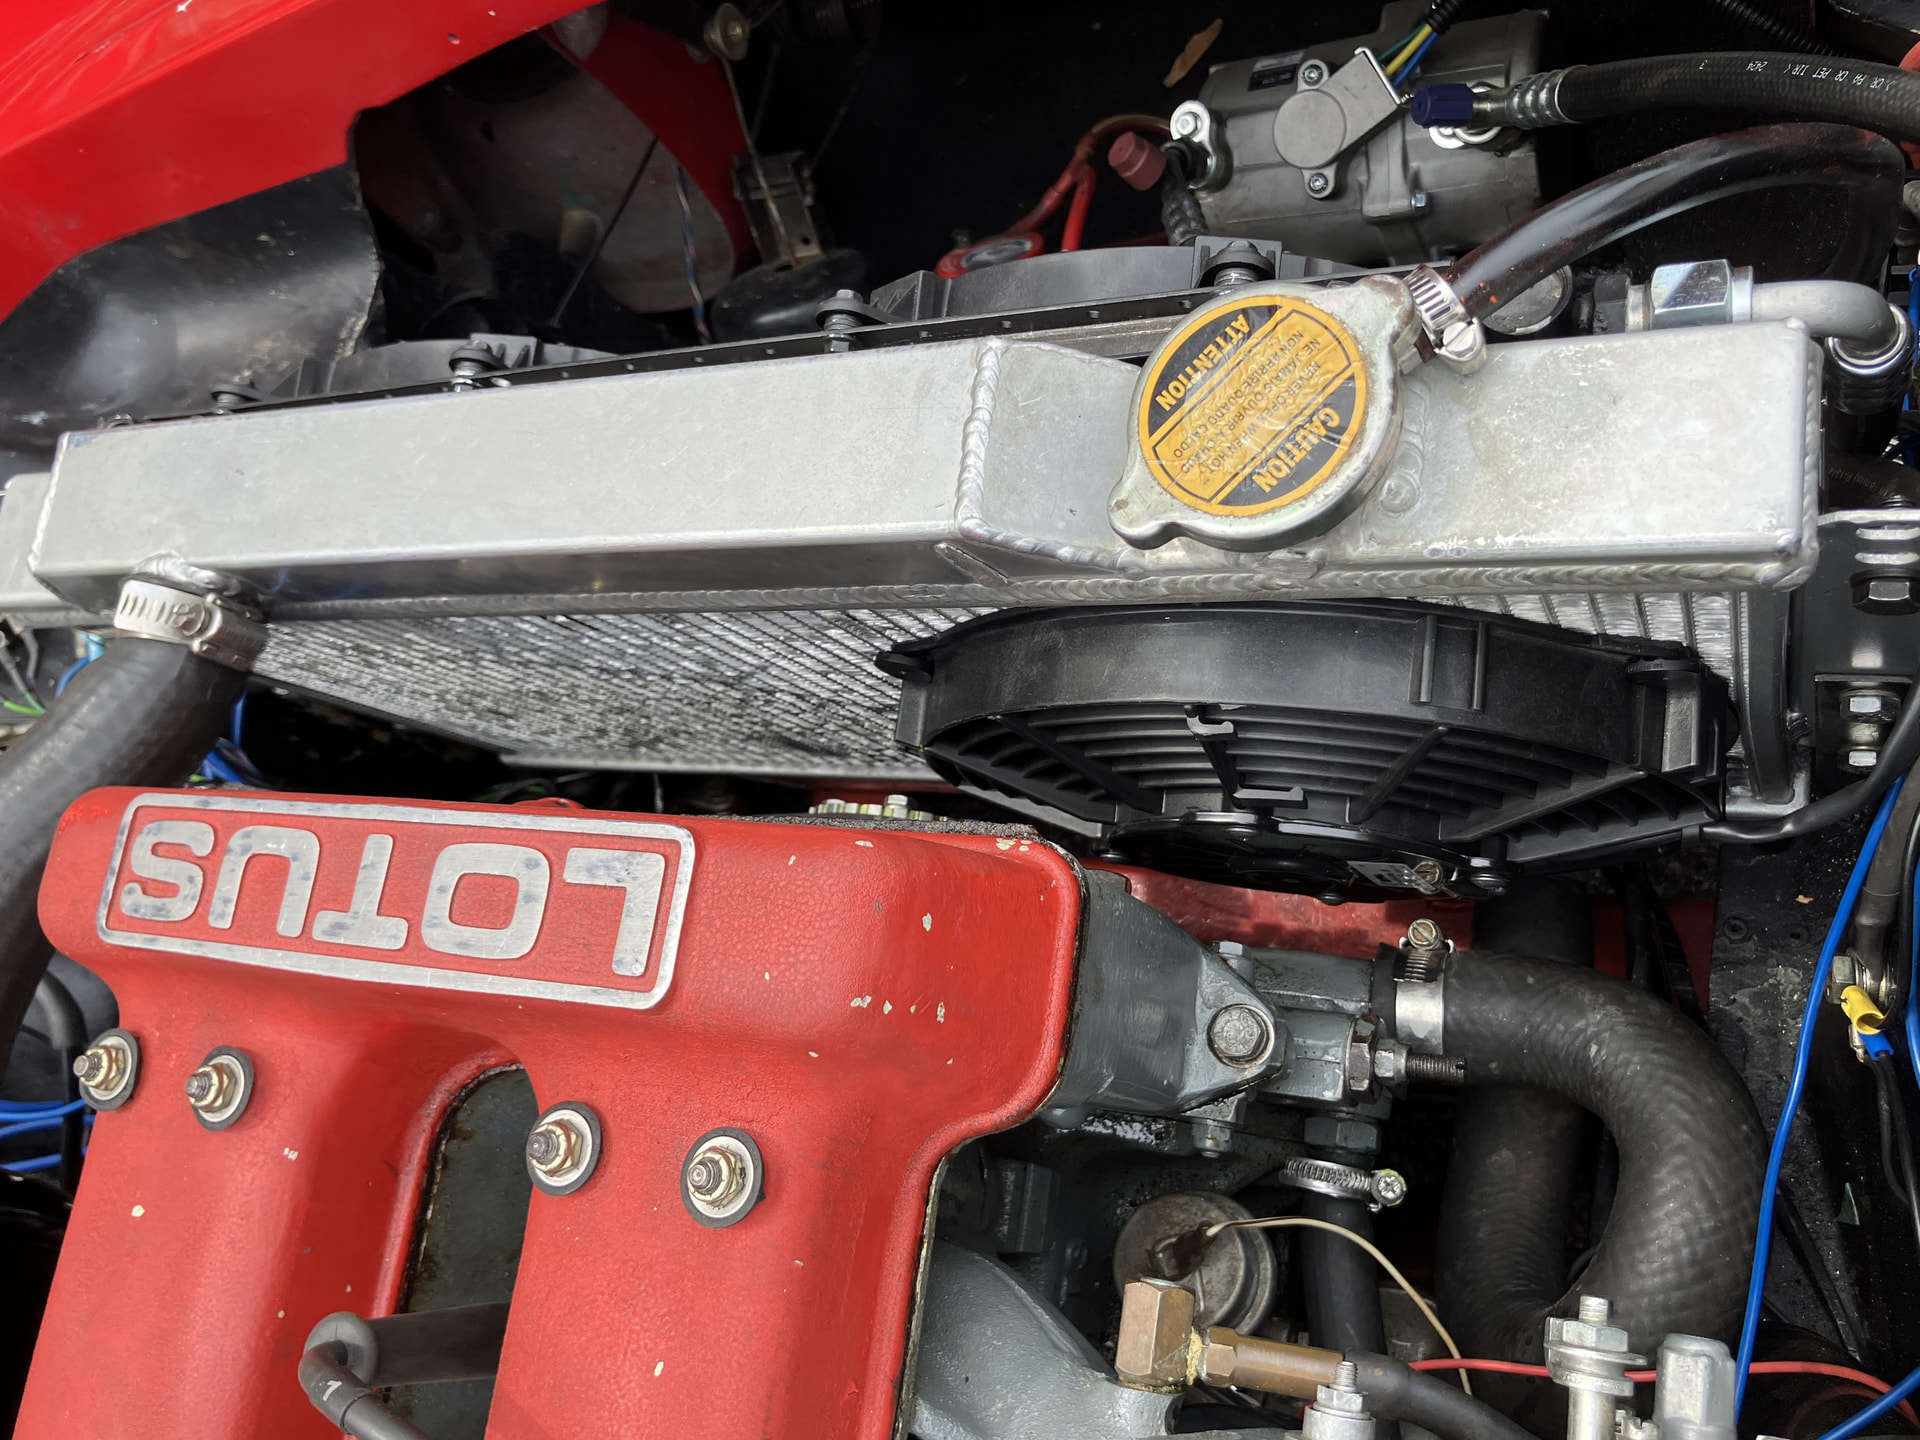
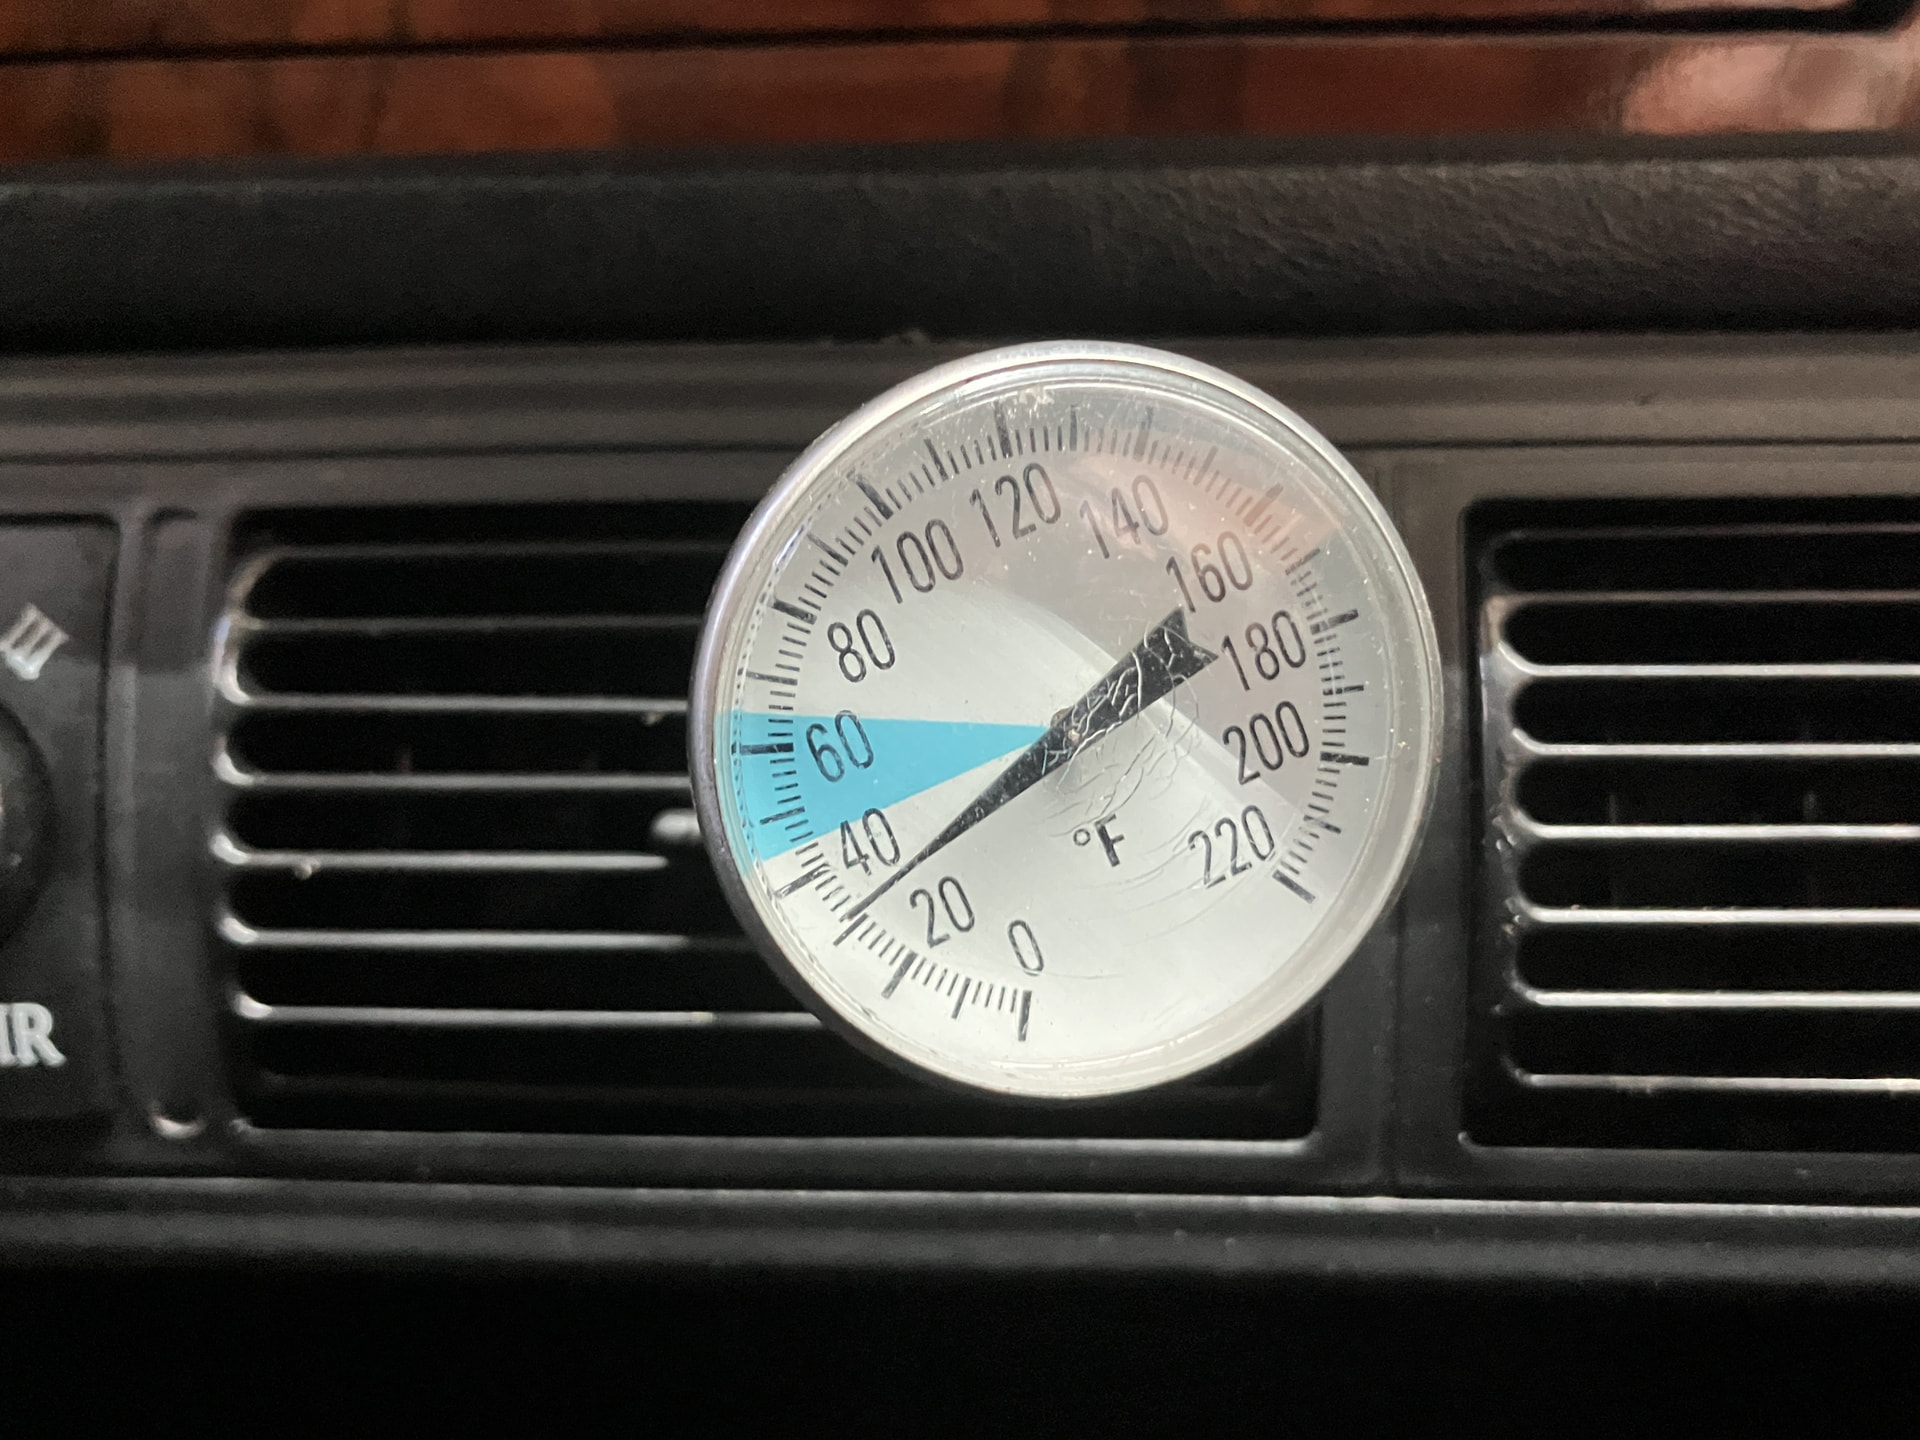
Finally, a few weeks ago, I solved a few voltage delivery issues, and got the system cooling properly. The photo below was in my garage, but it’s for real.
But when I drove the car in hot weather with the windows up, it was clear that the passenger-side footwell-mounted evaporator assembly was never going to blow a sufficient amount of air directly at me. I entertained a number of options, and wound up modifying the evaporator’s front cover to allow me mount simple slide-on 1.5-inch PVC plumbing fittings on it. I found that 45° elbows were startingly efficient at directing cold air at me.
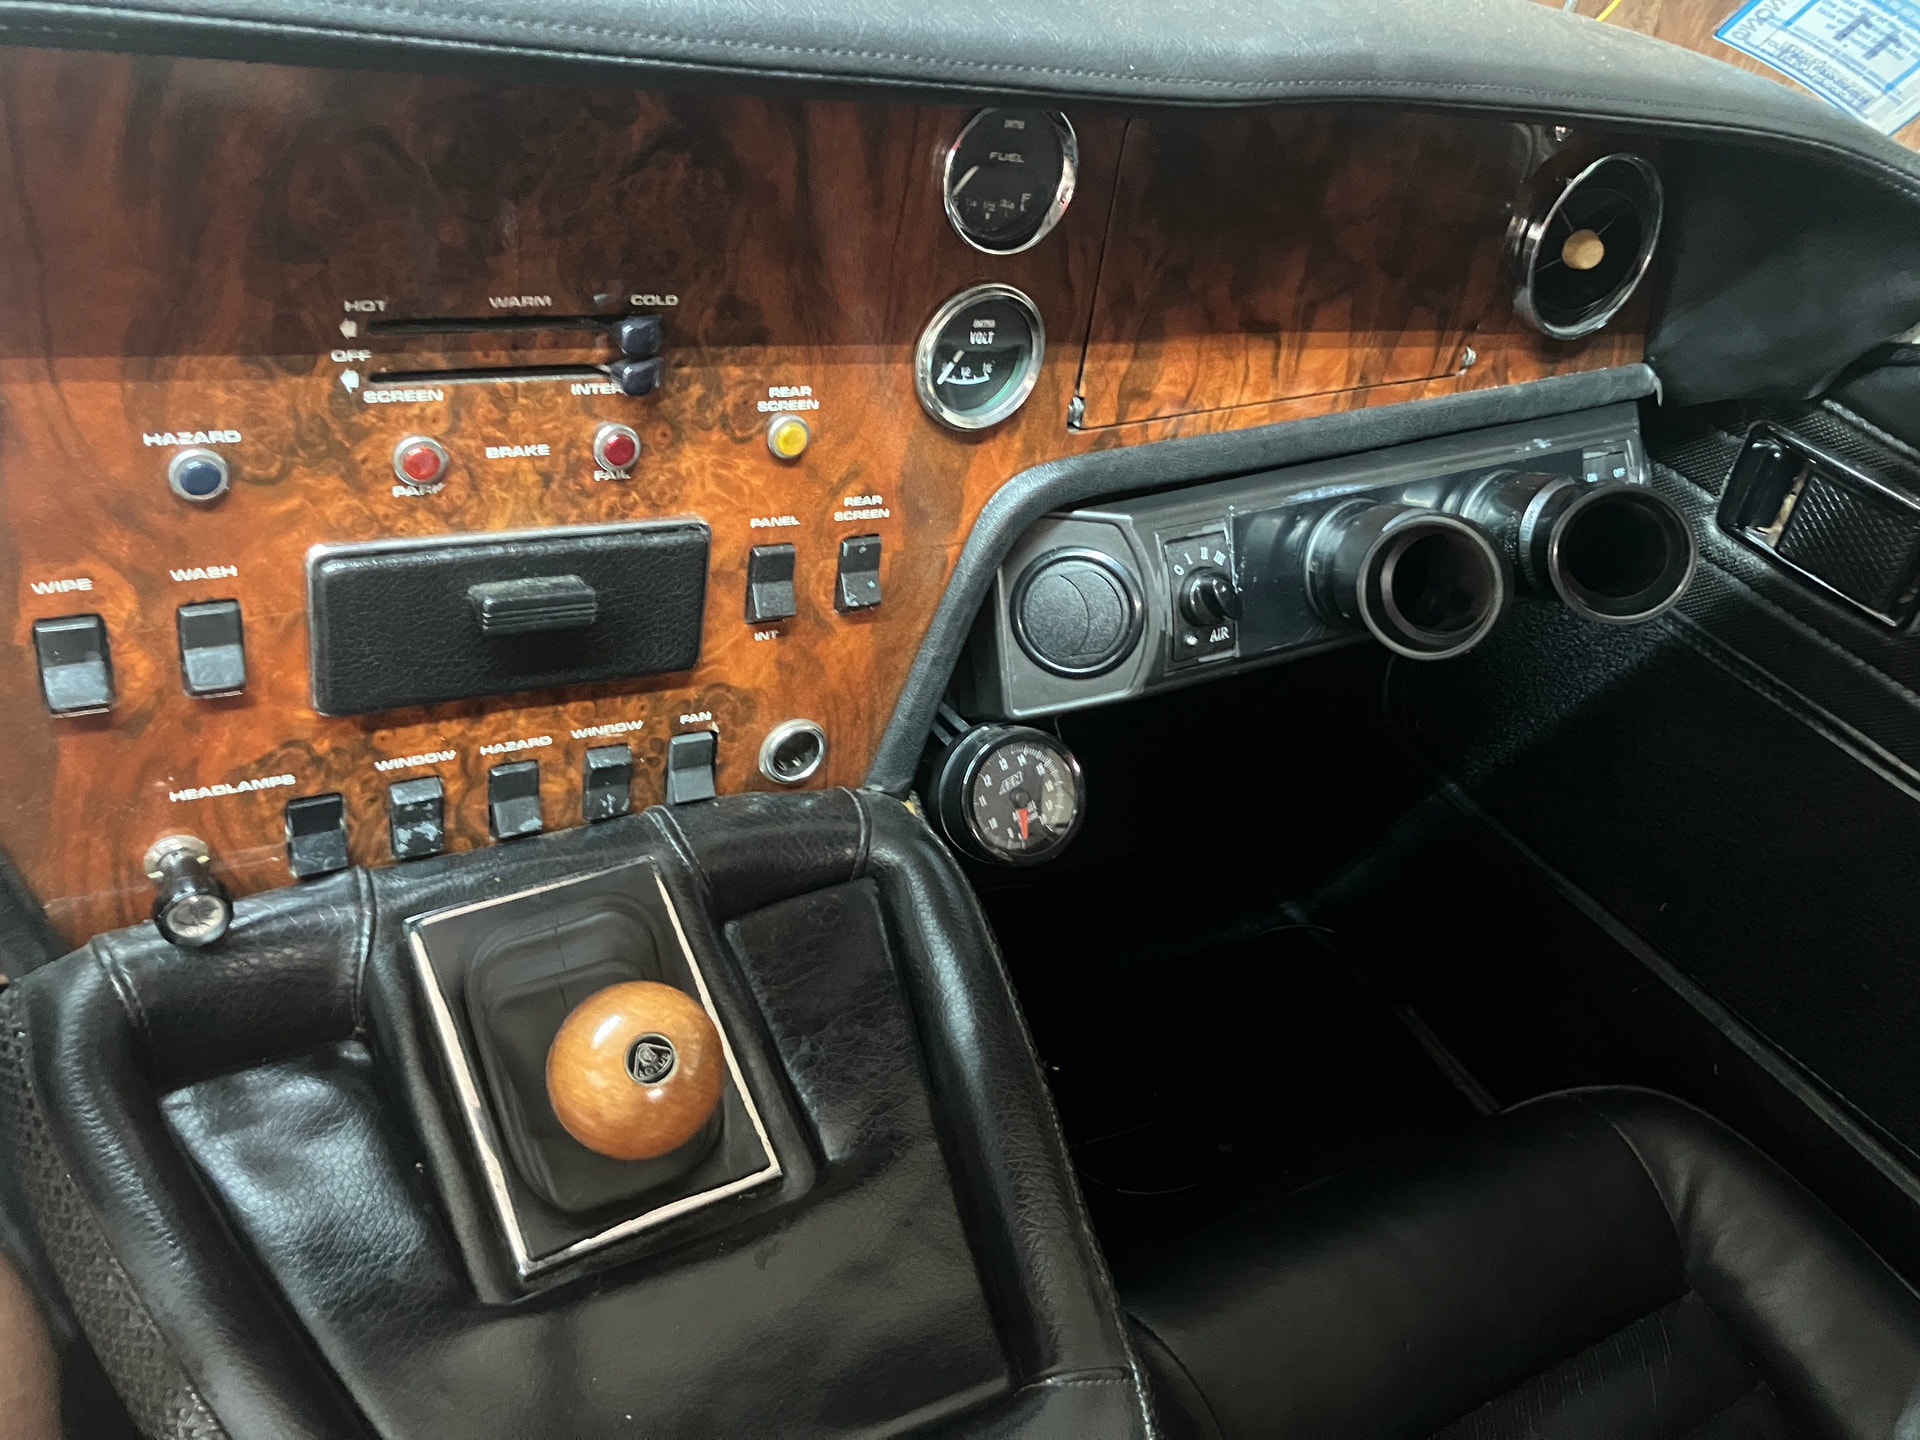
So, I can FINALLY drive my electrically air-conditioned +2, right? No, because with the 80-amp load on the compressor, it’s eating the Gilmer drive belts in about 50 miles.
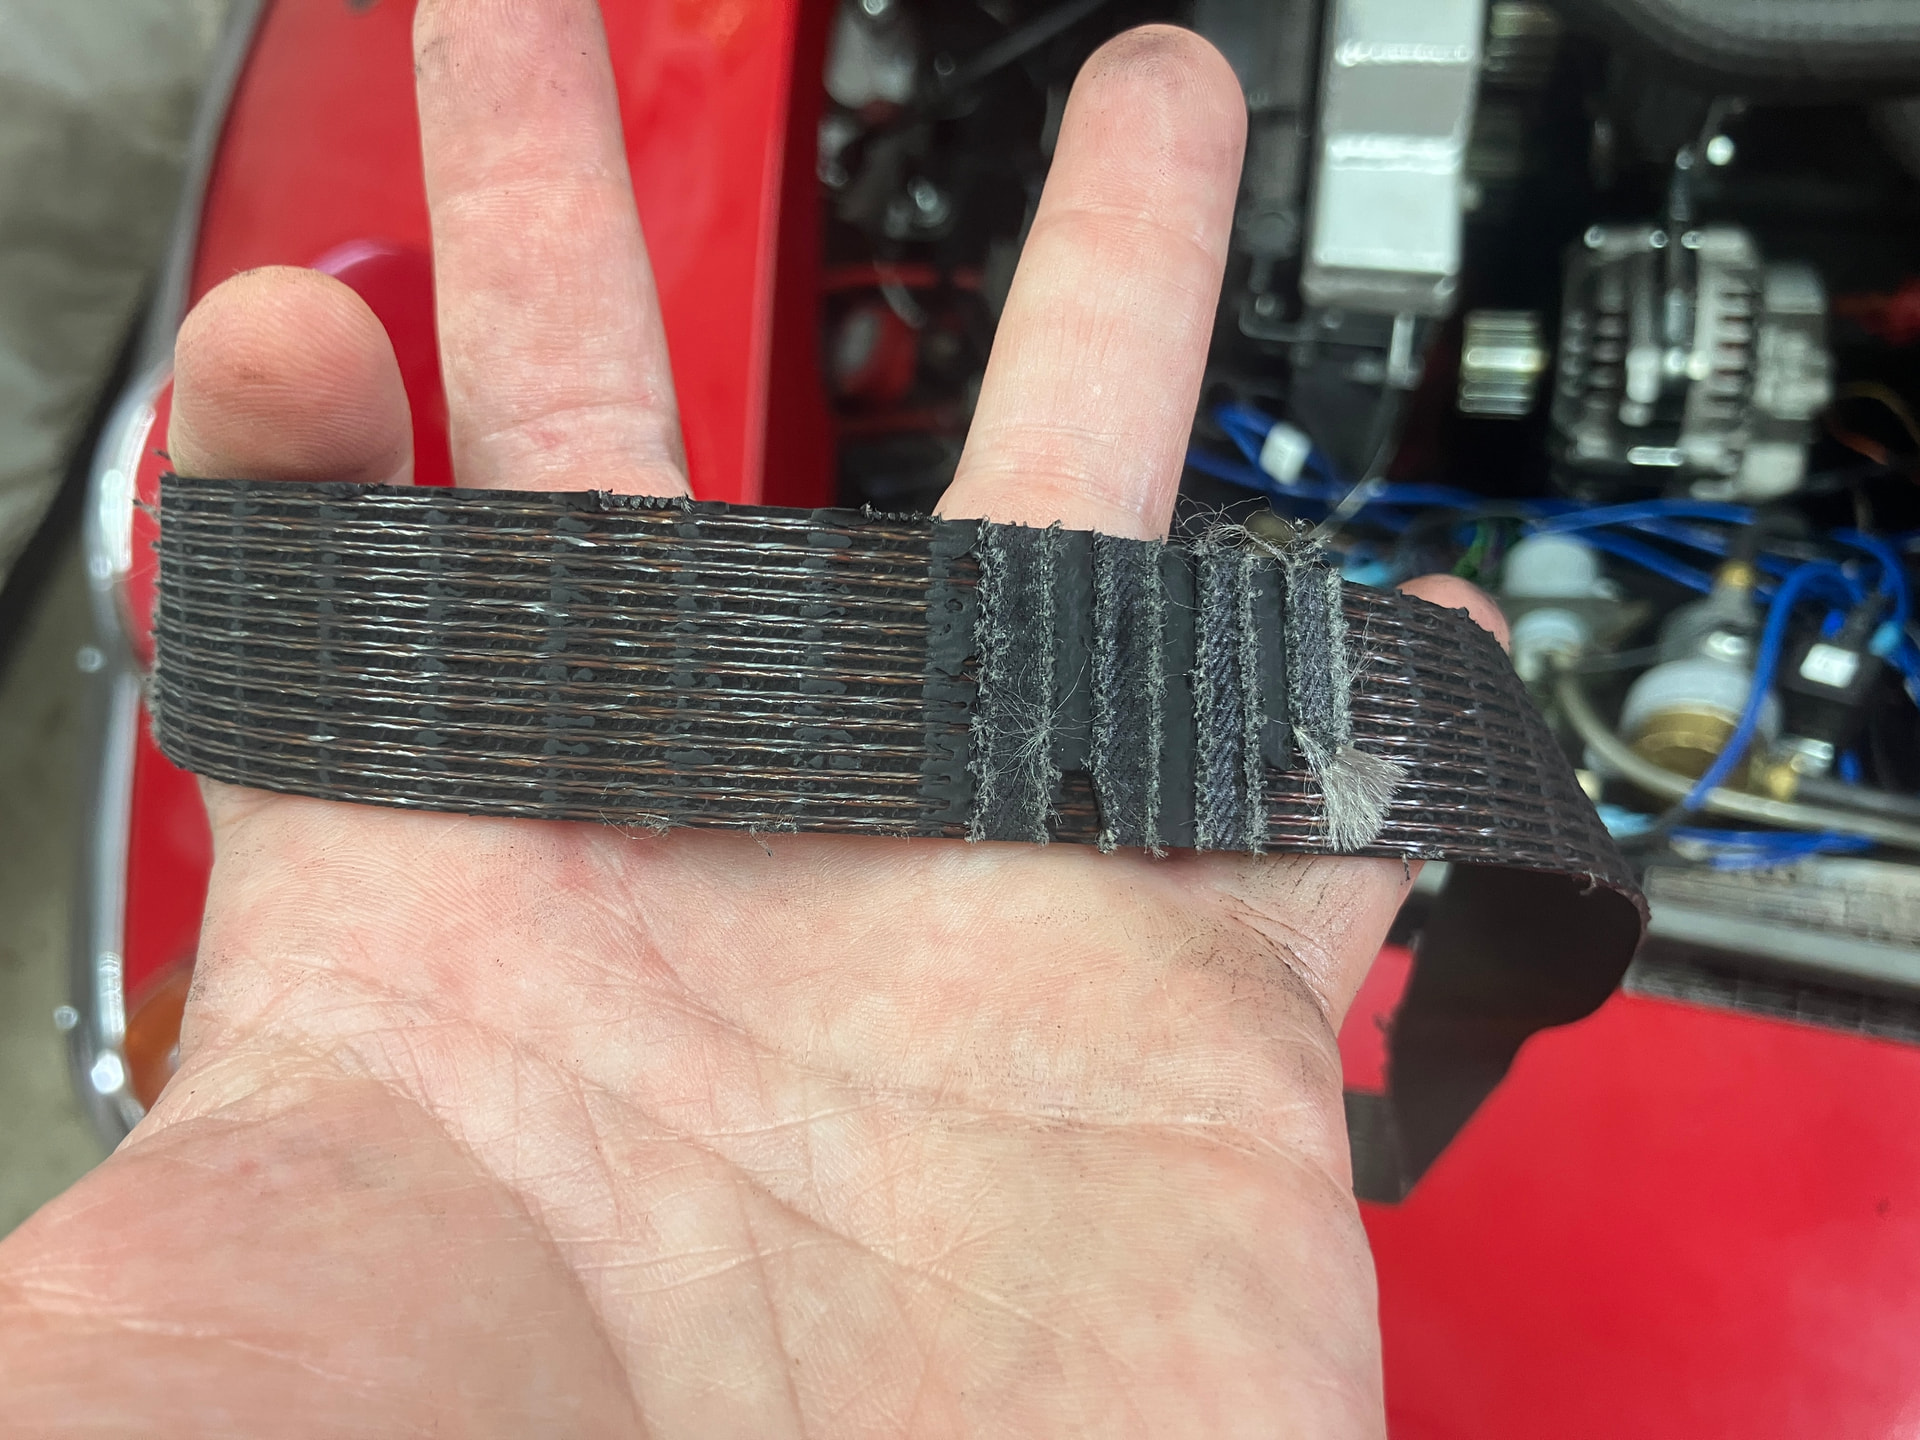
Regarding belt tension, I started off by using the recommendation that you should be able to rotate the belt 90 degrees when it’s cold (it tightens when it warms up), but this made so much chatter and had such a large visual squirming of the belt, I assume due to the alternator’s internal regulator switching on and off, that I took to tensioning enough that the squirming stopped. That may have been too tight. Or it could be an alignment issue. Or something weird with the alternator. Or a combination of the three. I’ll take another crack at alignment, and again try tensioning the belt cold so you can rotate it 90 degrees, ignore the fact that it chatters horribly, and see what happens.
But if I could come up with another solution that gets rid of the Gilmer drive system, has the alternator run without slipping, and doesn’t destroy the water pump bearing, I’d gladly try it.
Adding up the costs is instructive though horrifying. When I do an a/c retrofit into a BMW 2002, it’s usually about a thousand dollars in parts, including the major components (compressor, bracket, evap assembly, condenser and fan, drier), hoses and fittings, assorted mounting brackets, relays and wiring, and refrigerant. For this project, the major components were cheap, and there was no custom bracket needed for the compressor, but there was the Gilmer drive pulley set and the high-output alternator. But in addition to that, the project nickel-and-dimed me to death. I’ve got two grand in it, and due to the belt issues, it’s not fully usable yet.
So, the takeaway is that I started off by saying that I only went the electric compressor route because there was no way (well, no cost-effective click-and-buy way) to mount the compressor to the block and run it off the crank pulley, and I estimated that the machining and fabrication of the two pieces might run me a thousand bucks. I look at it now, and think that, if I had to do it again, I would’ve been better off putting my head down and fighting my way through the conventional route.
That having been said, issues of “efficiency” notwithstanding, the electric compressor DOES work well enough to have the evaporator generate air that’s cold enough that, when it’s blown at your face, the system works as well as you can expect any retrofitted system to work in a vintage car with its poor insulation and air leaks.
But my advice to people is STILL that they’re out of their minds to try electrically-driven air conditioning if they can easily mount a conventional belt-driven compressor to the block.
--Rob Siegel