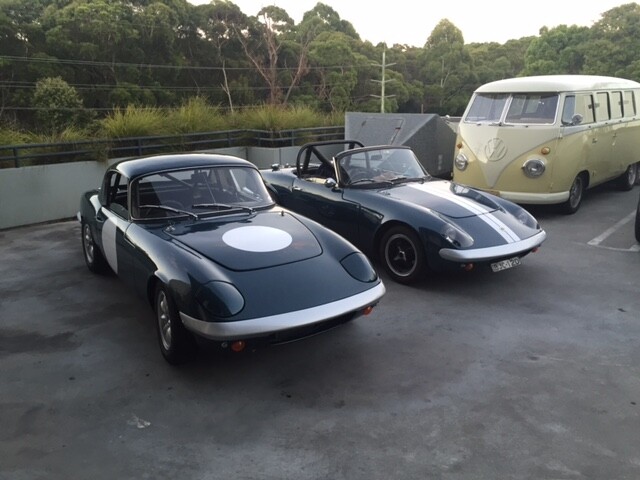
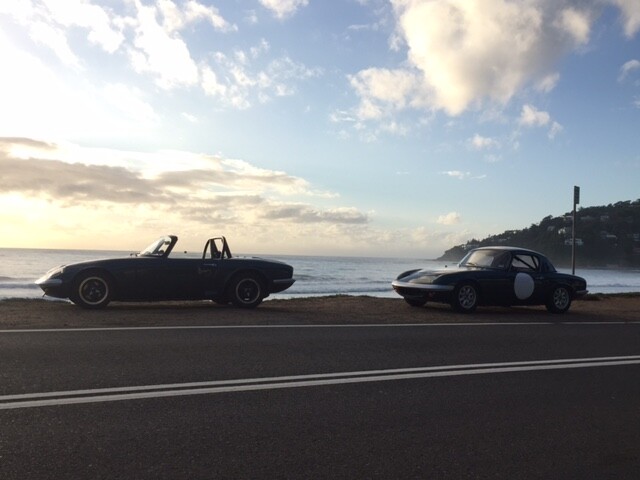
Beautiful last day of summer, and a Sunday sunrise cruise to Palm Beach on Sydney’s northern beaches with two old mates!!! Gordon and I brought together the last 2 Elan’s I’ve restored, after repairing and painting both in 2004/5 then they languished in the shed for way too long before their final assembly.
Gordon’s S2 26R bodied (stripes) was completed in March 2009 and I think is potentially the most used Elan around having covered over 30000 reliable miles since, the S1 (roundels) completed last week was raced from new and will be returning to both road and track soon as its going to a new home next week. I’ve really enjoyed driving the car the past two weeks to shake it down, is class legal 1594ccTwin cam all steel bottom end, with forged 11.3:1 pistons, 1.625 inlets and 1.4 exhaust valves in its period modified head. With 45mm Webers, its idles at 800rpm smoothly on pump fuel, and pulls like a train with no pinking! the engine produces 132bhp at rear wheels and 122ft lbs torque, close ratio box and 3.77 with Quaife LSD its a hoot on the road.
If you have never removed the gearbox and you search this forum for how to’s, you come away thinking out the bottom is easier than engine out!
next time it’s engine out.
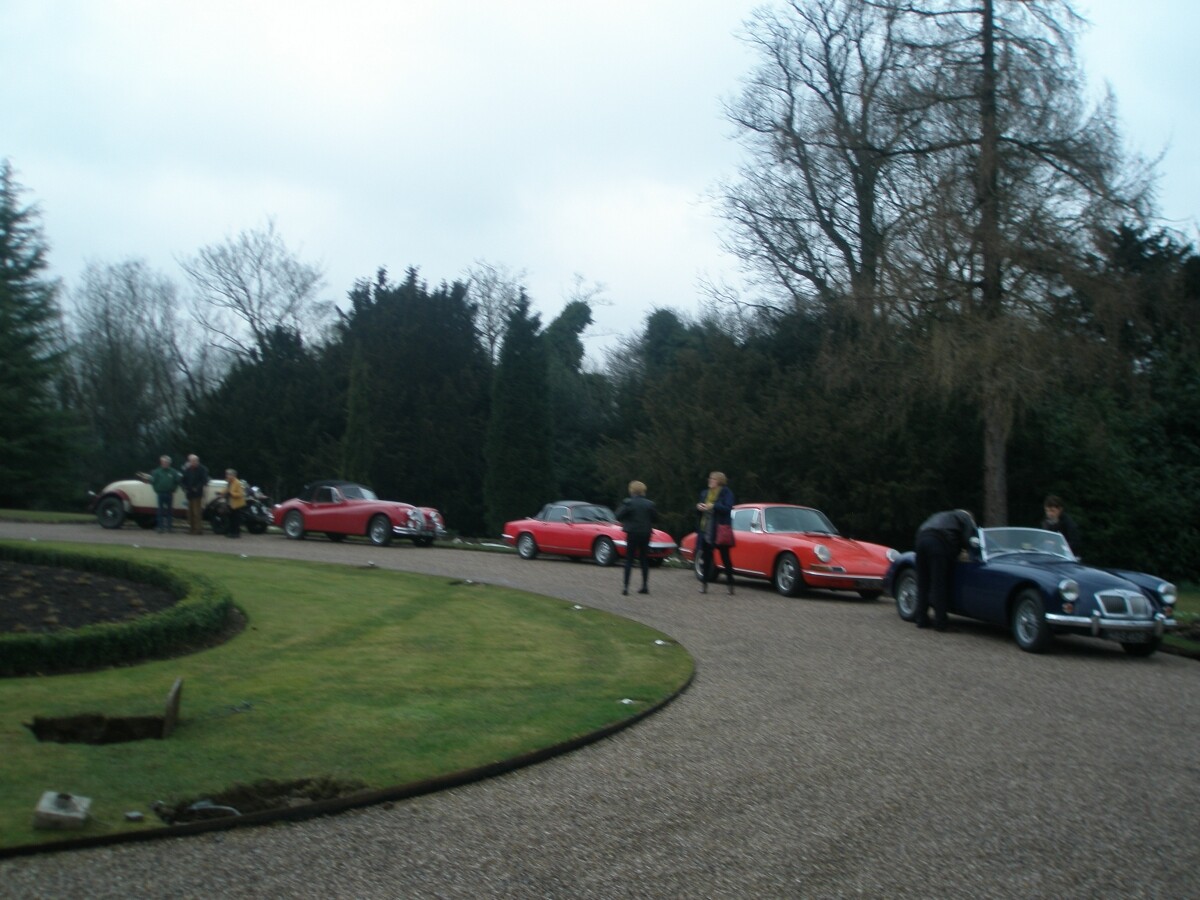
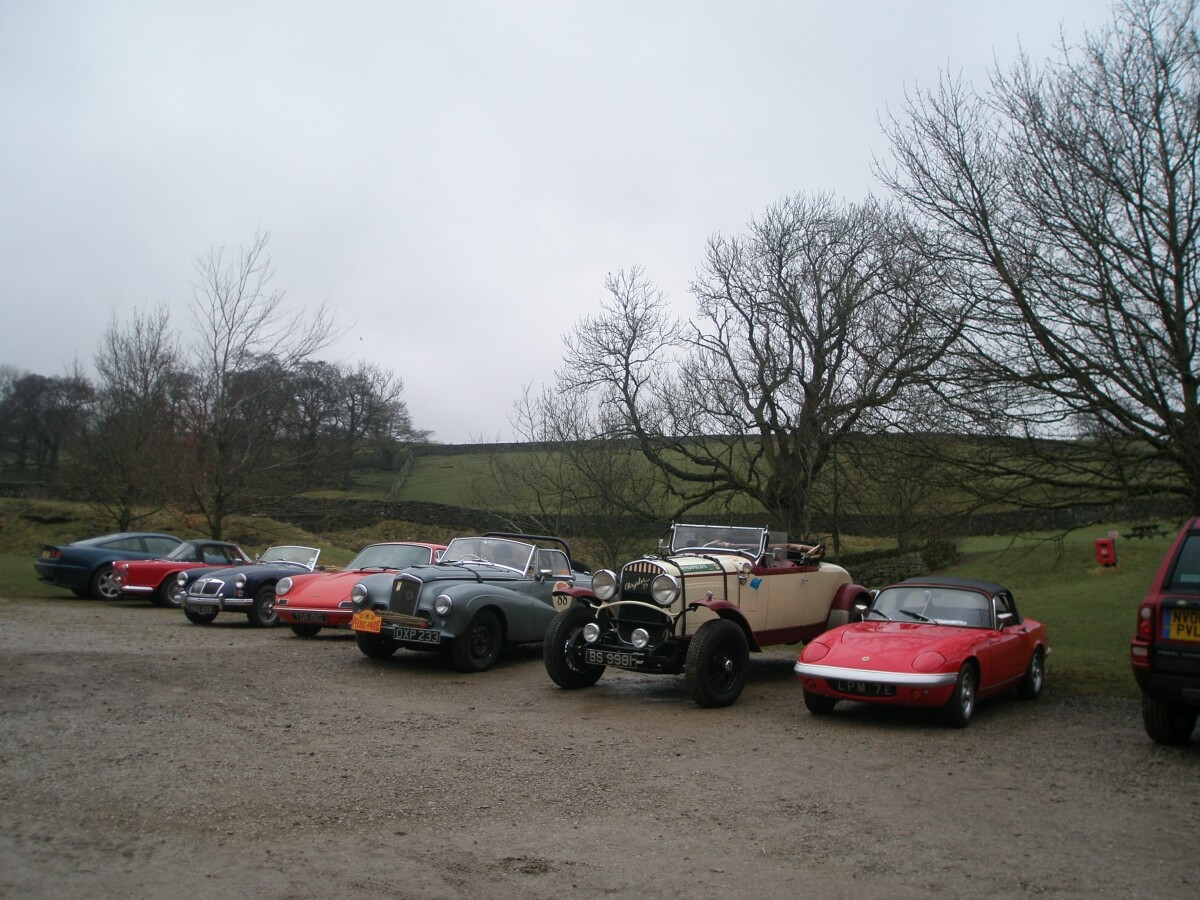
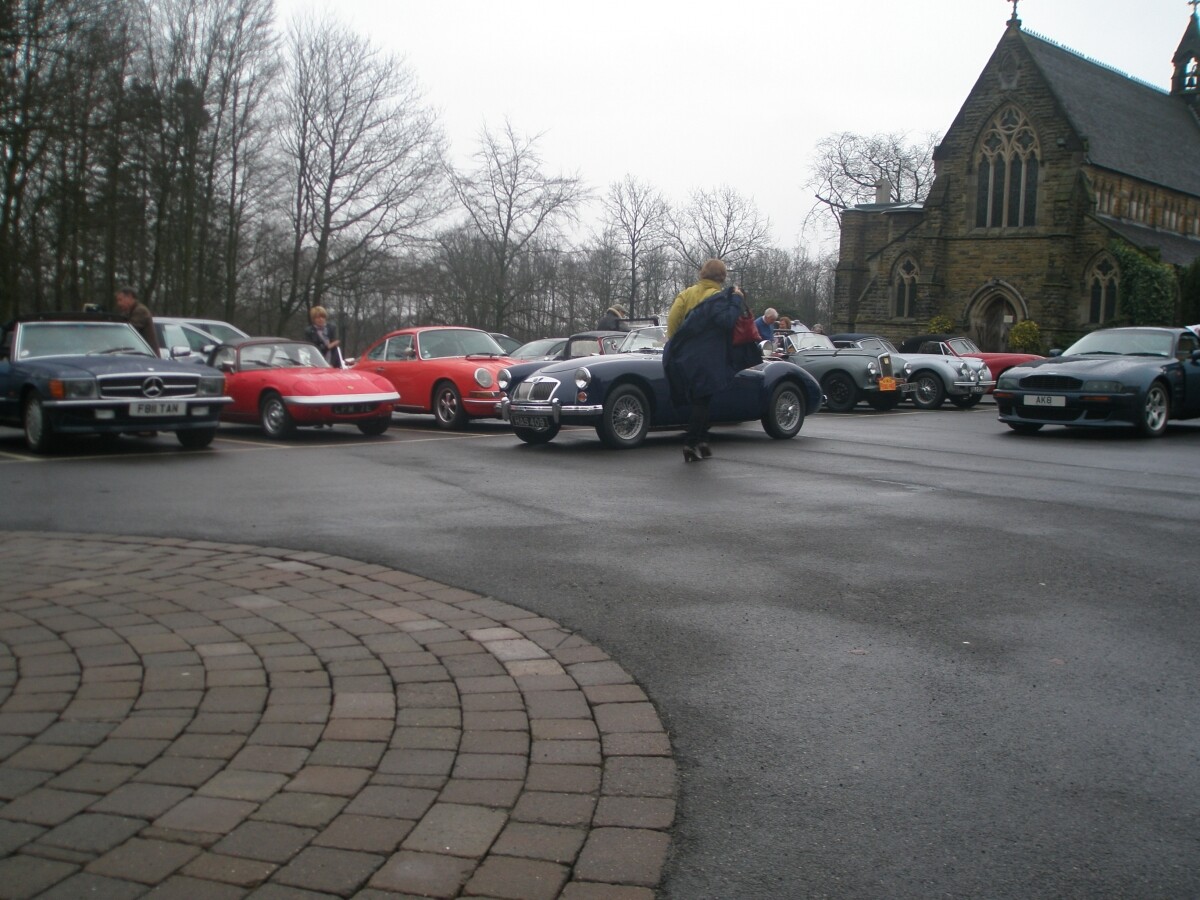
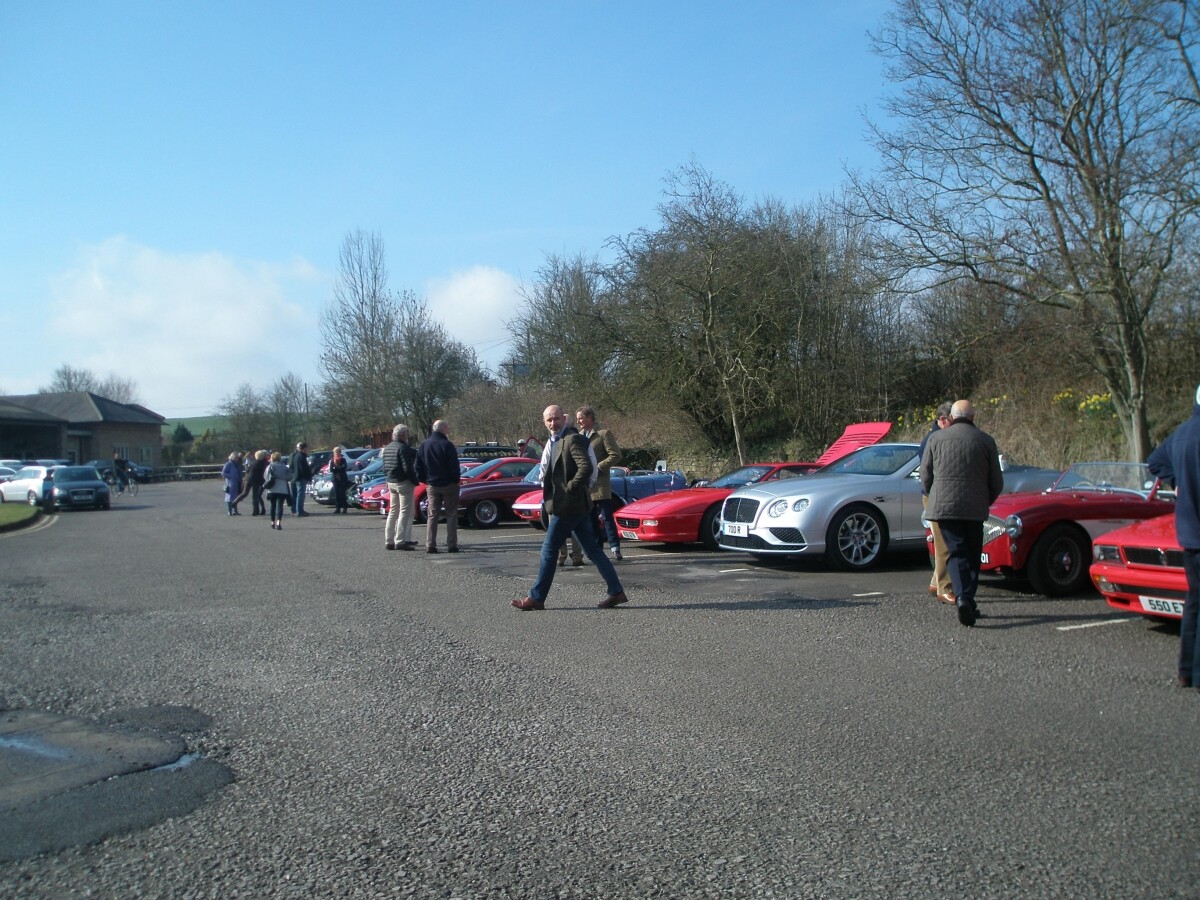
3 pics on our annual HVR reunion, 9th/10th of March, this time in north Yorkshire.
1 is the start after overnighting at Rudding Park Harrogate.
2 is coffee stop at How Stean Gorge.
3 is lunch at Bowcliffe Drivers Club Bramham. Though I cant remember which order they will appear here.
As usual, we had the usual eclectic (some would say disparate) group.
Marvellous.
Jim
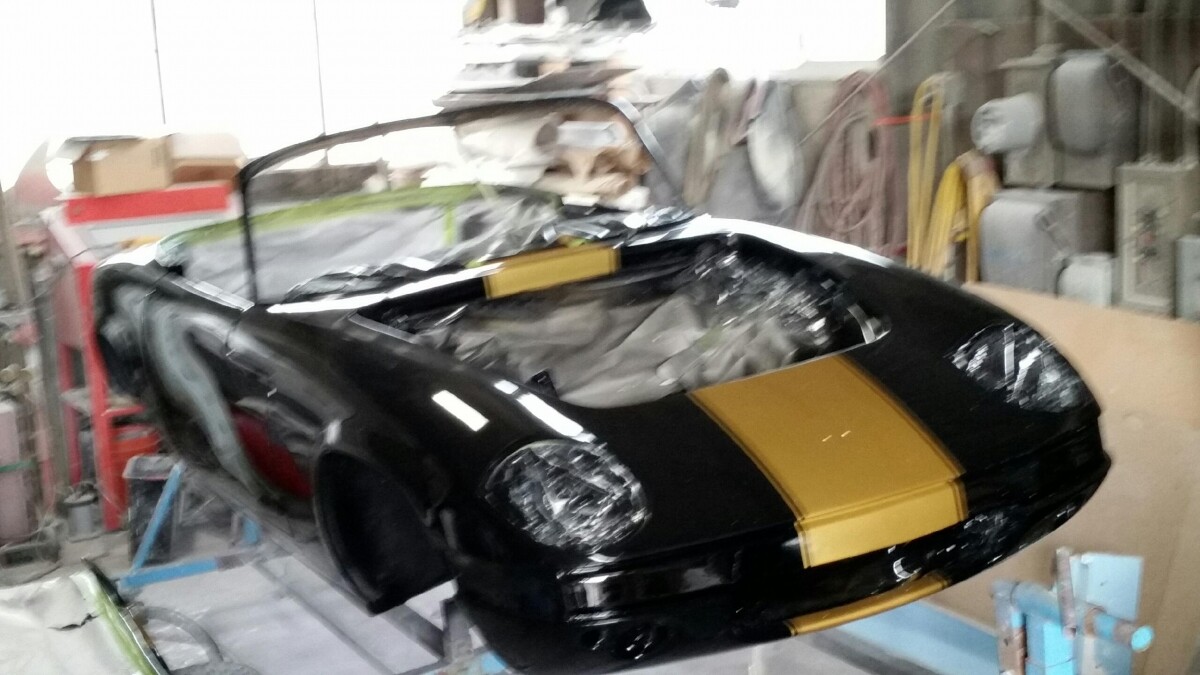
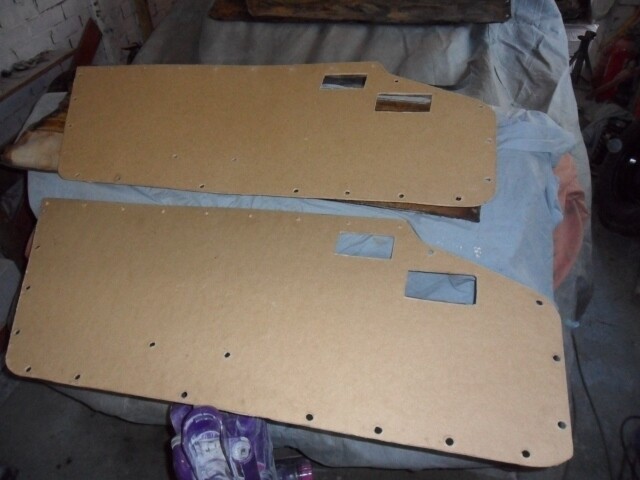
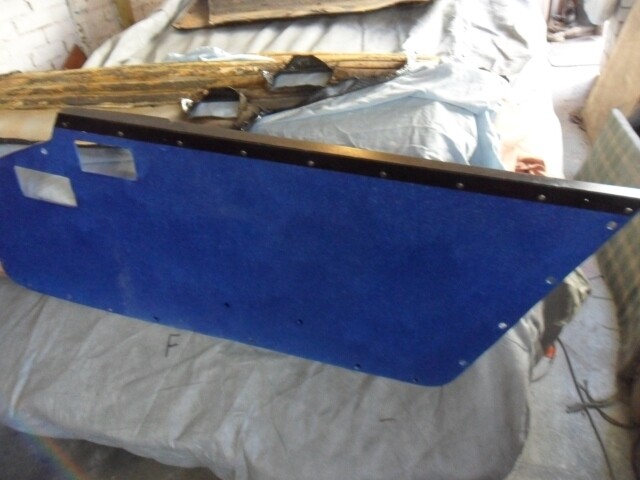
Is that hardboard you have made them from? If so you need to get the curve into them?
I was going to soak mine with water then curve them and let them dry but, the trimmer I used told me to heat them up with hot air blowers or a blowlamp! This will soften the resin so that they can be curved then cooled in that shape… And it worked a treat!
I think I’ll leave the blowlamp method for a while! In the meantime, I’m supporting the top and bottom edges on the floor and leaving a large fire extinguisher resting in the middle until the desired curve is reached.