Had a drive to Chirnside in my elan to put flowers on Jim Clarks grave.
Removed and cleaned both door locks, what a difference.
I recall the last time I worked on these locks the rods and clips seemed impossible to connect and resulted in frustration and grazed skin. This time it all seemed so simple … perhaps my hands have shrunk with the onset of old age.
Rebuilt and rewired front indicators. https://photos.app.goo.gl/KBppnNJacZy9Ha5X6
A few modifications:
- a new gasket made from 3mm neoprene https://photos.app.goo.gl/YZS2NYxsij52Y2nn6
- New clear lenses from Paul Matty
- New bulb holders and wiring, then terminated in Superseal connectors
- LED bulbs from Classic Car LEDs (very helpful and quick)
A tip if you’re replacing bulb holders: you need to peen over the rim, so it clamps the reflector disc thingy to the main body. This is fiddly, but much easier if you place a (deep) socket under the bulb holder, so when you tap the rim with a hammer/drift, it stays put. https://photos.app.goo.gl/3VoicCeh1ni8C5rs5
The Mazak was pretty bad, but with a lot of Autosol the chrome looks acceptable. I think I may paint the back with epoxy primer anyway, as it’s out of sight, to be safe. The tiny pits in the Mazak/chrome will possibly be filled by a pinprick of transparent epoxy resin. I’ll practise on a spare and see what happens…
Ned
I installed Speed Bleeders on all 4 corners and on the clutch slave cylinder. I still made a mess, but it was quite simple and straightforward to do by myself! They seem to be a good quality product.
0005K Dick
Drove Sunday morning to join the “Breakfast Club Rally” (BCR)for a couple hours drive through Sonoma back roads with a variety of other vintage cars. The drive to the meeting point of about an hour went fine although a bit chilly with the top down.
I had just put the Elan back together after an engine out to fix a hydraulic leak in the concentric slave cylinder. As a result I had not put but a few miles on the car to shake out any bugs. Coolant hoses had been leaking but thought I had cured those.
Got to the meeting point and was lining up to start the rally when I noticed my temperature gauge had gone well over 100. Pulled over to check on things. Suspected perhaps coolant loss. Car too hot to open the coolant fill. Thought I would let cool down which I did and then check coolant. Coolant level was ok but I also found that the leads to the fan otter switch were disconnected- so no fan. Problem solved I thought.
But now the car wouldn’t start. No ignition light. Strange behavior: fuel pump would start with ignition on and then not shut off with ignition off until I opened the door. At this point, and having no tools with me I decided to take advantage of the BCR free towing service offered through Hagerty (insurance) to all Rally participants. A flatbed showed up in short order and transported me and the car home, about 50 miles at no charge. Luckily I had broken down early in the rally as the towing services were inundated with emergency calls from other drivers resulting in several hours wait.

From past experience of strange electrical behavior I figured that a faulty ground (earth) was probably to blame for my problems. Sure enough the ground point in the trunk (boot) was not fully tight. A consequence of me recently rerouting of the wires for the fuel pump and Bluetooth radio in the boot.
So all fixed for the moment.
I am going to implement a different fan temperature switch in a different location. I have an extra large TTR radiator and the fan switch interferes with lip of the bonnet when open and the spade lugs consistently get knocked off - so no fan.

Actually after yesterday’s trials and sorting out the causes I am more confident than ever in my car’s future reliability. Up to now after an extensive restoration it had never let me down. The recent failure easily explained and resolved.
I bet audible and visual warning of low oil and coolant, temp and pressure etc would be well worth it.
A few of my vehicles have warning lights, I figure I wouldn’t notice. So sound?
I had my first go ever at painting the block and cam cover. Cam cover might need a second try, but it looks ok. Lots of detailing still to do!

Looks good ![]()
The mating surfaces for the inlet, exhaust, oil pump, distributor clamp face are best left paint free.
The heater take off looks like it’s from a Cortina, but I think you mentioned that you’re going down a different route.
1owner69 - very sorry to hear of your troubles. For what it is worth I have a REVOTEC electronic controller in the top hose and it works excellently. Out of the way of everything also. Available from all the usual suspects this side of the pond. D

Thanks - the inlet and fuel pump faces are unpainted and I was planning to clean back the exhaust ones. When I was painting it was difficult to be neat and tidy so I just painted it all and then thought I could strip it back to a heater edge. We will see if it works.
The heater outlet was as it came with the engine. I haven’t given that any thought but will look into that now. I have some different ones here.
Many thanks,
Phil
TBG, are those Revotec fans, too? What make radiator?
The heater outlet is the same as on my Plus 2 so I guess that is where then engine came from
cheers
Rohan
Rohan,
I think you may be right. I seem to recall it started life in a Europa, then a +2 and now in a s3. It’s probably got some great stories to tell!
I haven’t decided whether I will use the Smiths heater system or something more modern (as Rob alluded to - perhaps even the dual heater and a/c unit a few people have fitted), so I guess the shiny brass connector can stay for now.
Phil
I’m really interested to hear how you get on.
![IMG_1587[1].JPG](https://cdn.lotuselan.net/original/3X/3/f/3f9de3aef73b0893de5fb2f320551a2d3b06a575.jpeg)
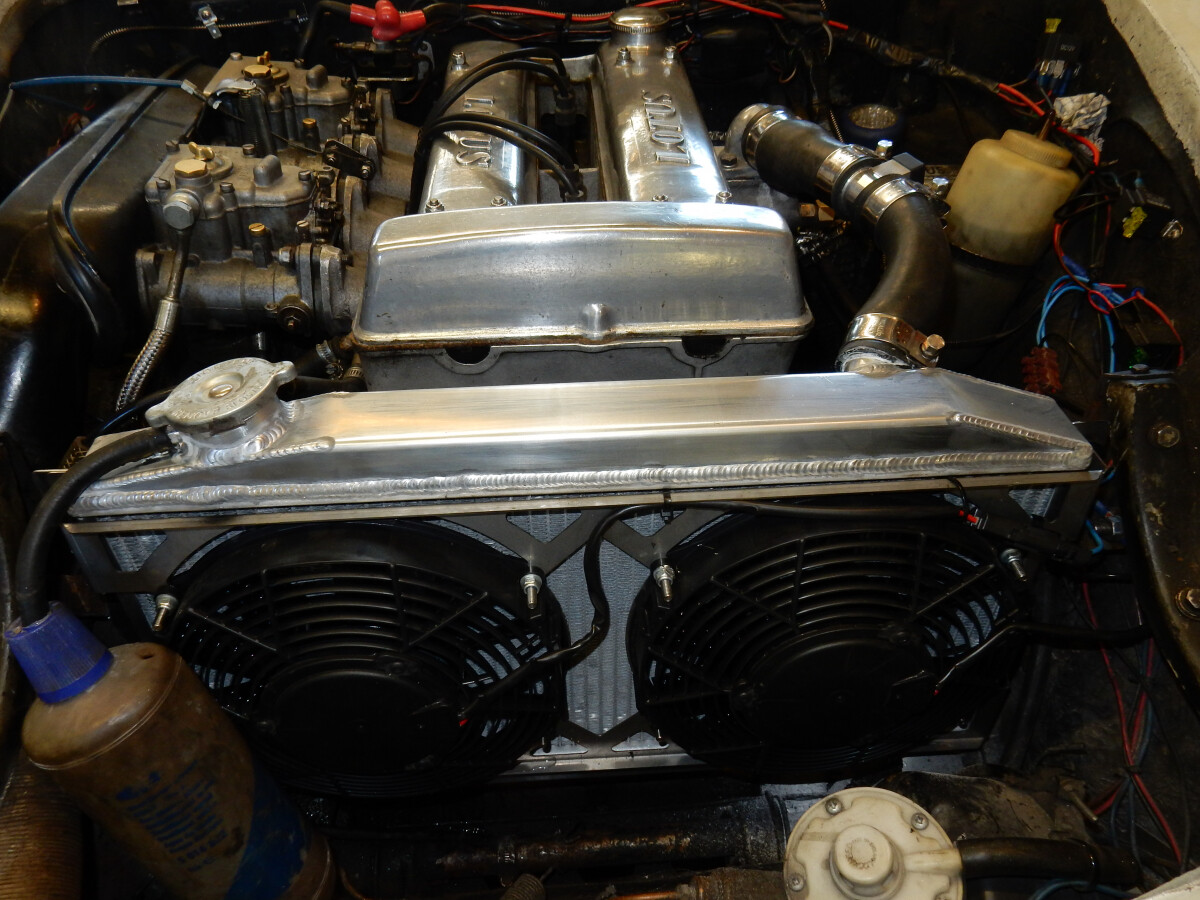
Giz - yes Revotec fans and controller. I got them from Demon Tweeks but they are available elsewhere. A beautifully cut stainless bracket for the fans also came with the kit. D
Oh and the radiator - quite beautifully built came from Coolex. www.coolexperts.co.uk
I would like to put such a inline temperature switch but there is no room for such on my arrangement. The TTR swirl pot/filler that replaces the top hose leaves no room for splicing in a takeoff.

There are some fan switch units that place a capillary inserted in a hose end and clamped between the hose and the alloy tube extensions. But, this appears to be prone to leaks and I am not too sure about clamping down on a fragile capillary.
Looking at fan switches that insert the probe into the radiator fins. I have one from Derale but don’t like defacing my expensive radiator with the probe insertion. Also, my radiator is so deep that the probe does not extend all the way through to allow it to be secured on its end, as designed.
I may just try to find a smaller otter switch that inserts into the original radiator port and doesn’t extend the leads out as far, thereby fouling the bonnet edge.
Any space in the radiator outlet hose?
My daily driver uses the outlet temp to control the fan, which makes a lot of sense when you think about it. What you want to do is ensure the coolant going to the engine is cool enough to absorb the heat generated by the engine. This allows the engine to stay at the correct temp, rather than respond to it being too hot once than has happened.
Not enough length on the legs of the L-shape bottom radiator hose to insert a take off either:

Presumably, with a sensor placed on the outlet the cut-in temperature for the fan would be chosen to be at a lower value than indicated on the temp gauge.