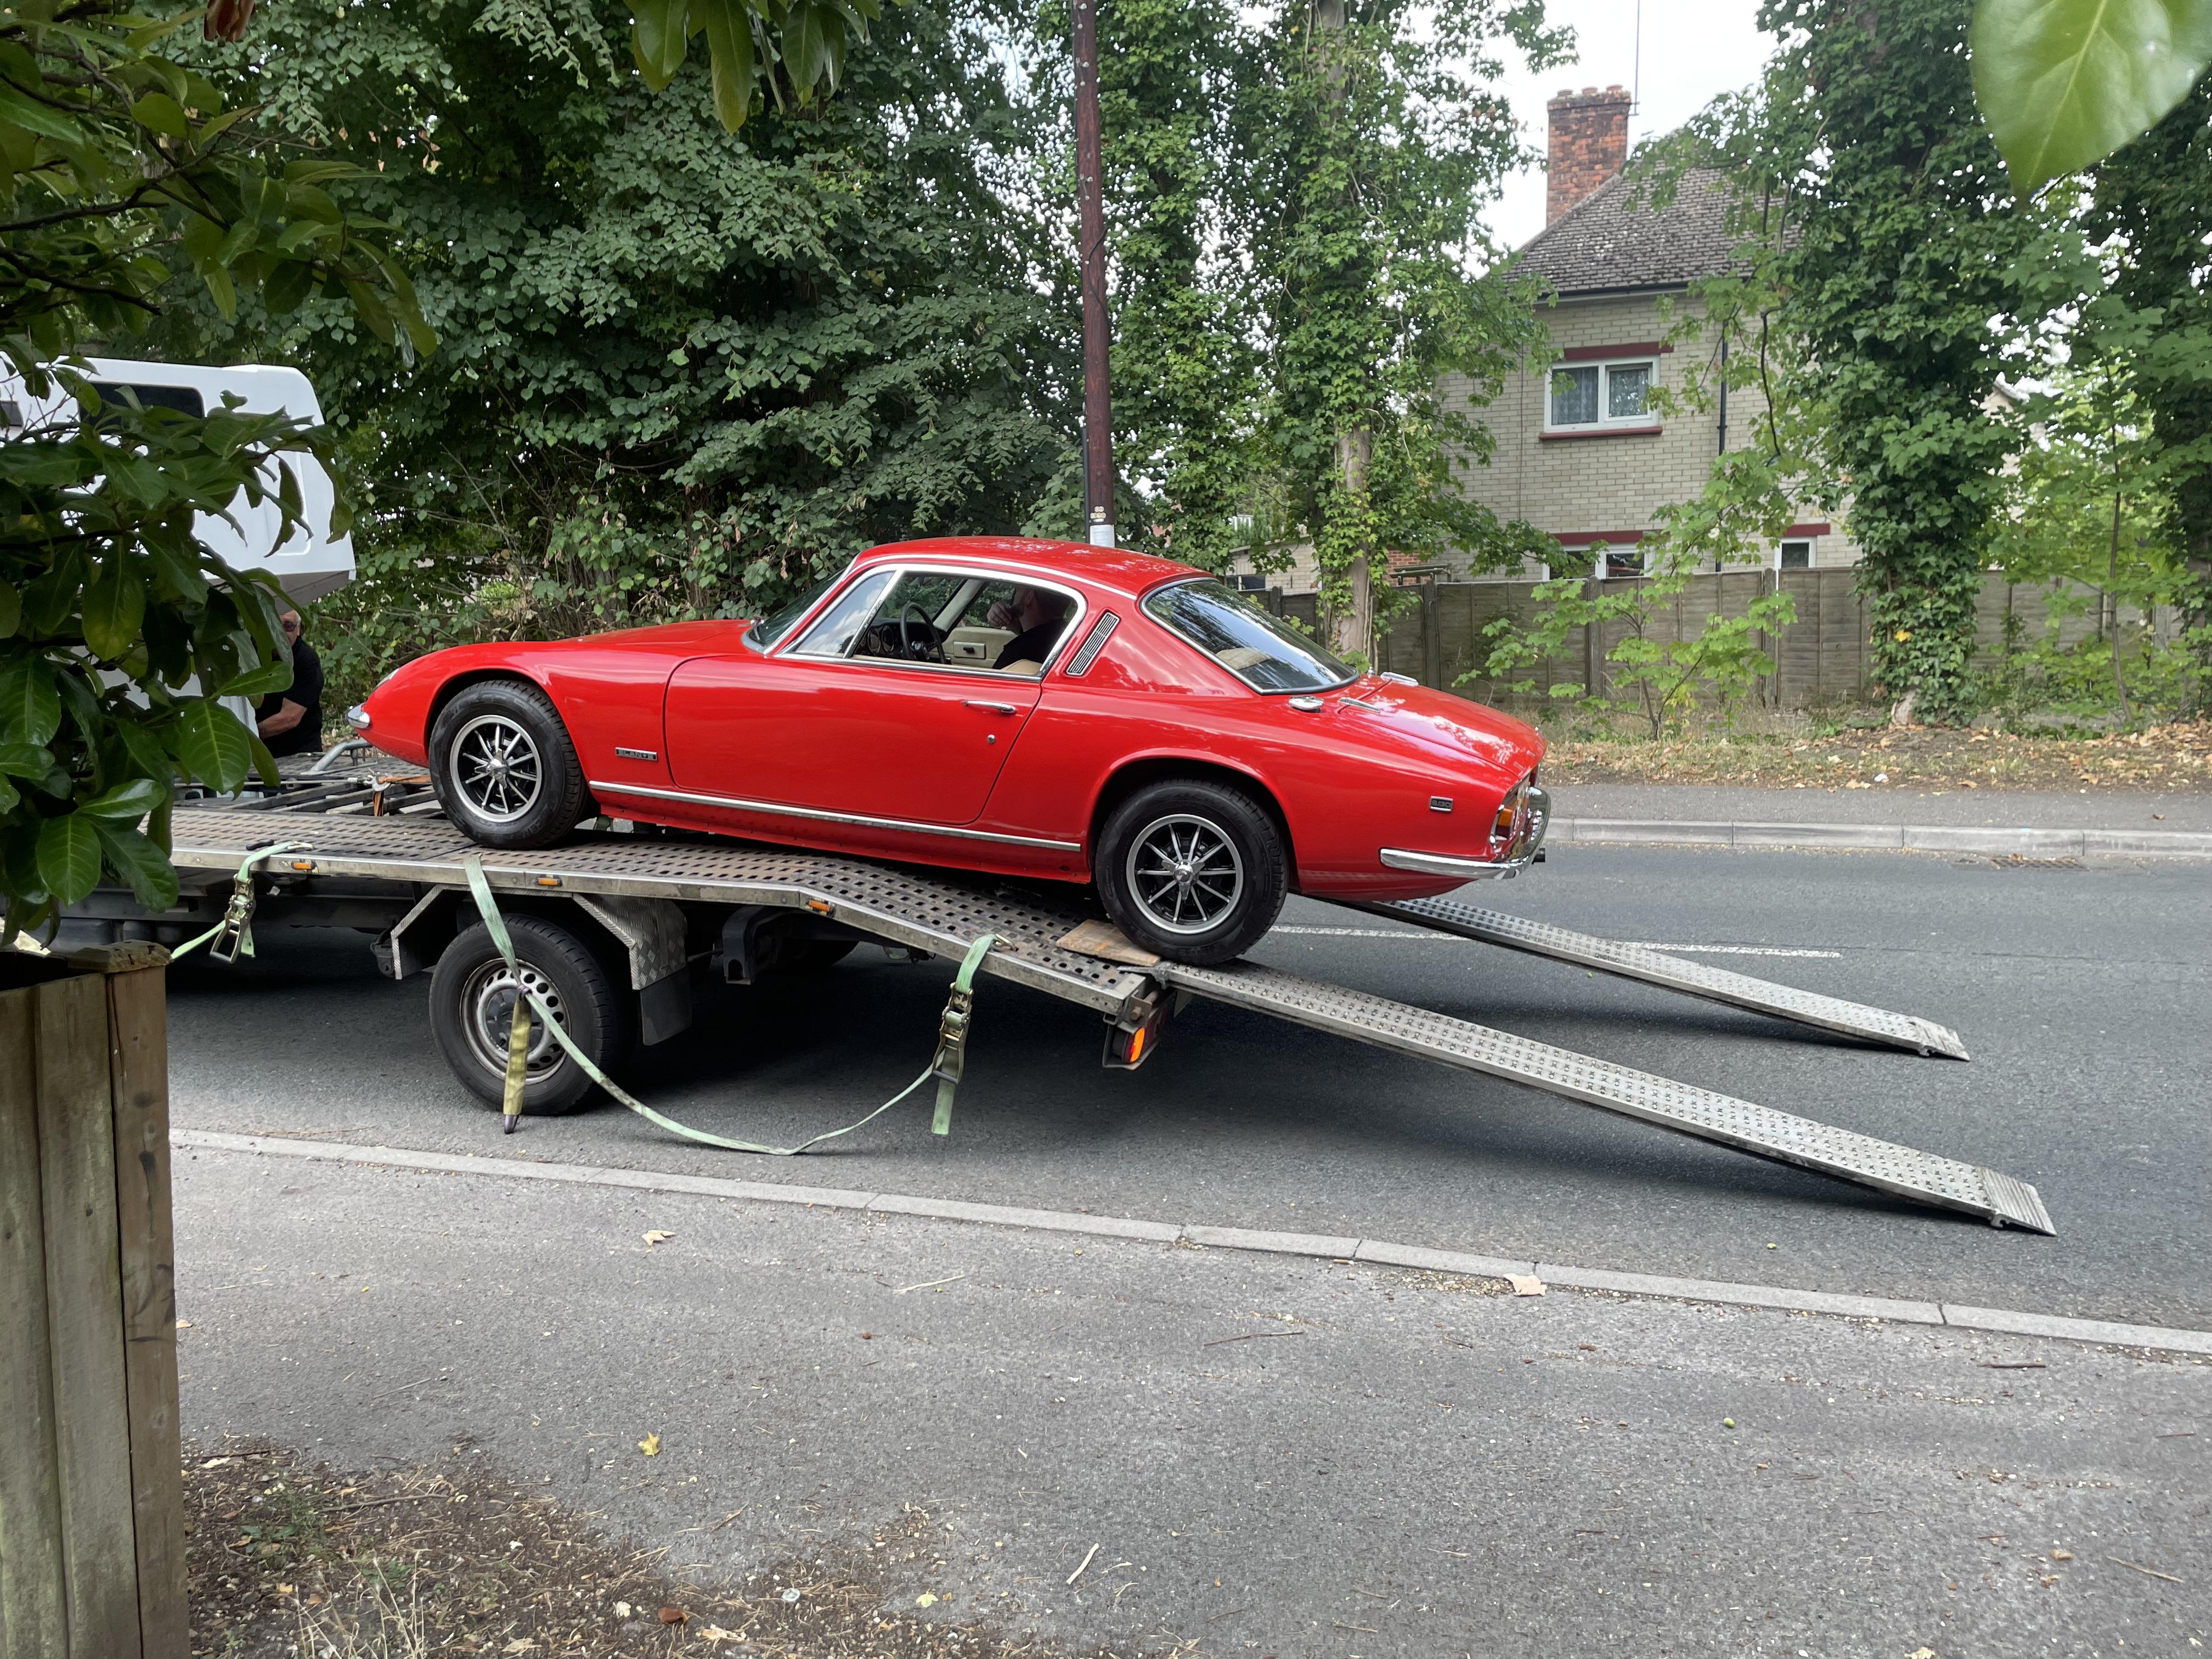
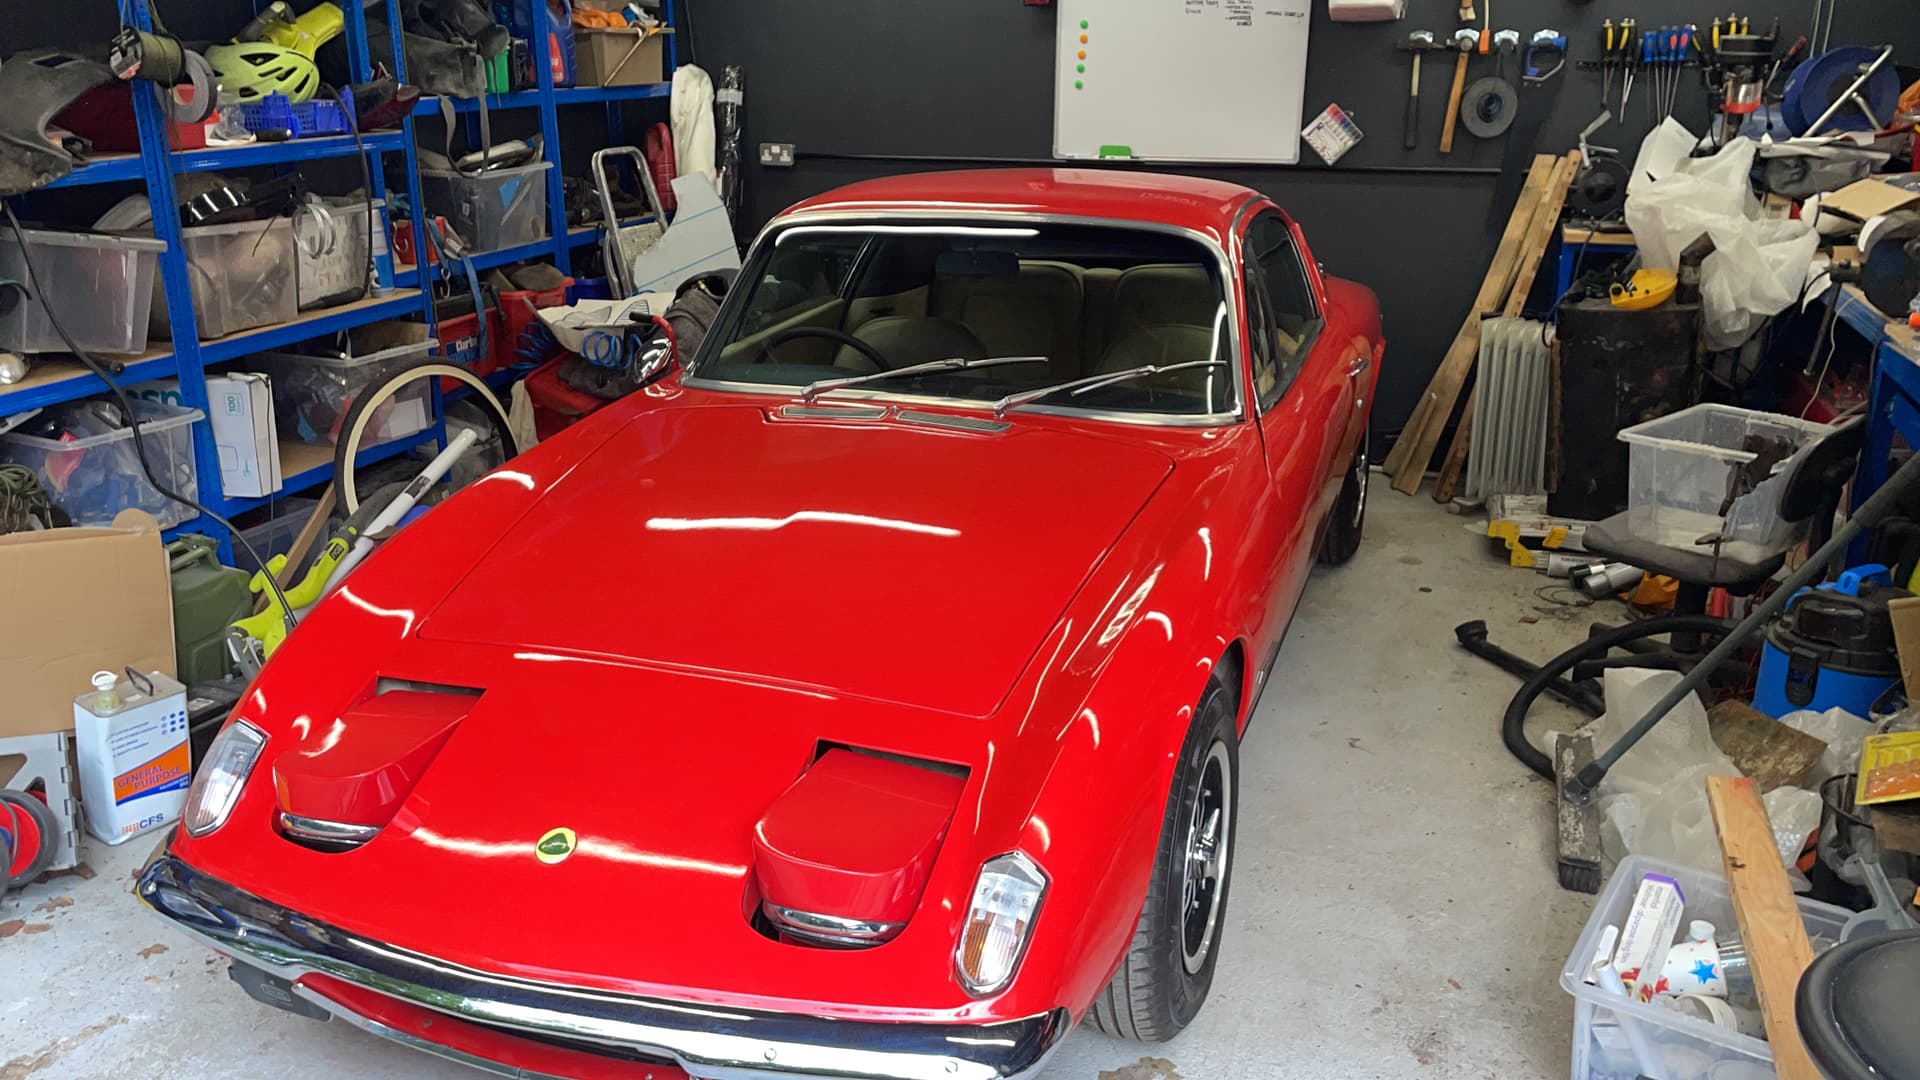
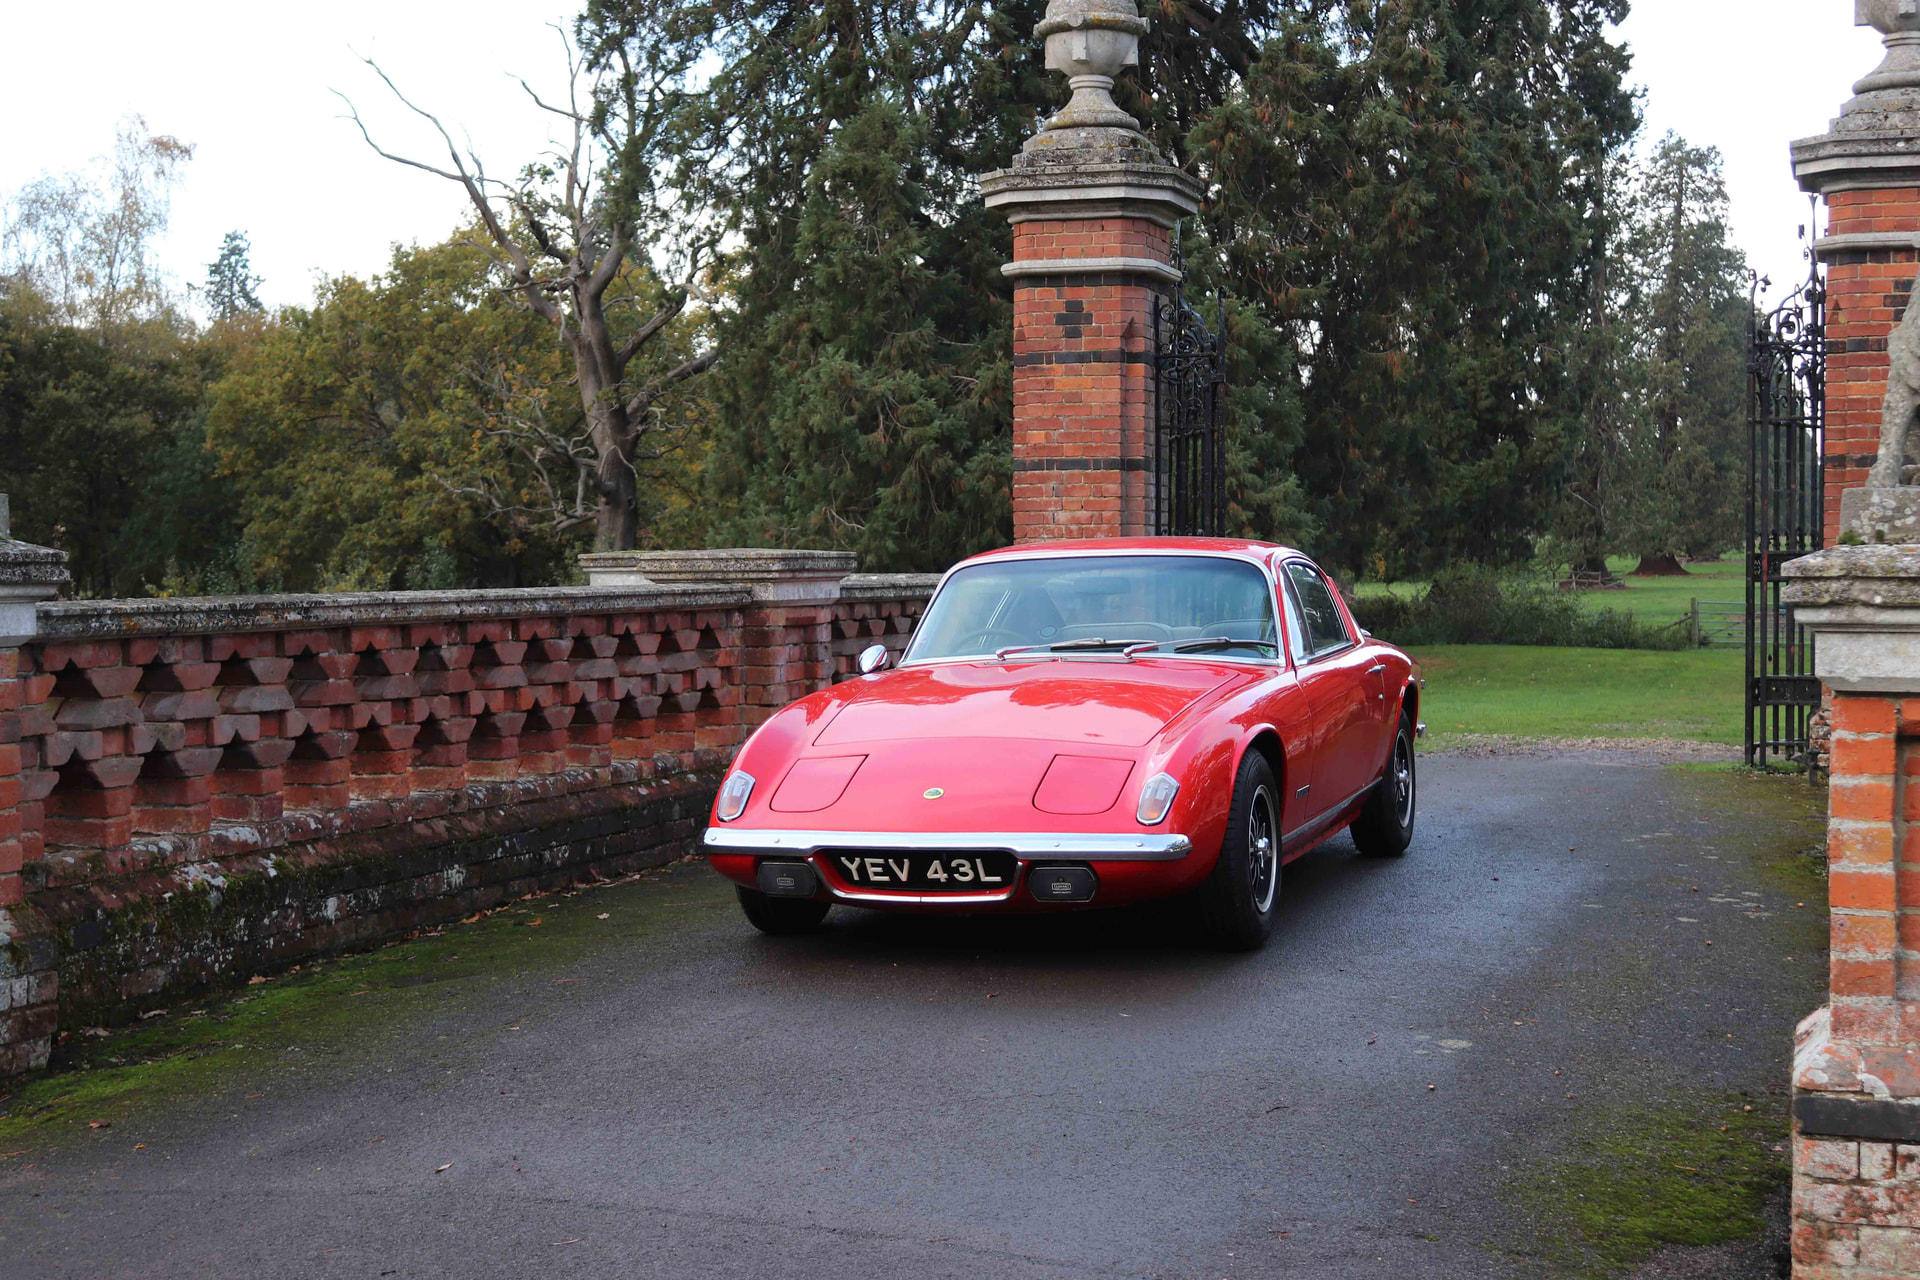
So I got my new Plus 2S 130 delivered last Tuesday, and I’ve really rather happy with her. Here’s a shot of her being delivered, and a second shot of here lurking in my garage/workshop.
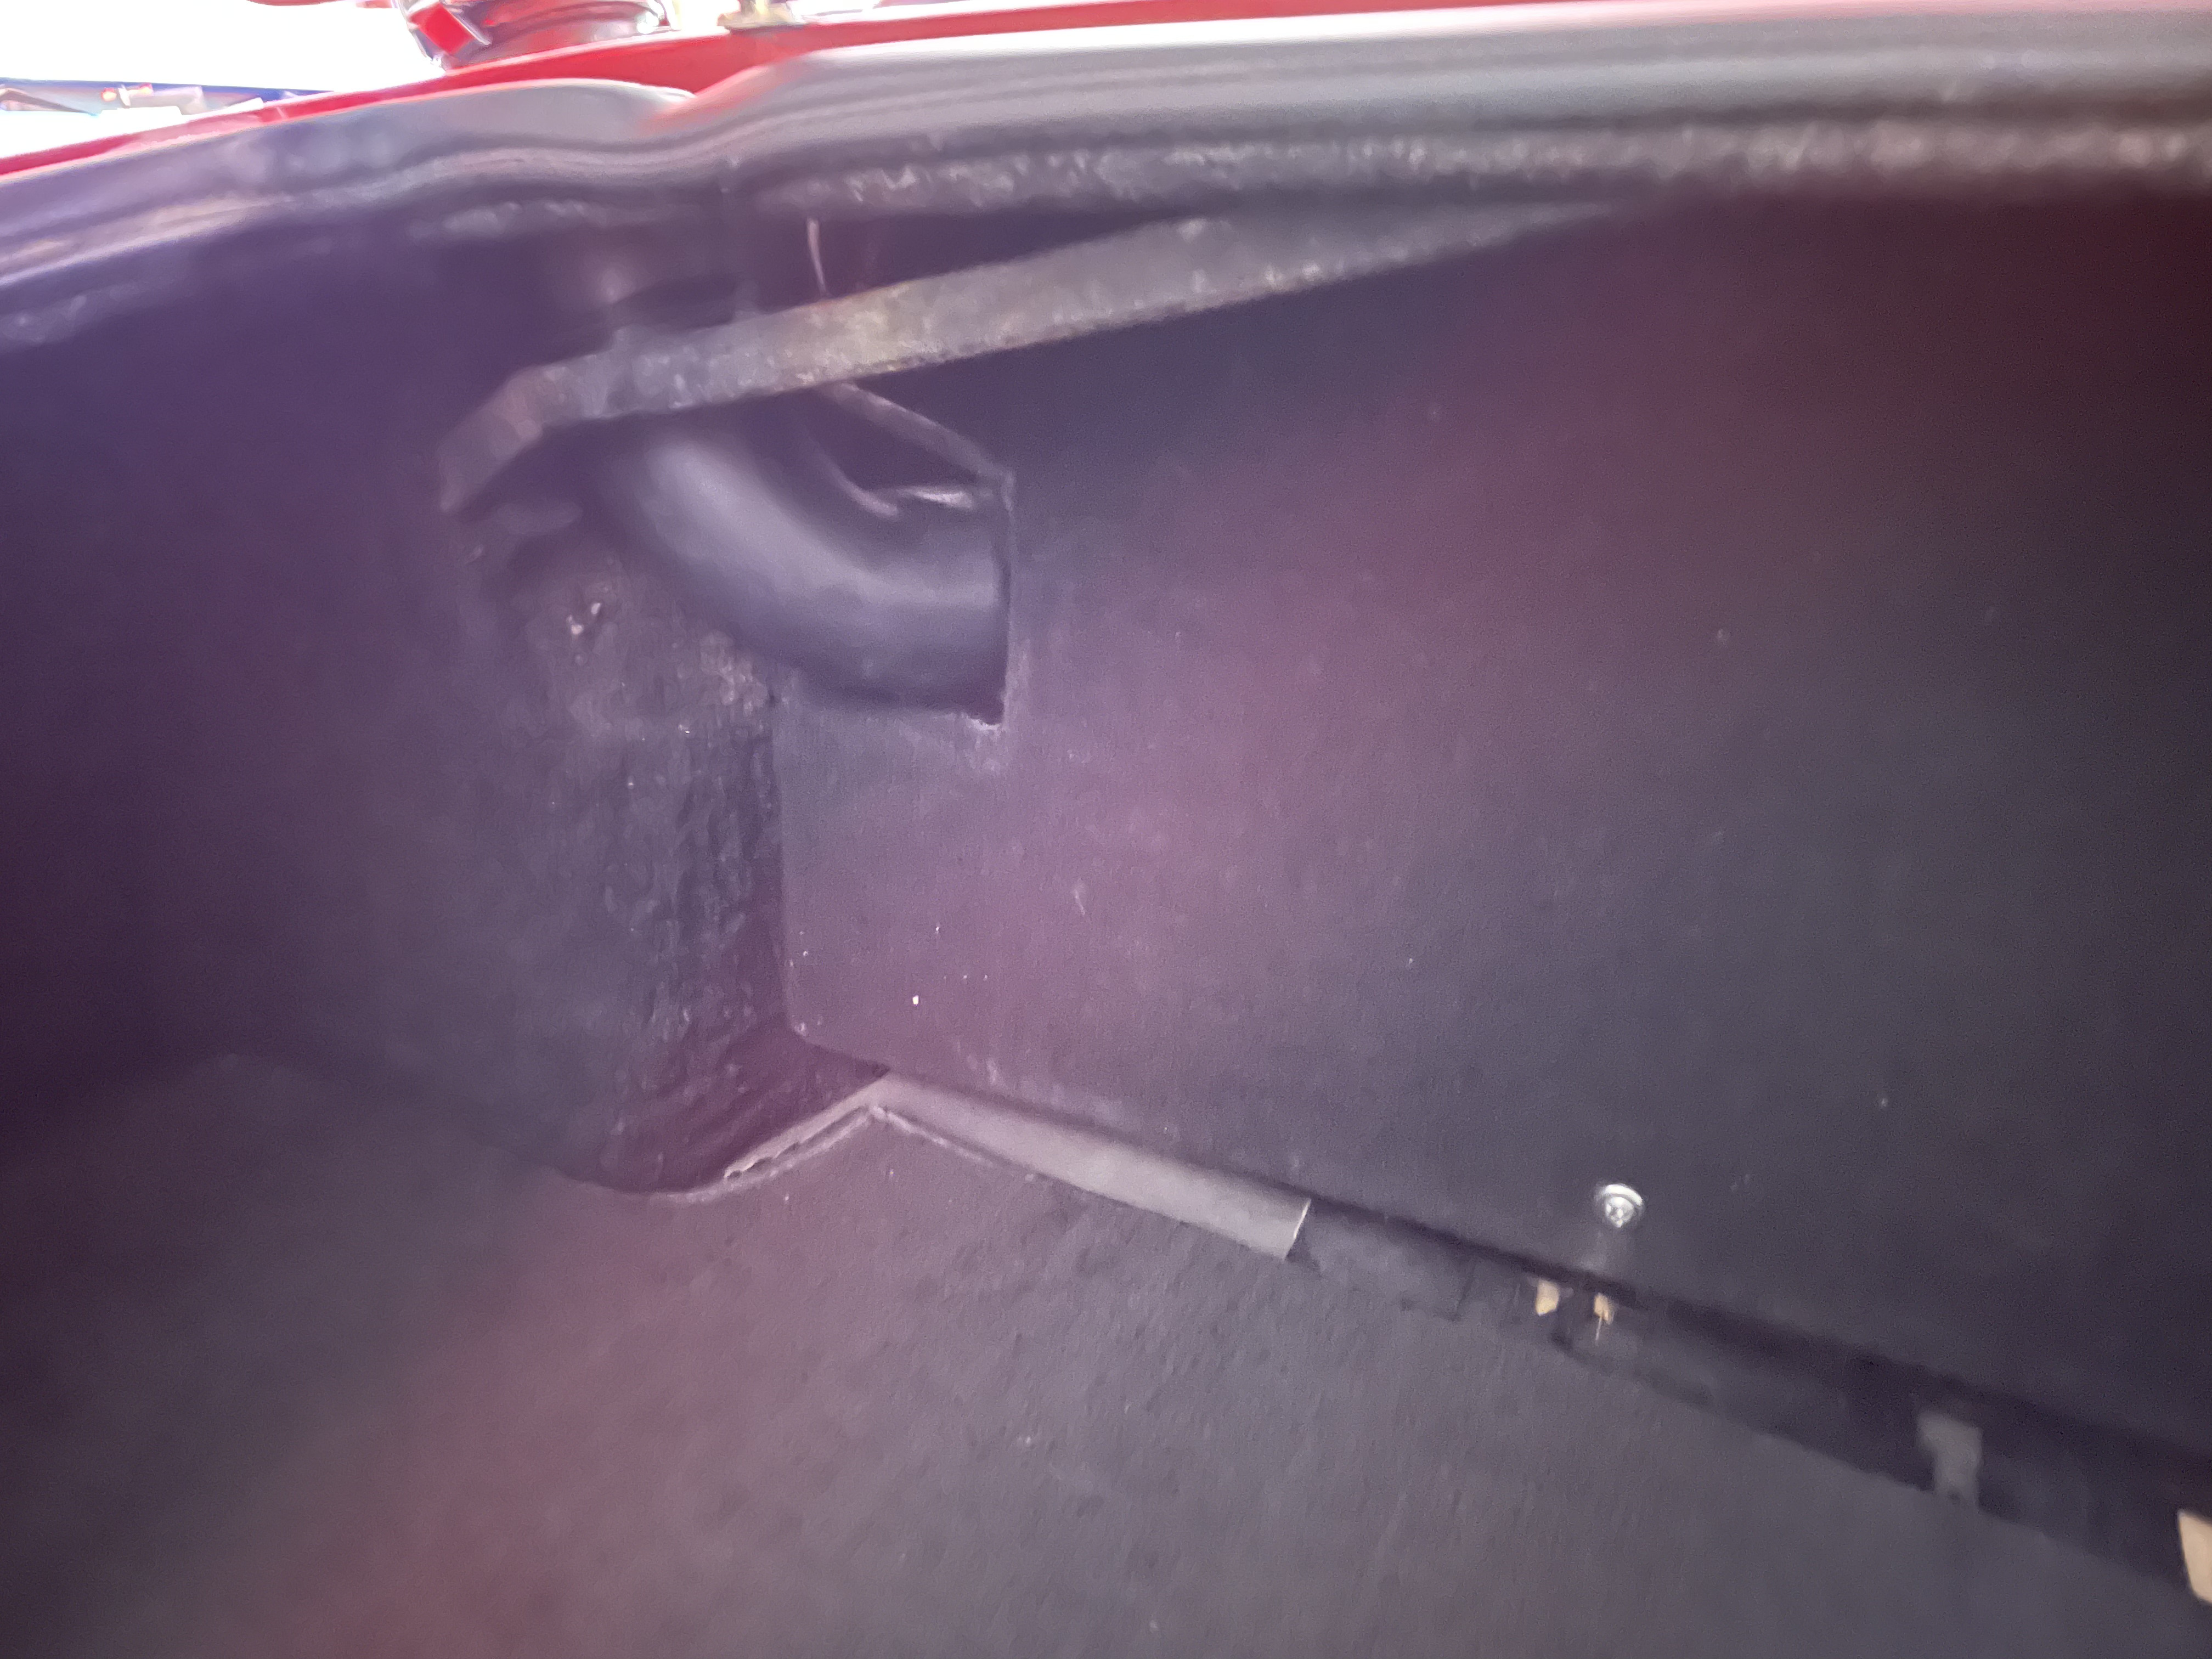
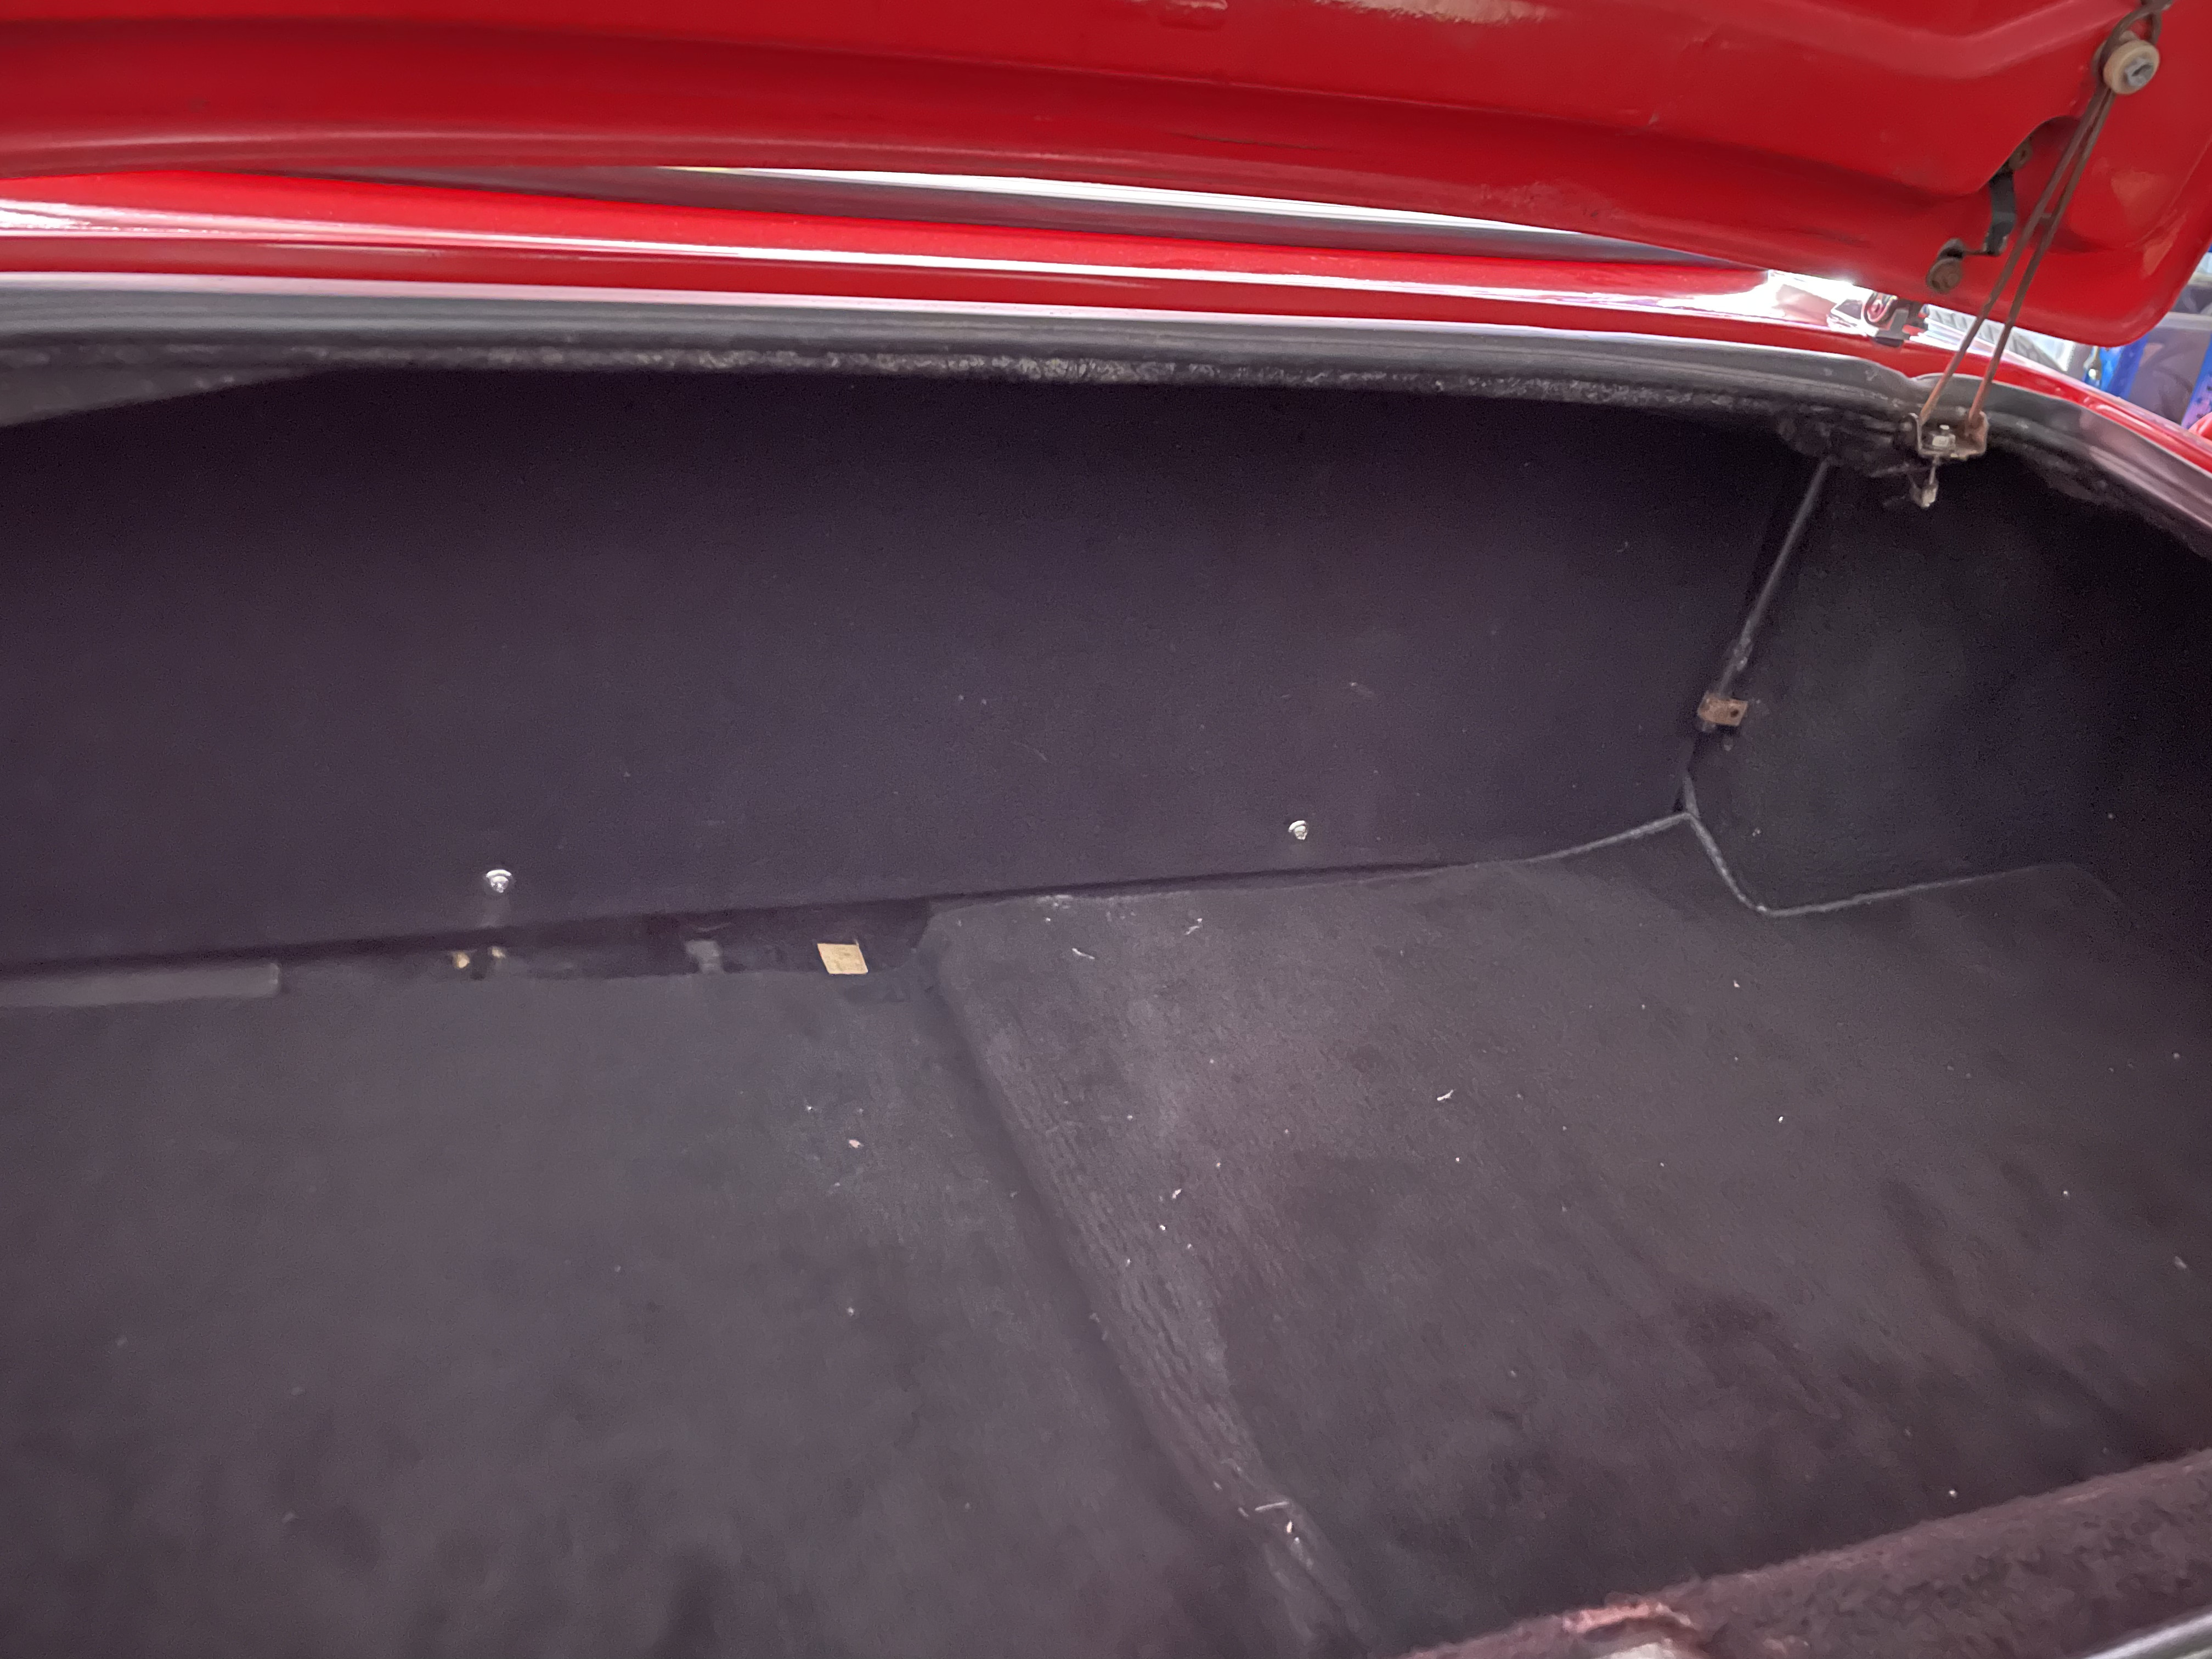
First job was to make up and fit a new boot rear panel - there wasn’t one when I bought the car so the boot looked untidy. Easy enough job to do (see the separate post) and here’s a couple of shots of the finished article in place:
Next job is to modify a Jag jack I bought on eBay to fit the Plus 2 - original Plus 2 jacks are hens teeth but there are plenty of old jag jacks on eBay for 1/10th of the price of a Lotus one. I just need to make up an adaptor to fit in to the Plus 2’s sill hole and onto the top plate of the jack. I’ll post that up when I’ve done it, just waiting for some 40mm diameter steel stock to turn one up on my lathe.
Having sold my long term retro project it’s going to be nice to drive the plus 2 and just have a bit of fettling to improve it. Off to a small local car meet on Sunday morning🚗
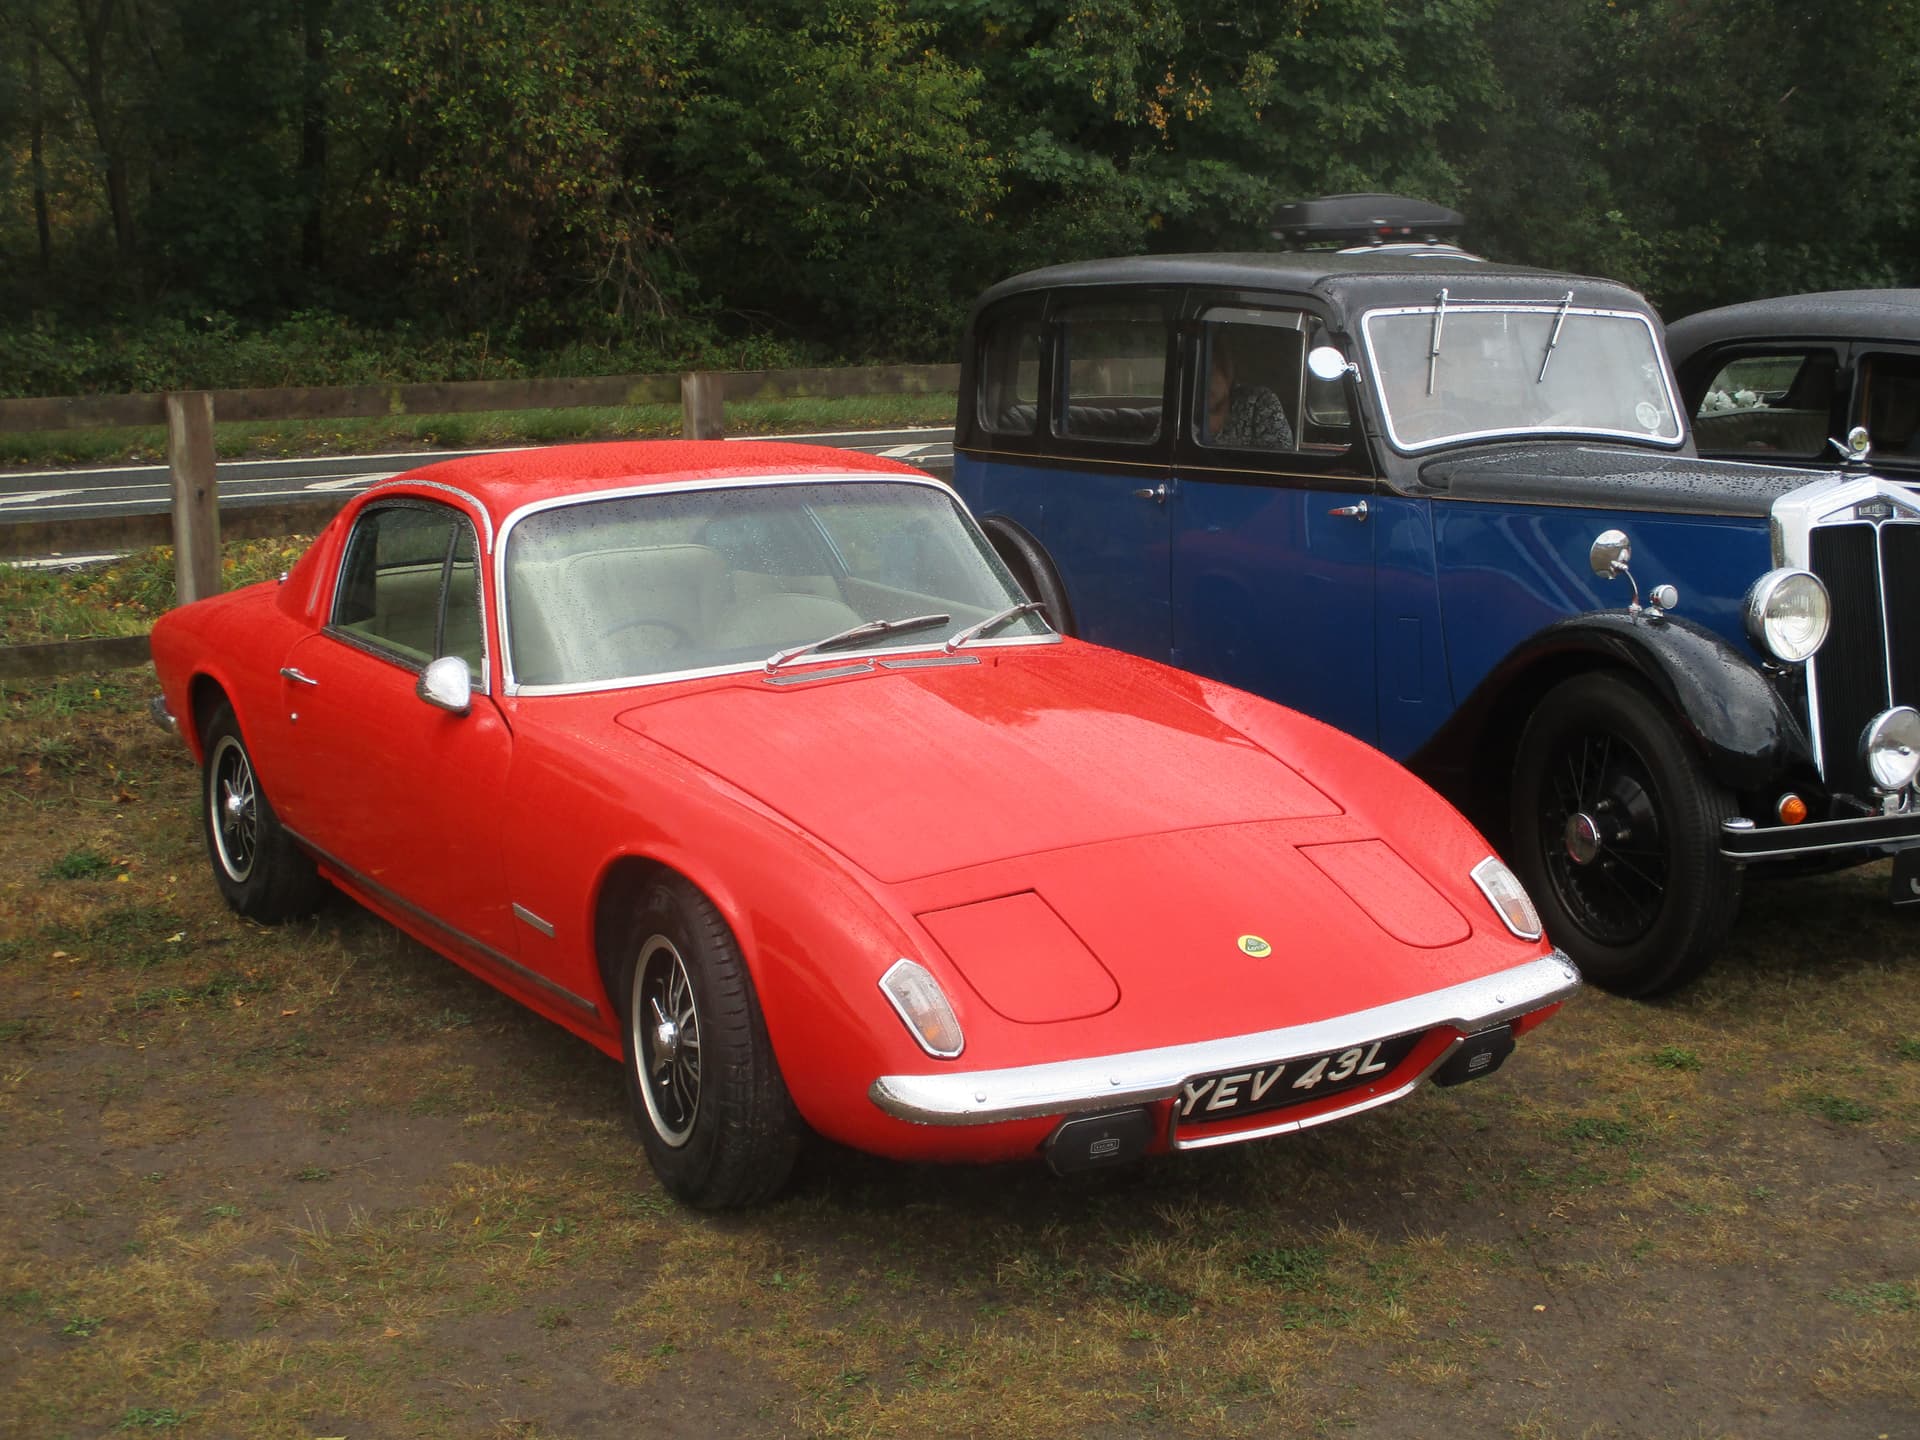
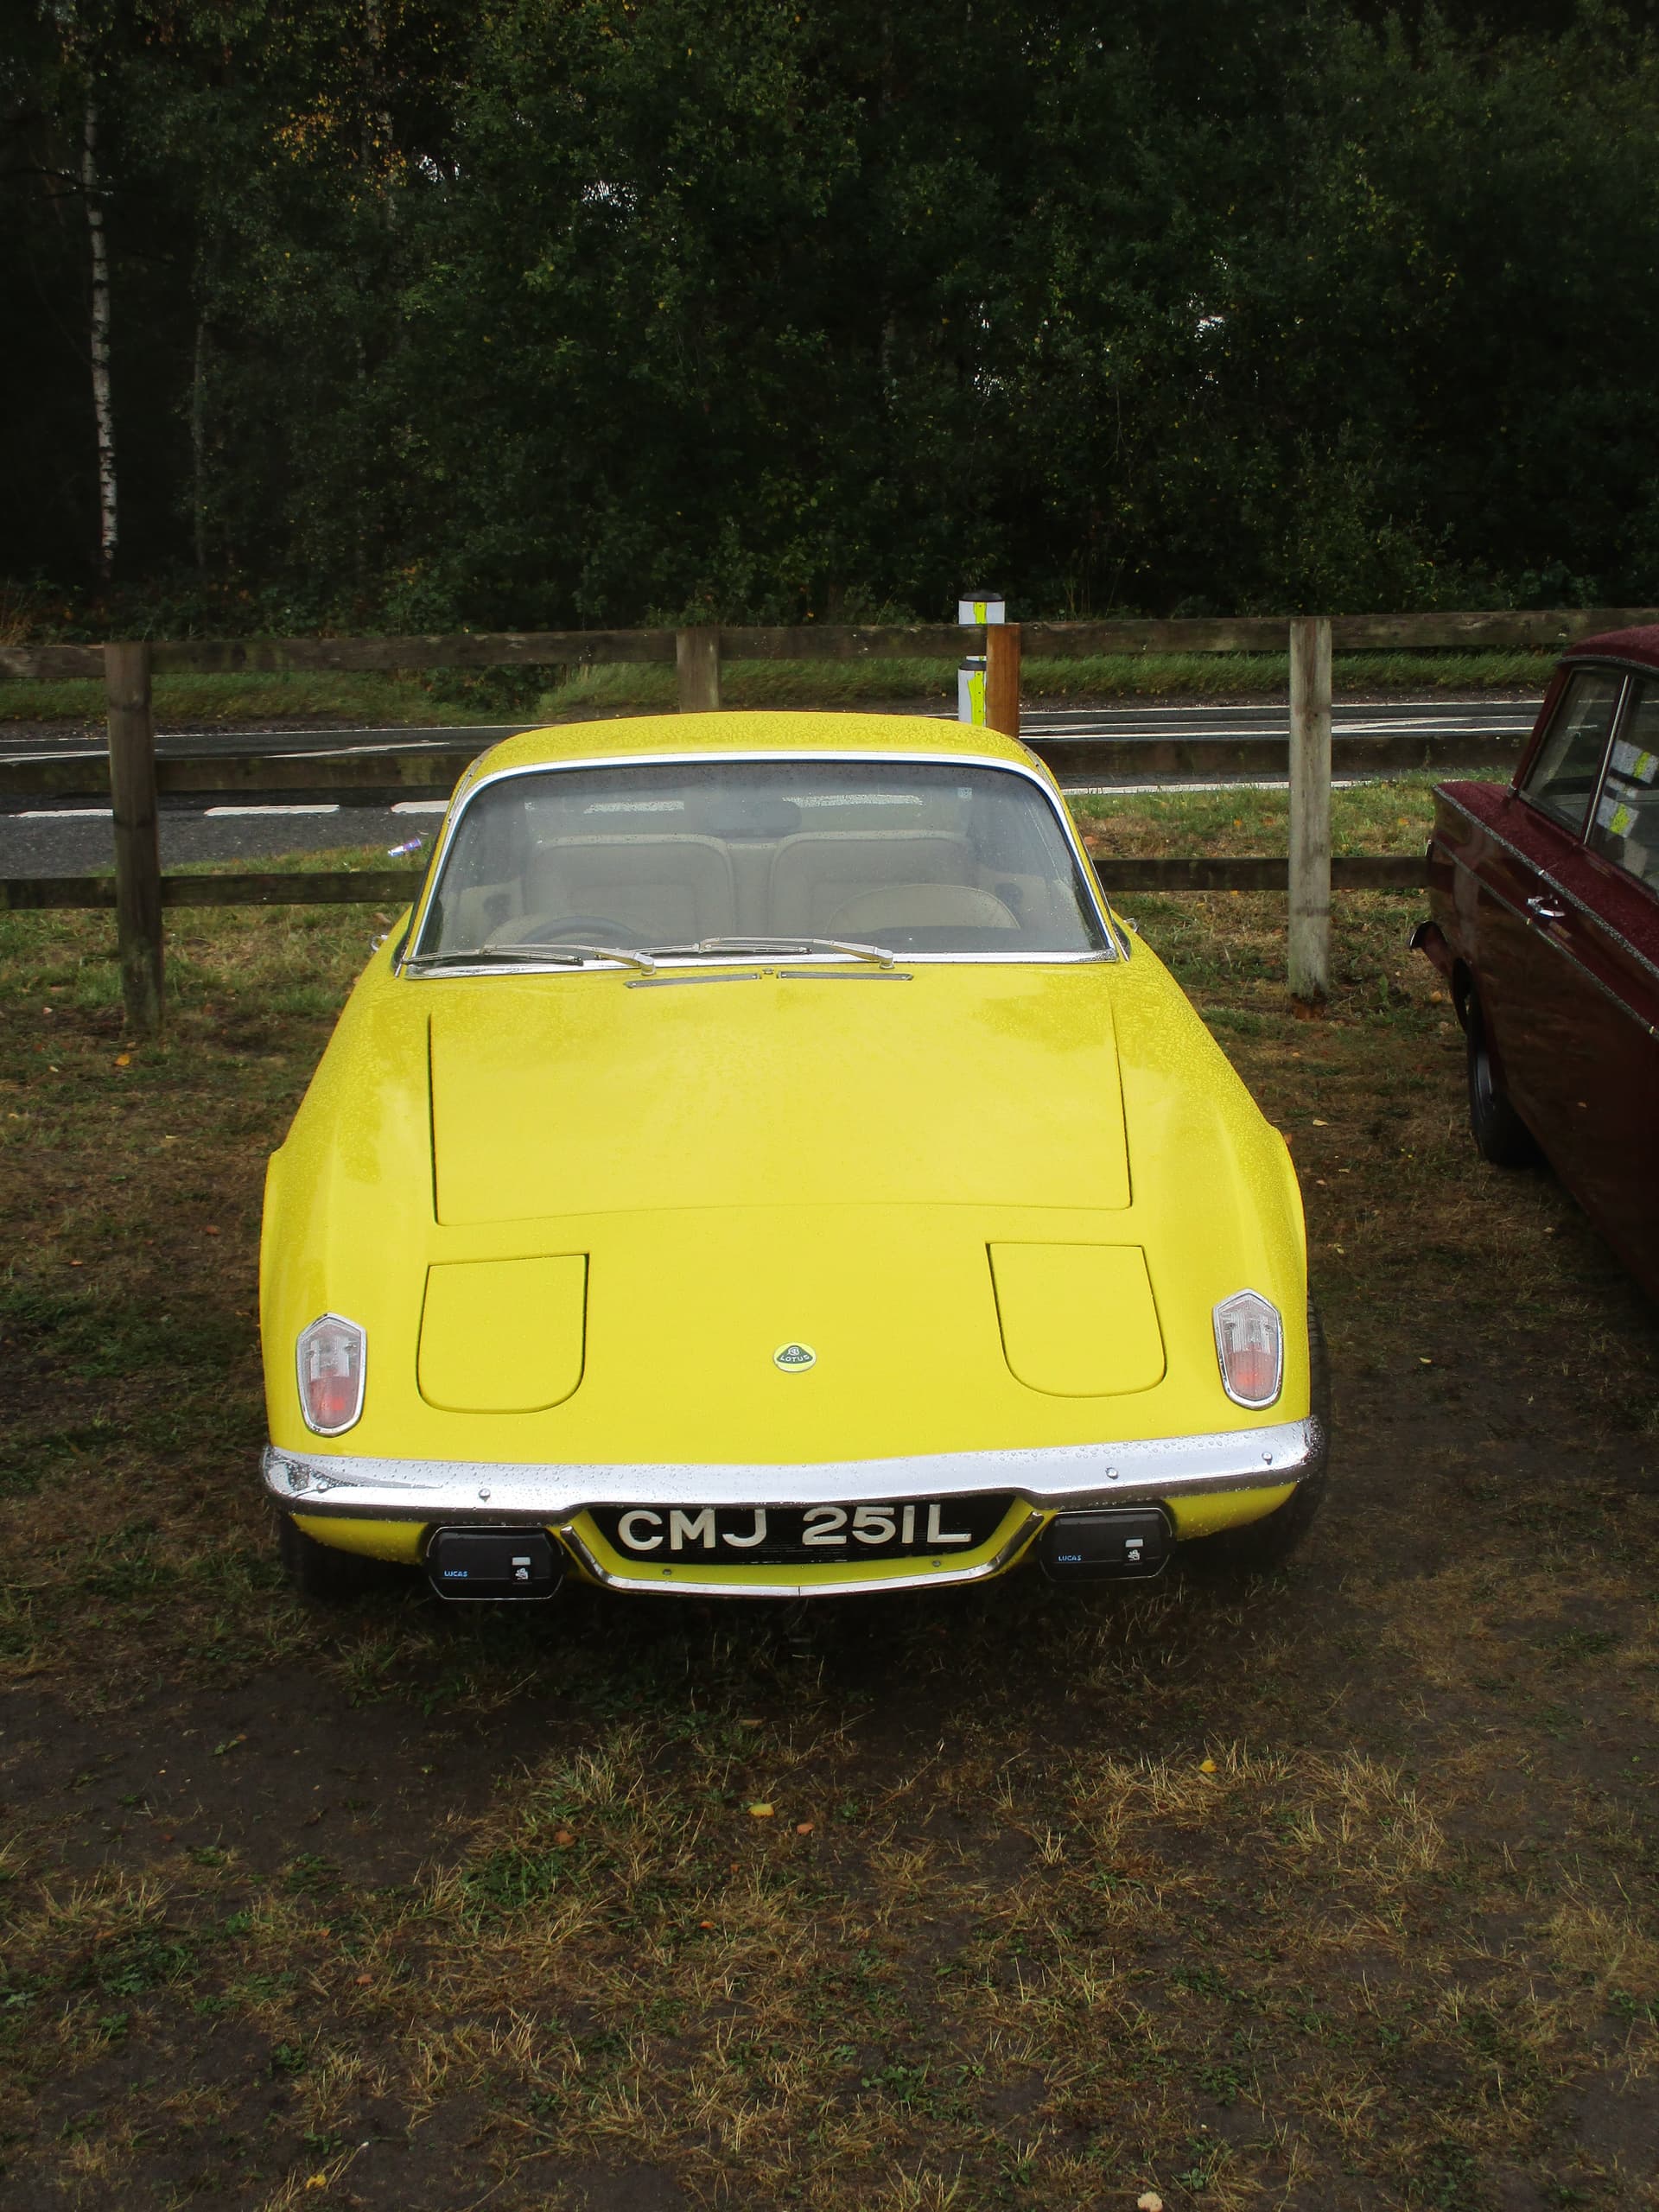
Made it to the Blackbushe Airport meet this morning - and got back home so its first real run. Only a few miles but ran faultlessly and even got rained on! Met up with an another local Plus 2 owner, Paul? who had a lovely yellow example of the breed.
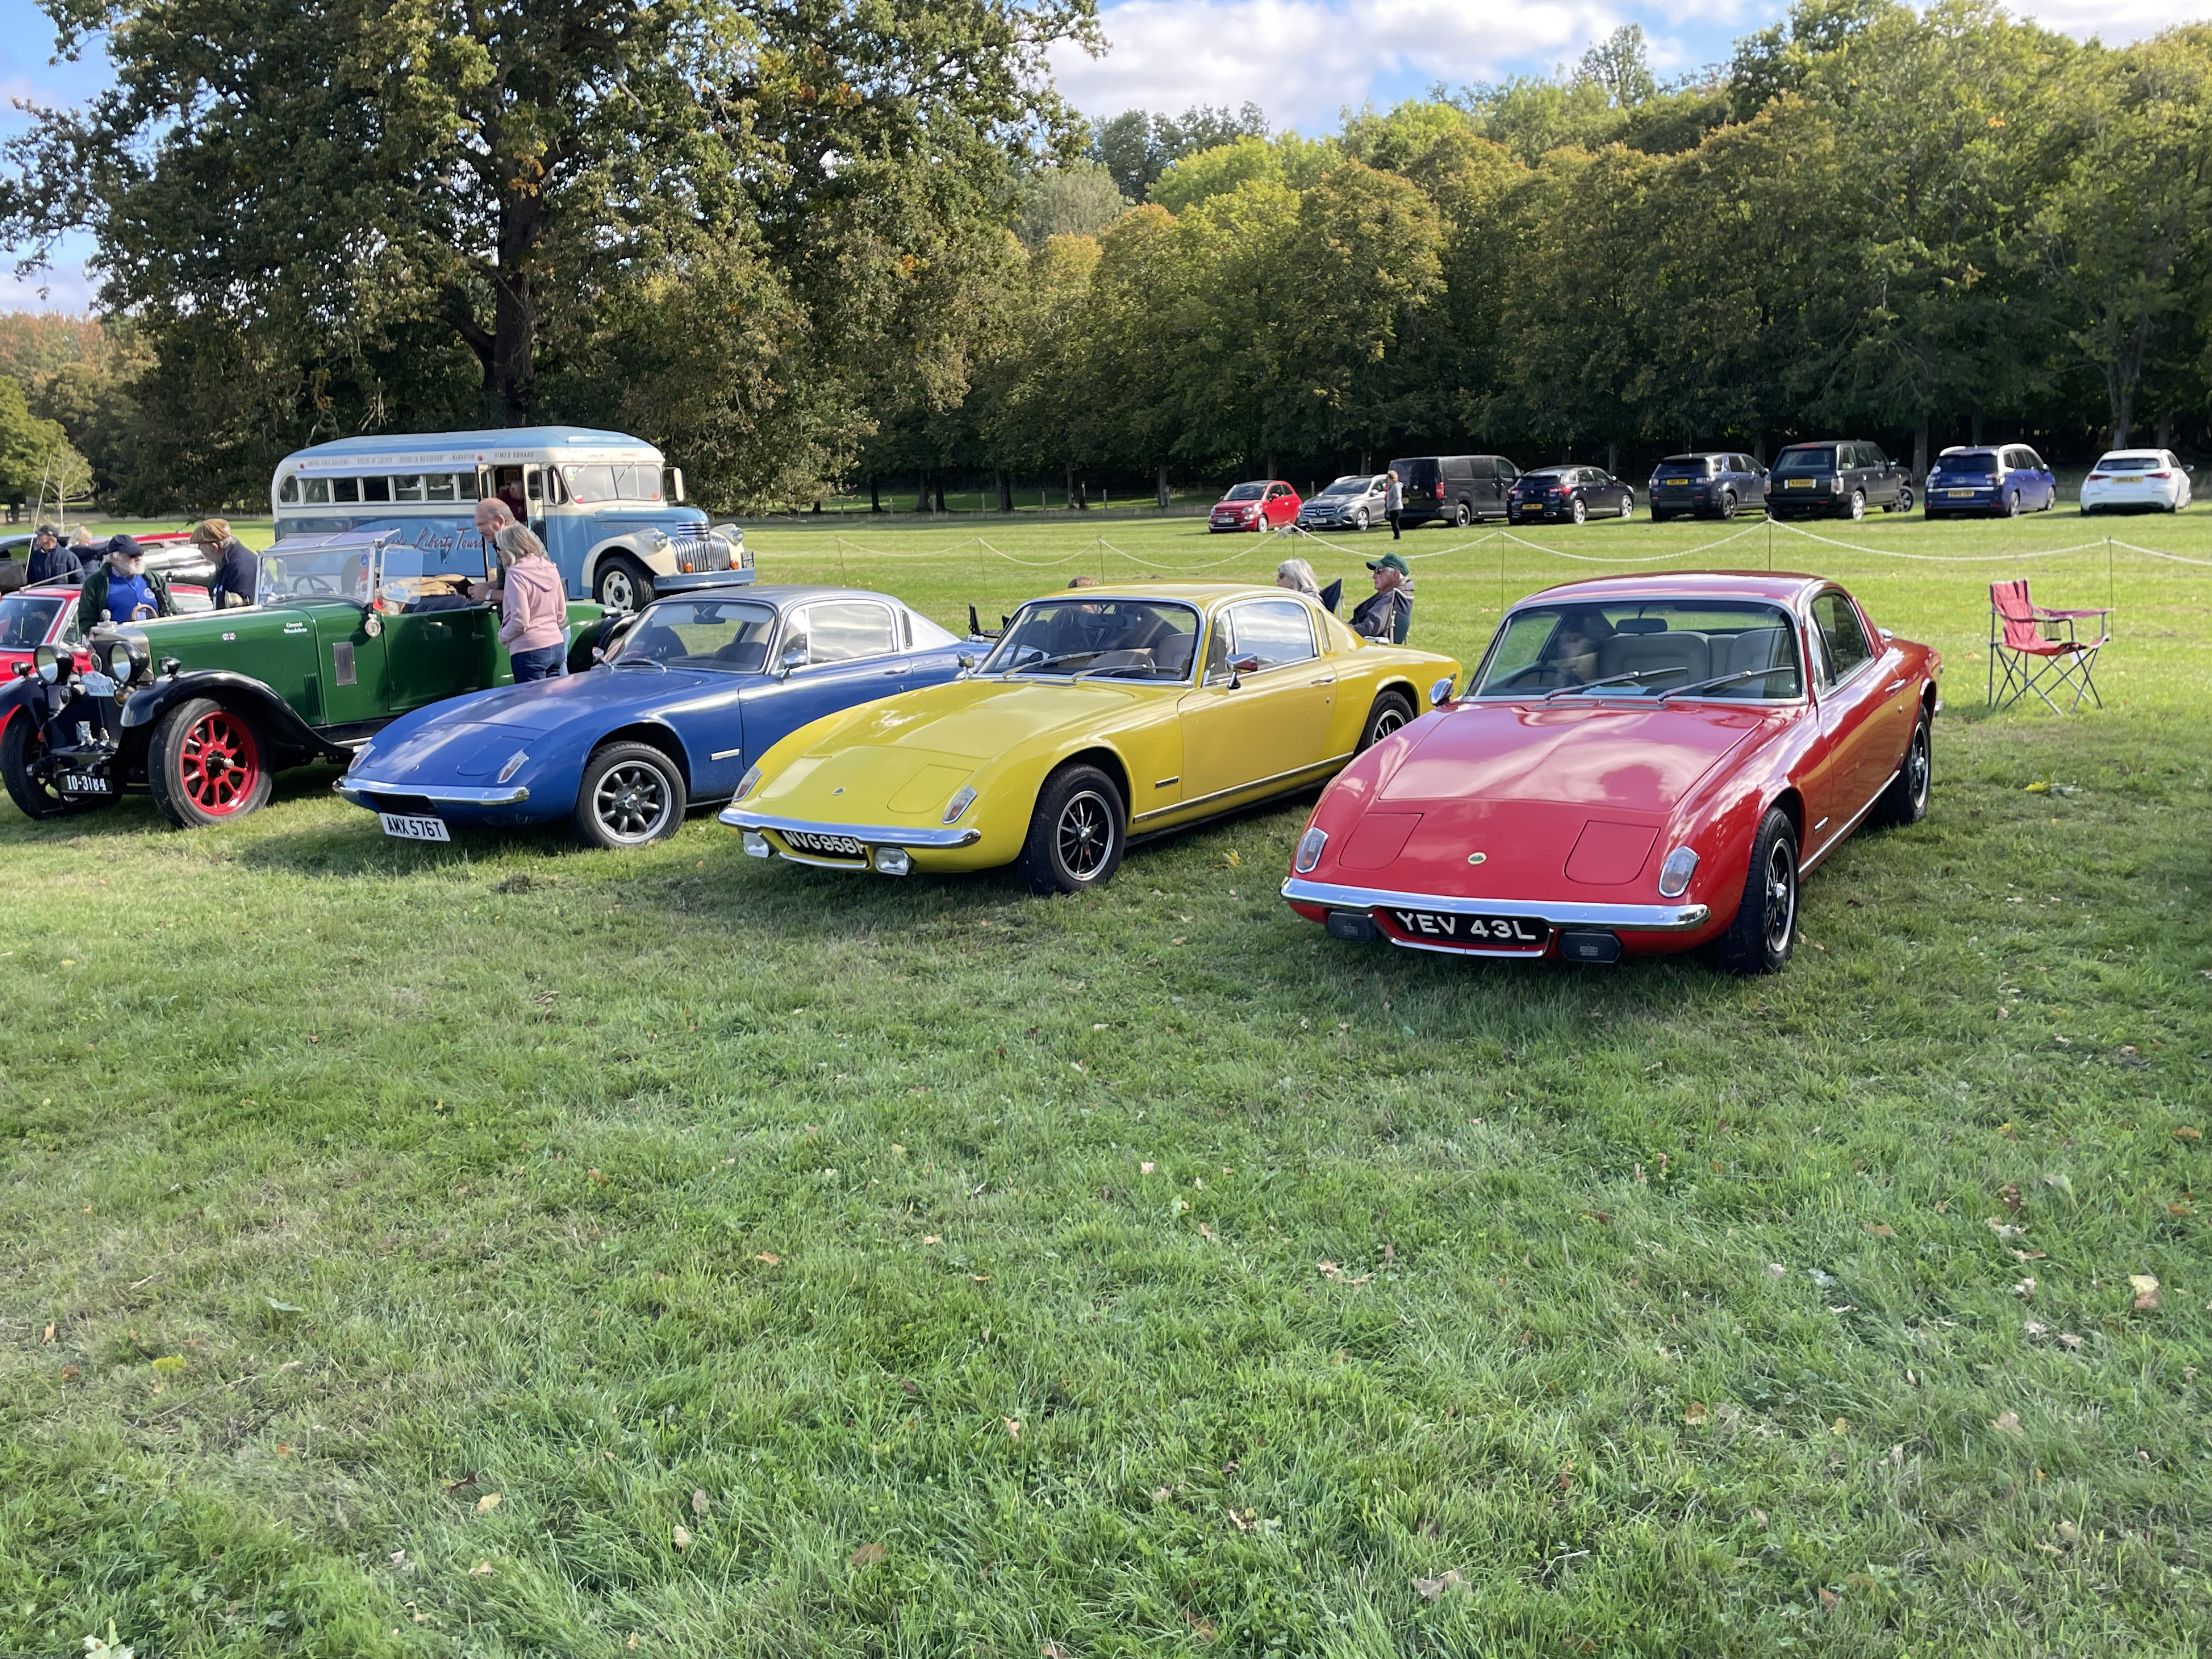
So I’m starting to bond with YEV - went to the West Green House car show on Sunday. I went in convoy with a couple of friends - Dave (who owns a nice pistachio over white Sprint but took his Alfa 1750 and Debbie with her immaculate Alvis TF21 Drophead. We had just parked up, when a yellow Plus 2 parks up next to mine, and then a Blue one parks next to the yellow one a few minutes later! So there was a row of primary coloured Plus 2s to amuse the public. Lovely day, met several nice owners with interesting cars and YEV ran fine - it got me there and back without any problems so that’s a result and gives me some faith in her!
Thanks Mike I’m pretty happy with her so far. She’s got spider cv and rotoflex driveshafts which I’m tempted to change for sue millers cv units as I don’t trust rotoflexes. On the plus side they seem fine atm. And as an added bonus the ambient temperature gauge seems to be working, but the clock isn’t. Also the cigar lighter has been changed with a pull switch in its place which doesn’t seem to do anything so a bit of investigation needed. When I get behind the dash I’ll replace it with a dual usb power supply and I’ll fit a flying usb lead as well. First big job will be to give the cooling system a good flush. ATM it has a fair amount of iron sludge in it and it doesn’t look like it has any antifreeze in it so a job for next week.
FYI-I also went with the Elantrikbits CV joint replacement. Easy installation, well constructed, excellent service, good price including shipment. Good luck with your efforts!
Also treat the ambient temperature gauge sensing probe cable very carefully. It is very fragile and has an encapsulated gas inside (ether I believe). It will fracture easily with bending or any harsh treatment. Very hard to find a replacement. Don’t ask me how I know this …lol
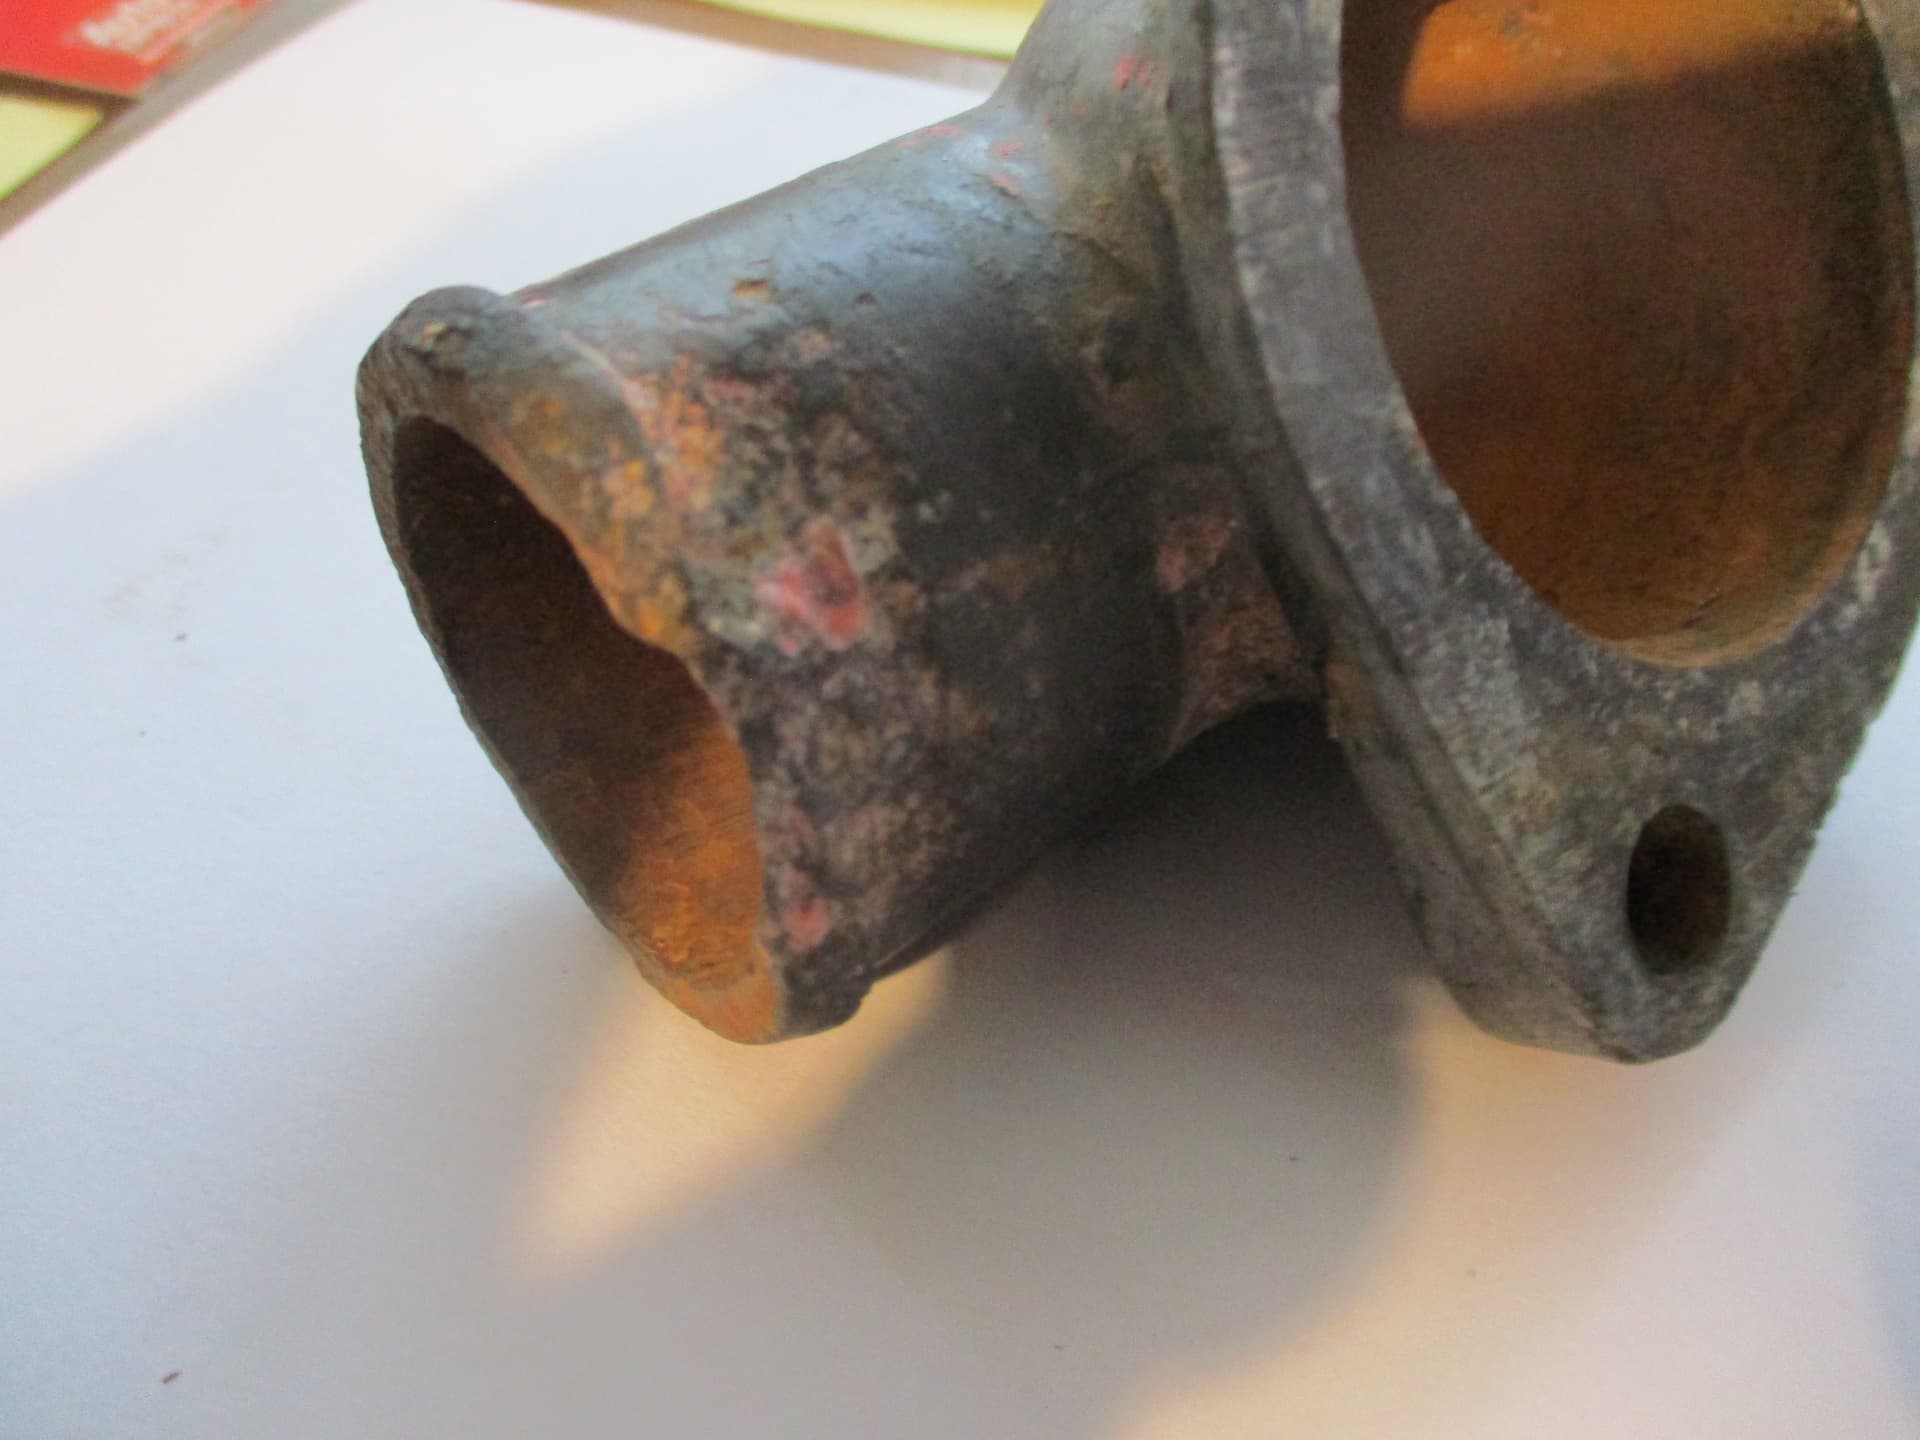
There were a few tell-tale signs that something was up - mainly a couple of small pink antifreeze crystals around the bottom of the thermostat housing. I was a bit surprised at how much corrosion there was - the bottom of the hose flange was gone and the rest of the metal quite thin, with a lot of pitting on both sides of the bottom of the hose fitting.
When I drained the system it was hard to see any antifreeze as there was so much iron rust sludge in the coolant. So I’ve given the system a jolly good flushing; no more pink antifreeze and the iron sludge is banished. I’ve refilled with blue antifreeze and fitted an 82 degree thermostat - with the 74 degree one it took ages to get up to temperature. So hopefully that should be sorted but it may be worth checking the underside of your thermostat housings!
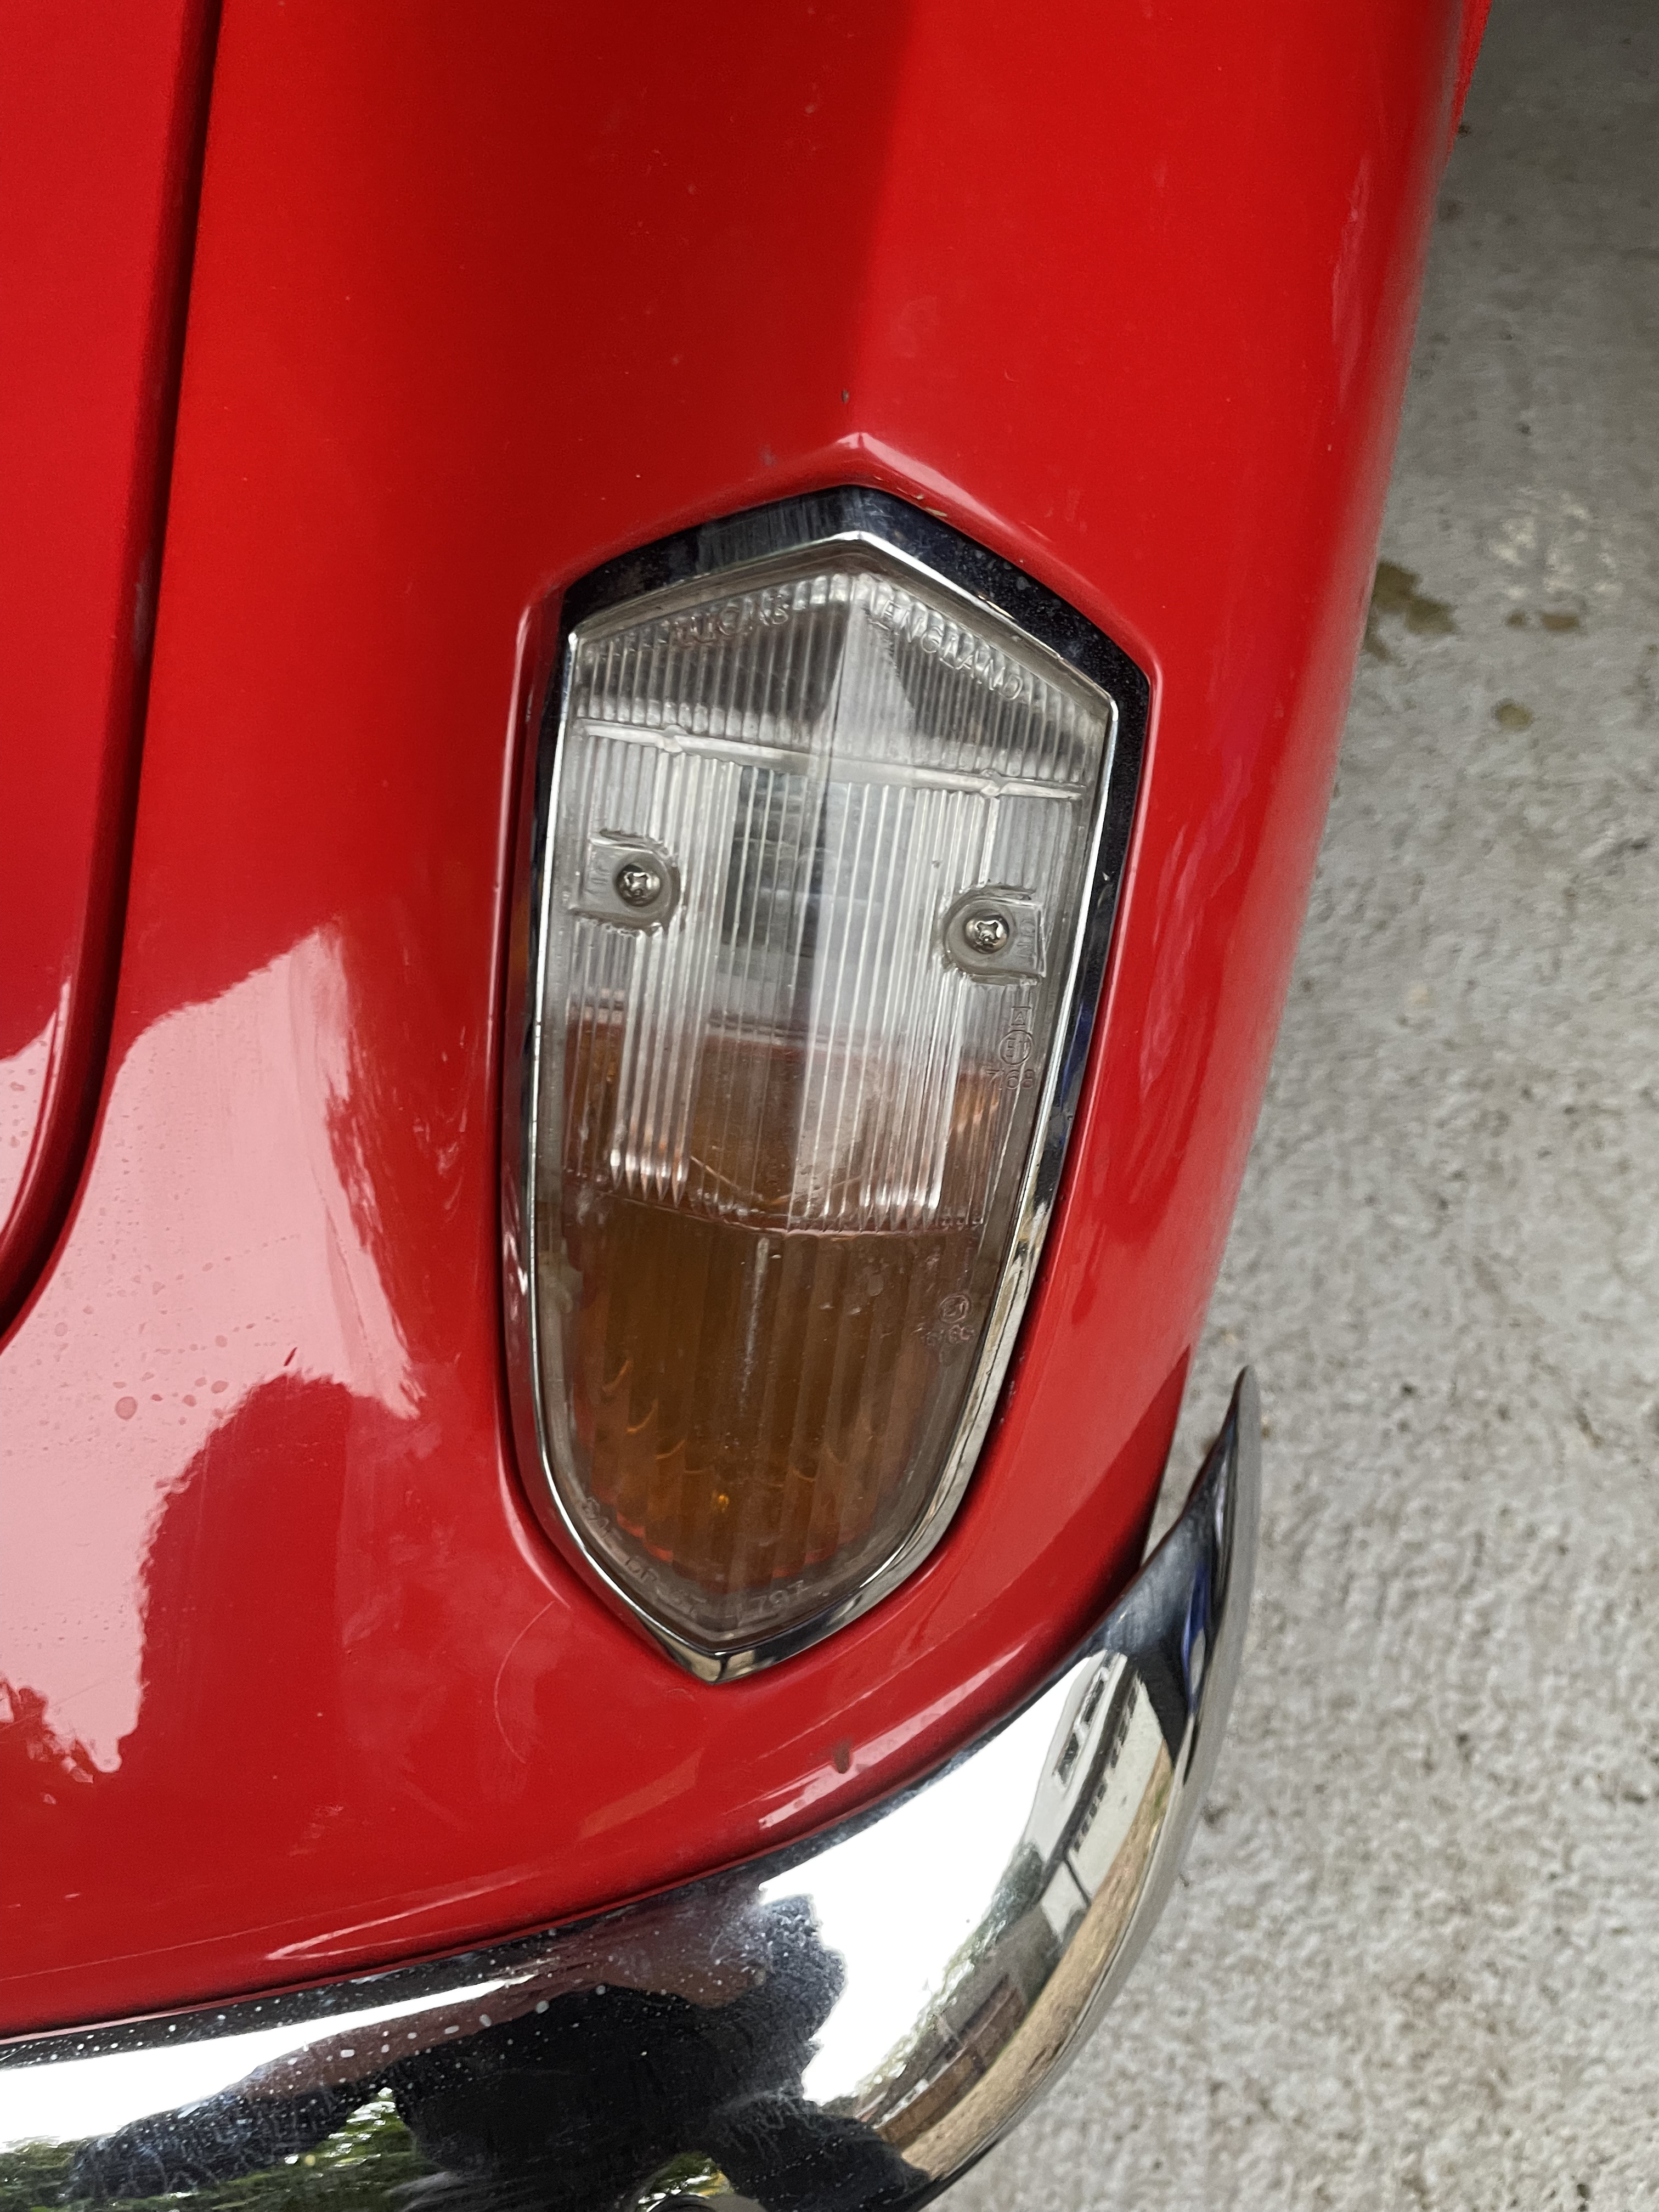
As an aside, I’ve painted and polished the scuttle and ‘c’ piller grilles, and refitted them with new stainless cooutrsunk dome head self tappers. One screw tab was missing on one of the side ones so as I had loads I replaced them. Then I found there were no tabs for the scuttle grille screws - they were just screwed loosely into the holes in the glass fibre so another four tabs applied. Finally I replaced one front light lens which was crazed; and found that neither front light had screw tabs, and one was somewhat loose - so another four screw tabs applied and I’ve now got front lights that don’t move around.
All in all a nice little bit of fettling - next jobs will be to wire up the high level brake light, get the new boot floor panels to fit, wire in a battery isolator and fit gaskets to the door handles and boot hinges which I’ve noticed were missing.
….and after fitting the new thermostat casing and the 82 degree ‘stat, adding new blue antifreeze and checking everything over after a run on idle in the garage I took her out for a run today to properly warm her up and test the cooling system. The temp gauge sat on the 85 degree mark, pointing straight down and the fan kicked in when I stopped at my mate Dave’s for a cuppa and to deliver a set of stainless screws for his Sprint’s rear lights. So happy days! Forgot to say - I’d bought a pack of 1 inch long 6-32 UNC Stainless Steel Pan Phillips Head Machine screws from Spalding Fasteners last month to replace the tatty screws in my front and rear lights. I remember it took an age to find out what size these light fitting screws were (I’d used them before on my previous Plus 2s) so I thought I’d pop the size up here if anyone else has rusty screws in their lights….
Hi Matt, thanks for posting the screw size, I will order some from spalding.As a matter or course if I replace a screw or bolt I will replace with stainless steel, I am interested in what you come up with on the high vis rear light, been meaning to do one for years.
Out for a post Christmas run up to blackbushe airport today. When I flushed out the cooling system I’d noticed I had a 20lb rad cap and so gout a 7ld item from Sue and the car ran fine with it. What’s more the heater actually started to produce some heat on the way home which was a result. The coolant level in the expansion bottle was low when the car had cooled down but the rad was full so I suspect the system has burped out some air and sucked in some coolant……
So something to watch. And seasons greetings and a happy new year to all
Good news is put a flattened cardboard box under the car after my Blackbushe run and after a couple weeks there was no water or antifreeze leaks and just a few spots of oil. I’m happy with the minor oil leaks after owning several olde Brit bikes and it helps to preserve the chassis….. Although my 1970 Triumph T120R doesn’t leak oil thanks to a carful engine rebuild and a properly designed engine breather system.
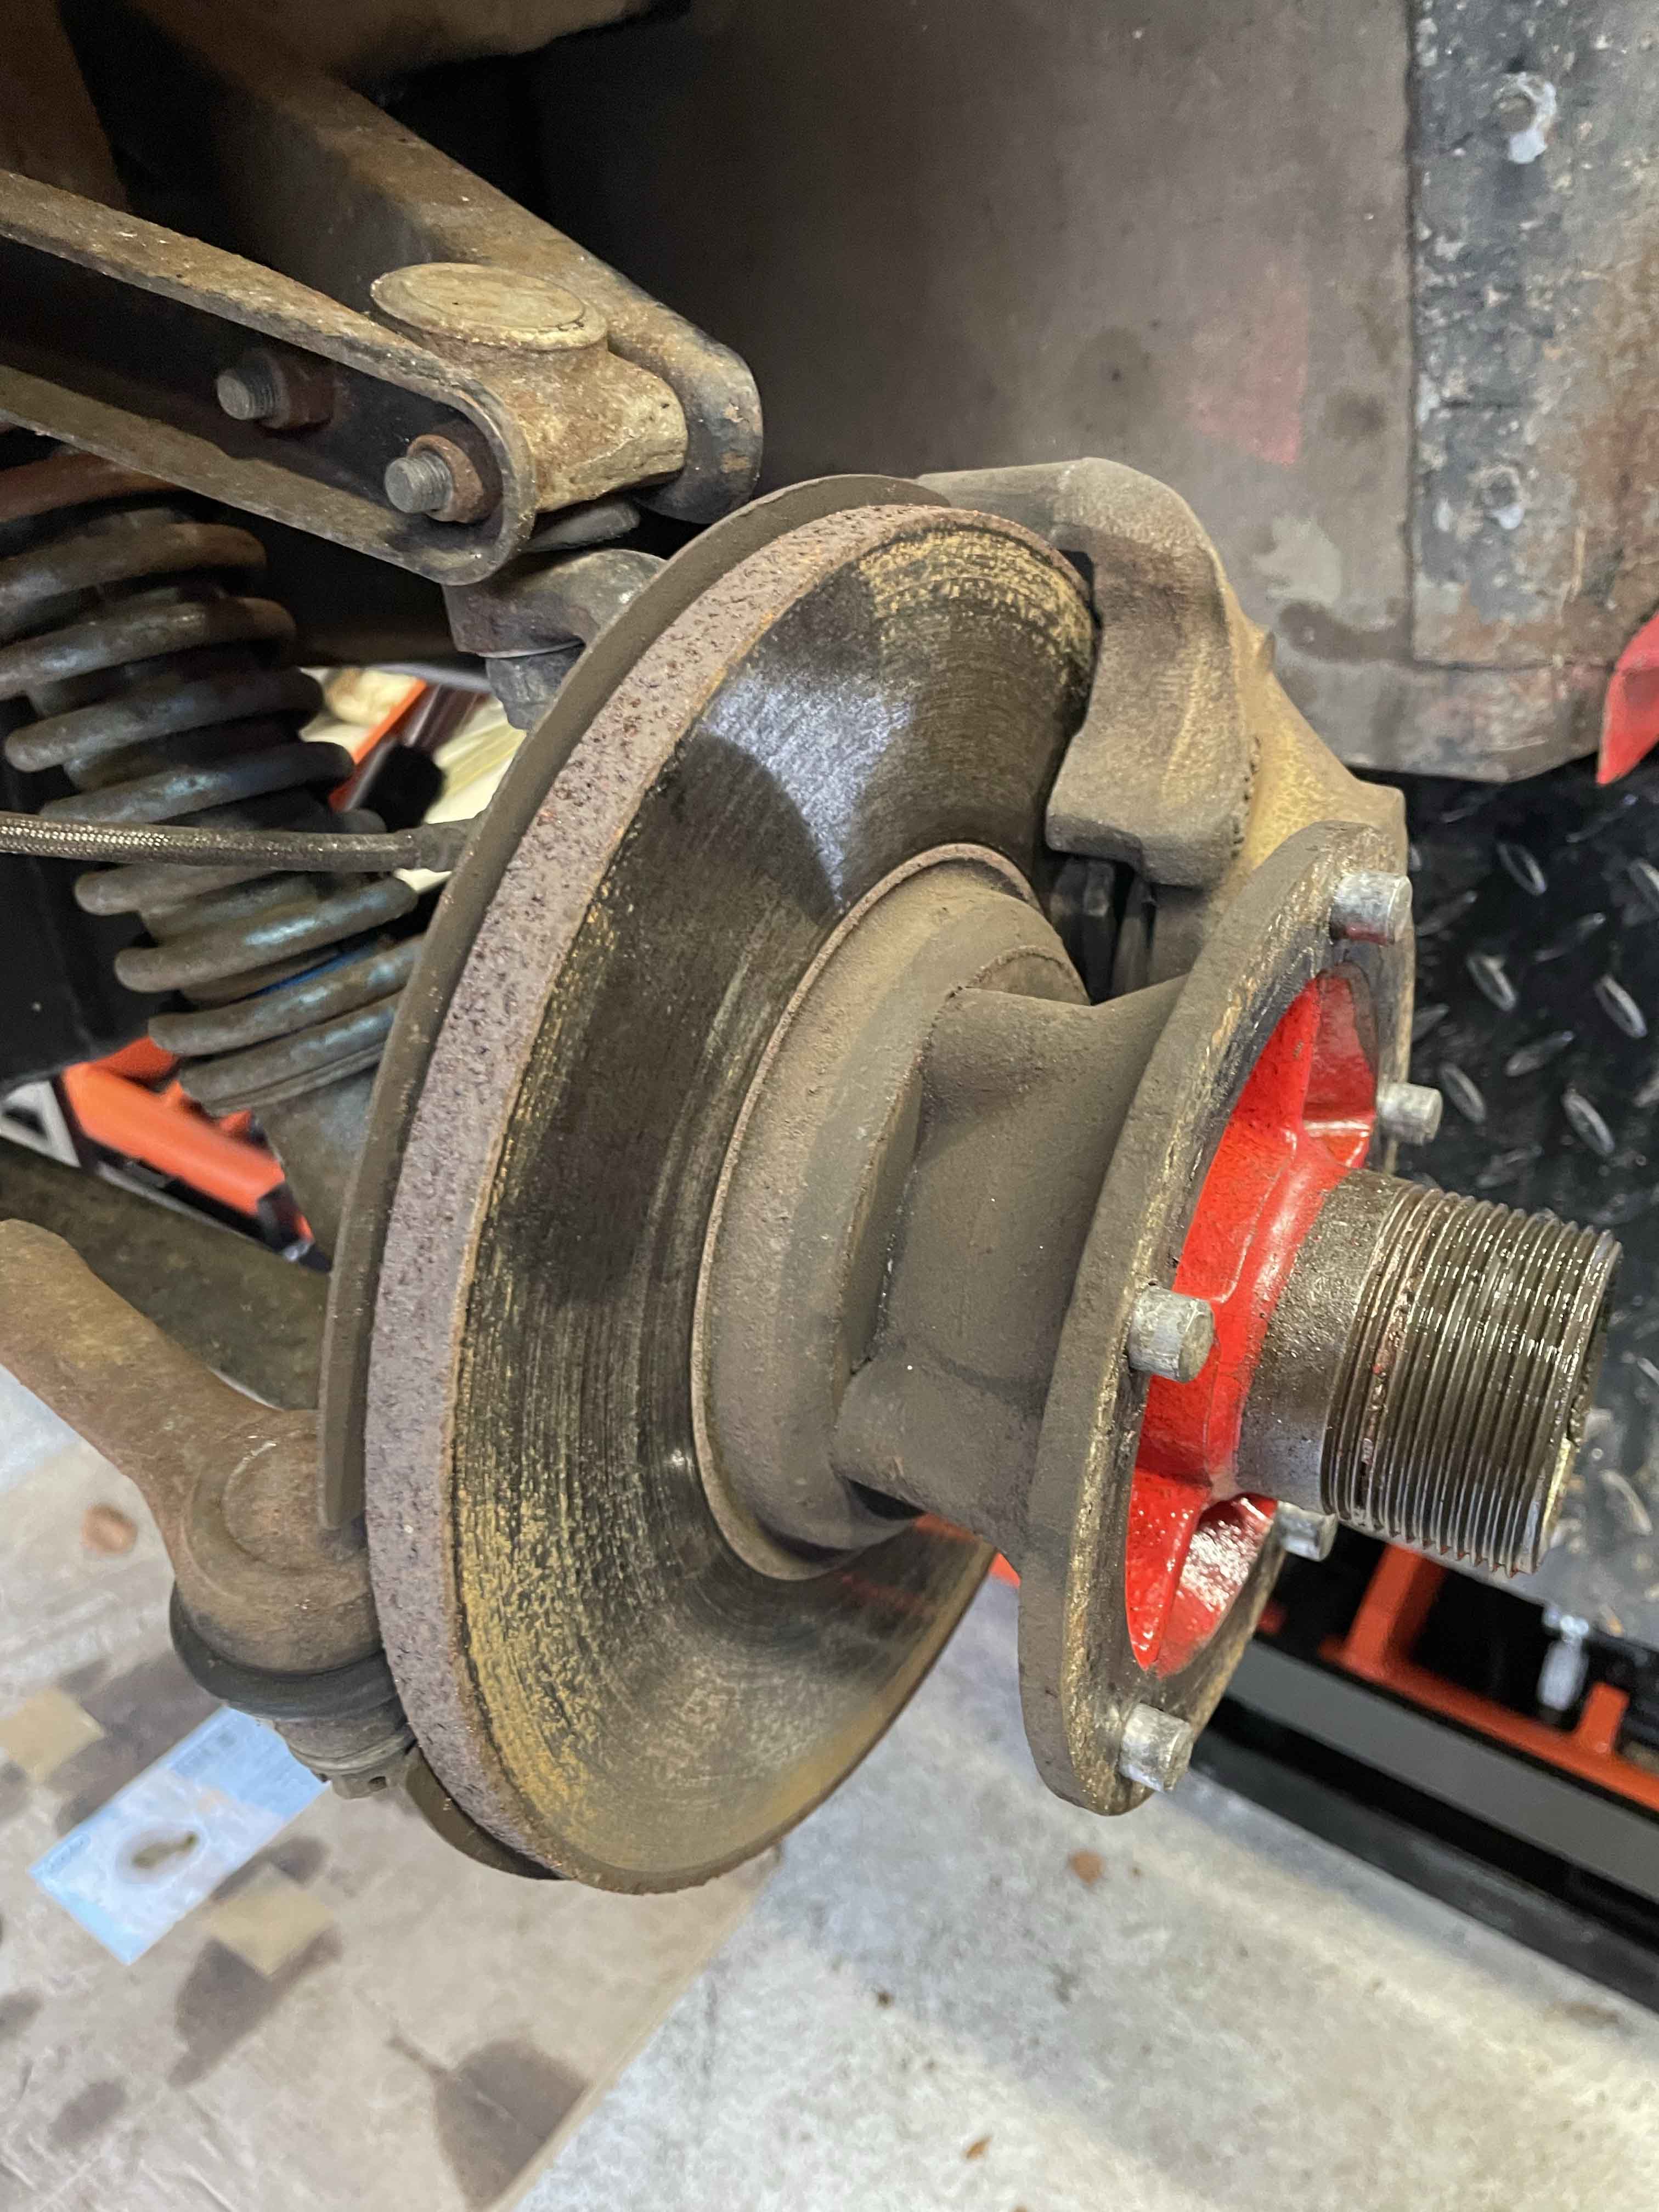
Got the plus 2 up on the new scissor lift to inspect the brakes and suspension. The rear end was surprisingly good, but somewhat grubby and in need of a good clean and the handbrake mechanism could do with a refresh although it does work but I suspect only on one side. Up the front things weren’t too shabby either, but all needing a good clean. Here’s the front passenger side:
So a swift order into Sue Miller for a set of new pistons and seals - the hole looks fairly old so I suspect the pistons will have some rusty stuff on them; and if I’m replacing the rubber I may as well do the whole thing. Also ordered up Sue’s adjustable handbrake rods and new adjuster nuts, washer things that go under the nuts and the eye bolts. Looking forwards to a spot of brake refurbing…