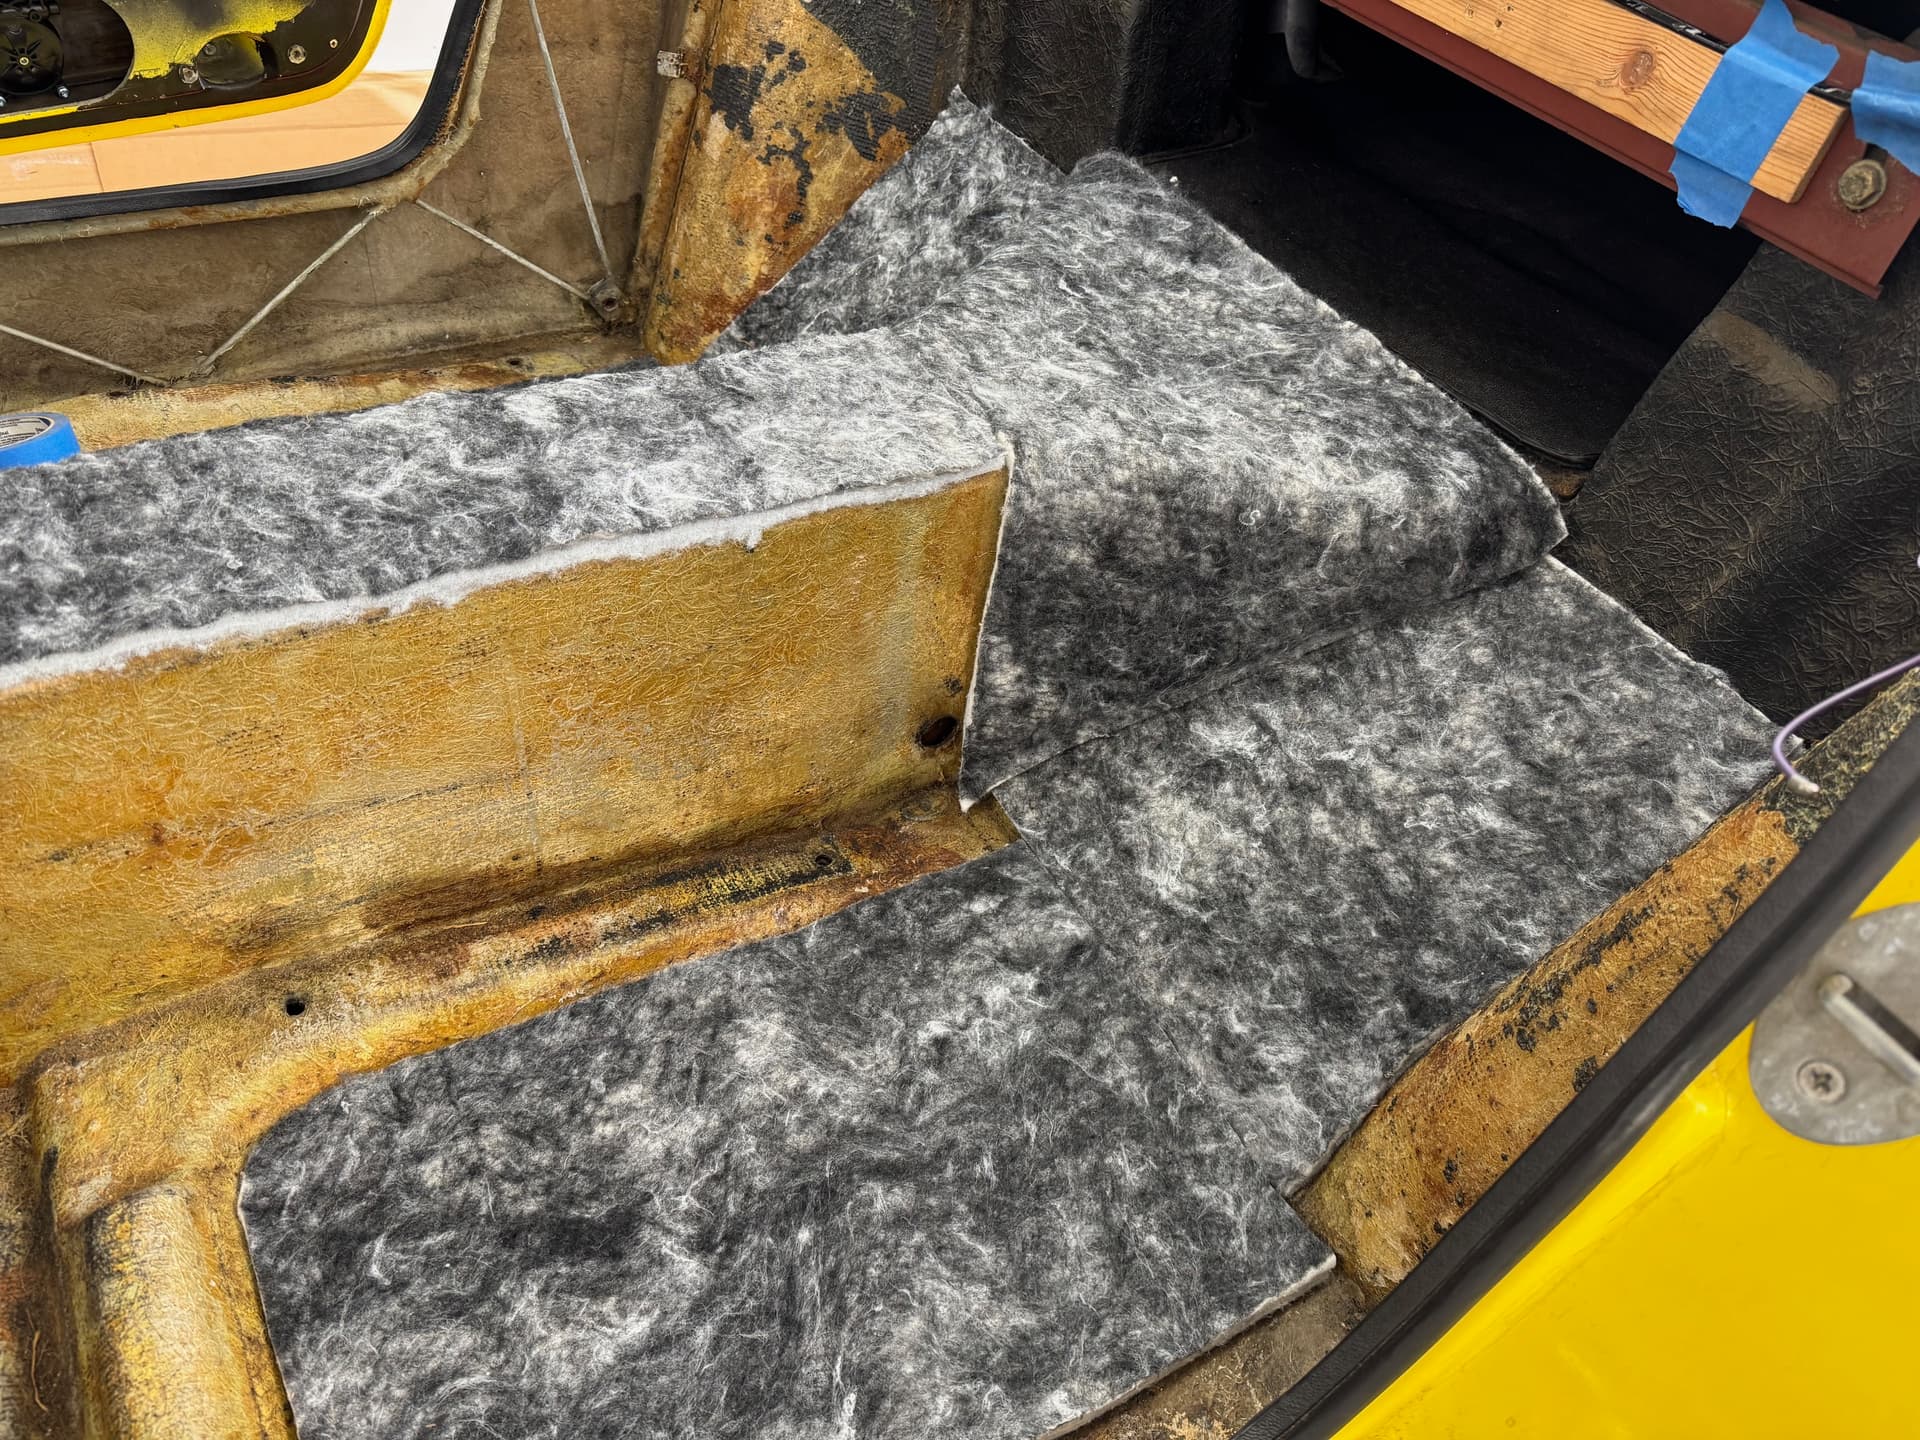
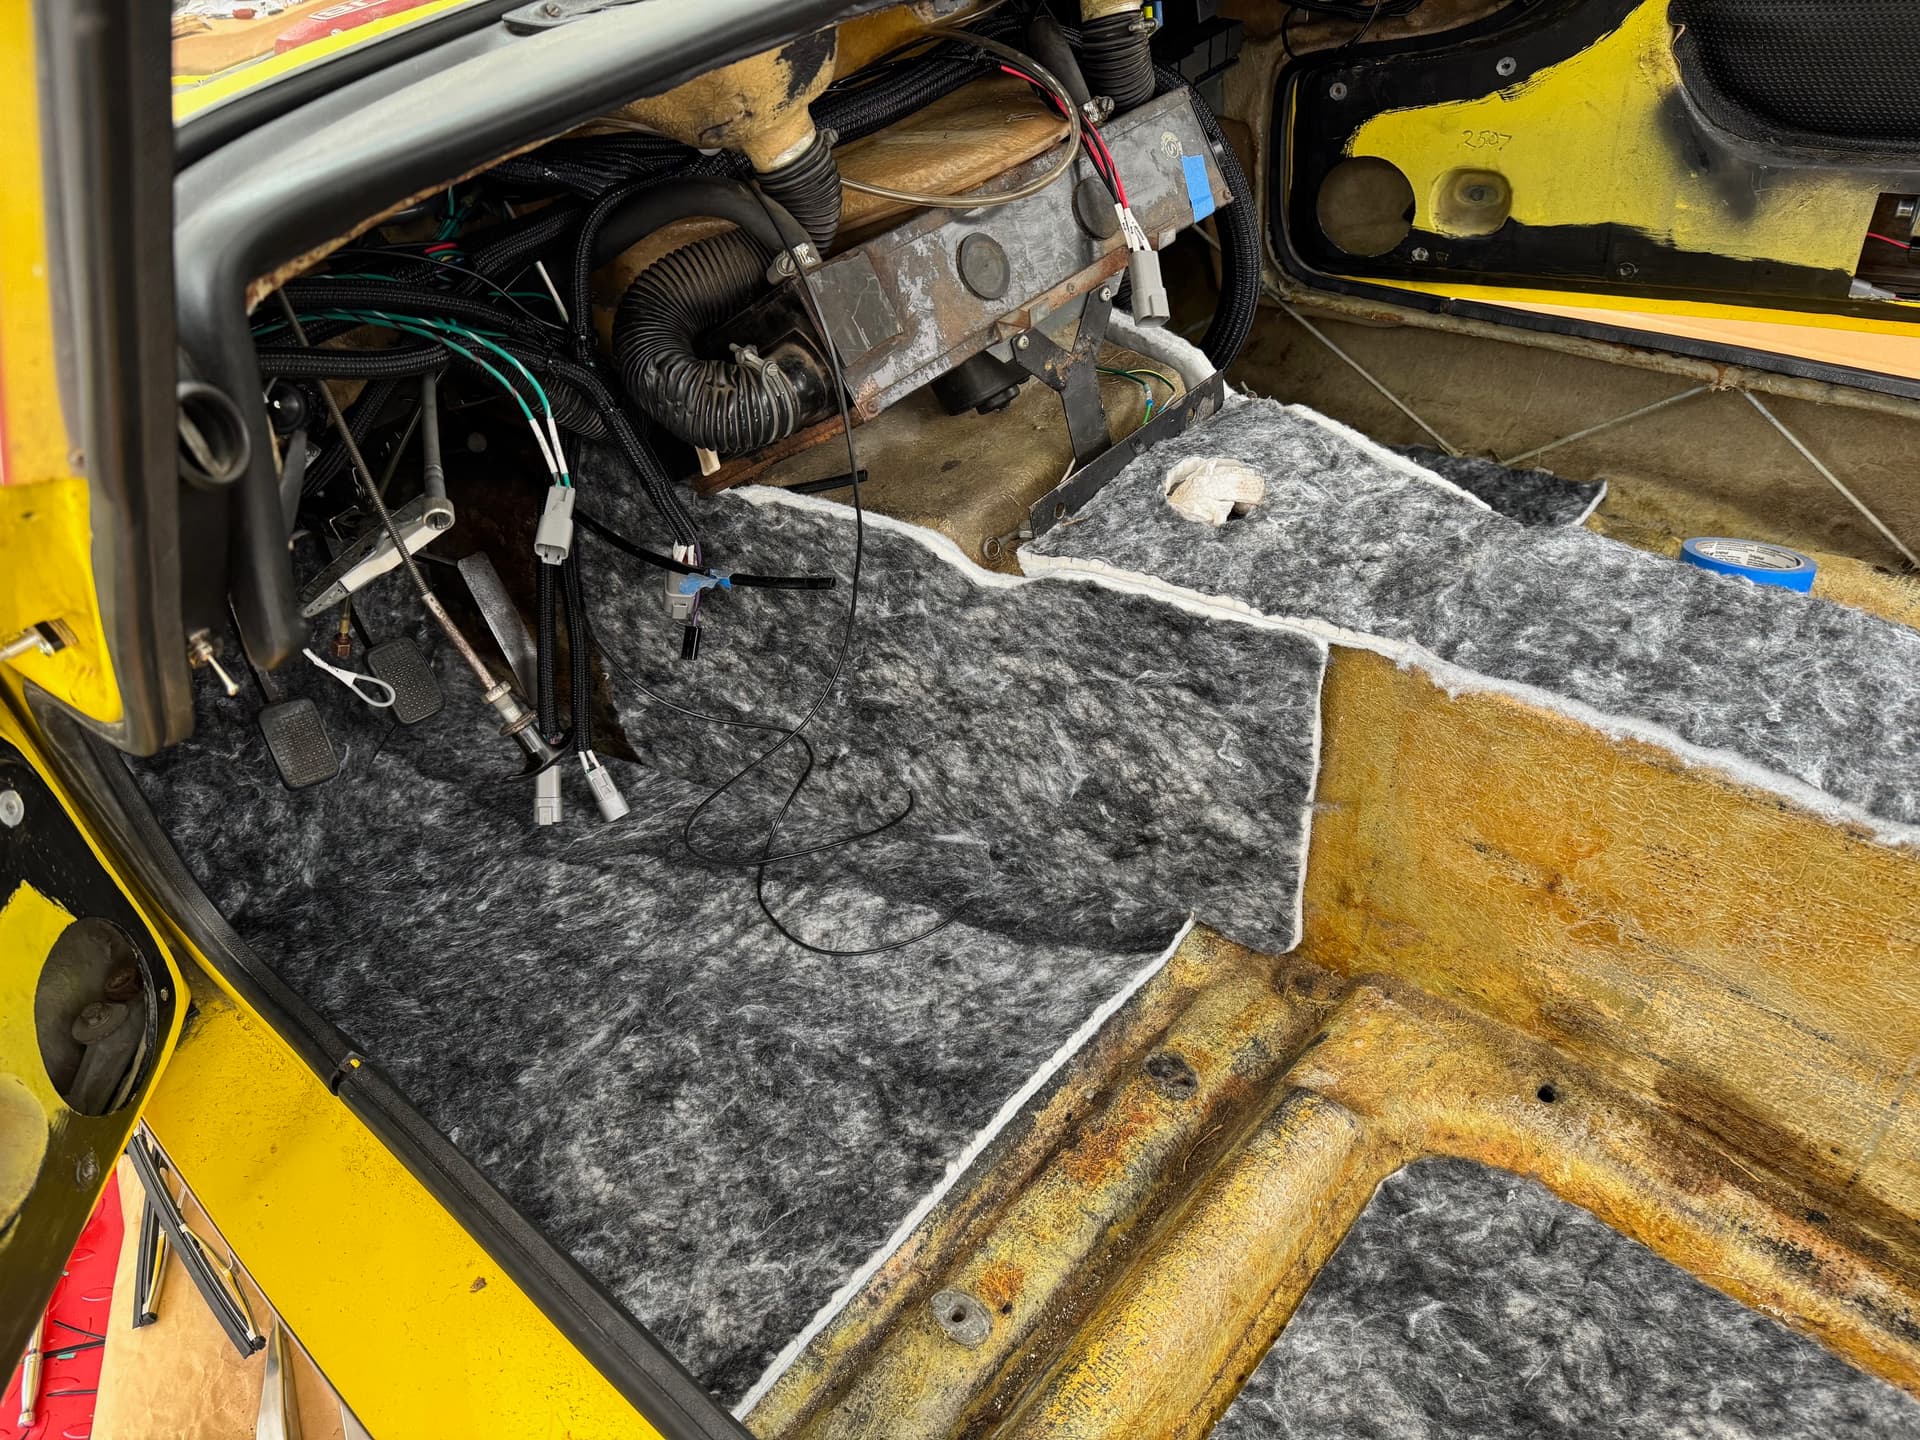
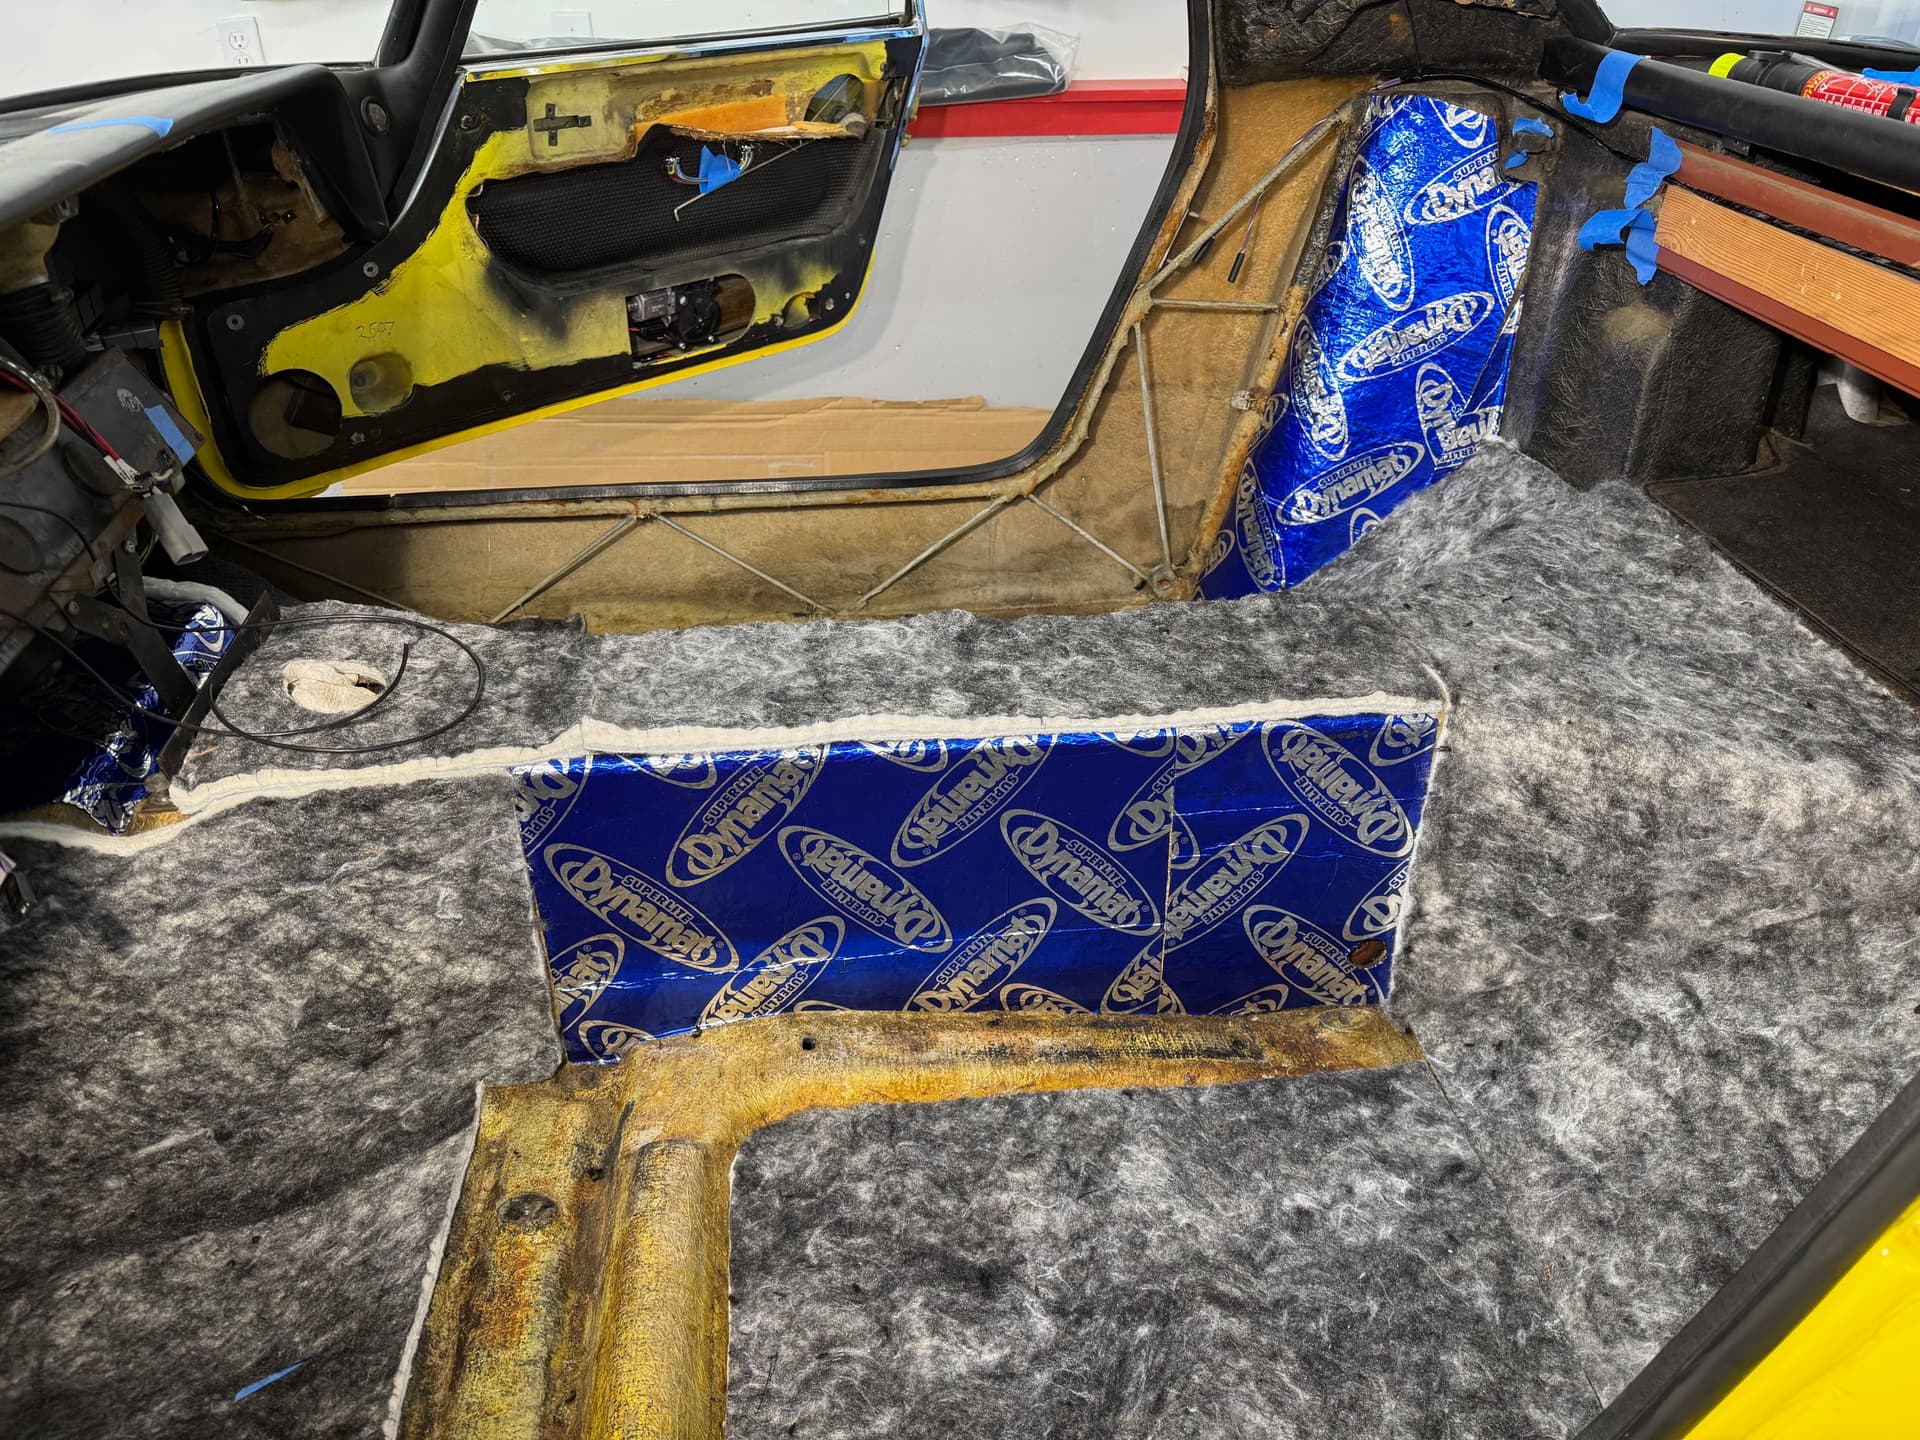
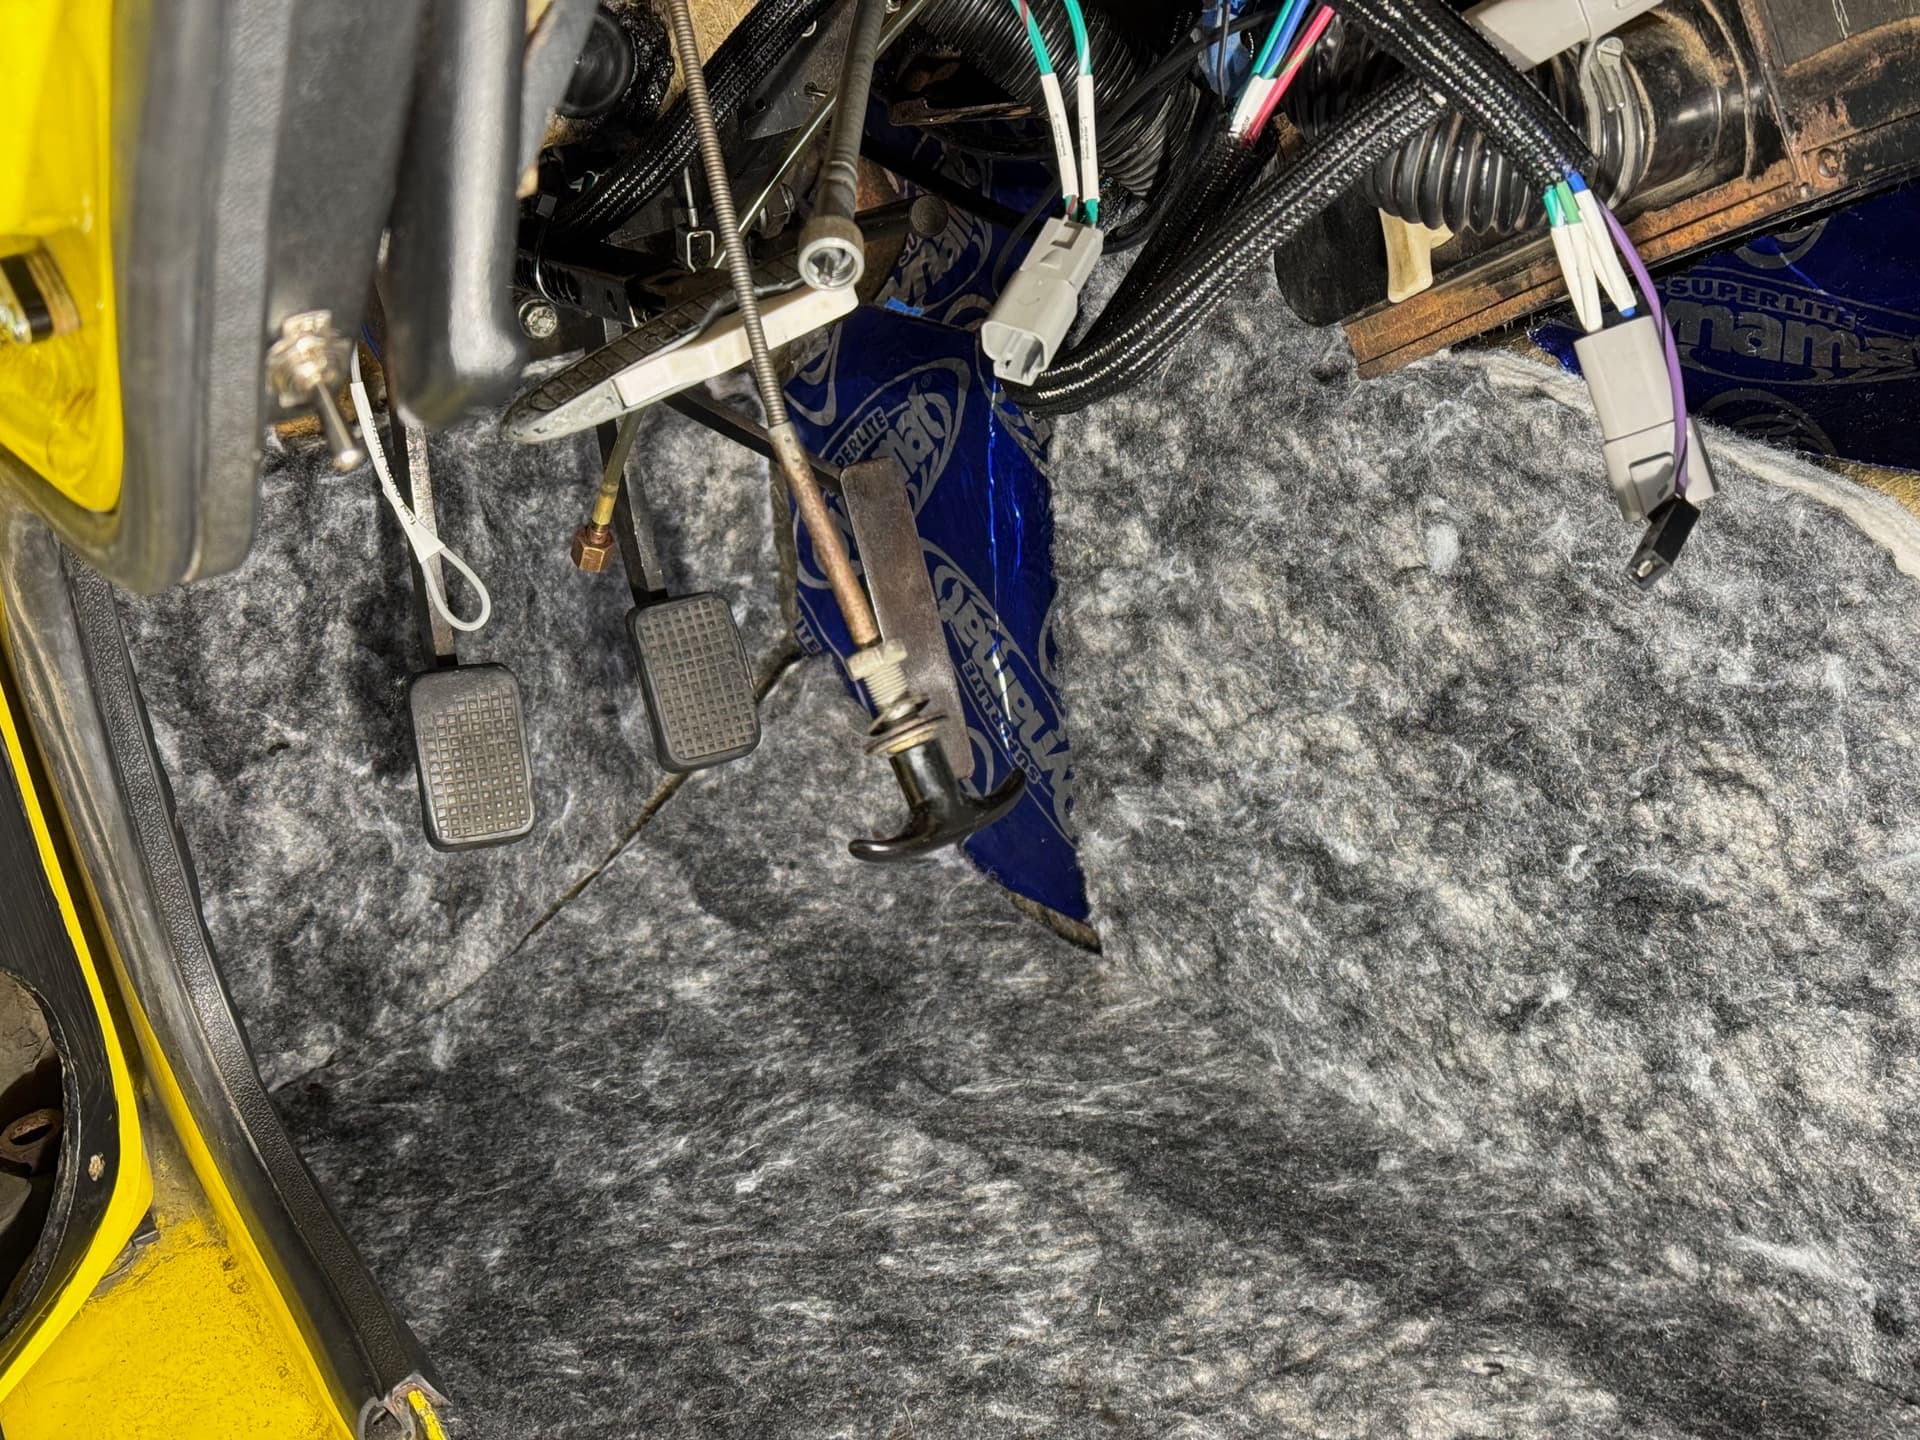
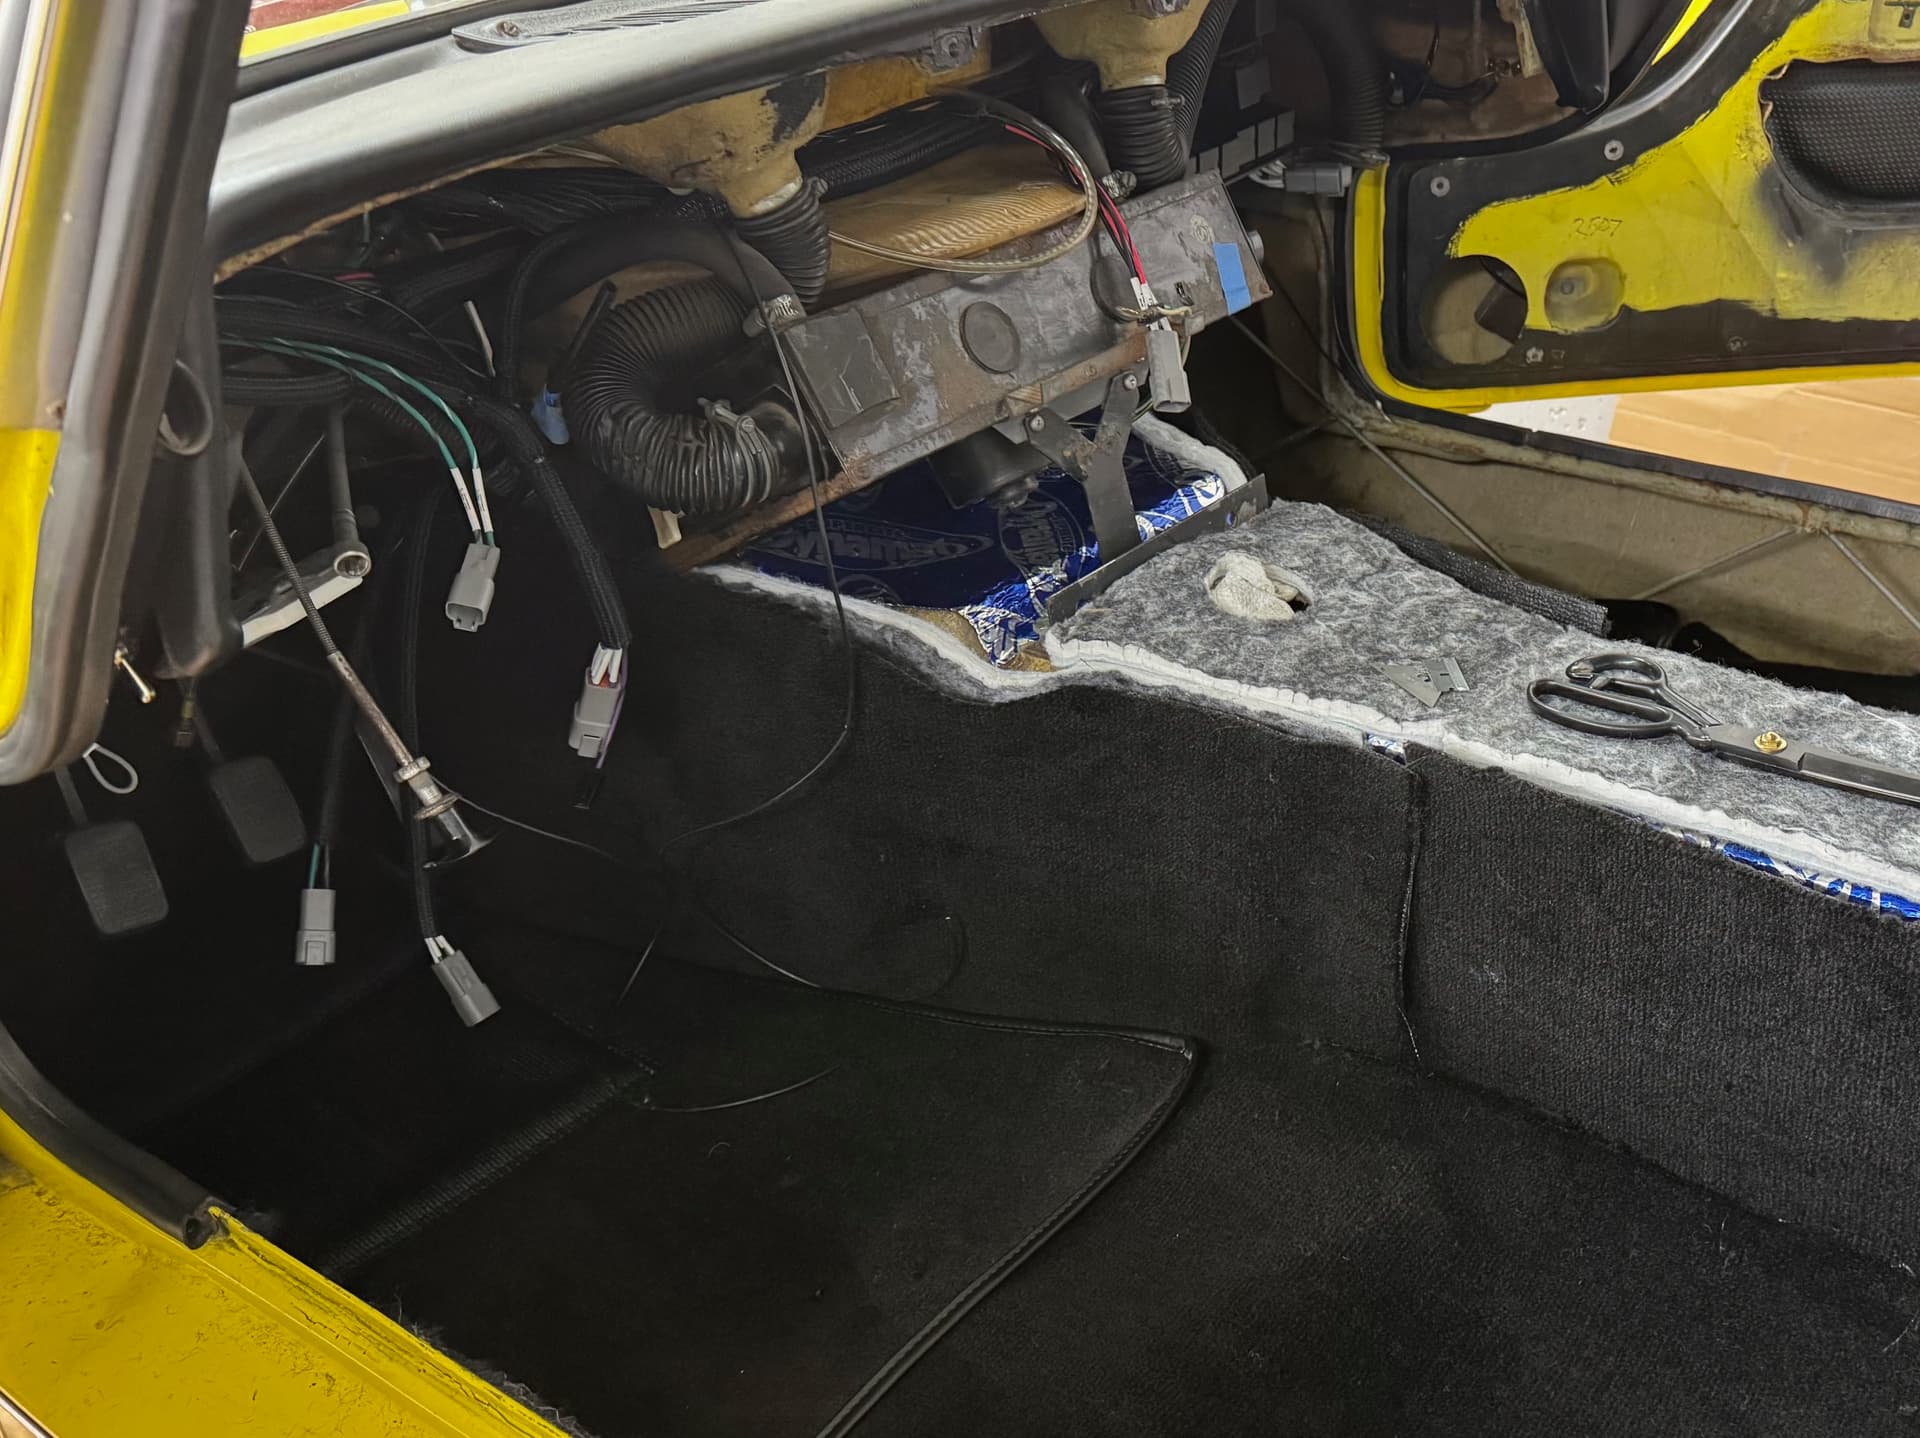
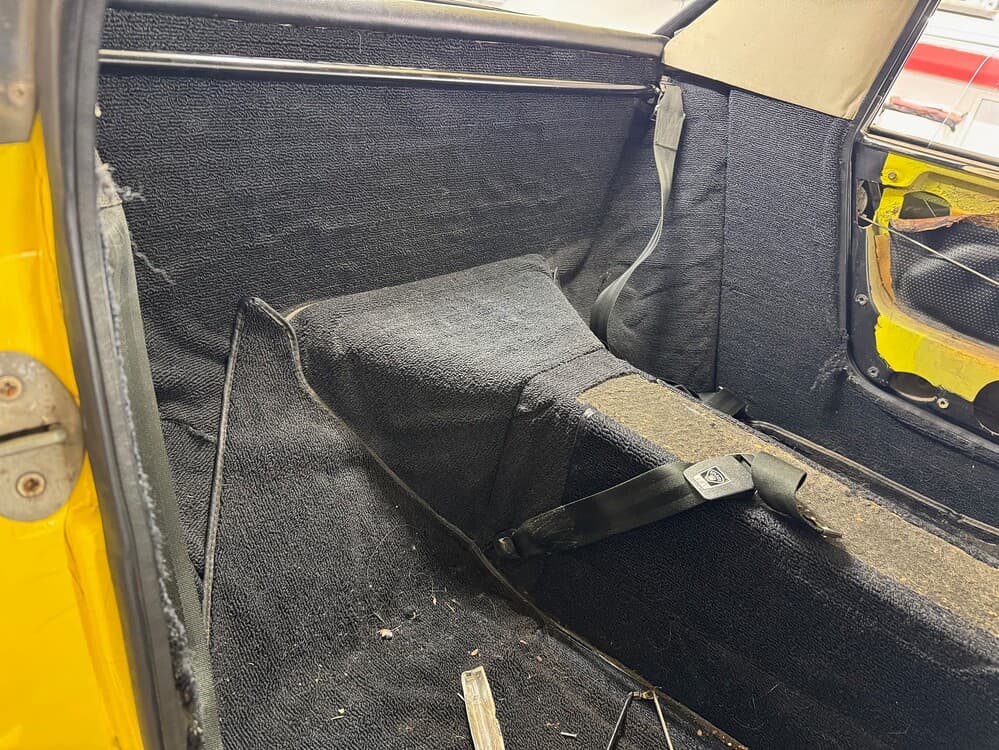
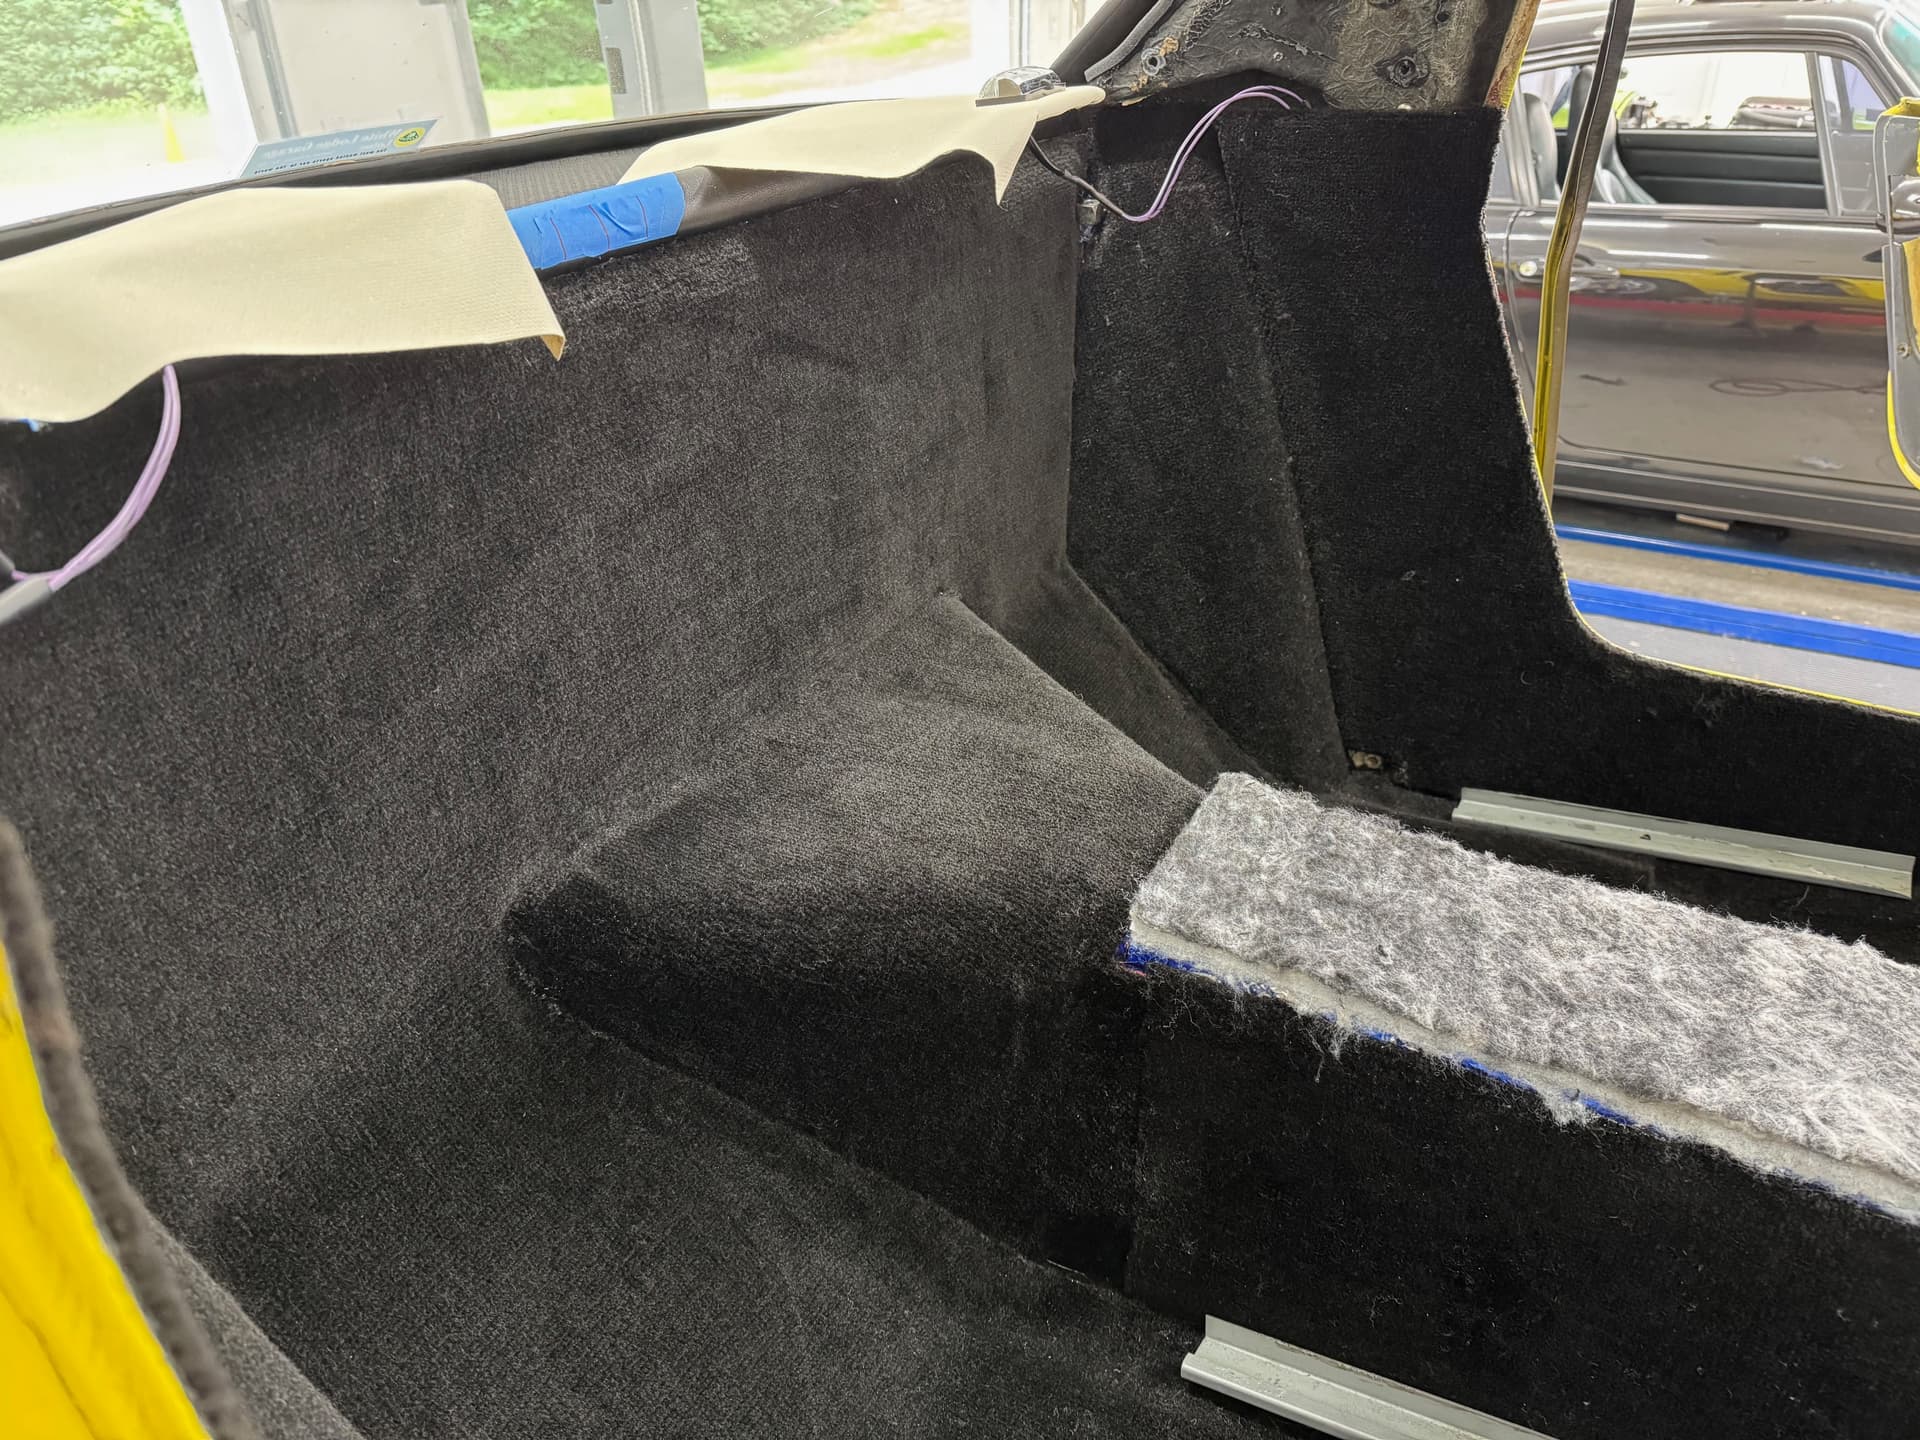
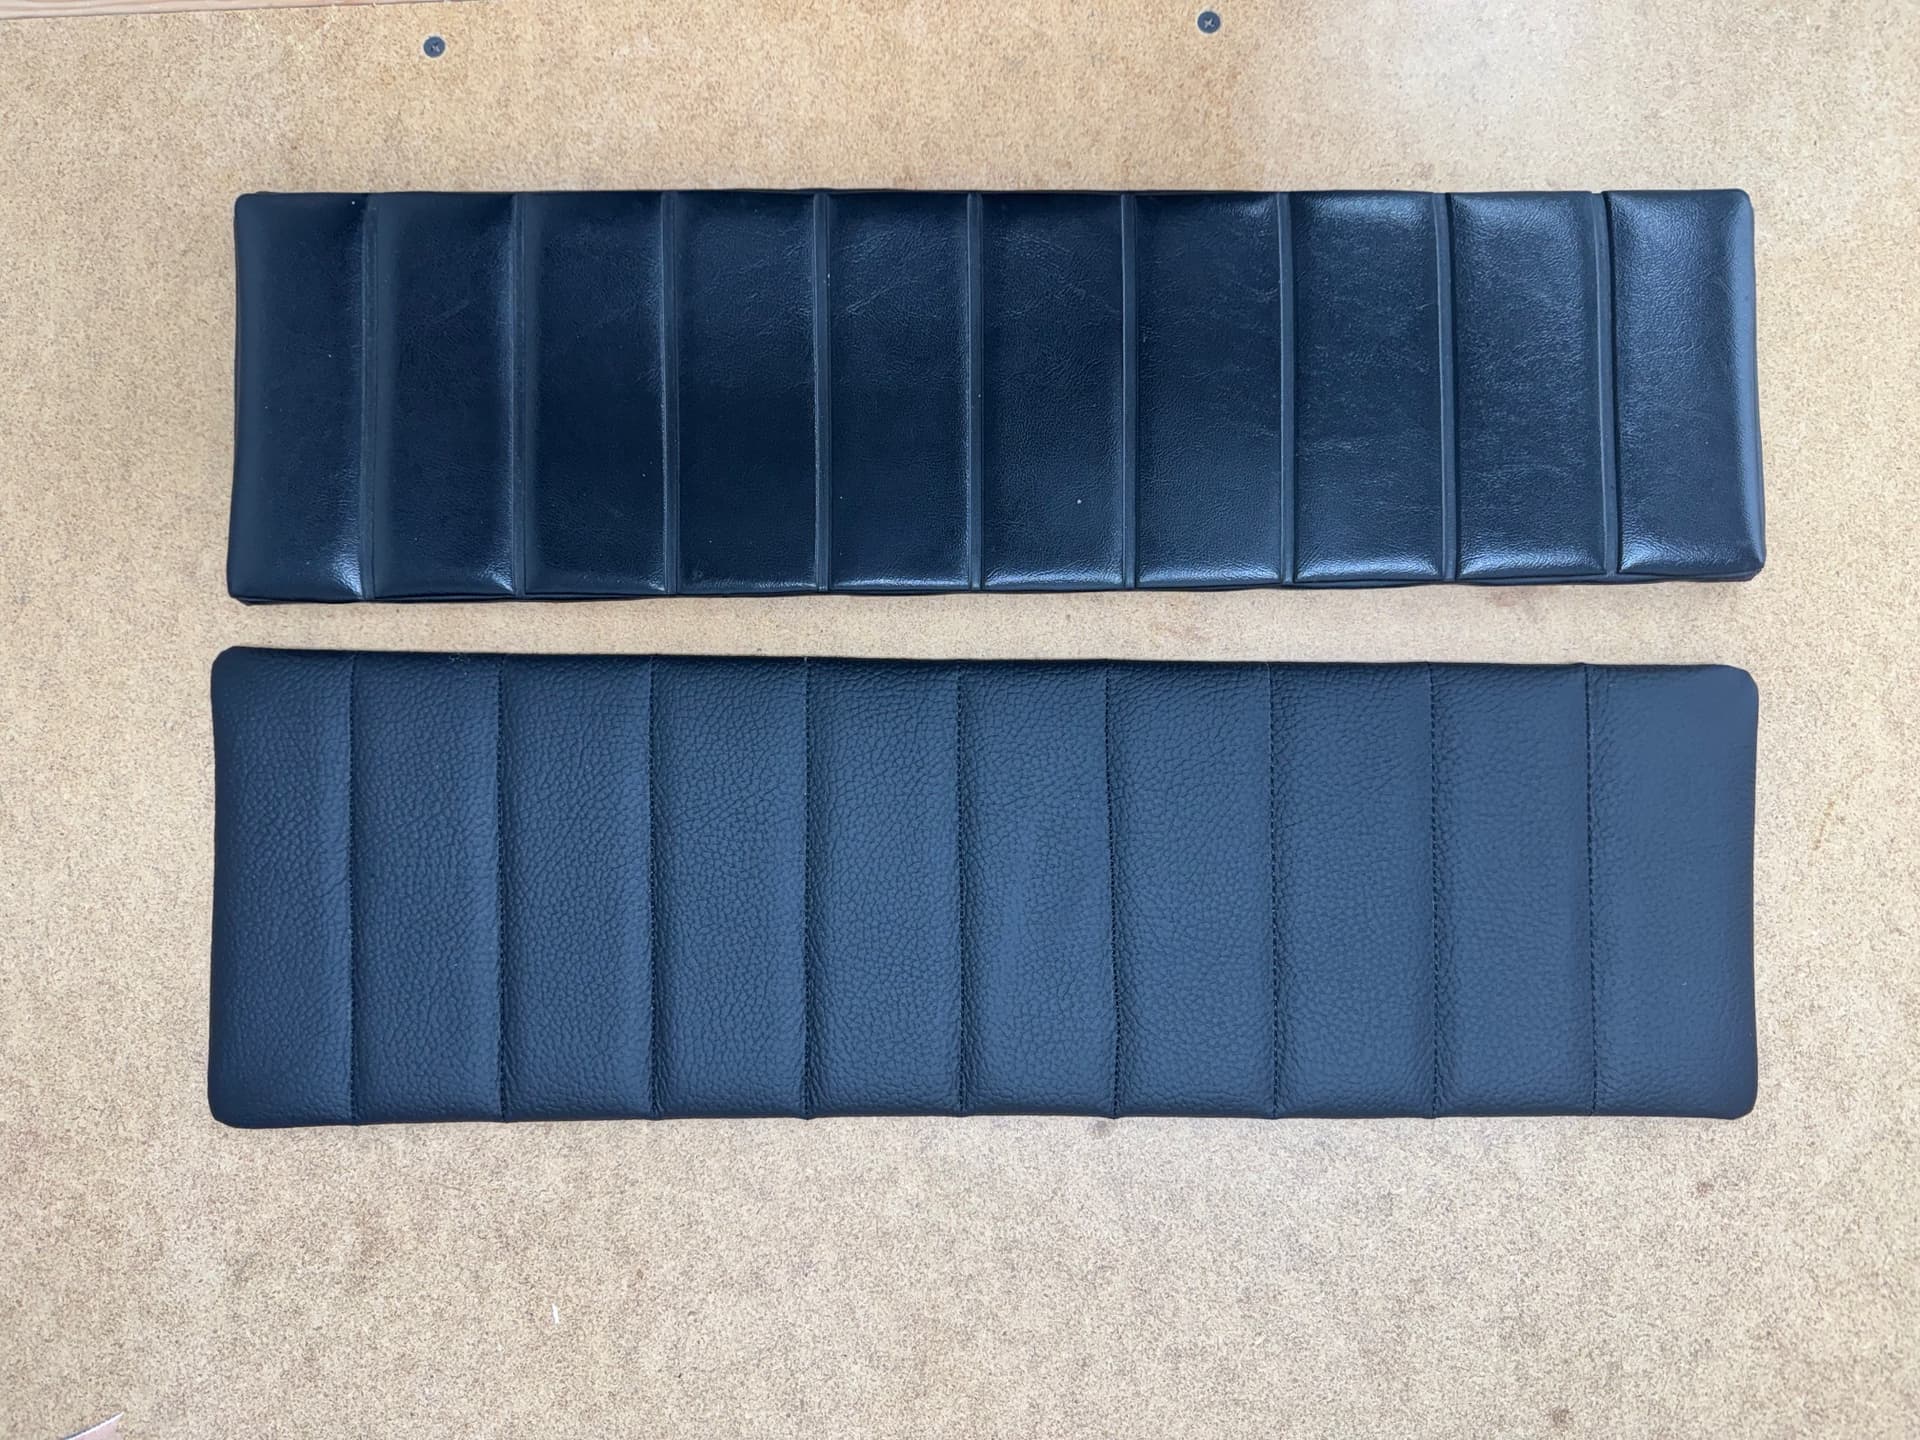
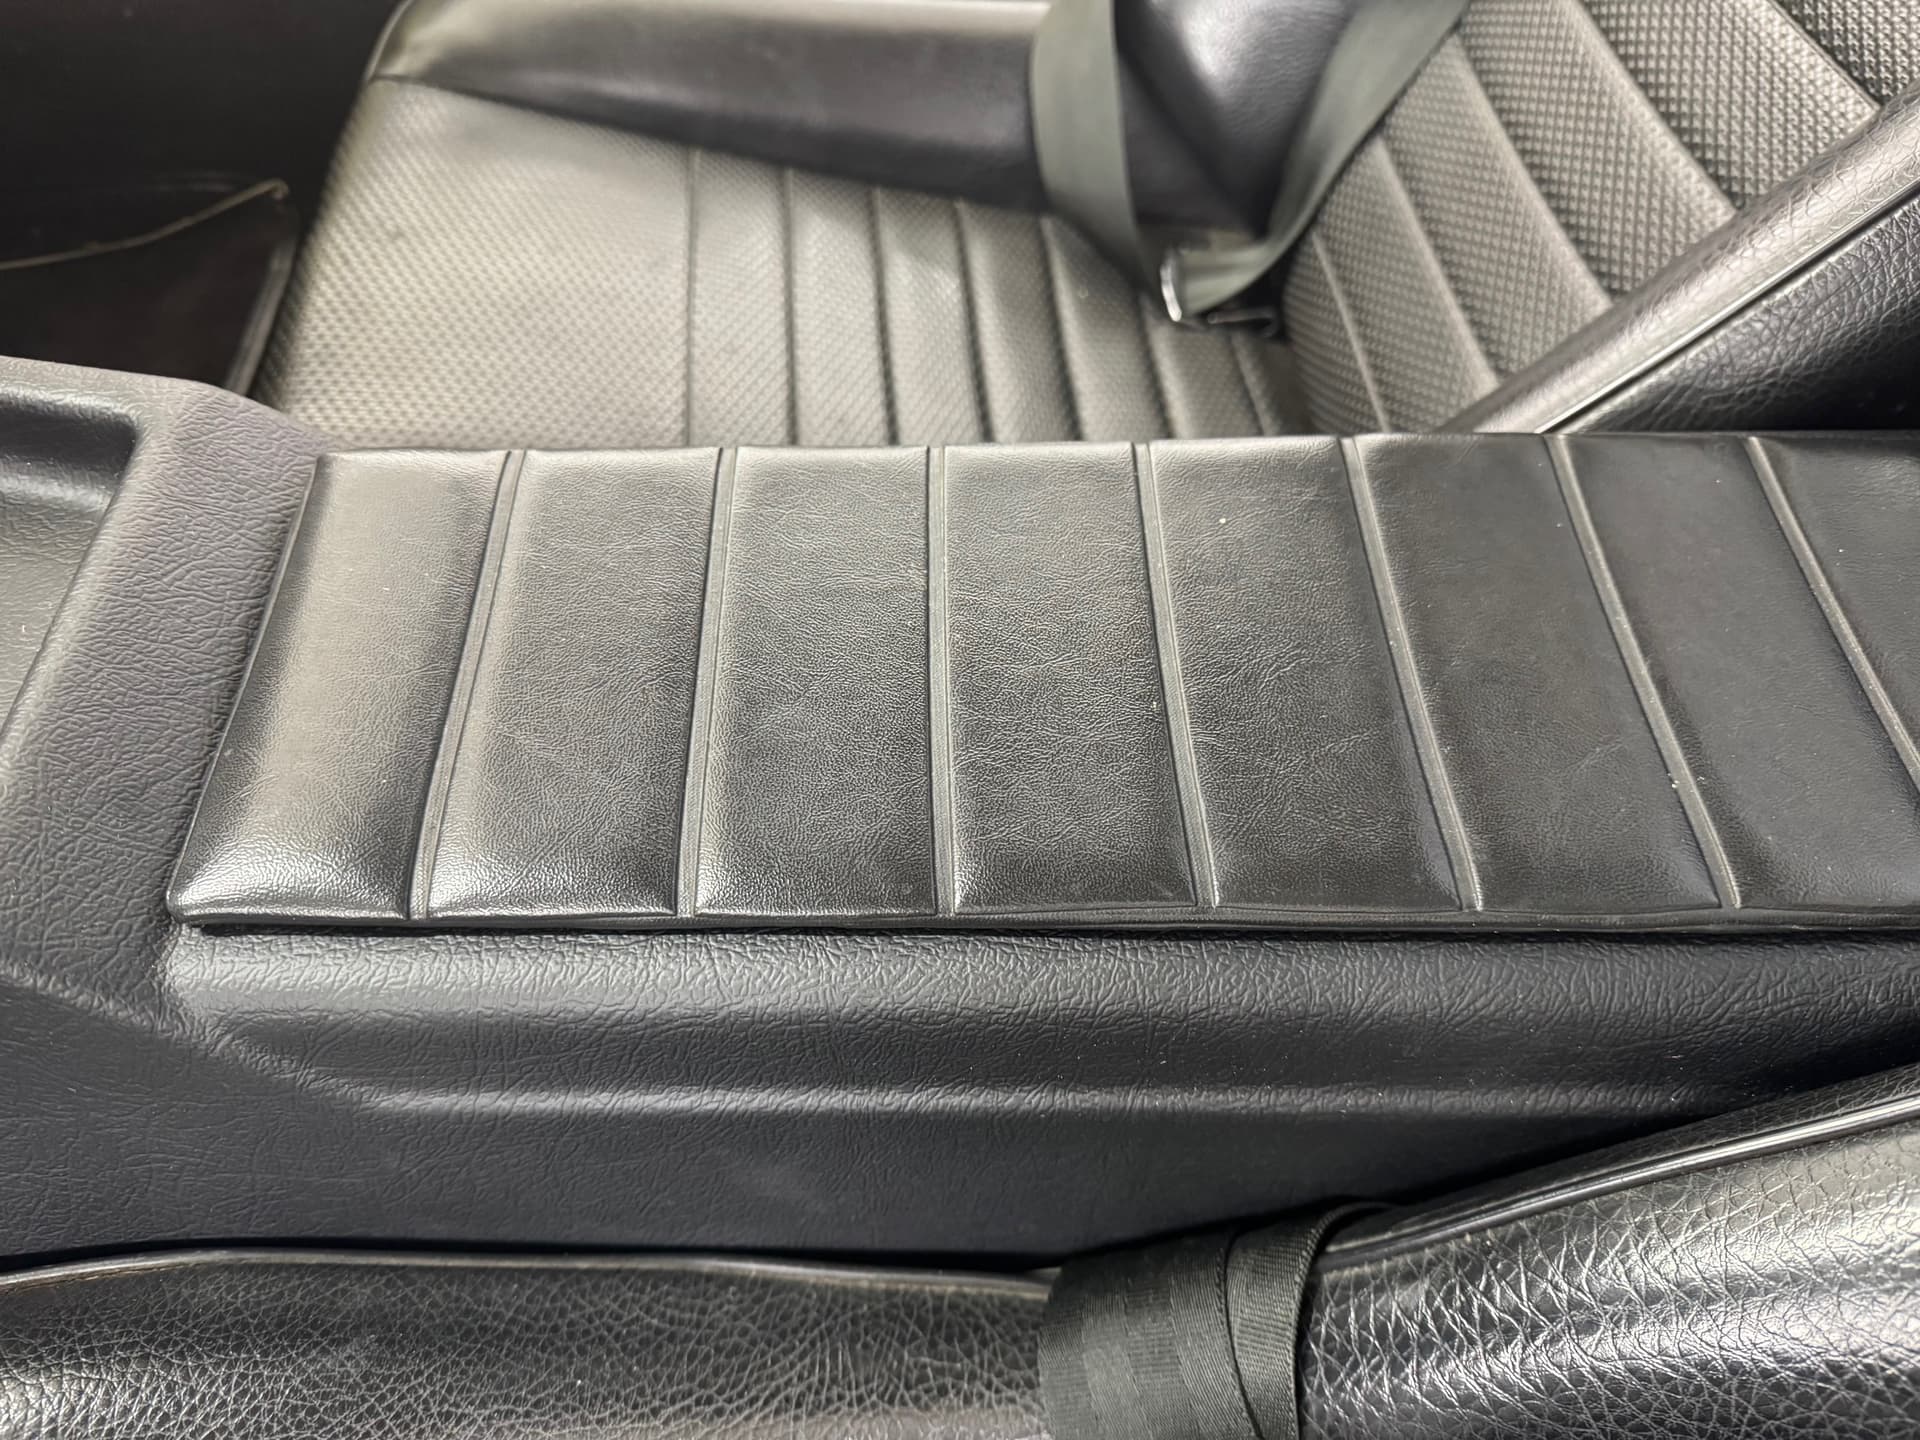
Another couple of more steps forward followed by a few steps in retreat. The carpet remnant arrived from the UK today and was cut to shape, then affixed to the firewall. With that final piece installed, the carpeting is done. For now. I haven’t yet installed the snaps for the floor mats as the DEI insulation is pretty grippy and I don’t think they’re going anywhere. If that proves incorrect, I’ll revisit in the future. Here are before and after photos. It came out well.
The quarter panel trim pieces continue to challenge me. My old boards were held in place by two lower trim clips and a silicone adhesive. Doing some research, it appears the top portion should be held to the body by the courtesy light screws which attach to rivnuts. Those are missing from my car, hence the PO’s silicone work. The biggest issue is the boards need to bend to follow the natural curves of that area. The old boards were bent, but the new boards are flat and too stiff to stay in place. Given the upholstery is already affixed, I’m worried about softening the board with steam, so my initial attempt will be to score some kerfs with a razor blade, then clamp it in place overnight to see if it starts to hold the shape. A clamp with a suitably deep throat is on order. Hopefully that is enough to form the necessary bend. If not, I’ll probably risk steam. If anyone has experience here or other options, please share.
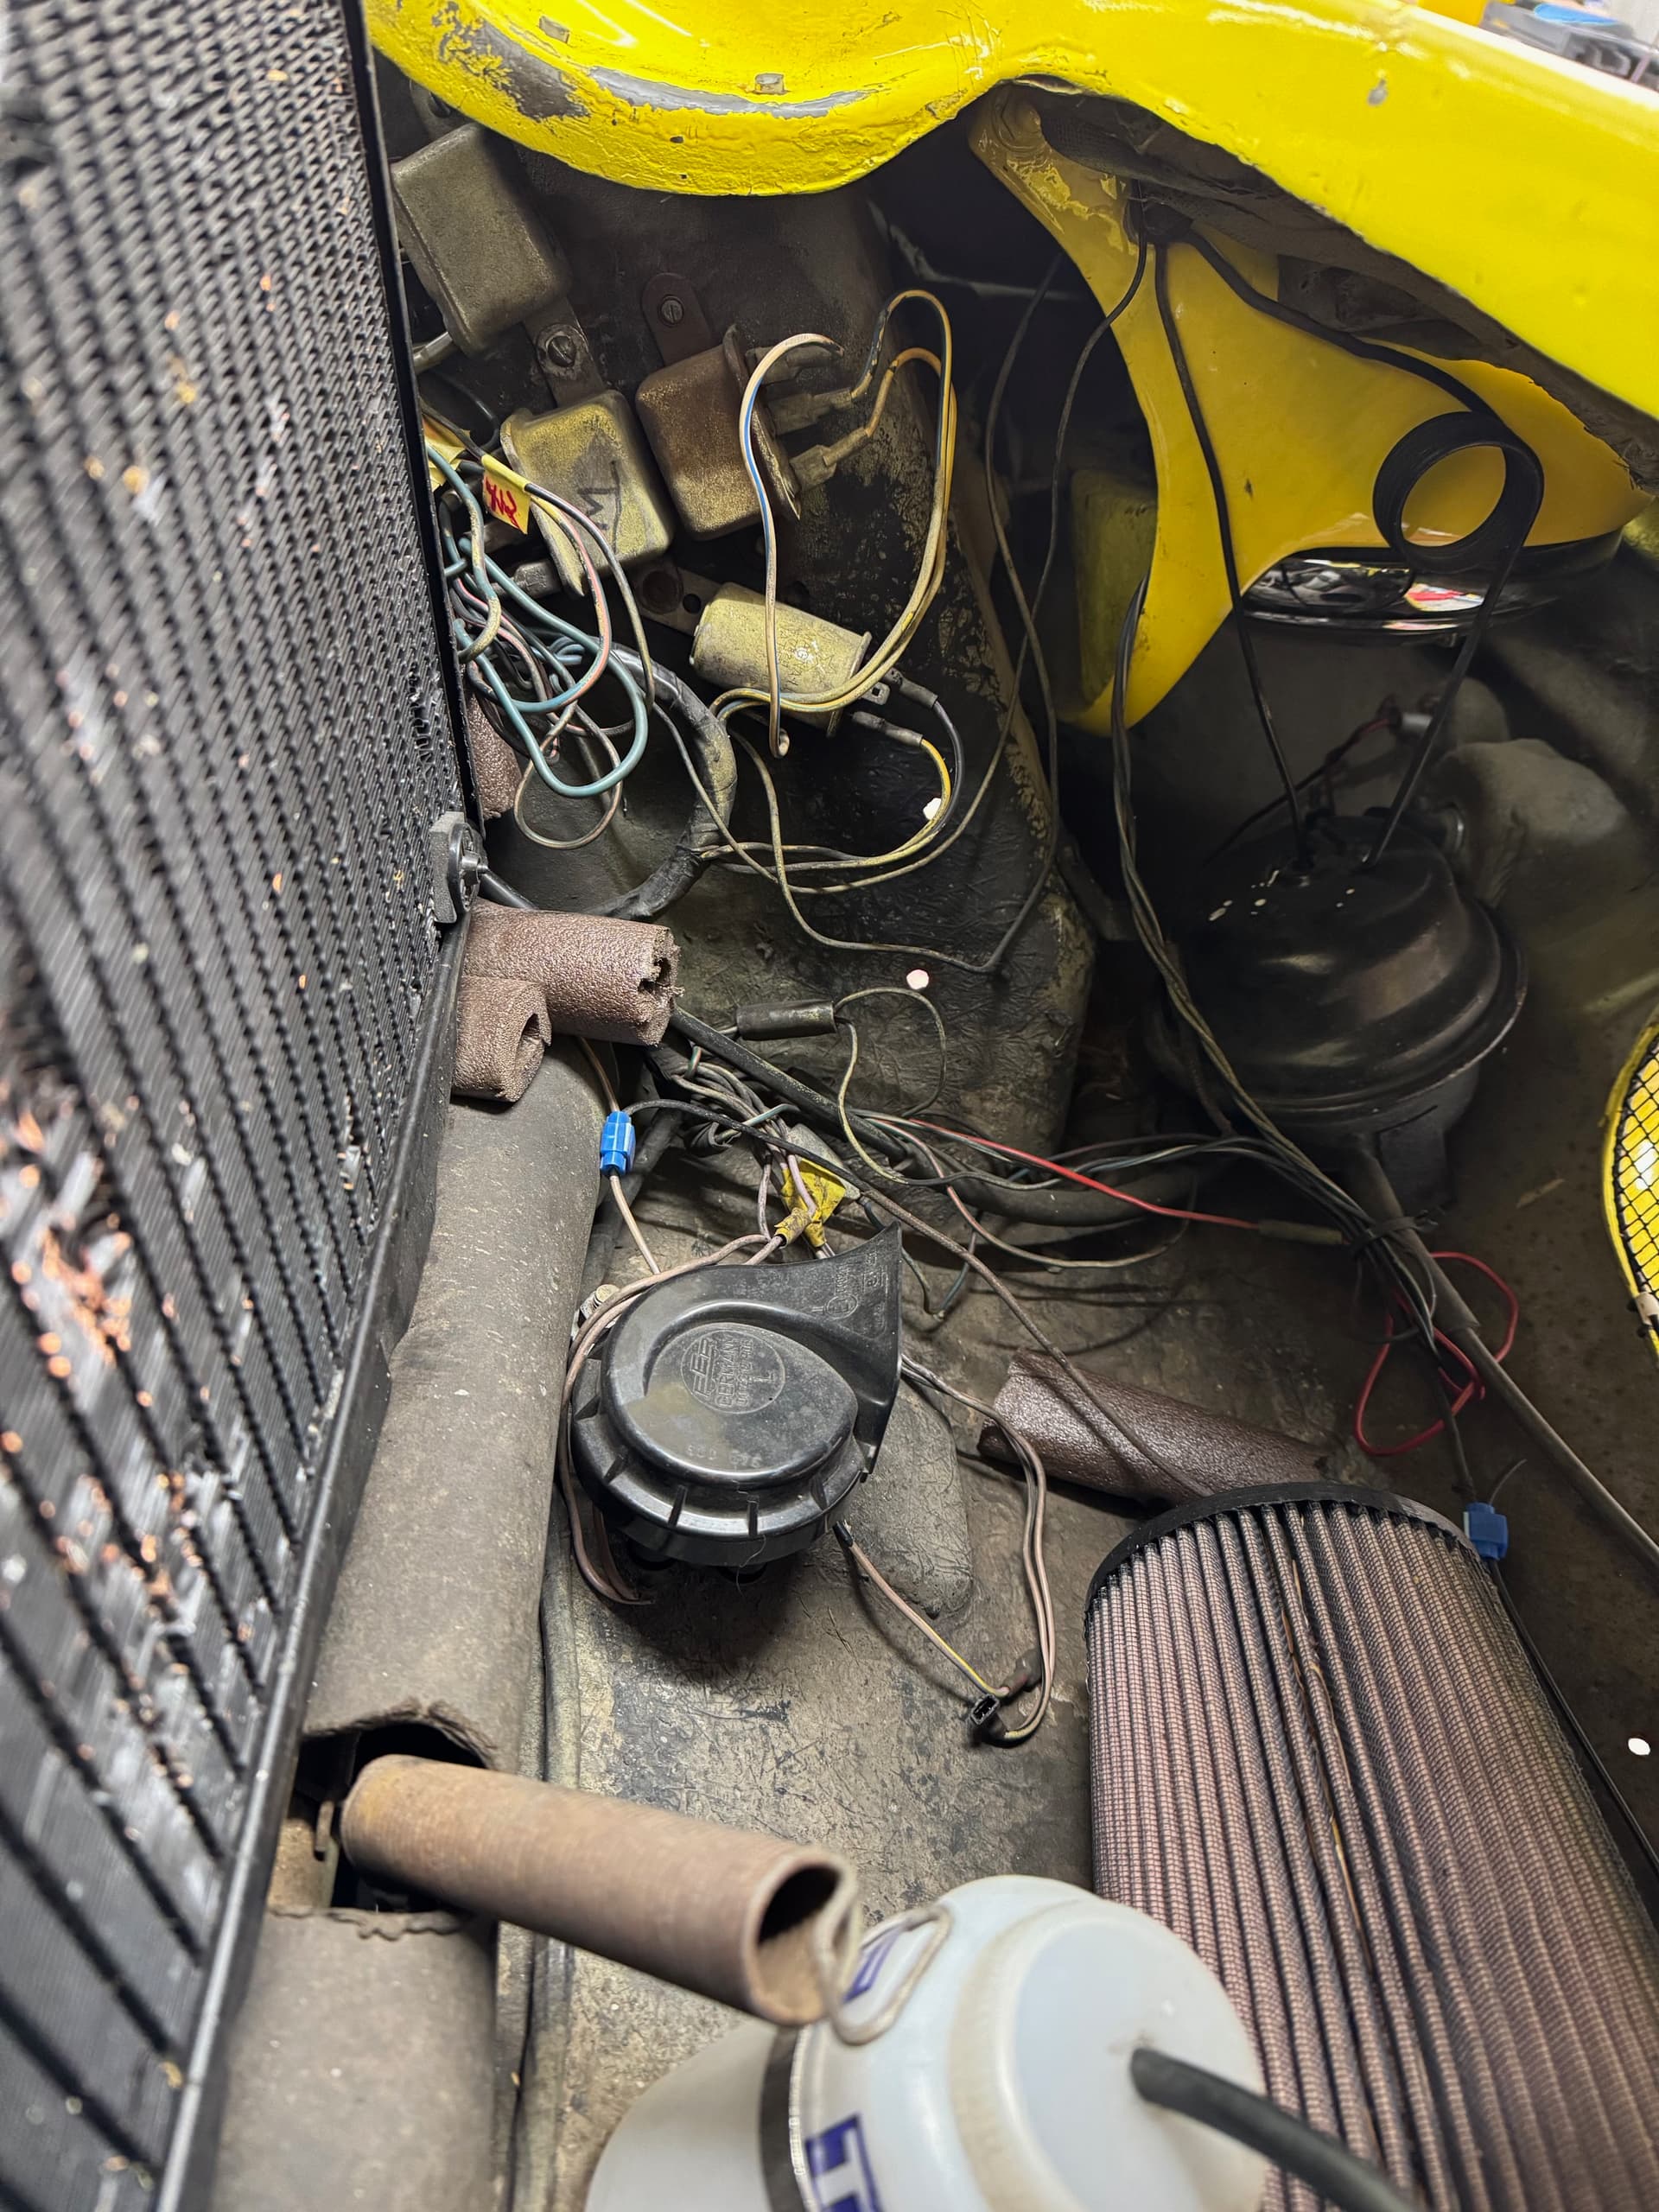
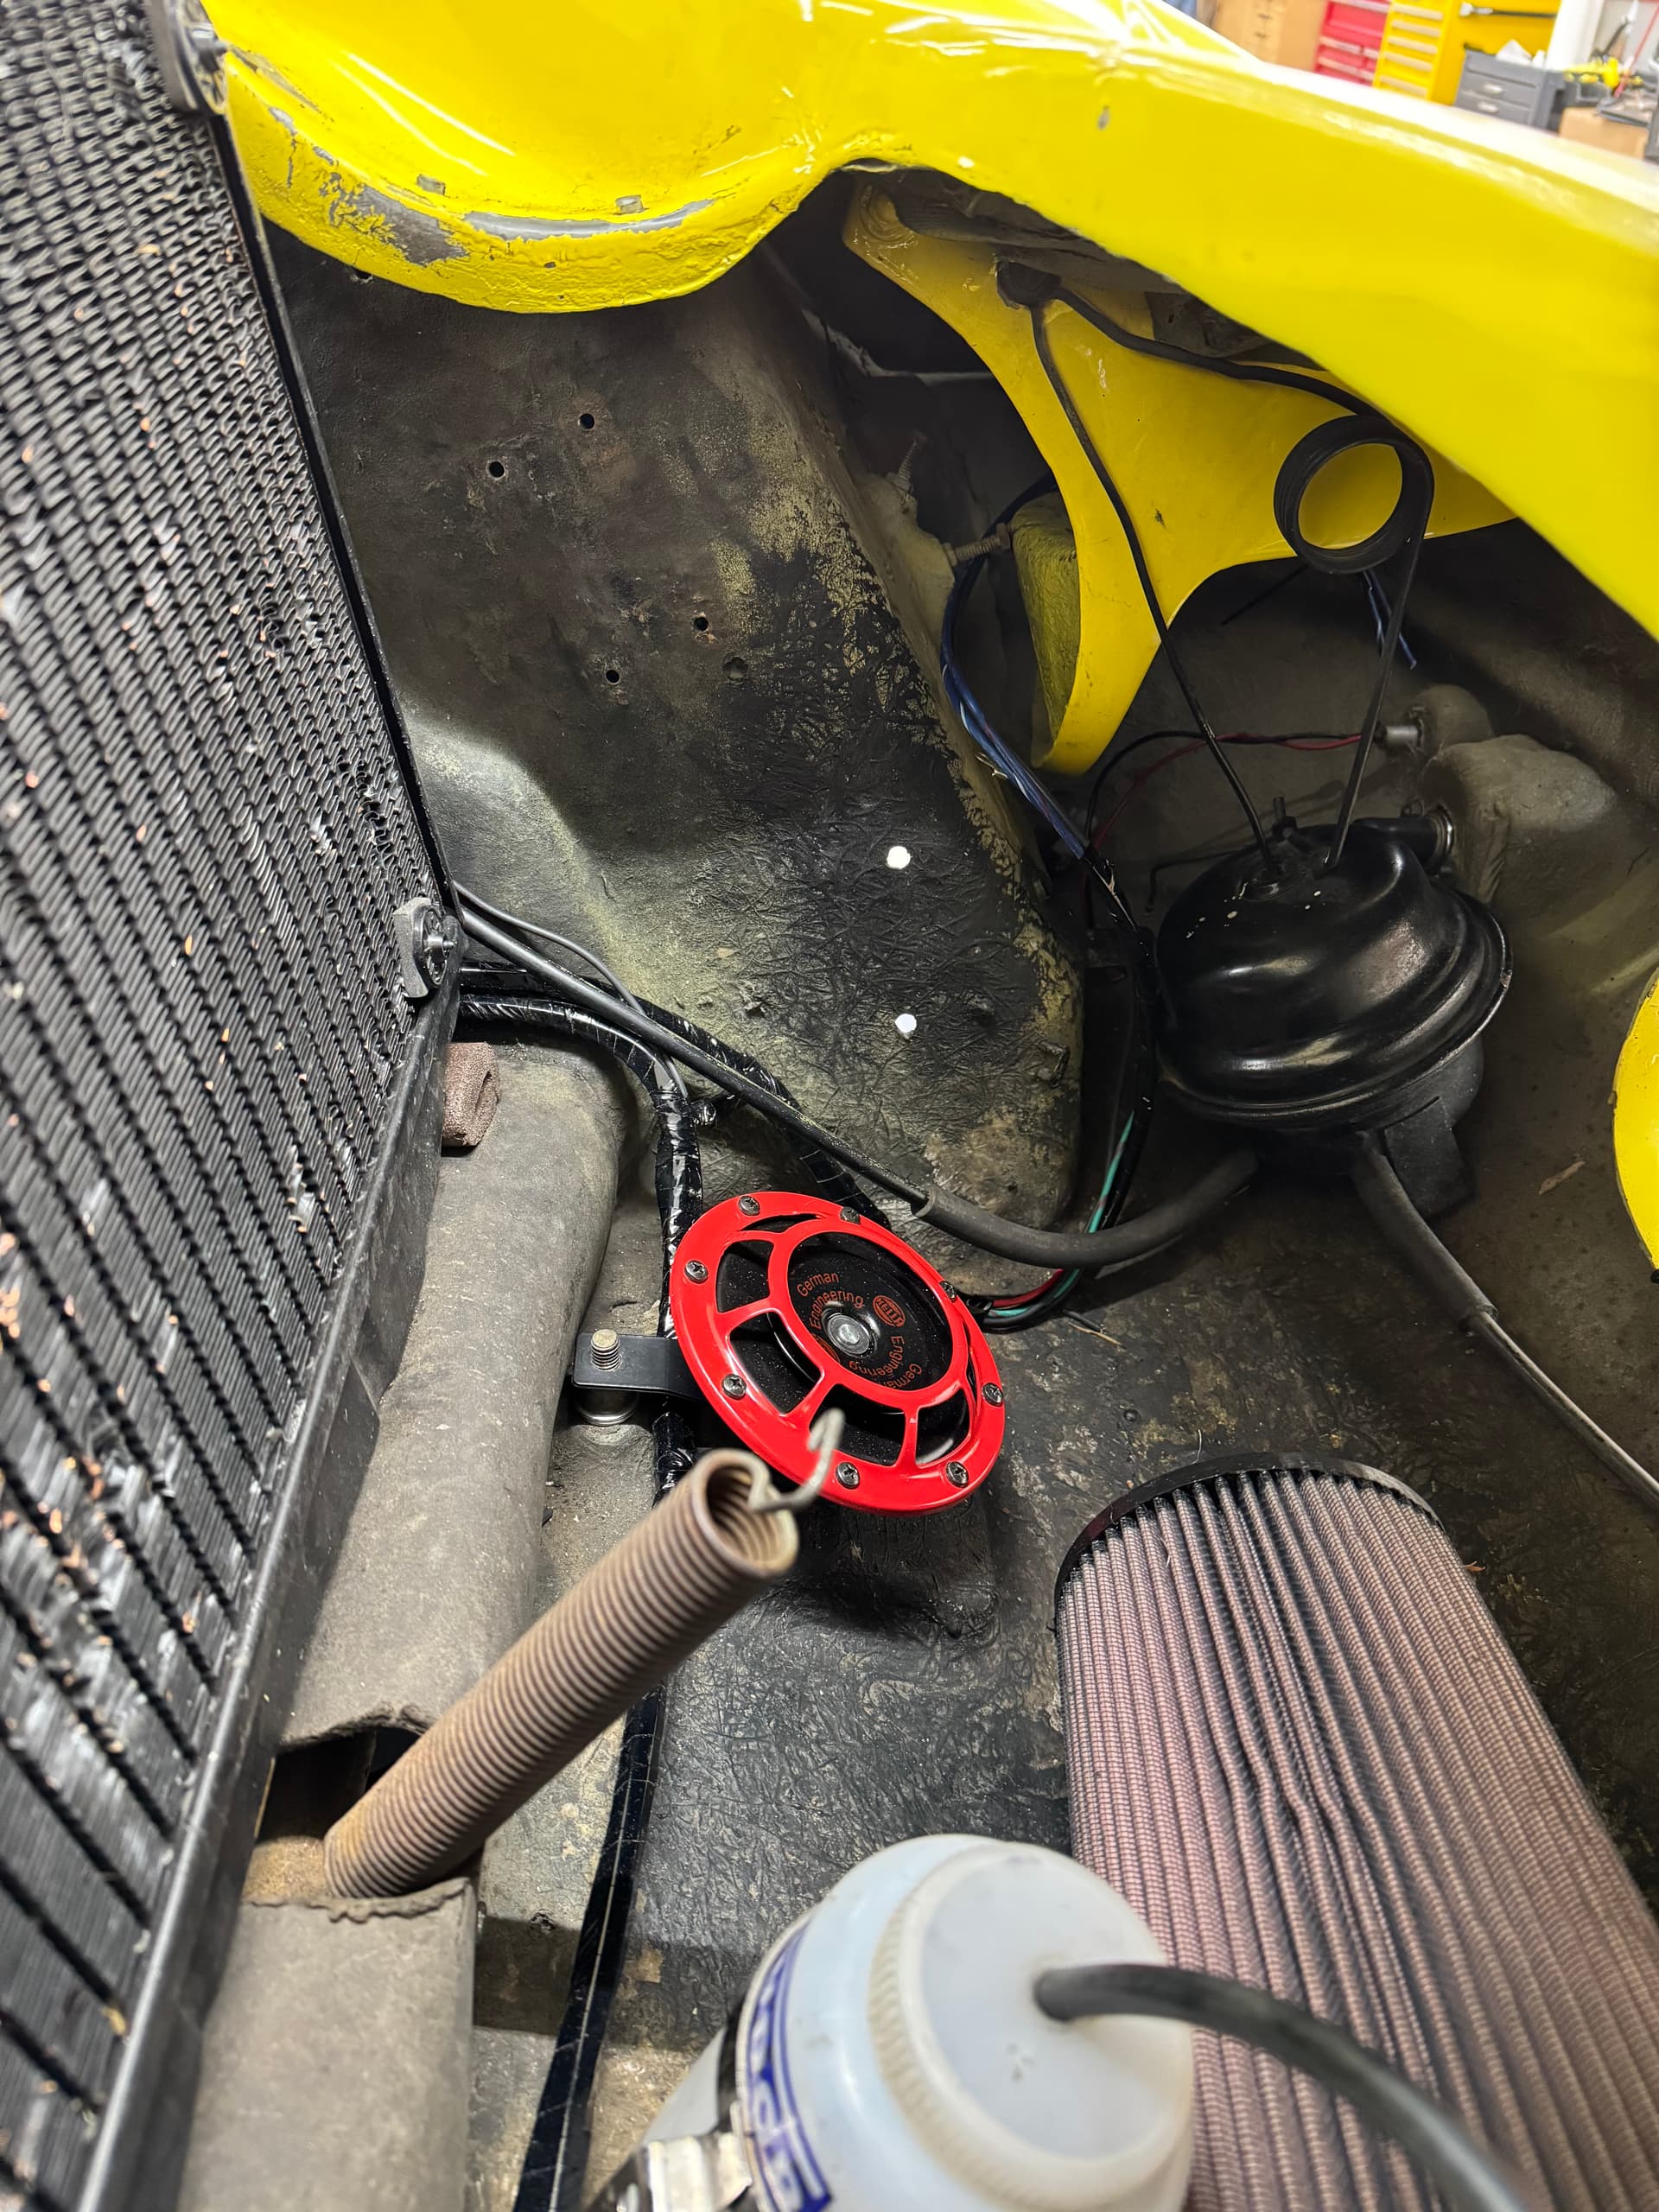
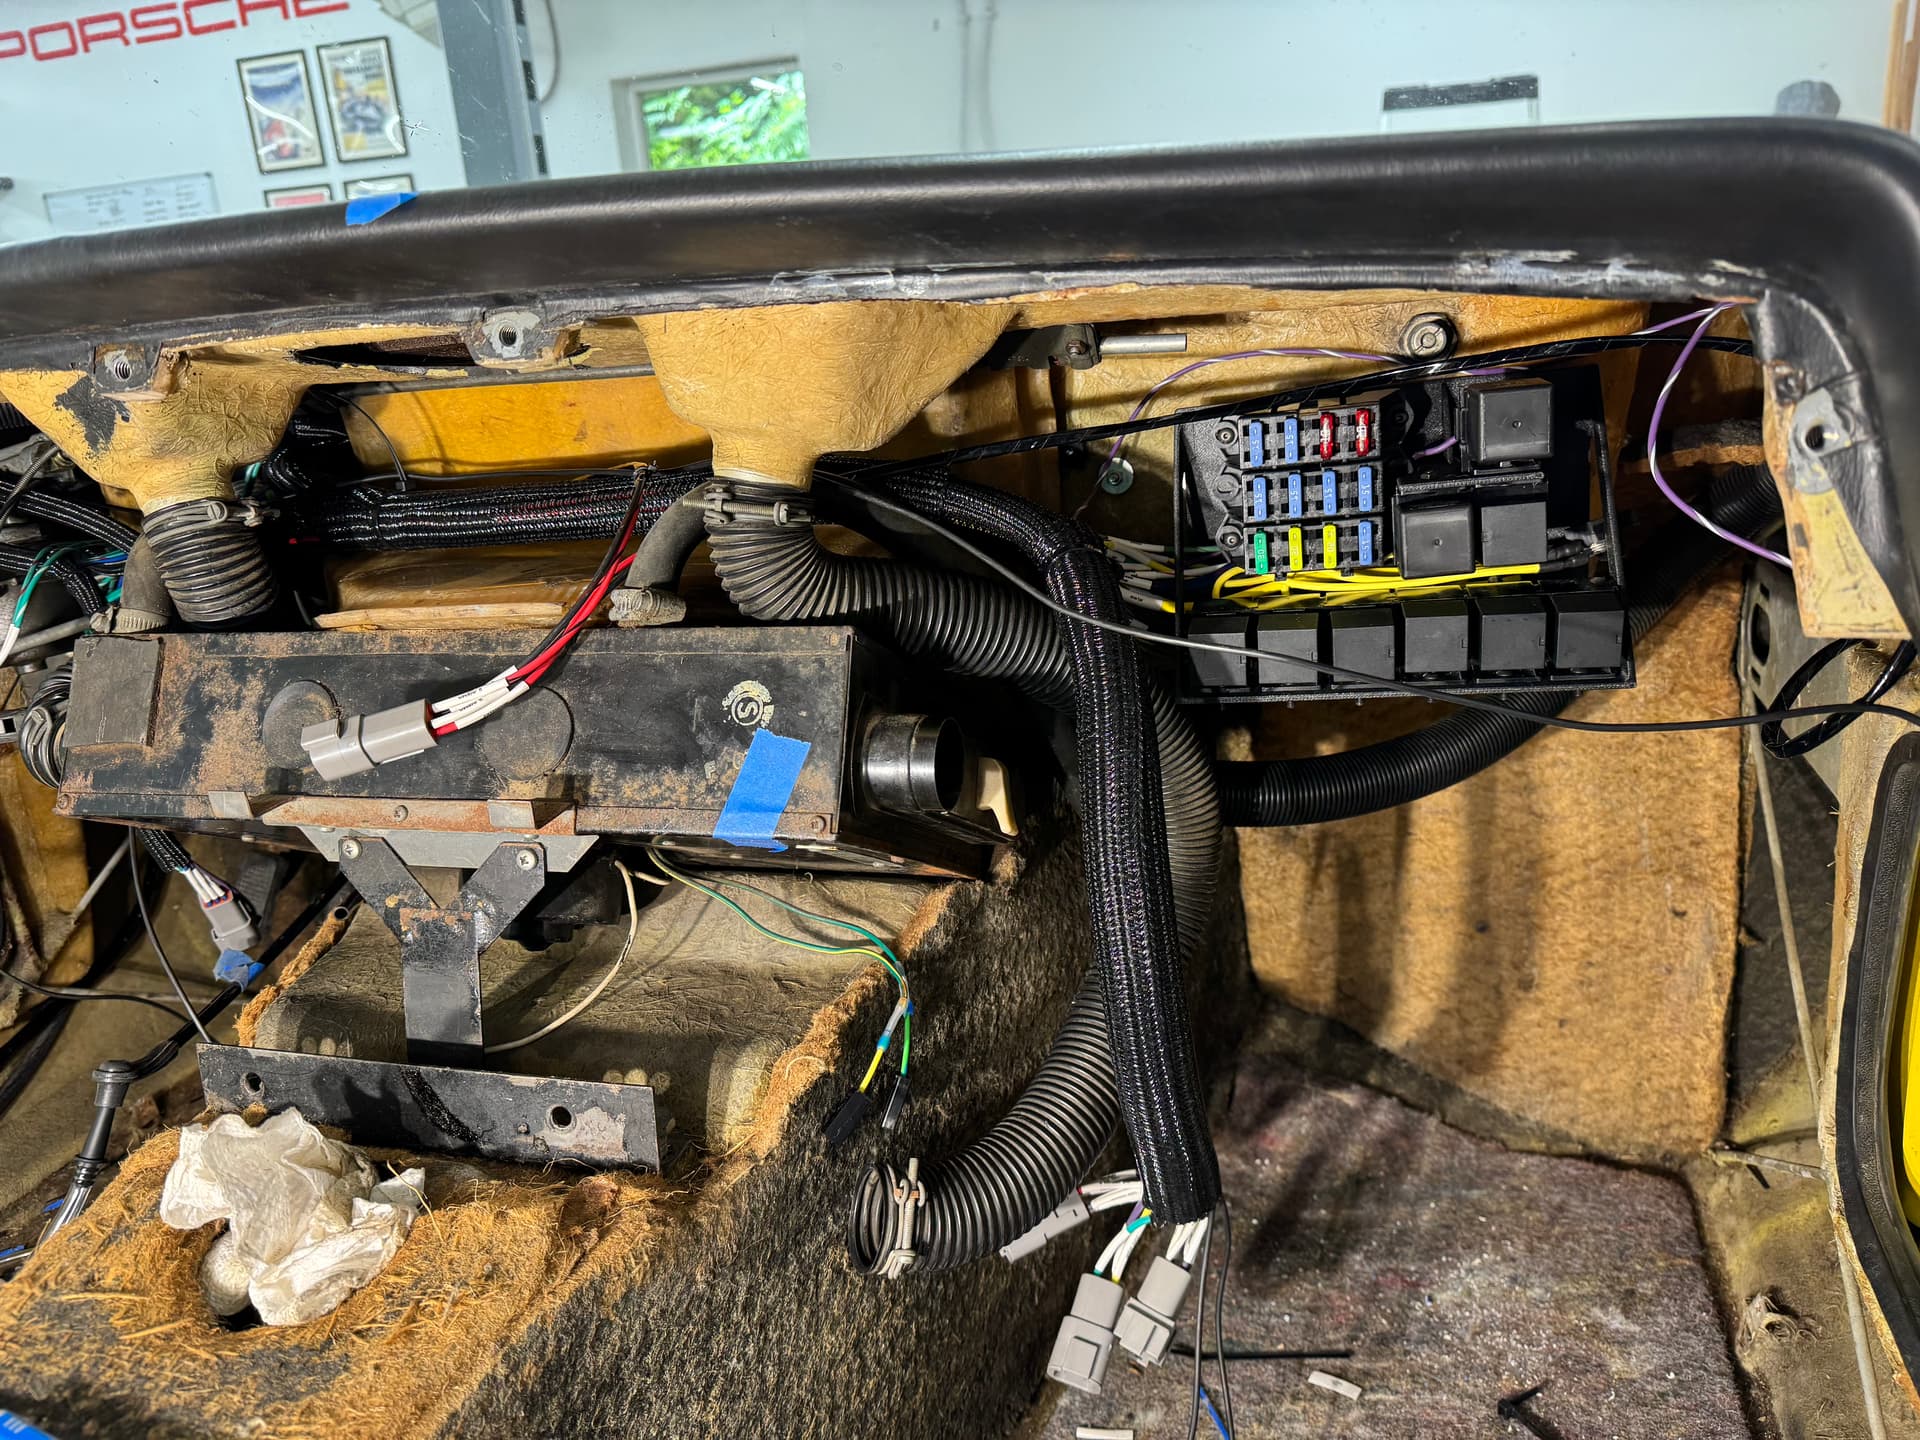
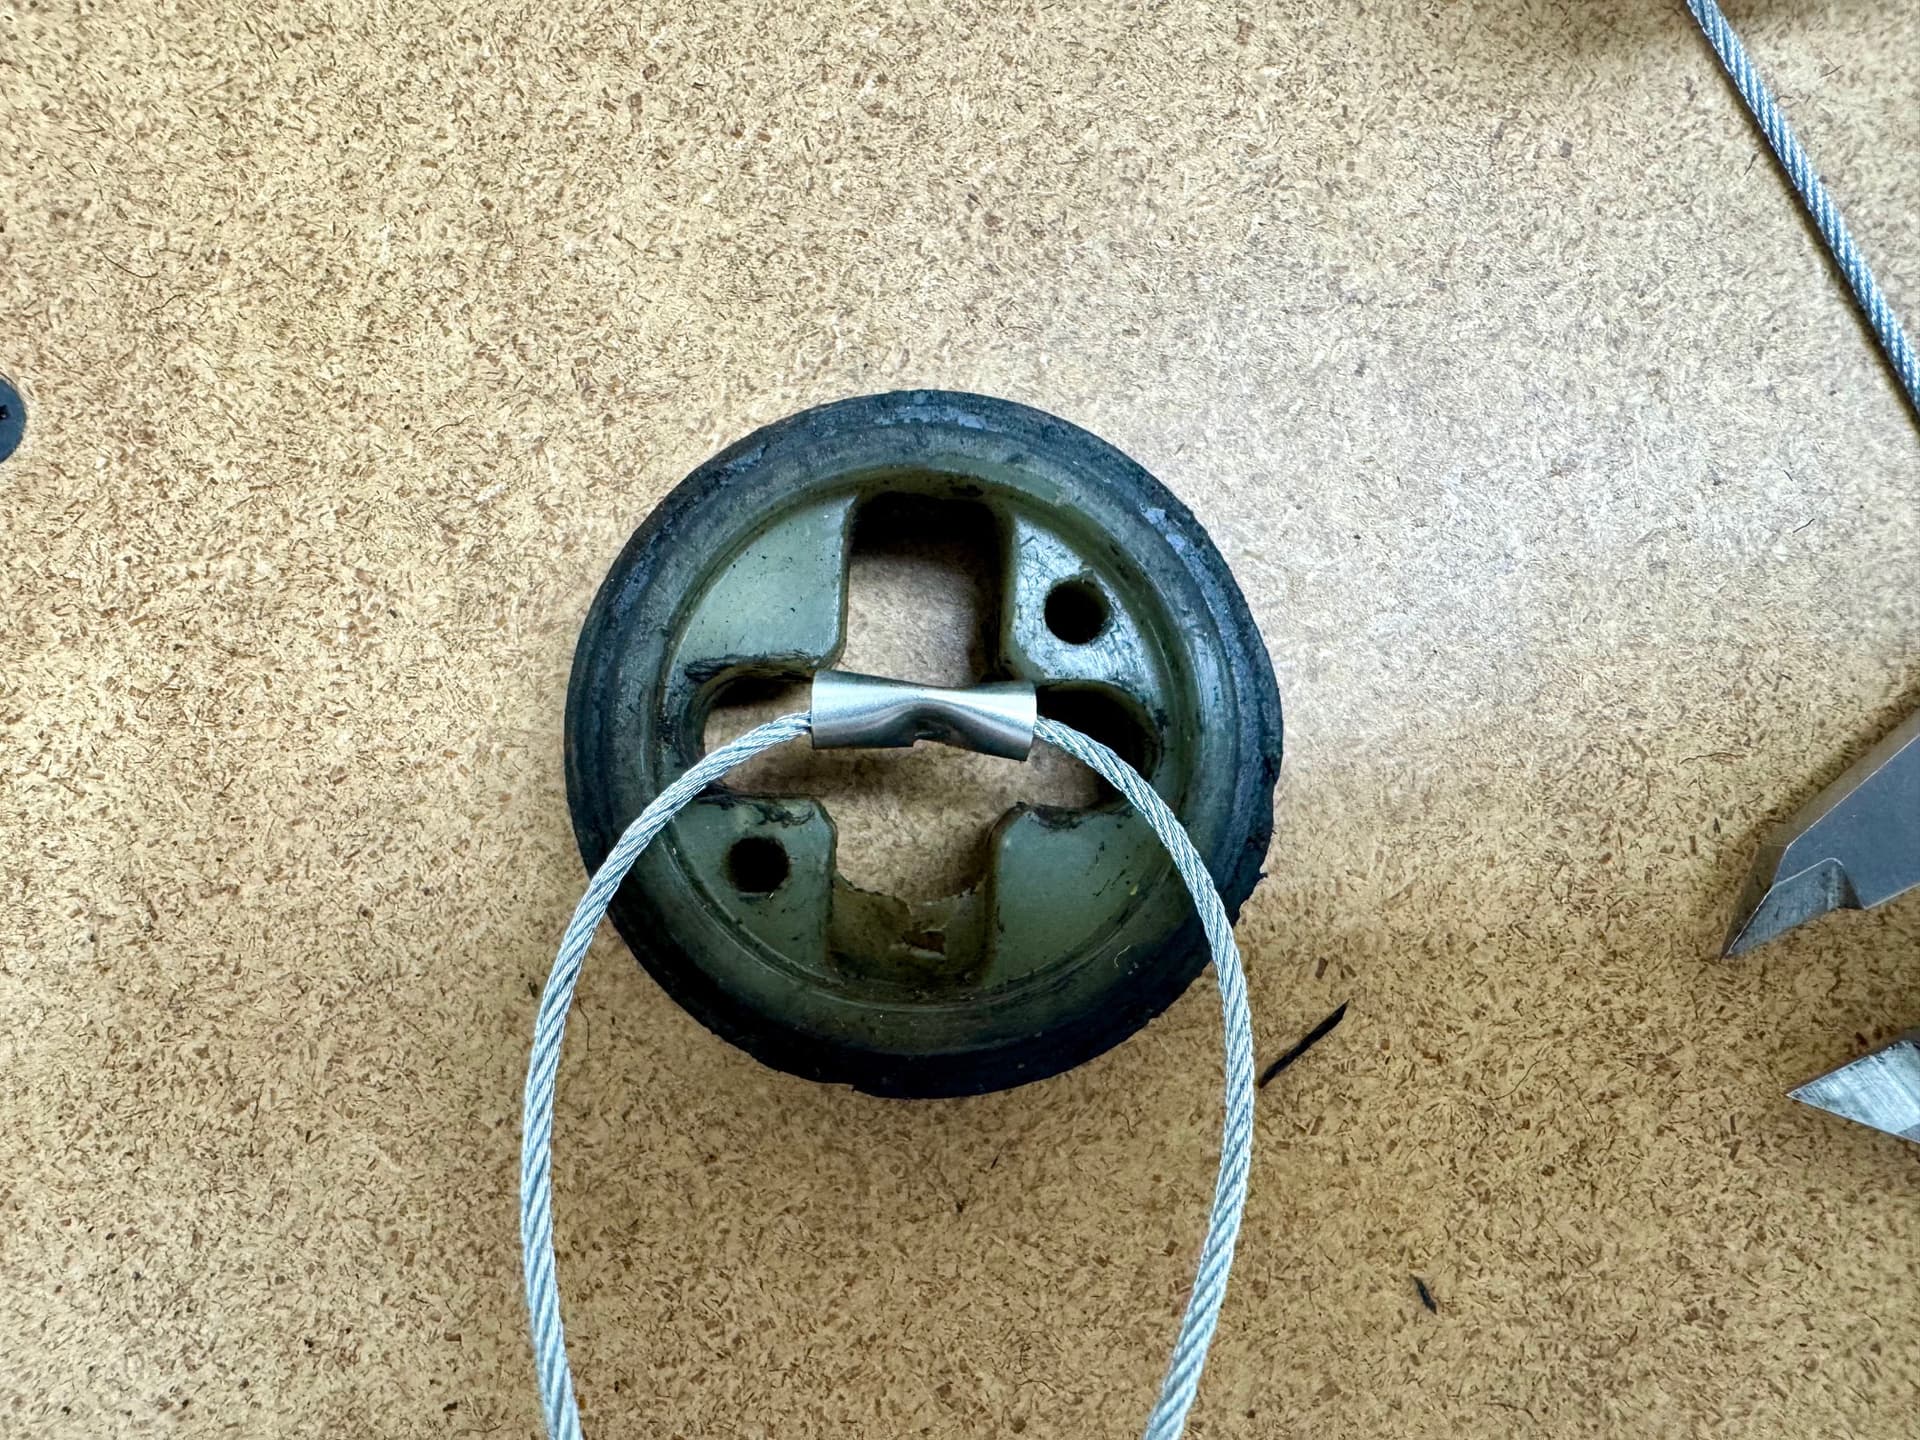
The window cable and clamps arrived. When attempting to install them, I discovered the drive pulley is damaged. The side of the groove is heavily bent in some places not allowing the cable to fully seat. I have another order with Sue that will ship soon, so I will ask her to include a new one. BTW it appears her supplier started using a longer crimp that eliminates the need for the knot in the drive pulley. It’s 15mm long, but the available space is only 11mm. Careful use of the hacksaw shorted it to a usable length.
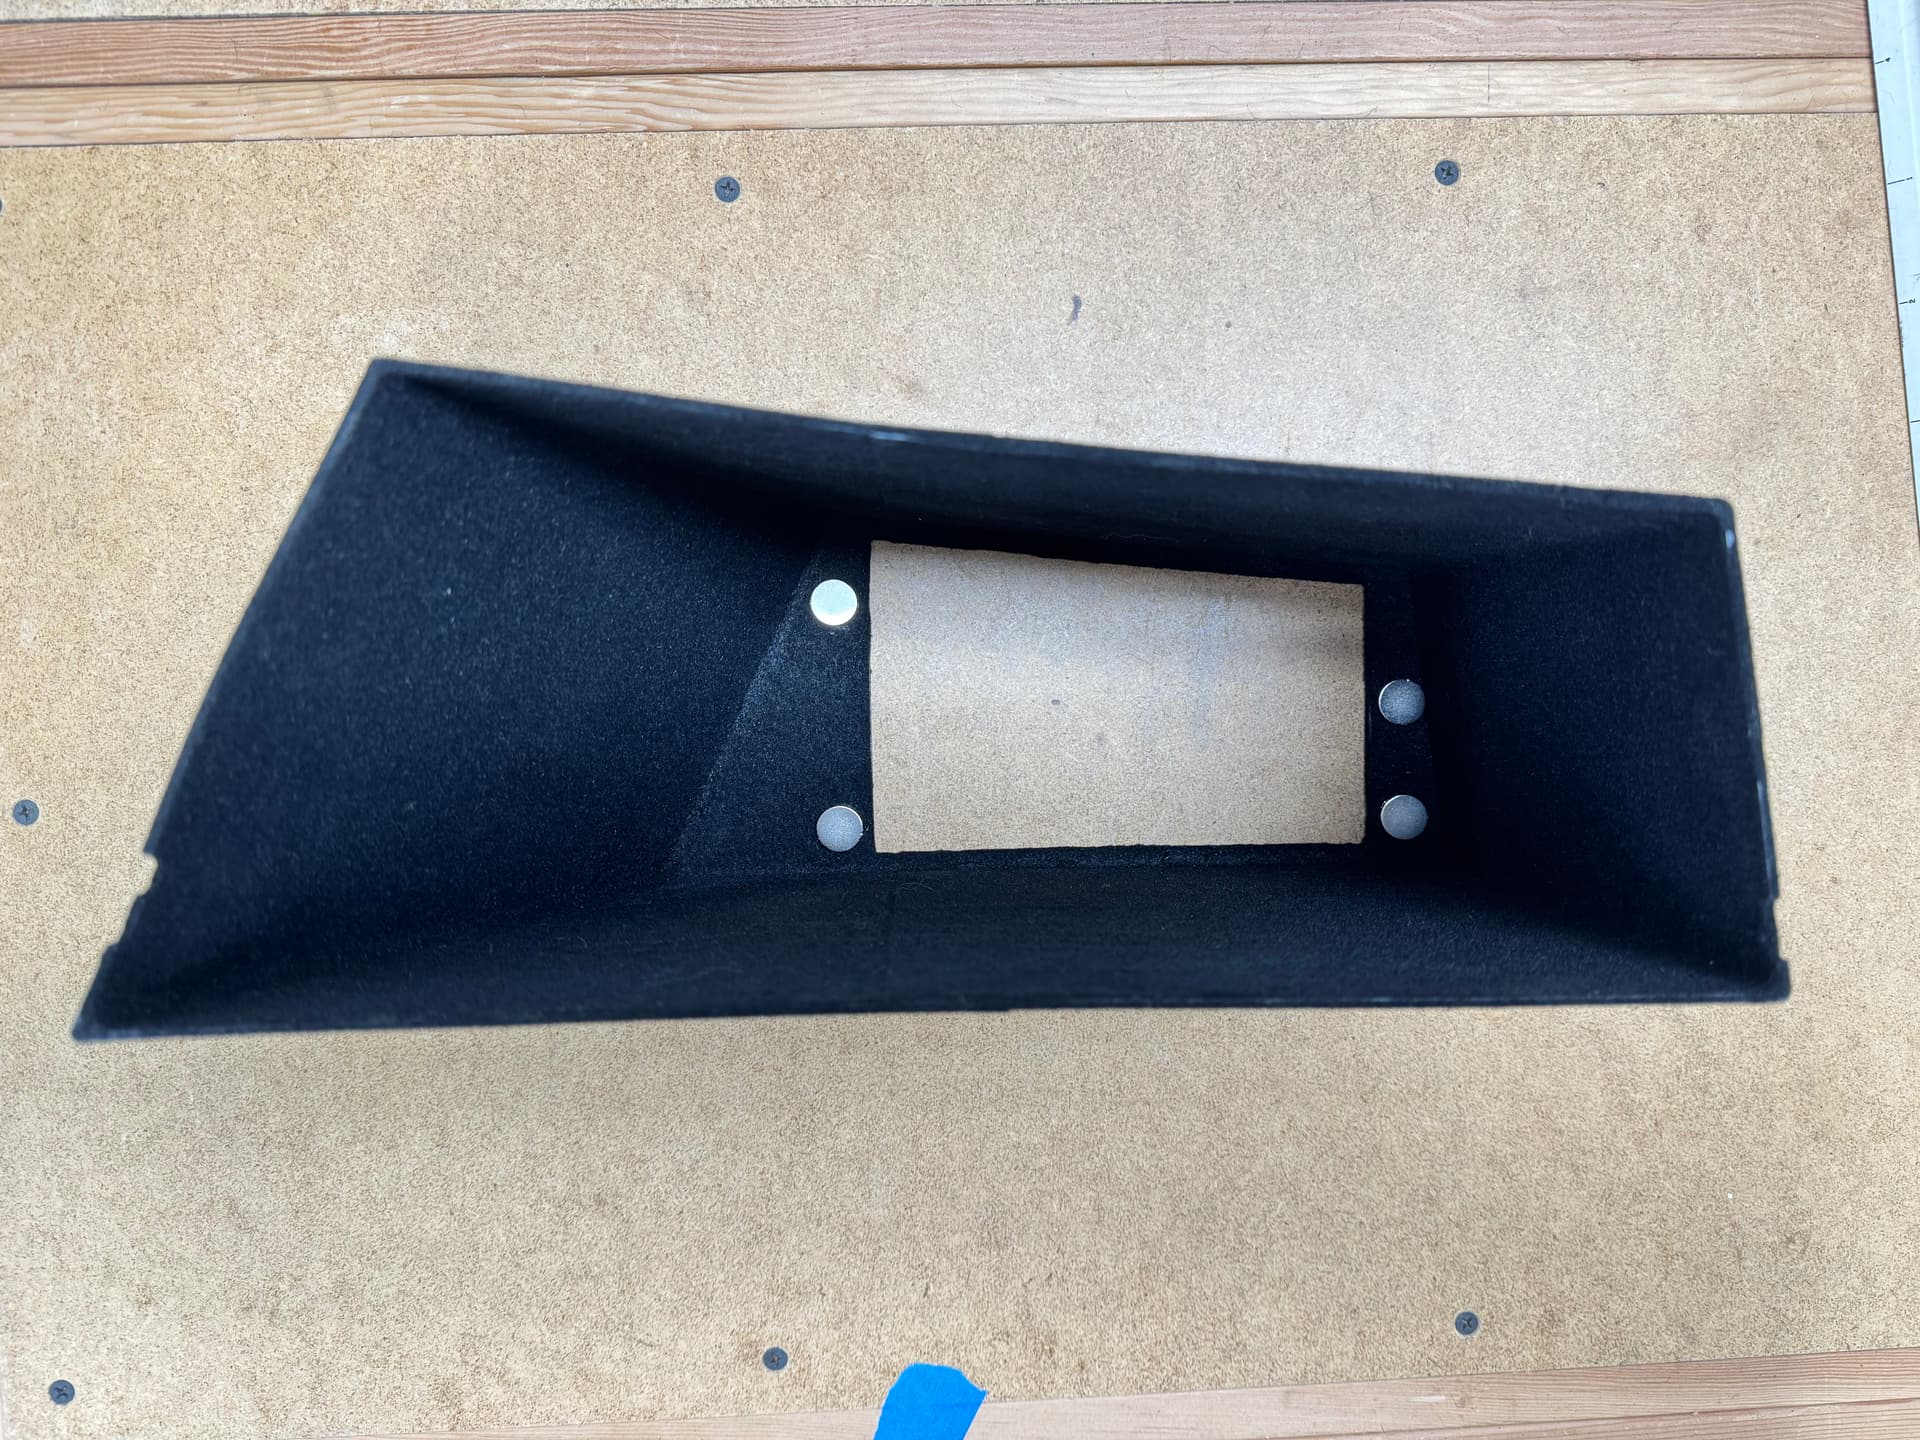
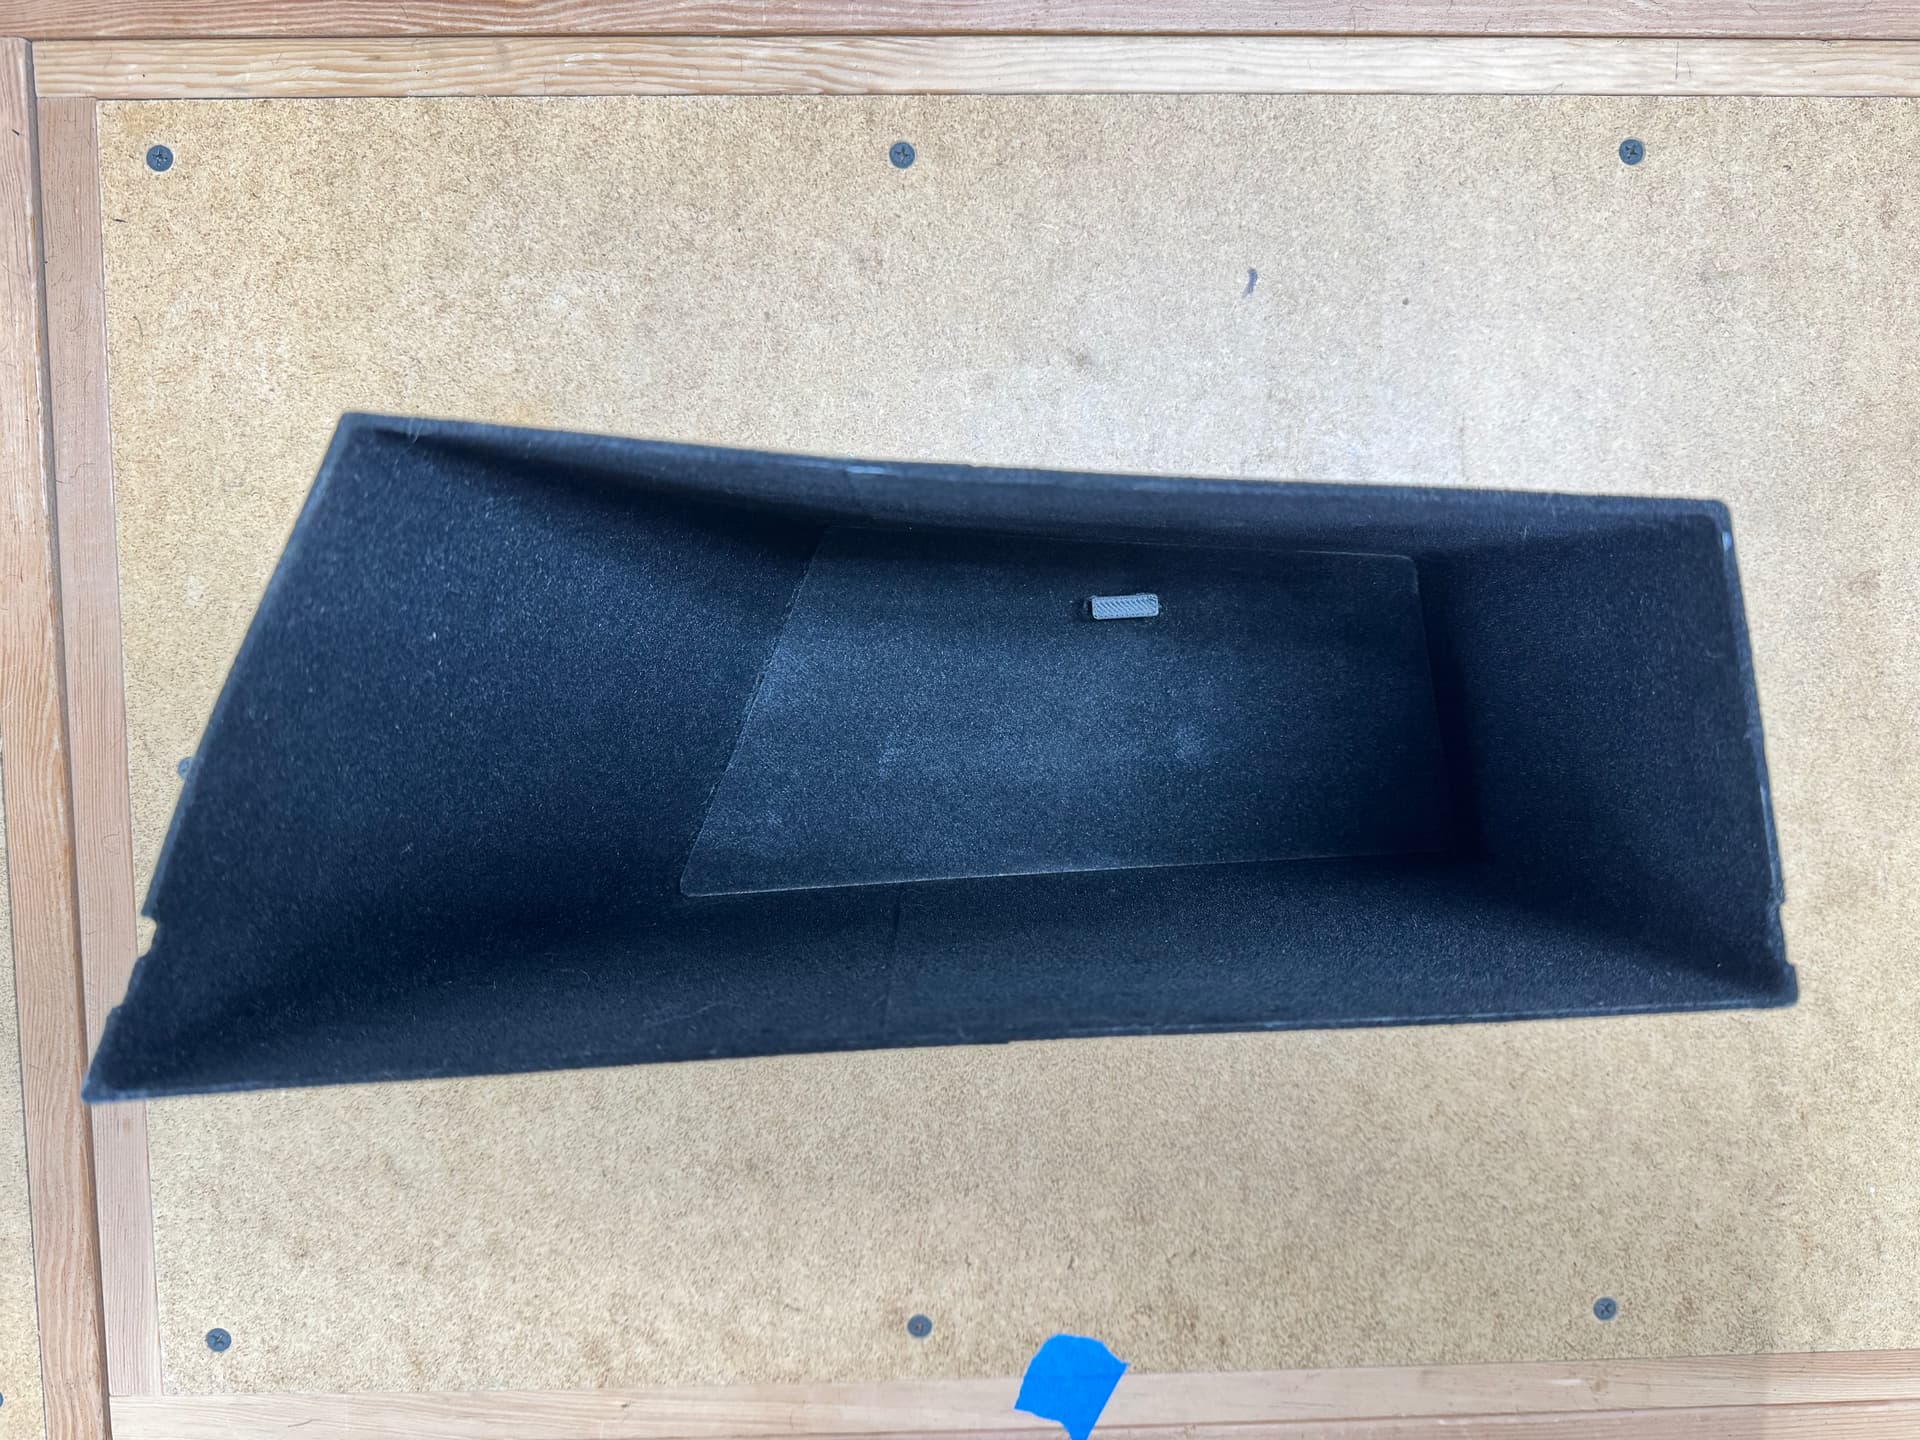
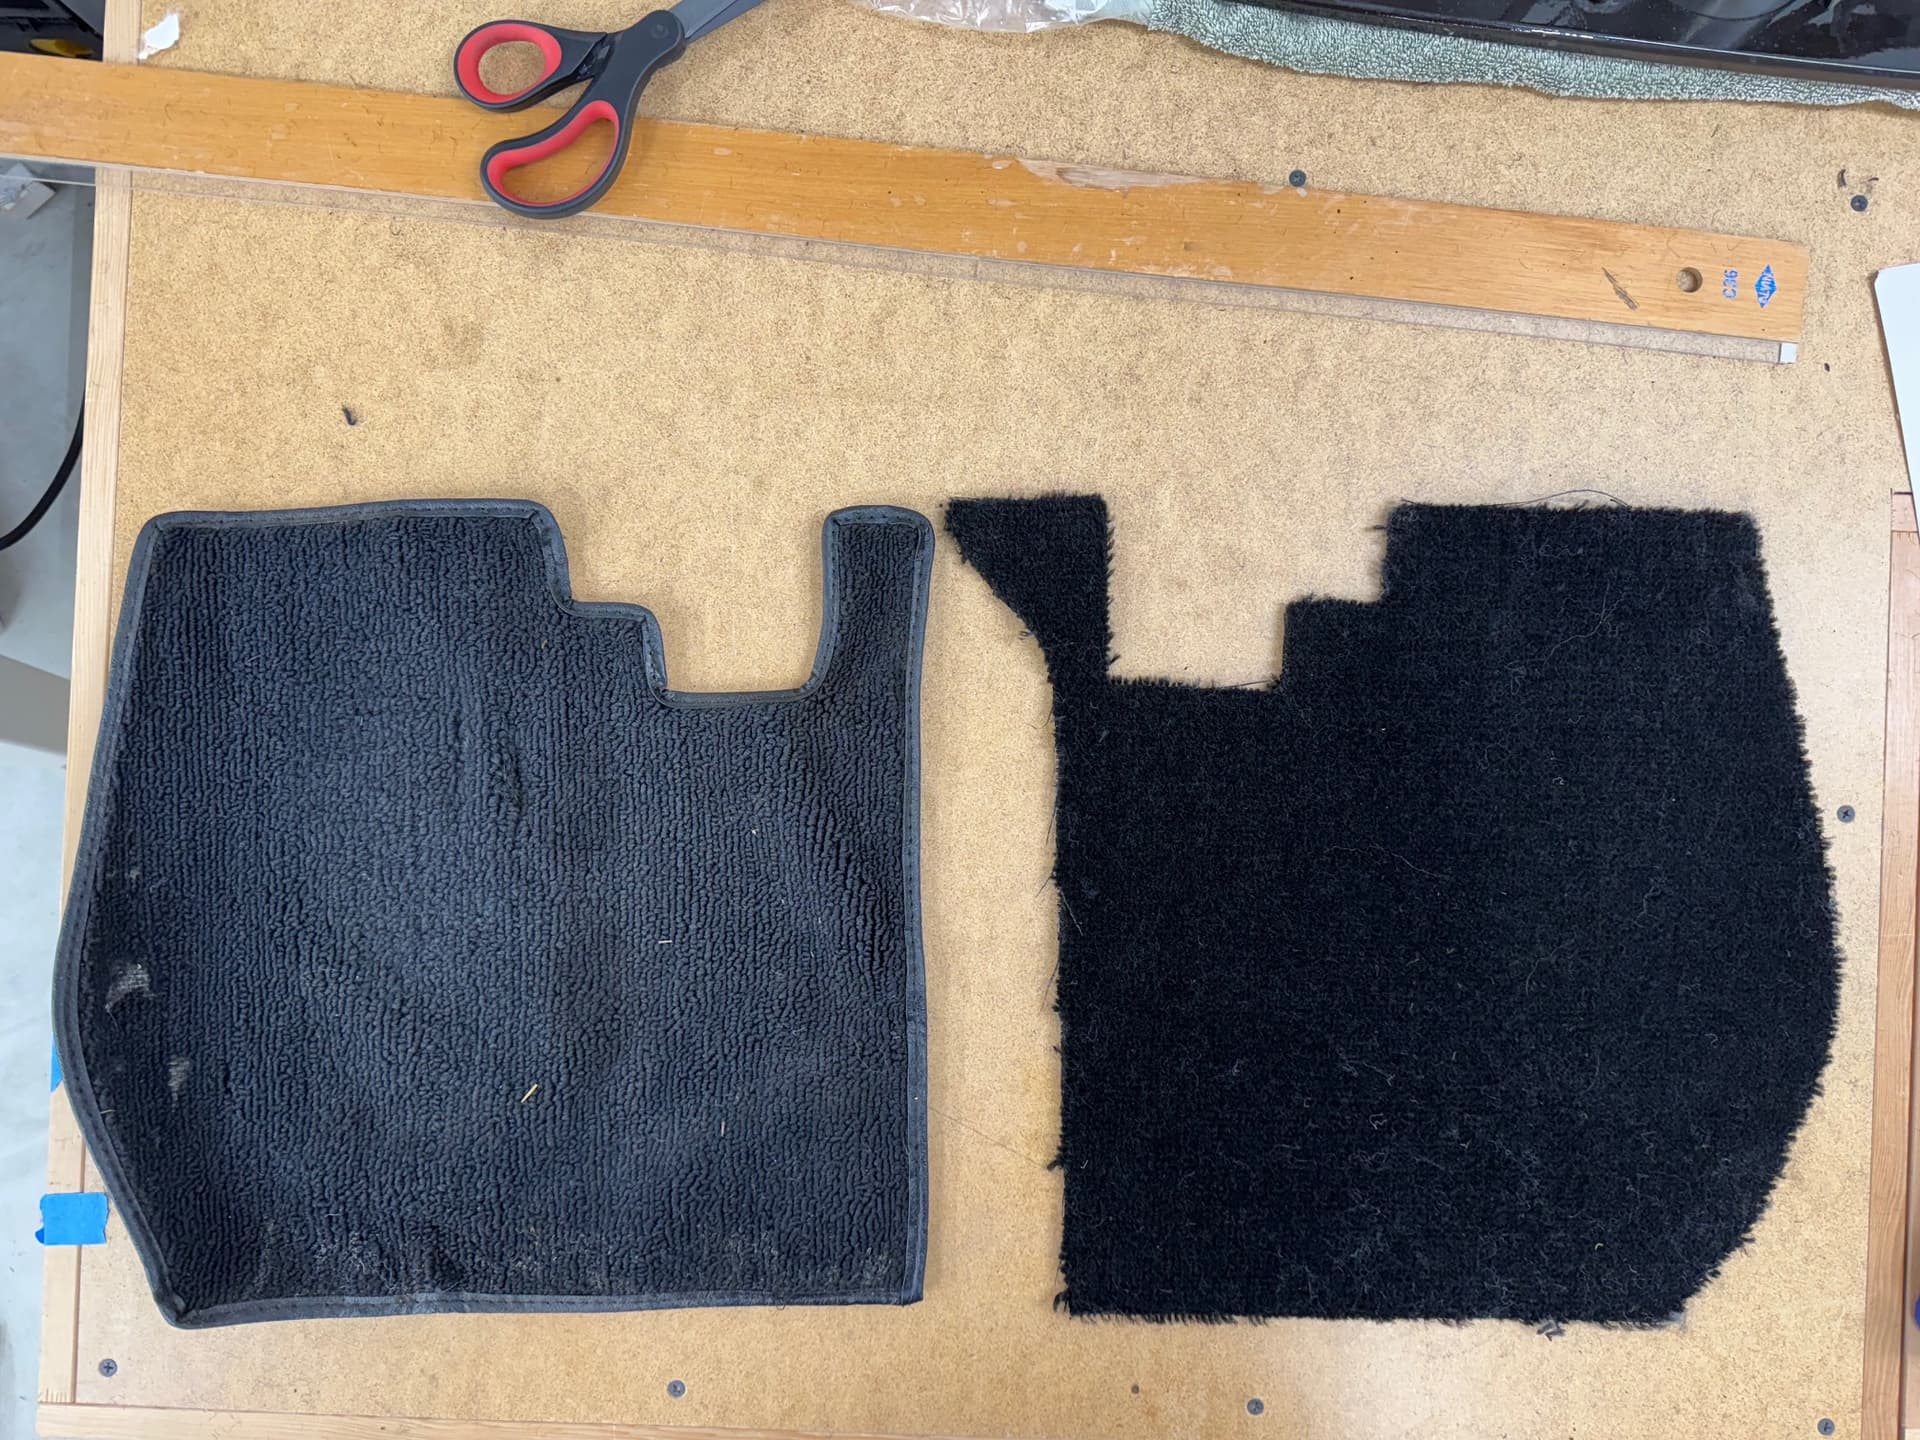
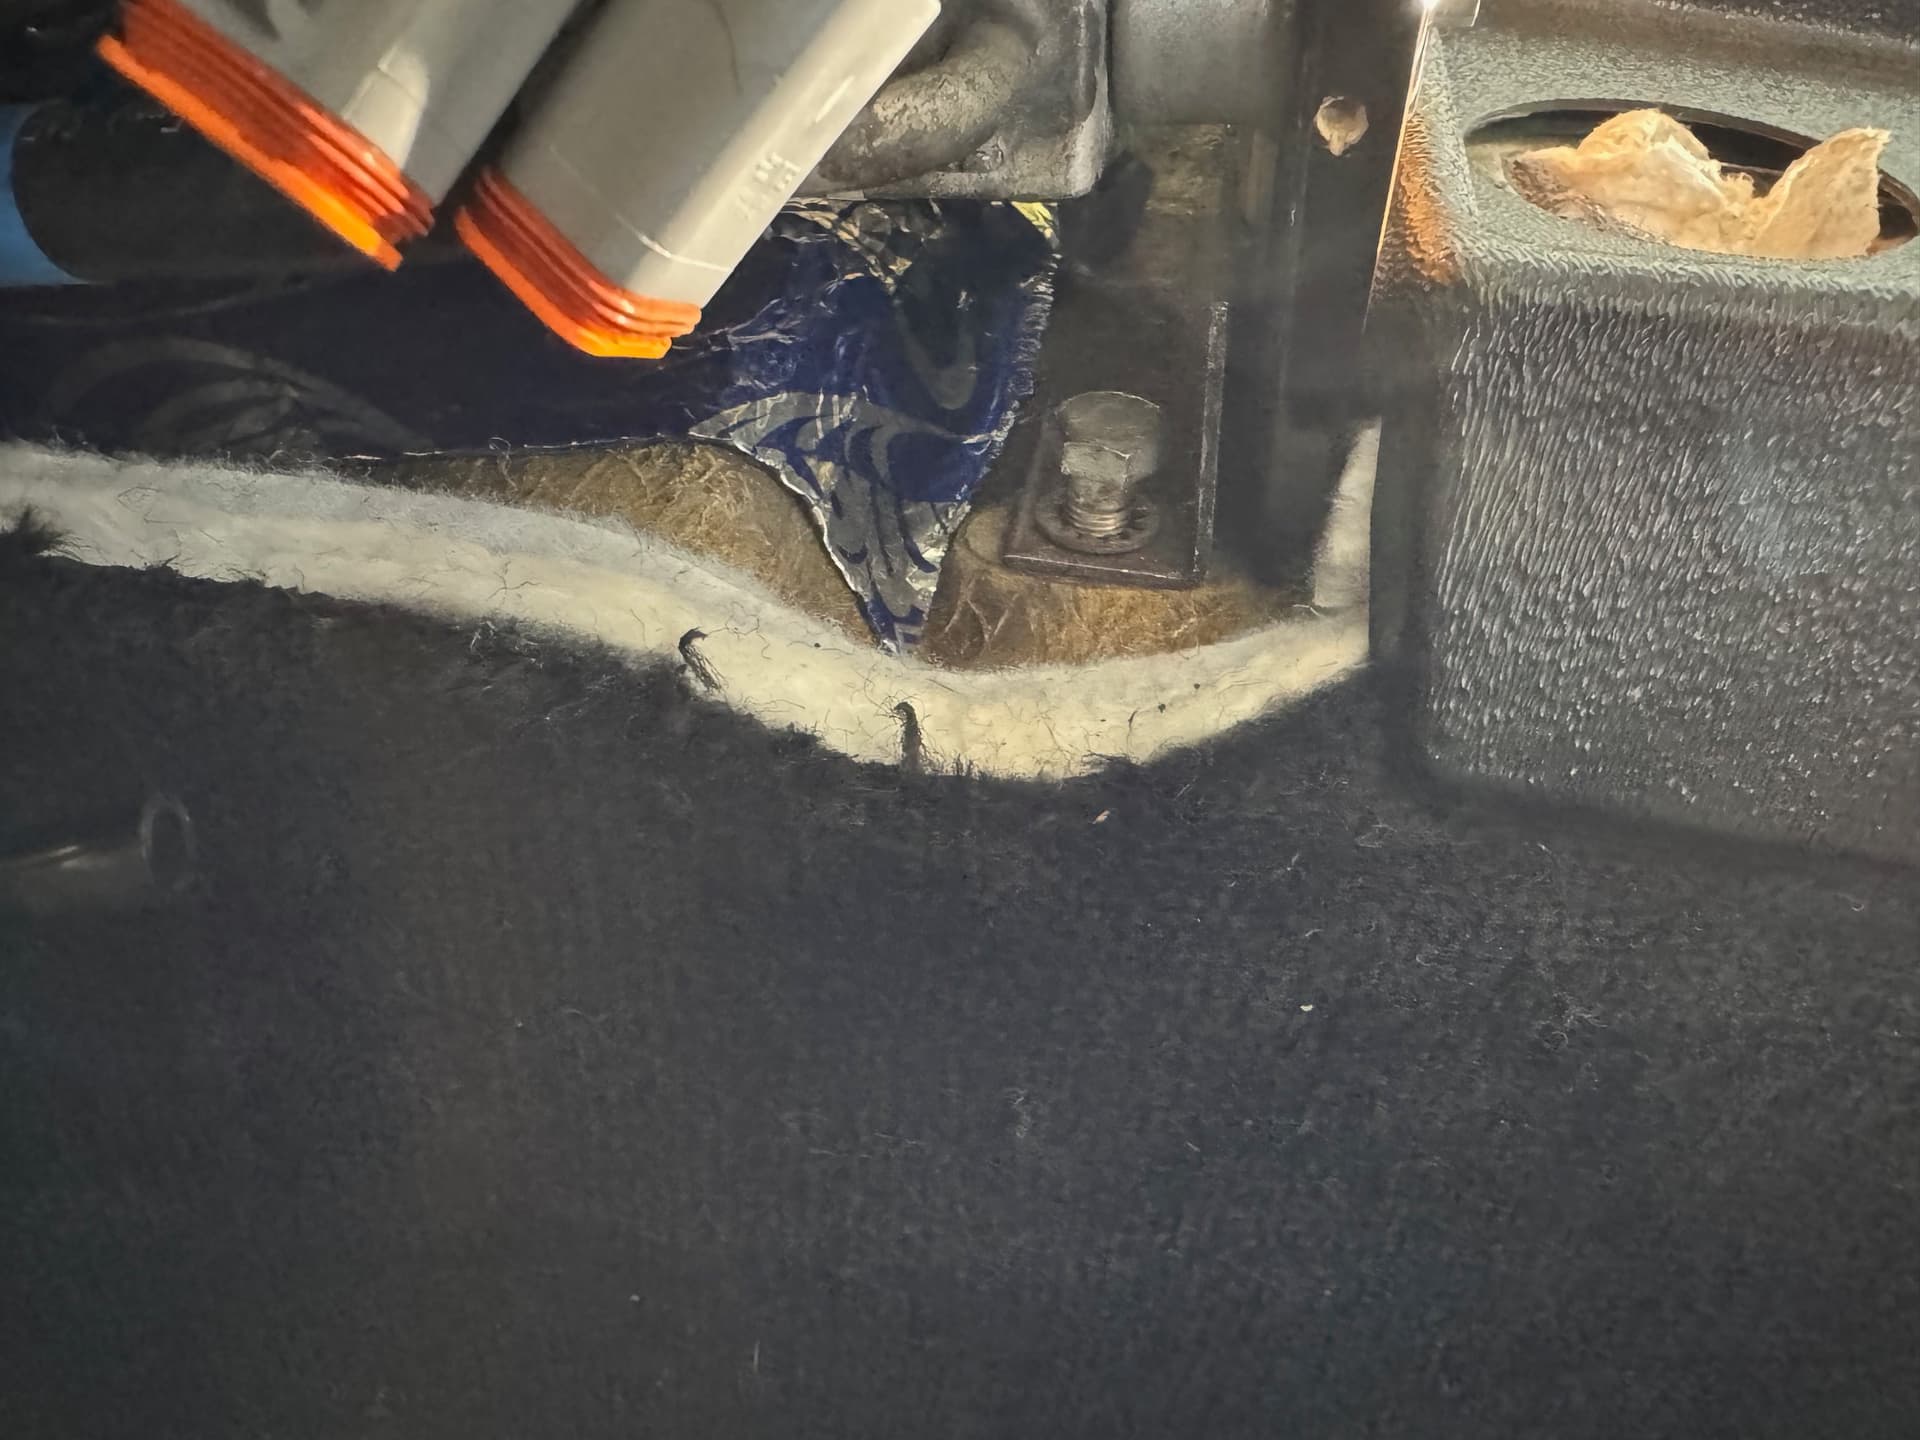
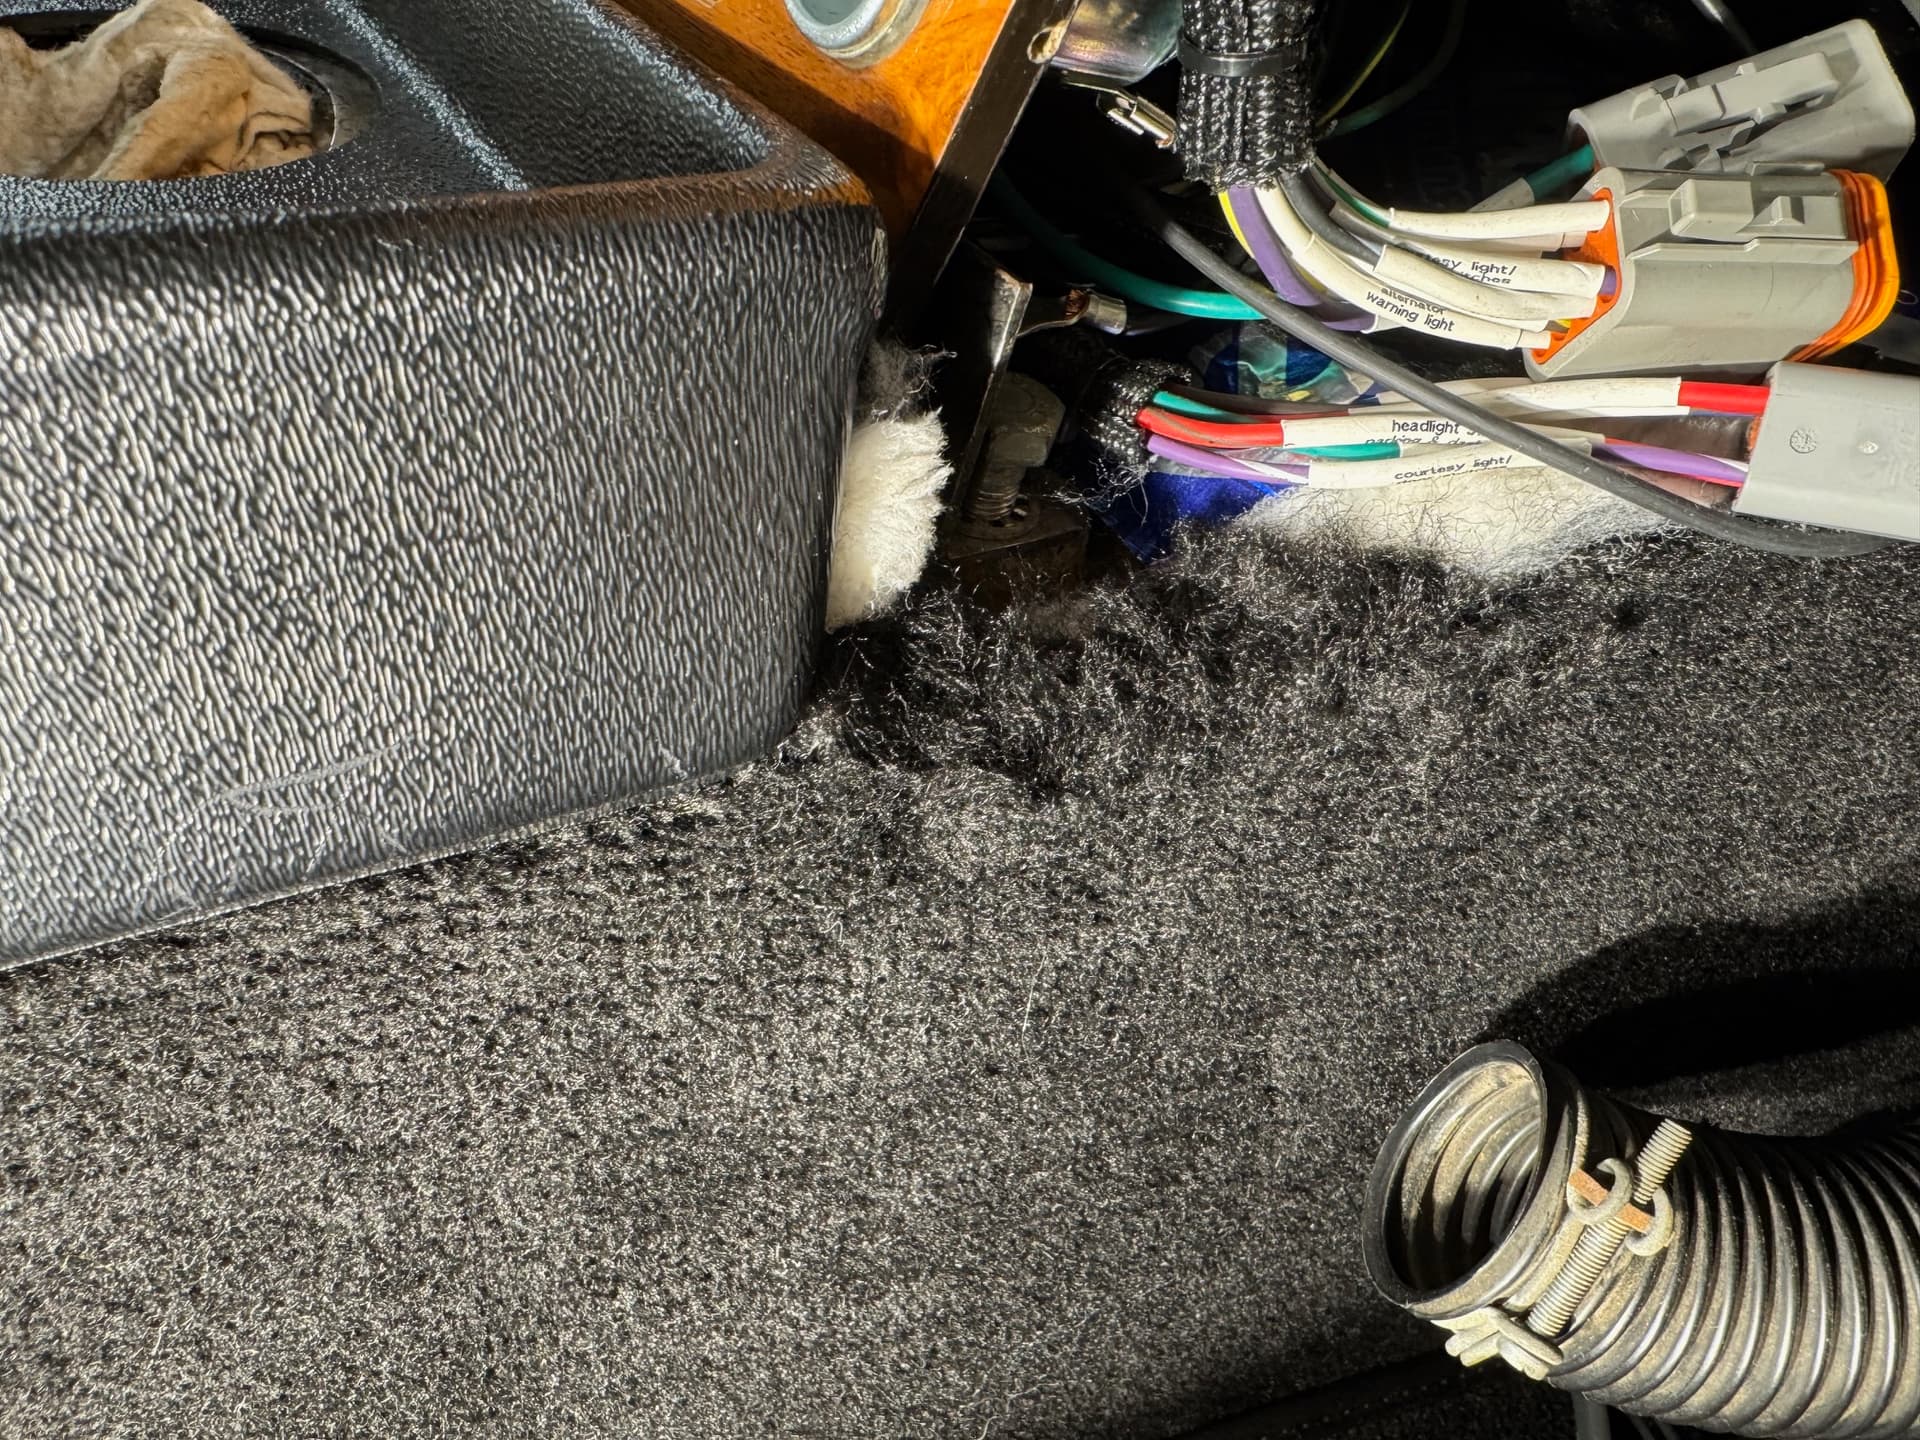
Sliding the old transmission tunnel cover in place then holding the passenger side valance cover to the dash revealed a pretty big oops; there was a small gap (1/8") above a section of carpet, allowing the white portion of the DEI to vividly shine through. Crap. I incorrectly assumed the curved cut out in the carpet was intended to be level with the curved section of the tunnel immediately behind where the dash attaches. It’s not. I forgot to take a photo, but this driver’s side shot shows the curved section. Fortunately, that side doesn’t have this issue.
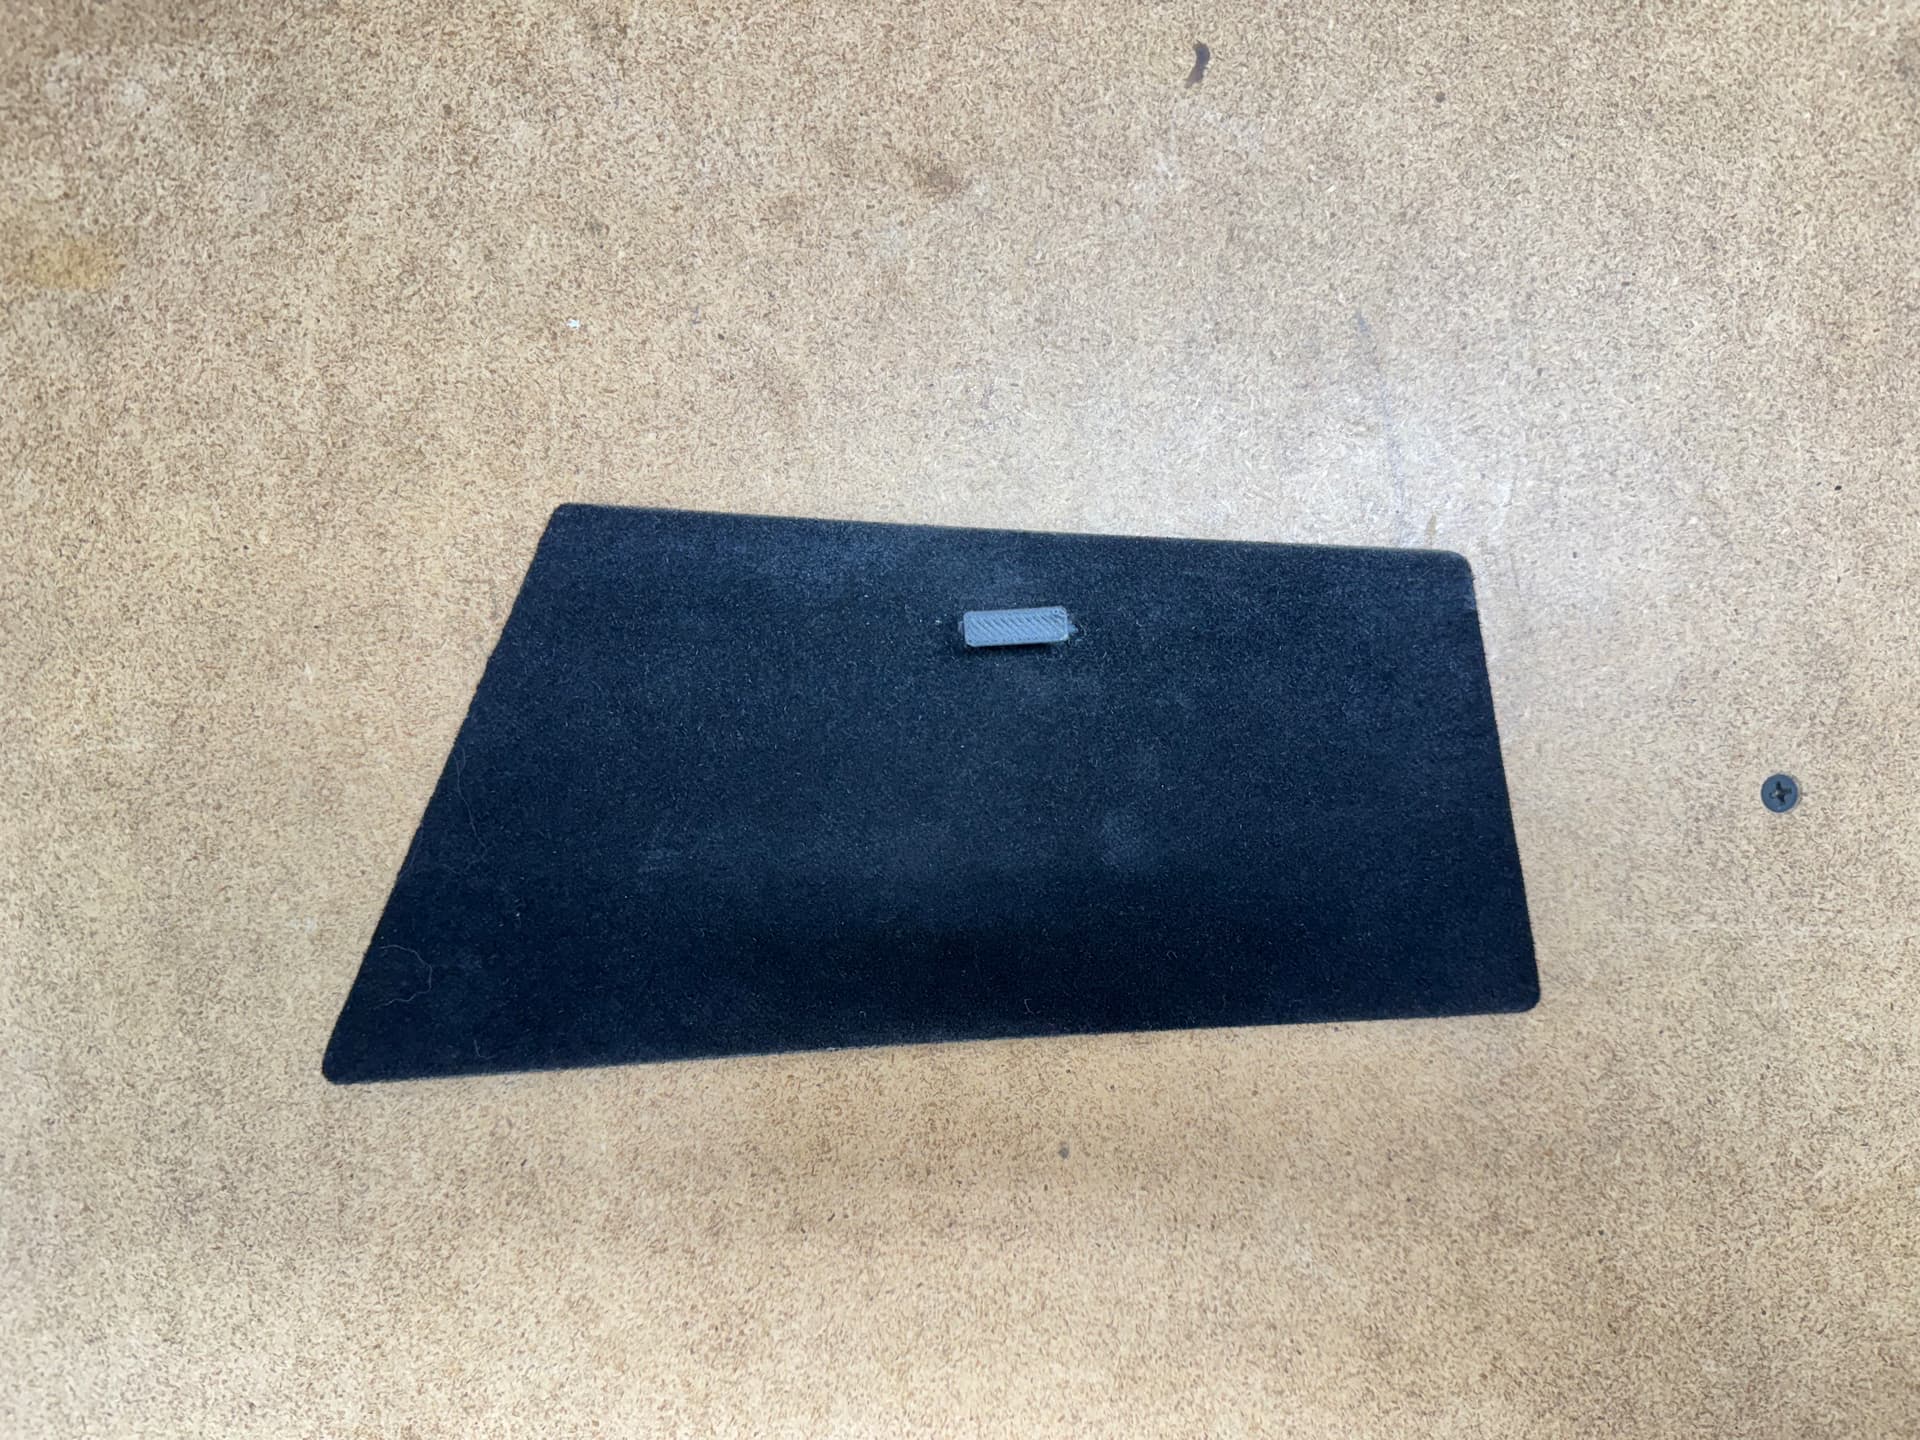
Since it’s in an otherwise inconspicuous area and it’s a very thin section, I used a razor blade to shave the pile off the carpet backing of a scrap piece, then lathered the offending section with contact cement, and pushed the fibers in place. It looks fine while still in the curing phase. We’ll see if it holds up.
As for the valance covers, my hope was that I could use low profile velcro rather than wood screws to secure them, but I don’t think that’s feasible. First it creates a gap bigger than I want, and second, given the fit isn’t perfect, there is a fair amount of flex in the plastic when held to the dash. I don’t think that type of velcro, or the adhesive backing, can securely keep it in place. I’ll now investigate installing some type of an insert or just take the easy path and use wood screws again.
-John