Heater valve clearance?

HI Phil
I hope you have changed the heater valve when you had the mount off as you need to jack up the engine a little to be able to screw the valve out and the new one in.

I use socket head bolts for the engine mount inserted from the rear as it is easiest to then hold them with an allen key when doing up the nut at the front. Do the top bolt first and then adjust the engine height until the bottom one lines up and insert it.

A heat shield around the exhaust side mount also prolongs its life. i stick the same aluminium faced kevlar heat shield sheet onto it that i use on the footwell fibregalss.

cheers
Rohan

Update as promised.

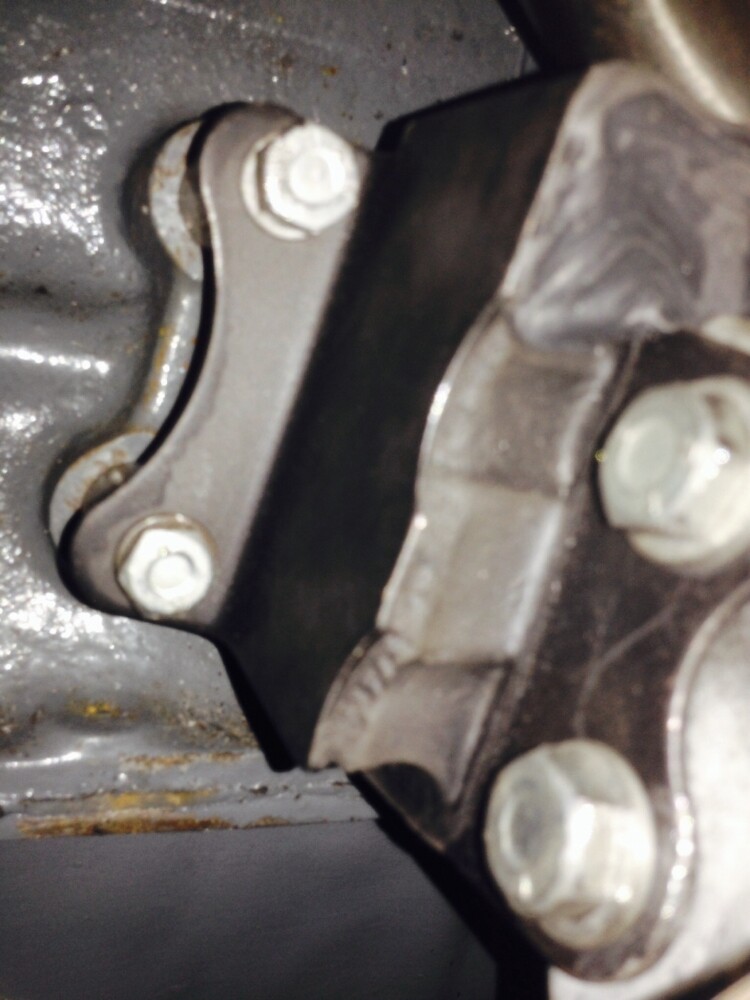
Well, I fitted the new, heavy duty engine mount as advised, and guess what ?- immediate SUCCESS!

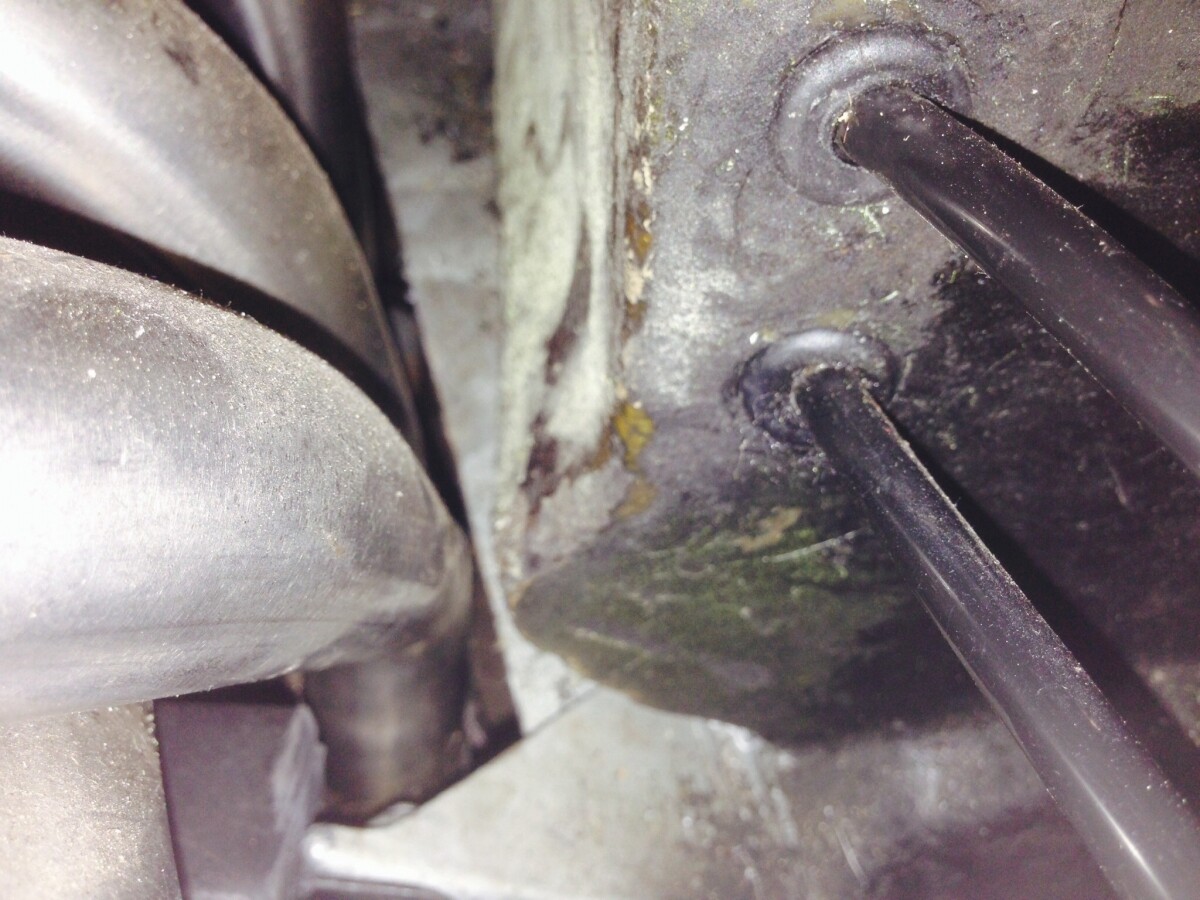
When I removed the existing LHS mount it all but fell apart in my hands ! (see picture attached)

I just can’t believe that this mount has failed!

The engine has not been run since the mount was installed, the engine has just been suspended on the mount and it’s been sitting in my garage with no stress on it, for 5 years - and failed !!!

Conclusion: This must have been one from the batch (at that time) that there were problems with ?

Just as a matter of interest, it appears that the rubber was vulcanised (if that’s the correct terminology?) to painted steel parts of the bracket - as I can detect black paint on the metal where the rubber has become un-attached ?

I wouldn’t have thought it was a good idea to bond the rubber to a painted surface ?

Least ways the new mount installation has pretty well cured all the issues in one hit -
Namely:-

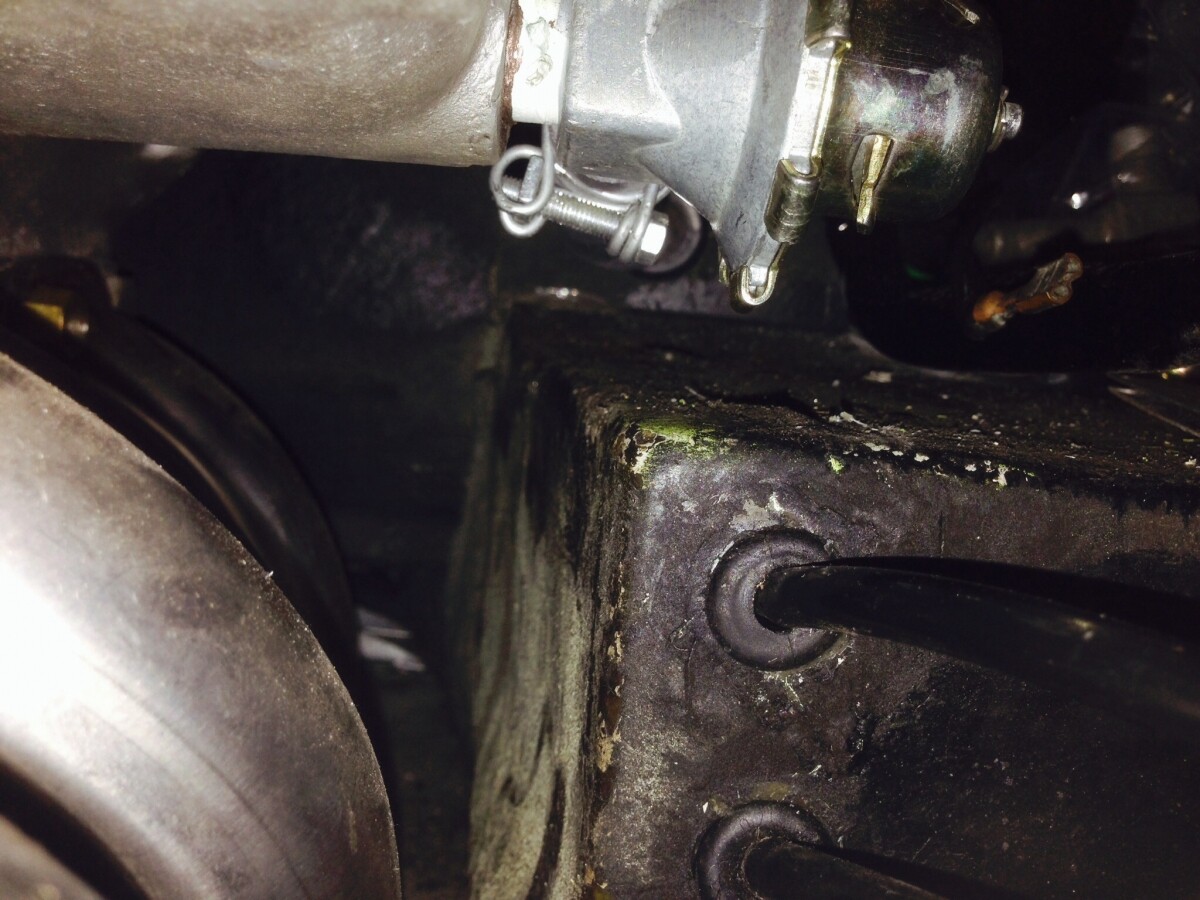
More clearance under the heater valve (25mm now)

More clearance between the fibreglass footwell and the exhaust down pipes 1/4" ?

Obviously more rigid support of the engine( Rohan I really appreciate your advice but I read it too late! - so must admit I did forget to change the Heater valve whilst in progress - dummy me !!!)

Totally pleased with the outcome,

So, I’d just like to say a big thanks to all you guys on this Forum, who suggested I check the engine mounts, etc., and offered suggestions.

Great advice, great help, much appreciated.

Job jobbed !

Regards,

Phil.


“( Rohan I really appreciate your advice but I read it too late! - so must admit I did forget to change the Heater valve whilst in progress - dummy me !!!)”

Phil,
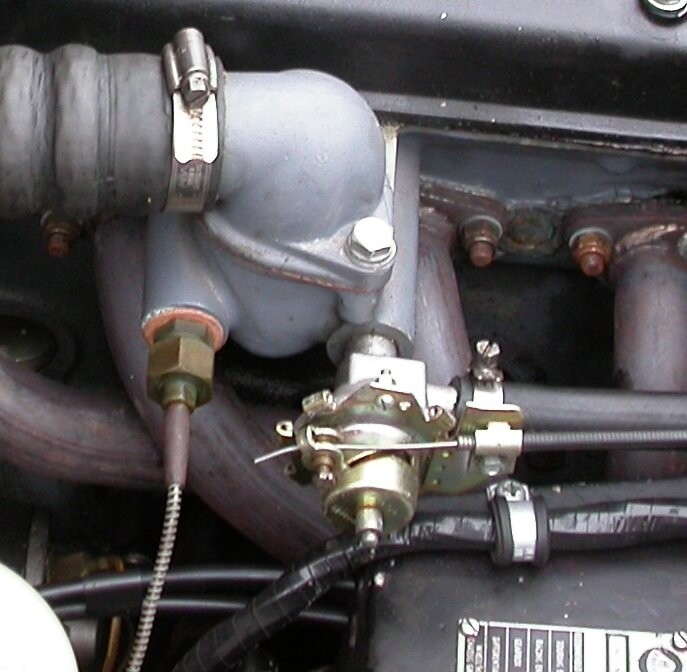
If you don’t want to undo the L/H engine mount to raise the engine to change the heater valve, there is another method you can use to achieve the correct orientation of the valve. To do this, the section of the valve that carries the diaphragm and the operating mechanism are removed from both valves and the parts swapped over.
If you refer to my photos above, you can see a pop rivet at the top of the valve. This rivet needs to be drilled out of both valves to allow disassembly. Twist the operating half of the valve (cw or ccw shouldn’t matter) whilst holding the back of the valve, about 5 or 10 degrees, and carefully withdraw the innards. Swap over, replace rivet and all should be okay.
Cheers.
Colin.

This may be of interest.

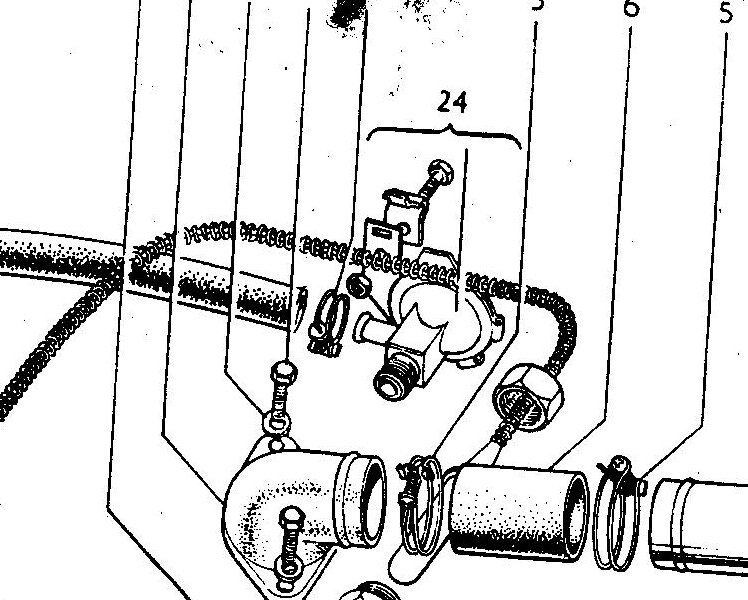
The configuration of the heater control valve within the S1 workshop manual is different to that posted by Colin above.

The control cable is connected to the top of the valve - giving more clearance beneath the valve.

I have this type of valve (purchased from a Land Rover parts supplier) fitted to my car:

It now seems that the vast majority of valves which are for sale are of the type shown in Colin’s post rather than that shown in the S1 manual.

However I did find this one:
famousfour.co.uk/new_parts/p … rtID=15121

Steve, Colin, Rohan,

Interesting info on both accounts thanks!

I purchased the valve with the ‘Top Mounted’ control from ebay some years ago, thinking it was the correct one, it was advertised as suitable for Lotus, so no complaints there, but didn’t realise it was for S1 models only !

The only real issue here is that this valve works in the opposite direction to the other one, i.e. Pull the control knob to shut and vice versa to open, but does give more clearance below.

I think now that the new engine mount has cured the clearance issue with the footwell, I’ll use the S4 type recommended valve, to ensure the dash board control knob is pushed in during normal UK summer weather conditions, as the use in winter is not so often in my case with the control pulled out of the Dash - not that it’s really an issue is it?

Just trying to retain originality to some degree.

Obviously, there are several options here which is a good thing no doubt?

Thanks for the infinite detail answers, it’s very much appreciated, and hopefully will be of reference for others.

Best regards,

Phil.

Pardon for reviving a thread.

Putting the car back together and I have found the bonnet to cam cover clearance is nil.

Looking at this thread it would appear that the height between the top of the new mounts I have purchased and the bit that attaches to the chassis is 28mm not 23mm as noted in an earlier post.

Can someone advise what the bonnet and cam cover clearance should be and also would it be ok to slot the mount by 5mm?

Cheers.

This topic was automatically closed 180 days after the last reply. New replies are no longer allowed.