12.5mm hole in aluminium and the nylon was trimmed to an interference fit, but I also smeared it with Methacrylate Adhesive which was probably not required but I have it to hand. I trimmed the end as the square hole was buggered. This left approx 15mm but on the next two the nylon will be flush with the top of the aluminium.
I always smile when I see what you’ve created, keep it up! I’ve had same issue with the black versions and did same as you, tap on hinge, die on them etc no luck, I suspect that its a slight change in temp and expanding. I did managed to get them fitted by using silicon spray, but still caused some damage to the square keyway.
Can’t remember the name of the material, but I’ve now obtained a plastic material with high moly (??) content and extremely hard, the moly helps lubricate the surface. I don’t have your skills but have a friend who has a lathe and skills thankfully.
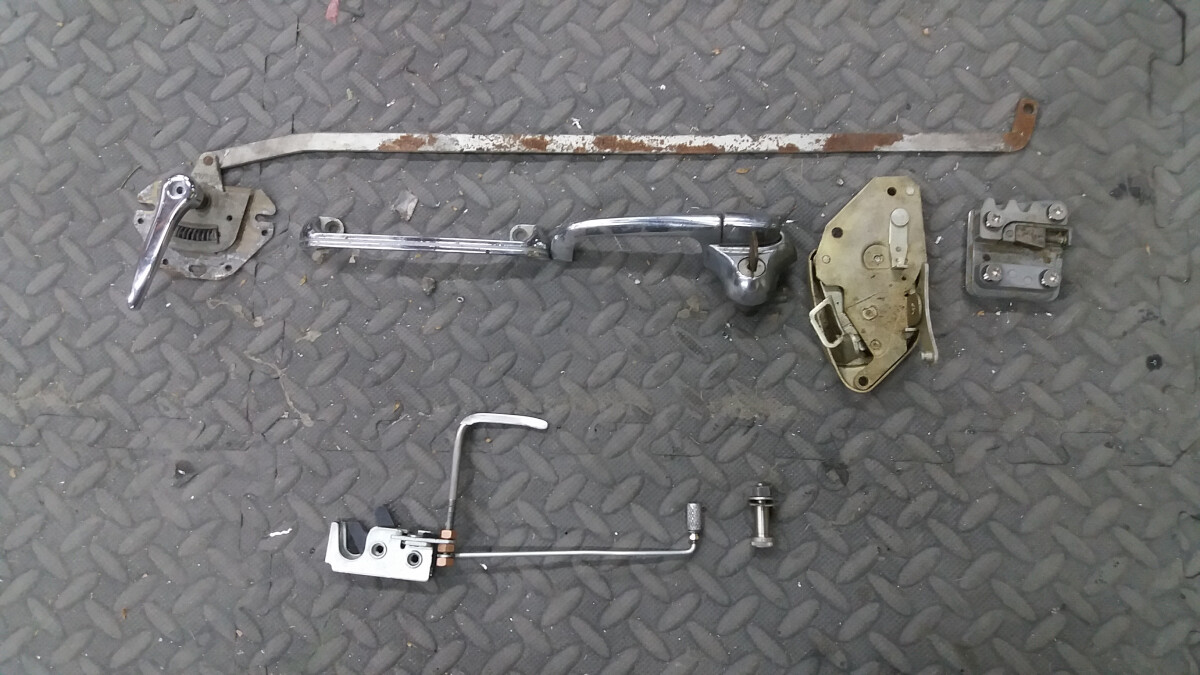
Decided to see how much weight I have removed from the latching/locking mechanism. Difference in weight is just over 1kg (1.219 to 0.184kg) so a total of 2kg removed from car. With regard to the hinge adjusters, I have now made all three required but will probably make 4 just to satisfy my OCD . Adjusters are 1gm heavier but the locks are 15gms lighter so an overall saving of 56gms
I am glad that you like my posts, makes the hassle worth it
The lathe has paid for itself many times over and makes life much easier. Simple things like washers, studs, threads are simple to make and done in minutes.
Finally started the job I have been thinking about for over a year and not been looking forward to tackling, door window frames. Made the second frame yesterday and started on the fitting process. I have no idea how I am going to secure it as it needs to be pretty rigid, so I am just going for it and will see how it pans out.
Friday, as it was my son Alex’s birthday and we had a gocart racing/bingo/trivial pursuit party, was the first lockdown day that I didn’t work on the car! However, I have made quite a bit of progress over last few weeks and there is not a lot of bodywork left to do.
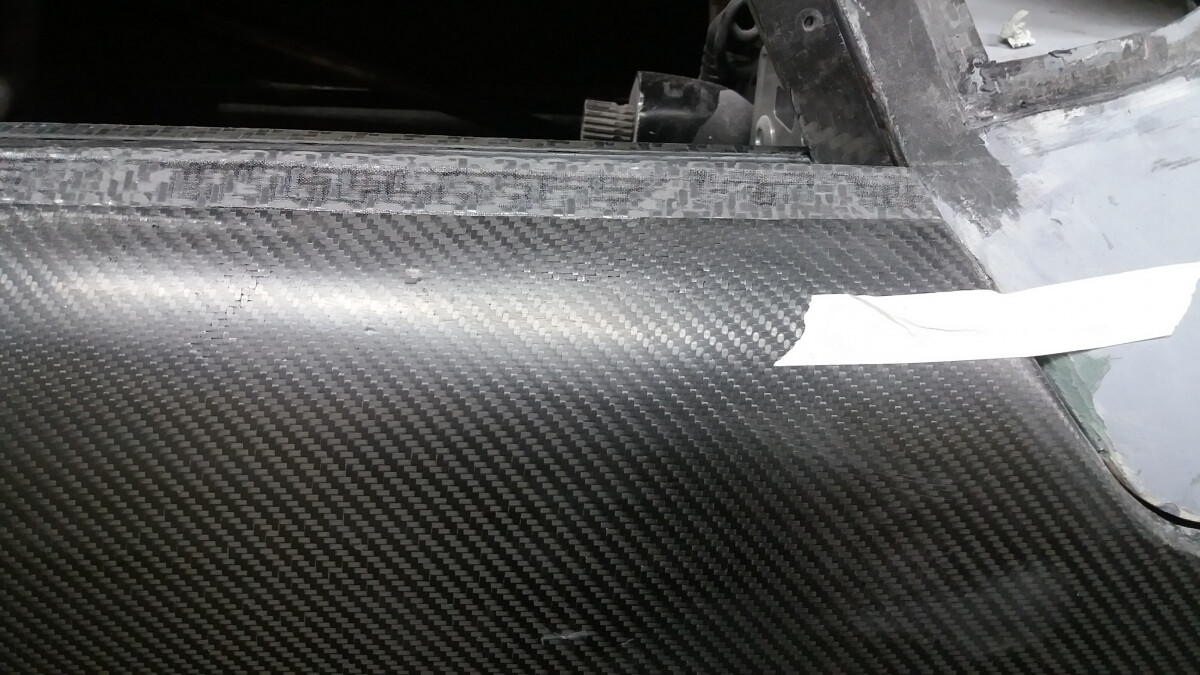
The roof and doors were the last big jobs (still have to make a rear diffuser but that can wait). Roof is on, passenger door is well on the way and the driver’s door is in progress.
All that will be left after this will be details and I can then start the paint process as I have decided, finally, on the paint scheme.
Decided to order the polycarbonate for the side and rear windows today. I was pleasantly suprised that it was still available as I had assumed that it would have all gone to make shields and barriers. Well, a lot has and some suppliers are prioritising these uses but I found a couple that can supply with only an extra week added to the shipping time.
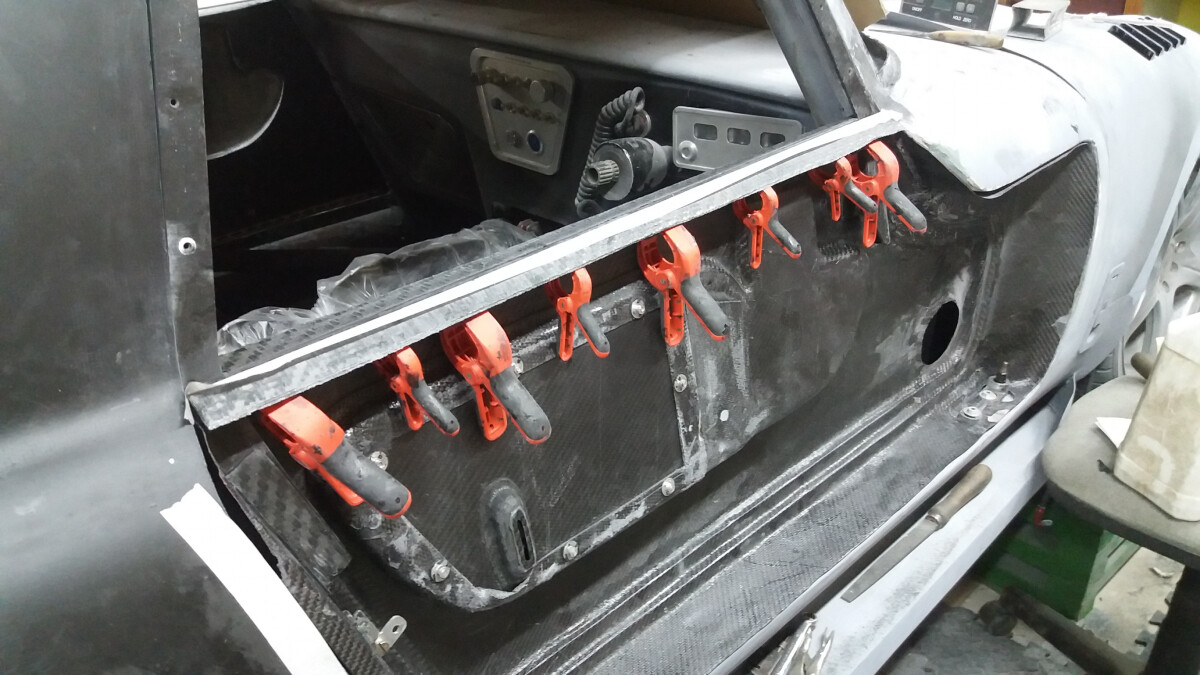
Passenger door finally complete and surprisingly stiff now the inner skin is glued on. Now begins the task of making it presentable and ready for paint.
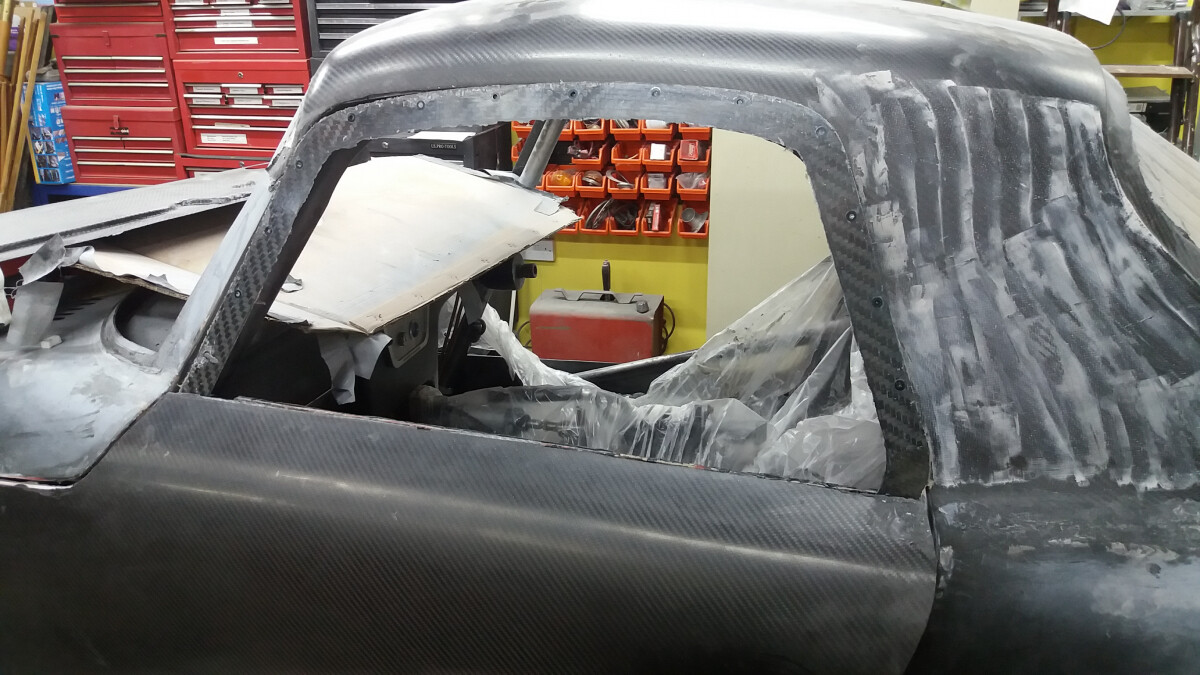
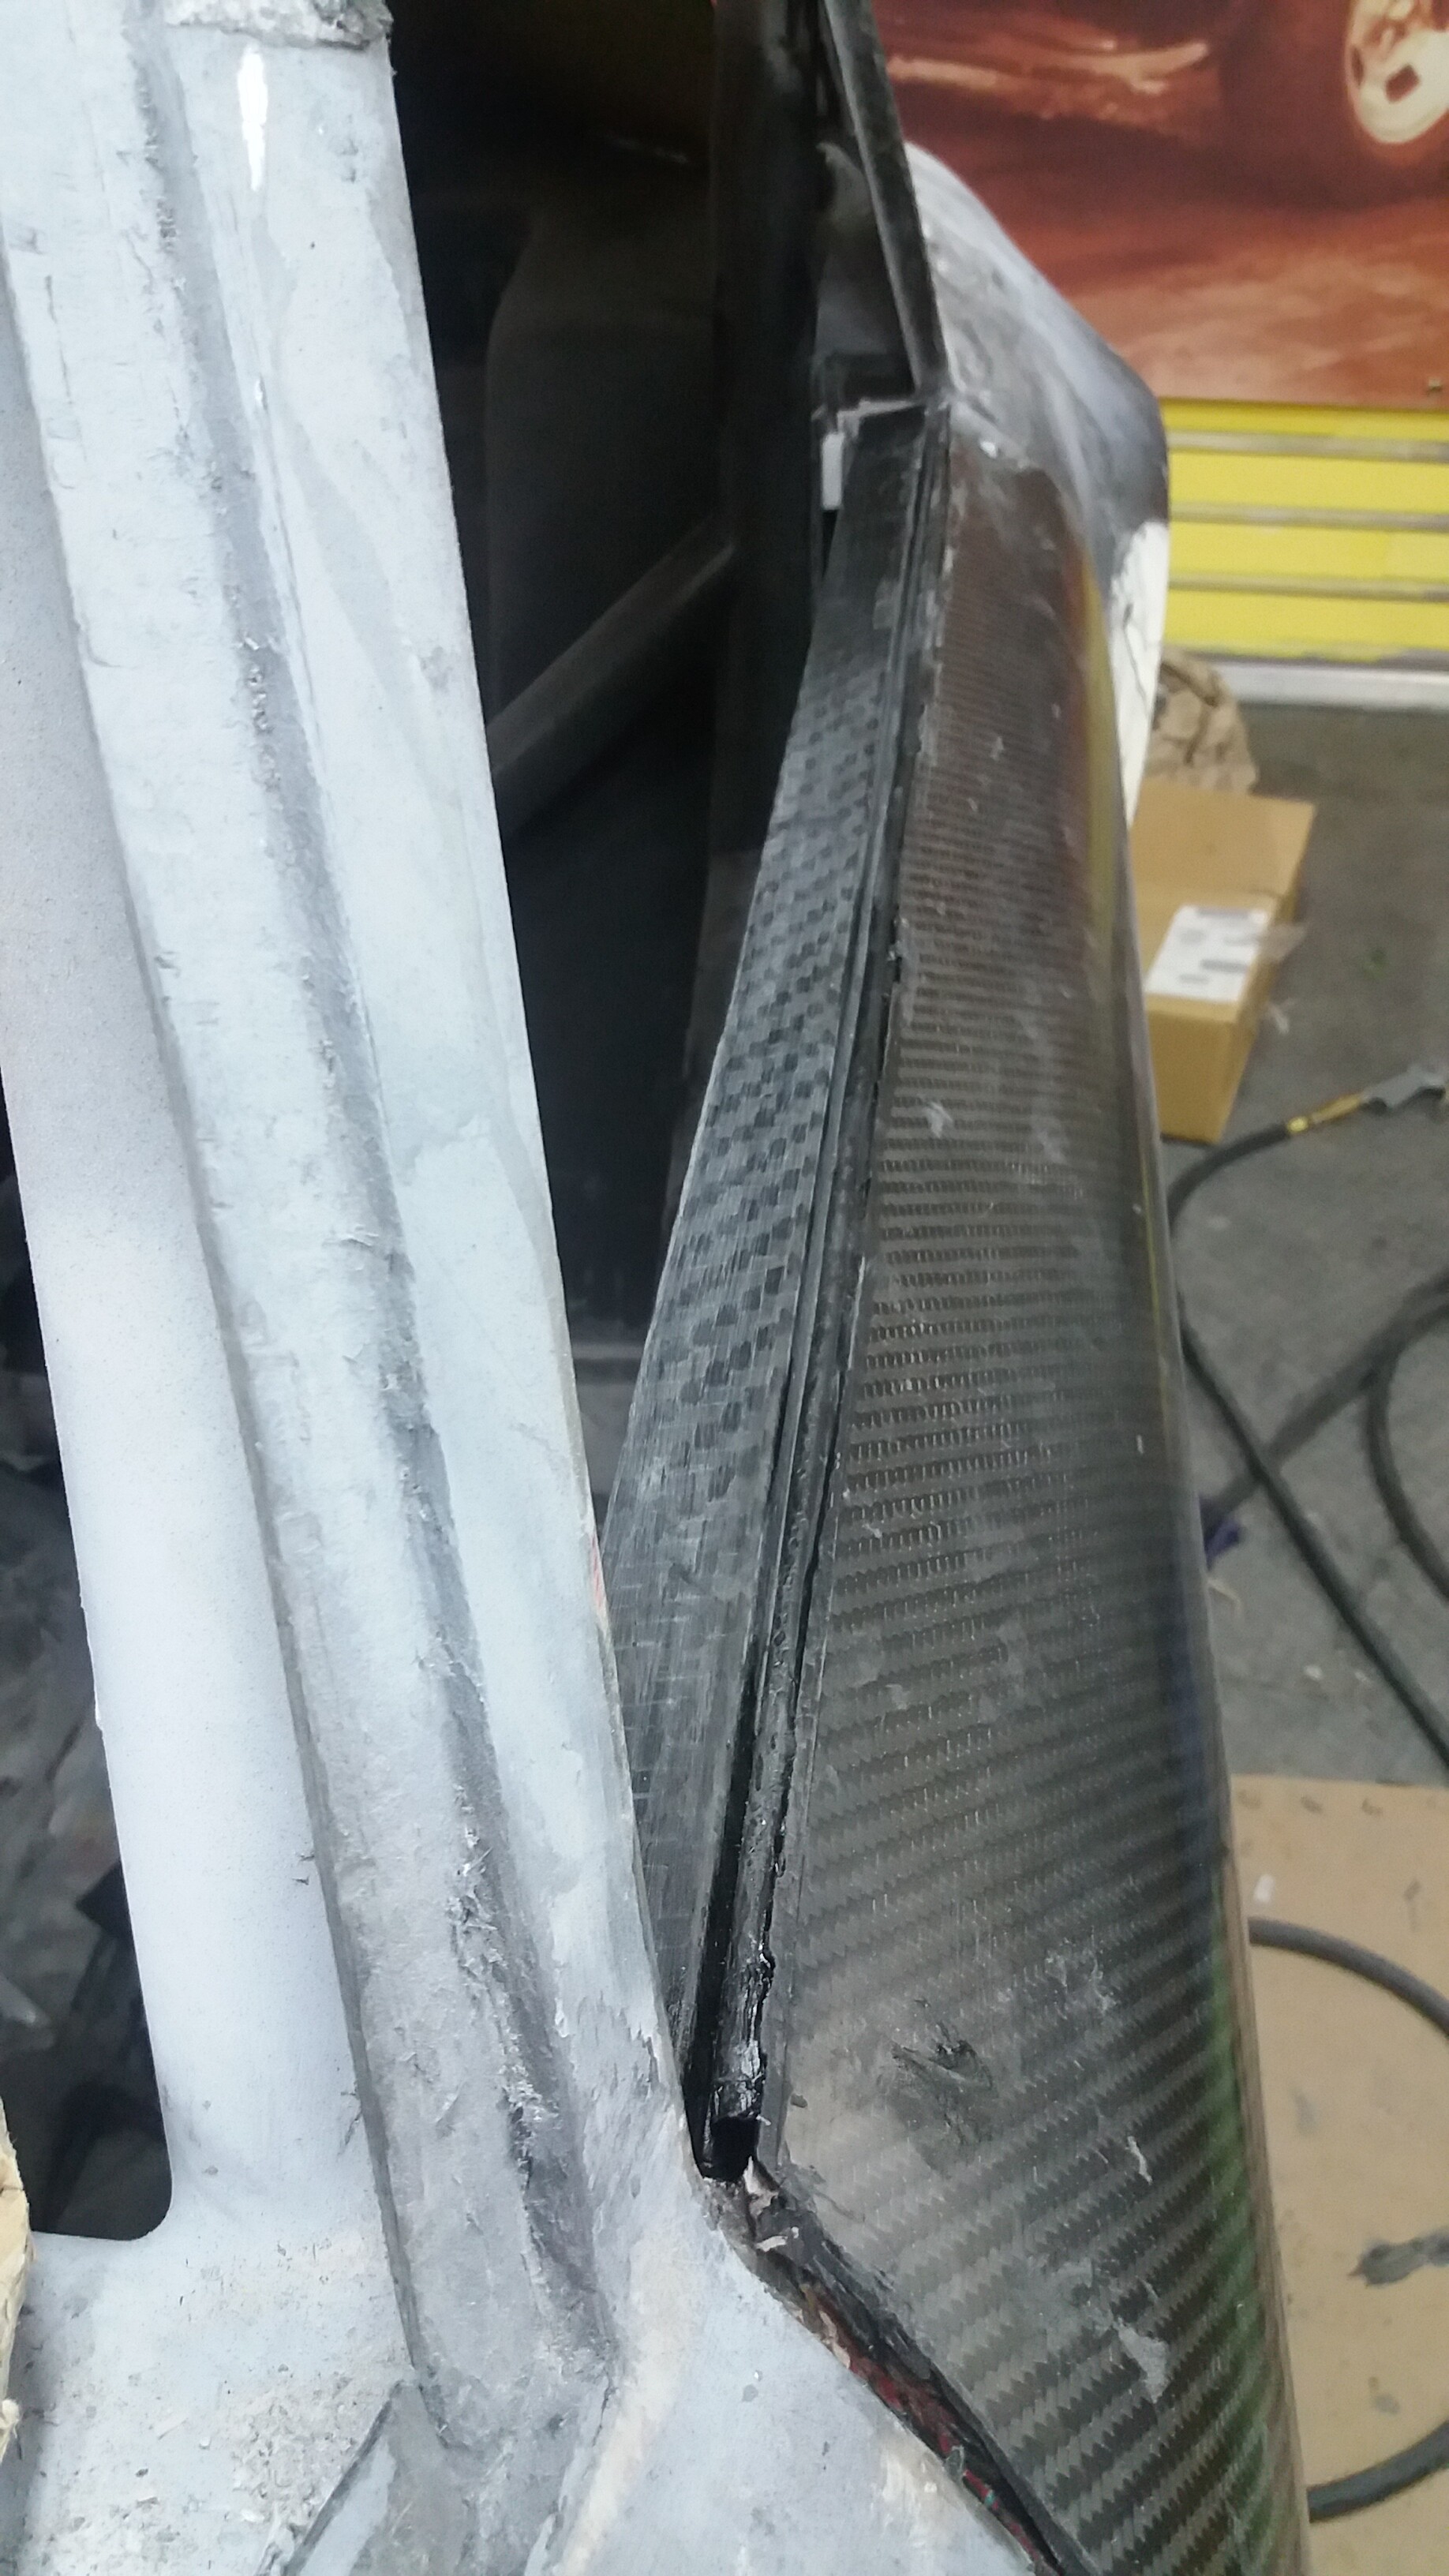
Started work on the driver’s door. This has its challenges as I had to raise the bottom corner of the windscreen due to it being low. I discovered this when I was setting the car up in readiness for the roll cage to me made. I got the chassis level and found that the top of the screen was low. I cut the A pillar in order to level it up but this then required the bottom edge of the screen to be adjusted to match.
This resulted in a lift of around 25mm. All looks good but a knock on effect was that the door was now too low. I used the existing door as a pattern for the mould but I have now got to make it fit. The car body was a mess with nothing lining up but is should look OK if you don’t look too closely
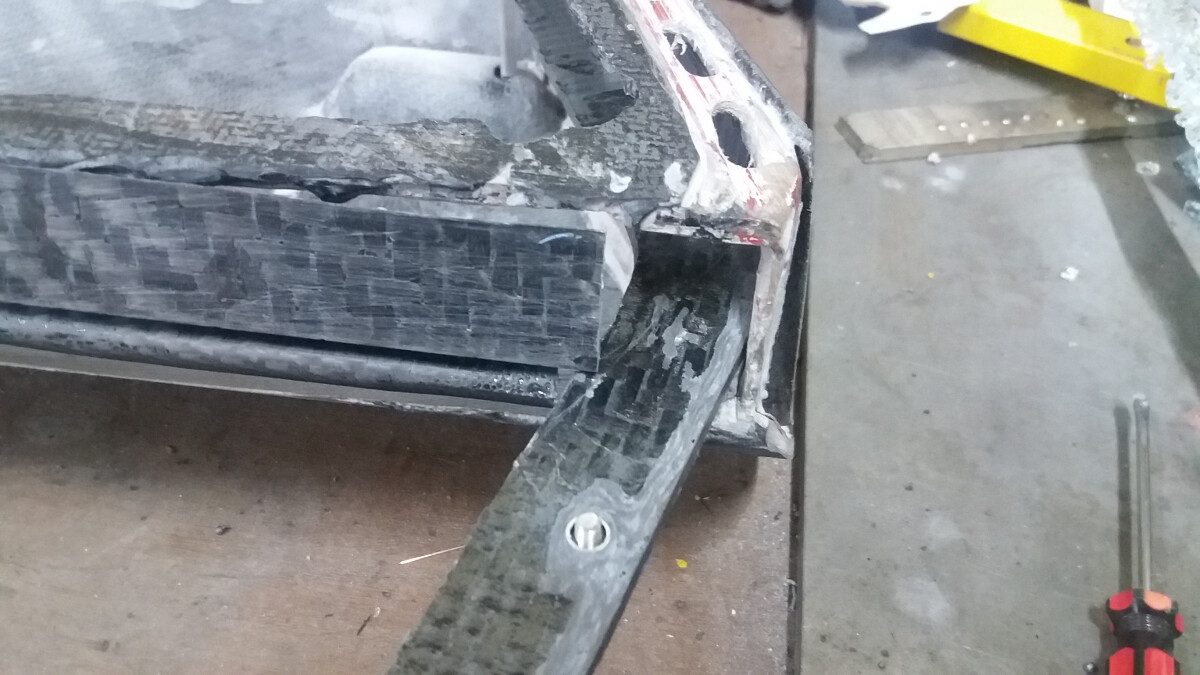
The window support in the top of the door comprises of 4 parts and I was able to line this up with the new body line. However, as shown in the second photo, the outer skin is a little short so some extra work will be required to sort this out.
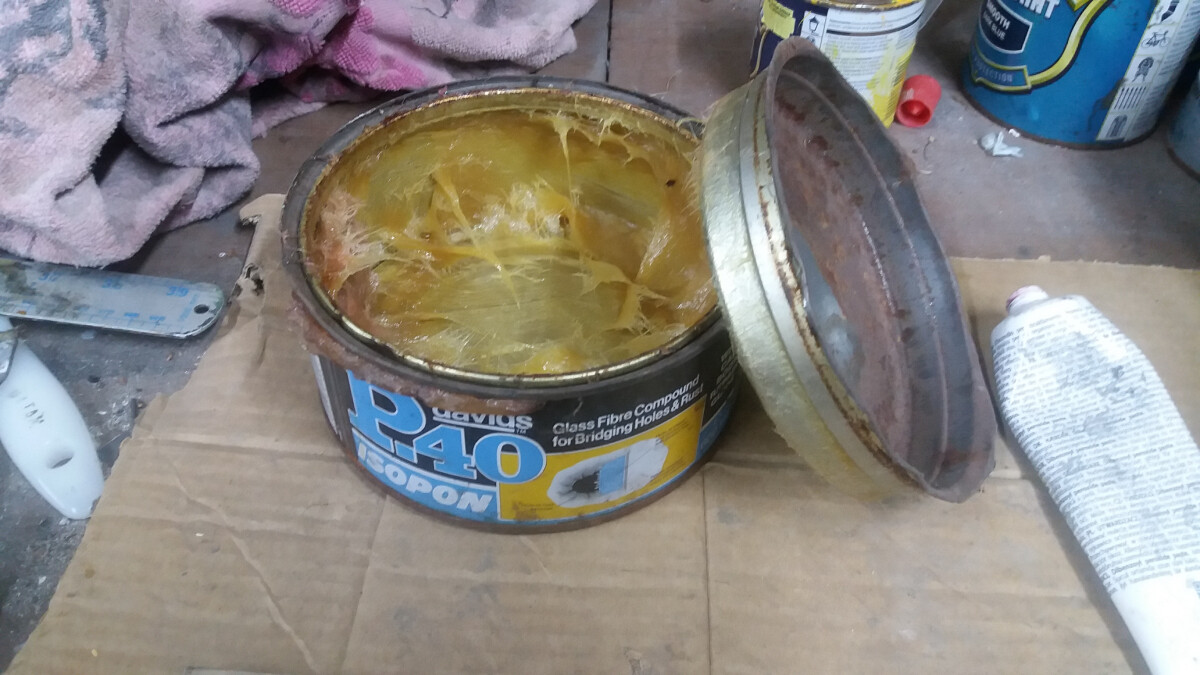
We have been having a major tidy up of the barn and finding lots of stuff. One thing I found was a tin of Isopon P40, my favourite filler/repair paste. I thought, great, as I had a need for some. However, on opening the tin the paste was a little stiffer than I remembered. Then I thought about it and this tin was bought when I was still living at home, so it is at least 38 years old and probably over 40! Used it for a small repair but decided to bin it and get a new pot for the the next 40 years