No no,
Not for me to replace studs by screws no way. Too much risk to strip threads forcing in screws while fighting with exhaust manifold.
Always adjust distance between manifold flanges before fitting so stud spacing is correct.
Personal choice that comes back time and time again.
Alan
1 Like
I have a stainless exhaust manifold.
I found it difficult to manouvre over the studs.
So I used 5/16" UNC cap screws, as Rohan suggested.
Made the job much easier.
My friend held the manifold in place whilst I fitted them
Cap head screws even better than hex head bolts. Makes access much easier.
Mike
2 Likes
Hello All, I got the engine and box out today, quite a hot day for it here in South Herefordshire!! I didn’t fully remove the manifold, just loosened it so that I could get access to one bell housing bolt, and it then came out with the motor. My tubular manifold is in two sections with a Y piece to bring them into one outlet, I will separate them now and it looks like I can reinstall in two pieces when the motor goes back in. For the space I had it was much better taking the engine out first and then the gearbox. Time now to get into the gearbox and rebuild it!! Thanks for all the help and replies. Jonathan.
1 Like
With regards the use of cap head screws for the manifold. I have gone this way and it is a lot easier.. i have also had keeninserts inserted into the head for the manifold screw. Reduces the chances of cross threading/stripping
Tim
Ditto, but helicoiled mine…
John ![]()
I have been been using hex socket headed cap screws for 30+ years now in my engines and never had a thread strip but I torque them correctly and use Loctite nickel antisieze. Never had a thread strip in the head but it easier enough to fit a helicoil if it does
cheers
Rohan
1 Like
I used cap head screws for the exhaust manifold and found it much easier. It is possible to offer the exhaust flanges up to the head after fitting the engine. That is possible, not easy
I don`t understand the comments abut forcing and fighting.
You should not attempt to fit a screw unless it is properly lined up and enters easily.
Worked well for me.
Eric in Burnley
1967 S3SE DHC
I also took Rohan’s advice, but fitted helicoils as some of my threads in the head were not good. I also agree with Eric bolts or cap heads makes the job easier but not easy.
Richard Hawkins
Rohan, agree treated well all should be good. But mine had been tightened by an ham fisted oaf (not me ![]() ) hence the rethread
) hence the rethread
Hi Jonathan
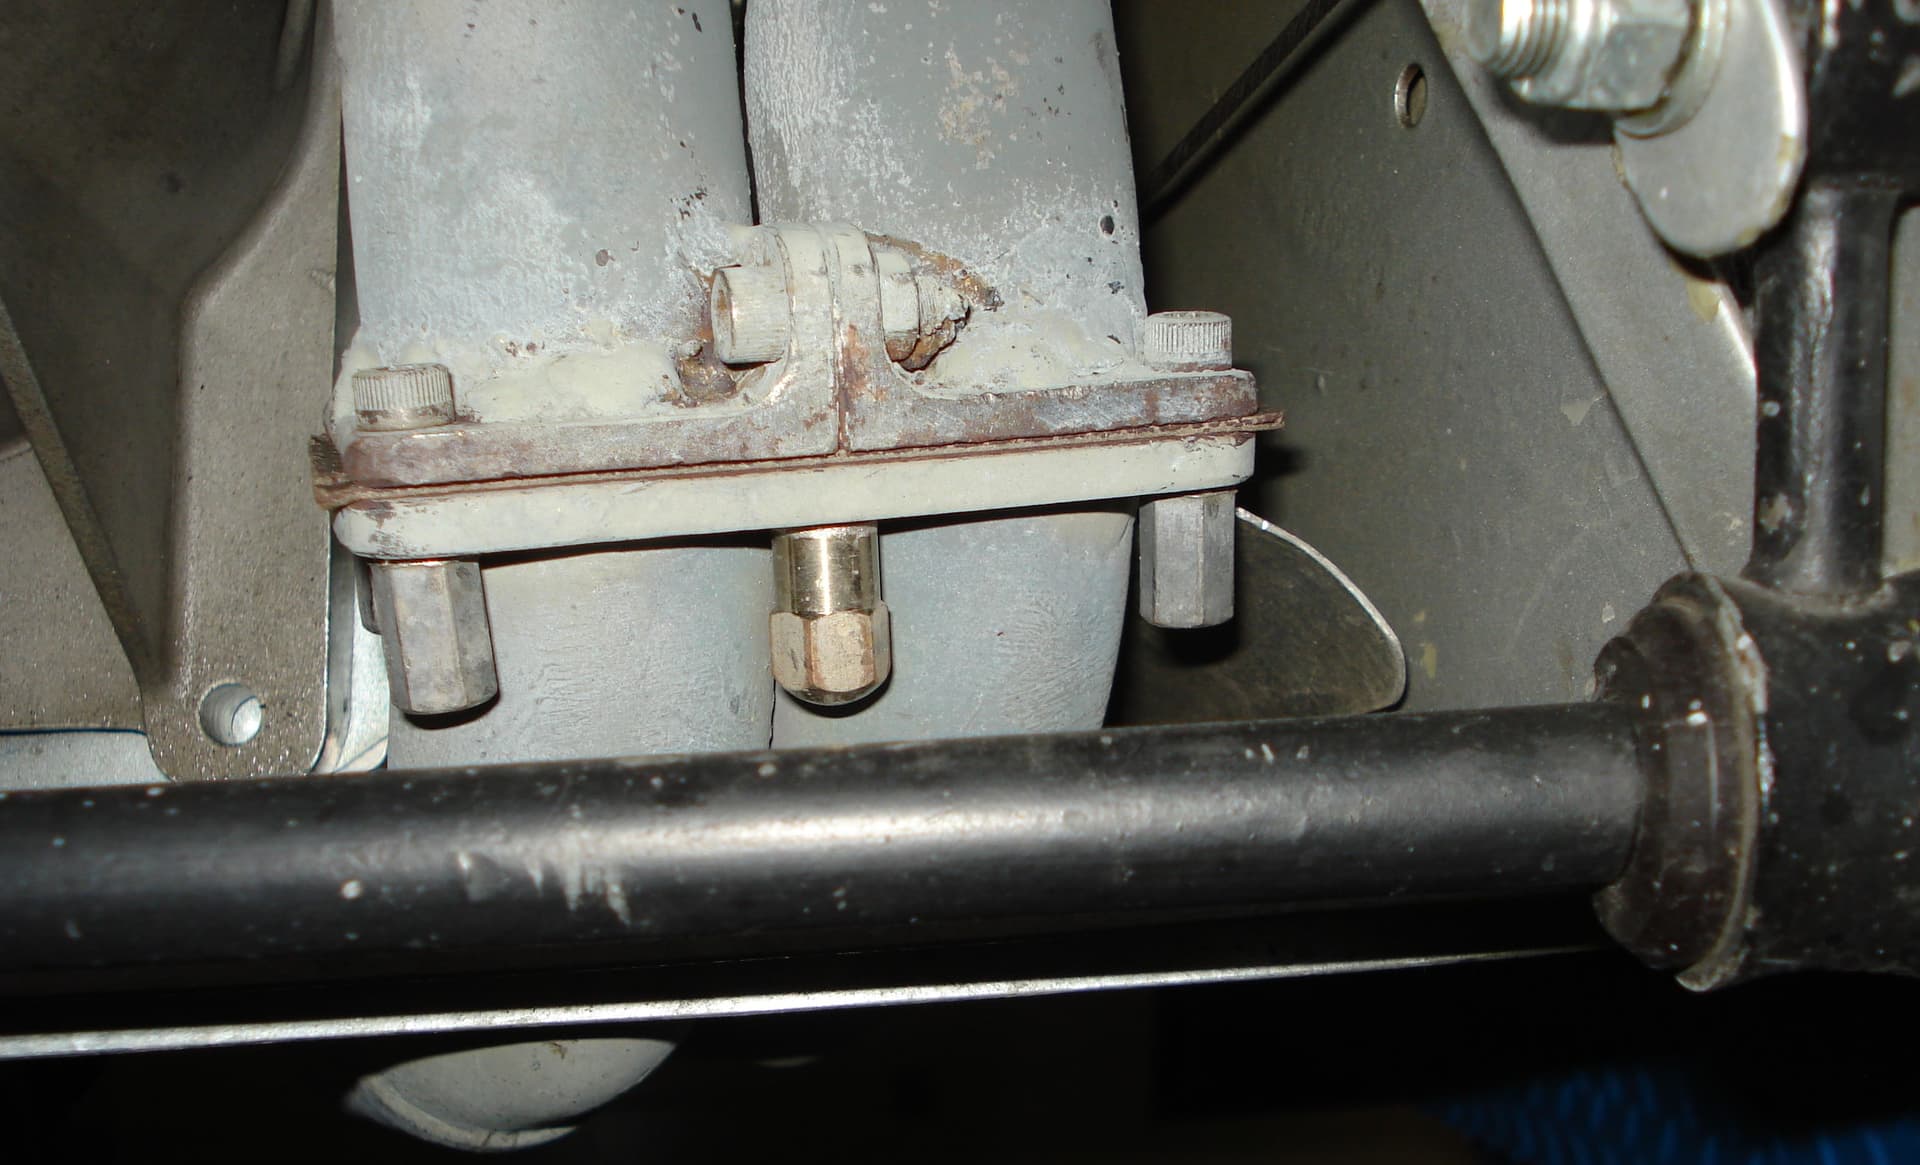
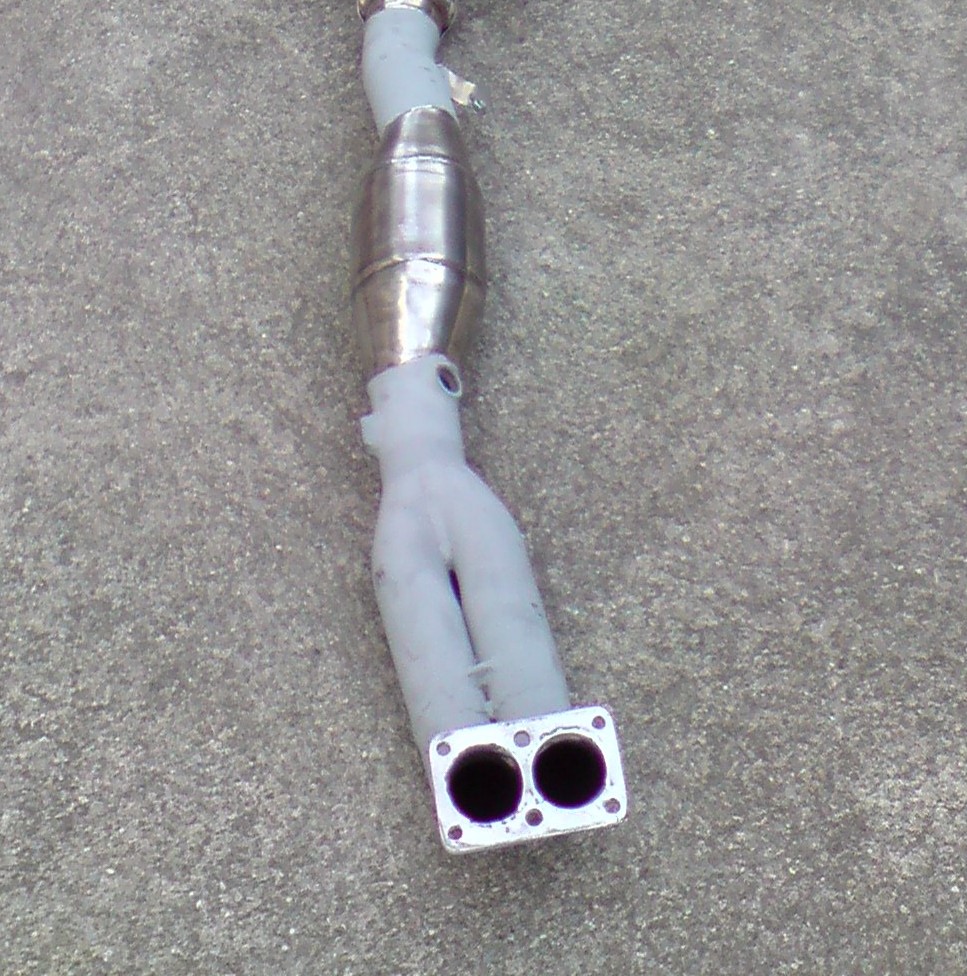
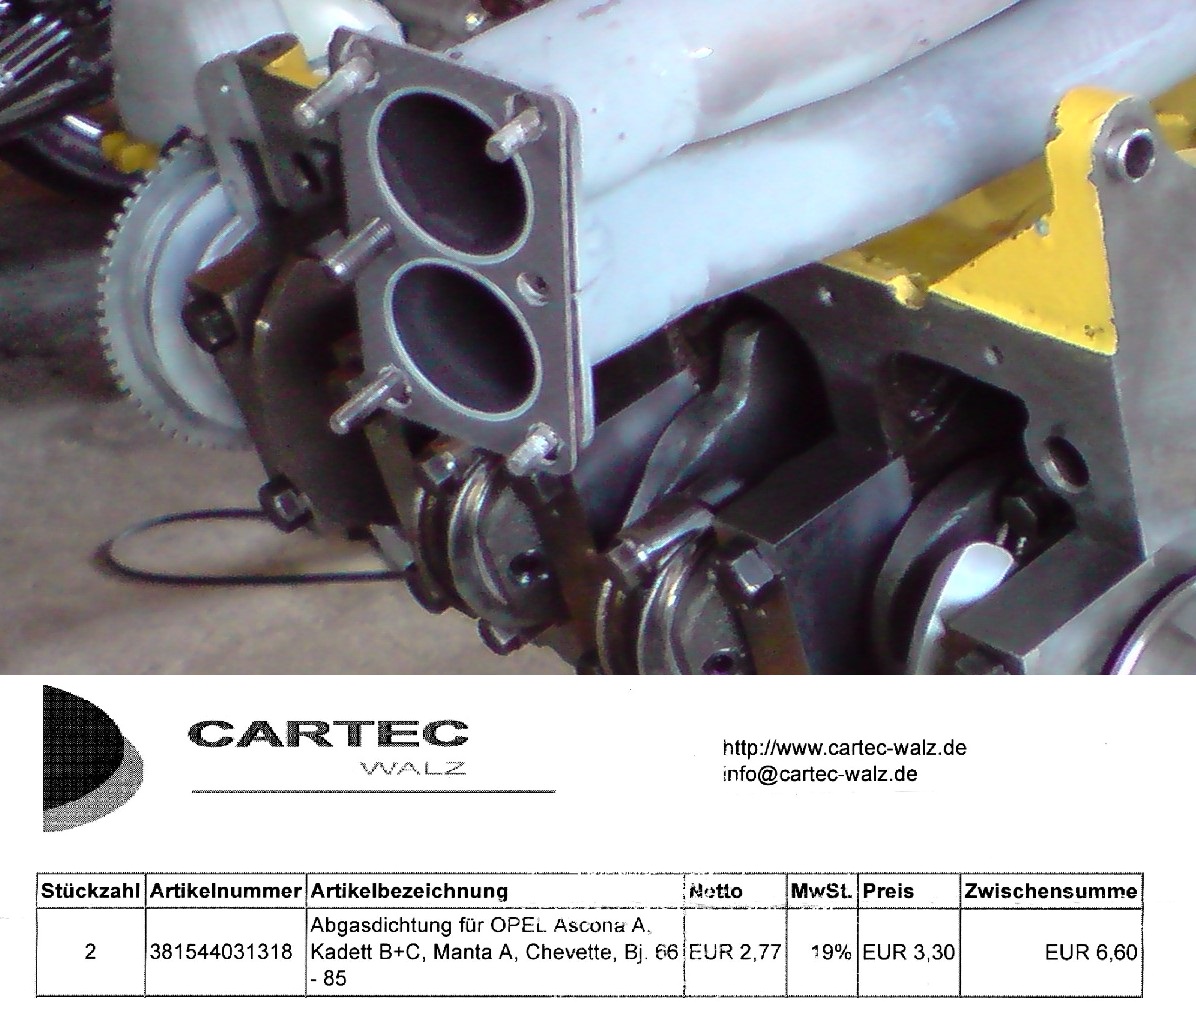
I wanted to do this too, and I did it.
Pictures for inspiration.
I made a small mistake. I should have bought the gasket first before fabricating the flange. But changing the gasket is possible with a little rework.
Installing and removing the engine is easier this way.
Urs

1 Like
Very nice job, well done!!
If the body is still on the chassis, then it will be much easier to remove the engine and gearbox separately. I had the body off before I removed the engine, which made it a lot easier to remove in one piece. Going back in, I tried - quite unsuccessfully I might add - to try to get the engine and trans in as one unit. The angle needed becomes too steep to get the trans past shop floor and chassis members.
Not sure what you’re trying to do but thinking ahead to the reunion of car and engine, note that the engine mounts on an earlier Elan are different in two ways:
-
There are spacers used on the driver’s side of the engine to allow for the steering column to pass next to the engine, and,
-
One engine mount is a little higher than the other side, which effectively tilts the engine about 10 degrees, and allows the carbs to clear the top of the passenger footwell.
Again, the +2 might be different but I wanted to mention, since switching the engine mounts while the engine is in the car is not a fun job.
Best,
Tony
I found the exhaust side mounting not too difficult to do with the aid of a hydraulic jack and some timber to protect the sump, it took the weight off the mounting making the job easier. However the carb side is a bit more difficult due to access past the carbs. From the underside if you try the same method as before, you are hindered by the jack under the sump. once you get the car into the air place a jack under the bellhousing joint thus taking the weight off the mounting. which makes it easier to work on the mounting. Taking the weight off the mountings only needs the engine lifting slightly to allow the bolts to come out easy. I also found using a suitable bar or timber to open up the gap between the chassis mount and the engine, allowed the new rubber mount to be more easily slid into place.
Finally it is worth loooking out some of the heavy duty metalastic mountings that are available, as after time the original type do start to develop more give and on the carb side this can sometimes cause the carbs to knock on the top of the footwell.
Tony
Hi Tony, yes, due to space and equipment limitations I removed them separately last weekend, it went quite well. Mine is a Plus2 and has a bit more space around it than the Elan, plus the engine is upright. The reason for removal is that my gearbox has lunched itself so I’m into a rebuild on that. However, the front timing chest is leaking oil so I can see my cylinder head coming off also. It’s stating to feel like a snowball situation!! Regards, Jonathan
Jonathan
It does sound as if you are having a snowball moment, let’s hope the gearbox is salvageable and that the engine needs little more than some leak sealing.
I guess you know that the guys from Paul Matty set up not too far from you, if you need any tech advice.
Tony
1 Like
Hi Tony, thanks for the kind wishes. I did know that the Paul Matty techs had set up again in the West Midlands, is it near Kidderminster? I’ve forgotten the name of the company, can you remind me? Thanks in advance. Jonathan
Jonathan
Of course,
Classic Sports Cars, 01299 821012, Unit 35. Wilden Industrial Estate,
Wilden Lane,
Stourport on Severn,
Worcestershire.
DY13 9JY
Ex Paul Matty now at Stourport
Tony
Thanks Tony thats great, I have saved the details now in my file, its good to have known experts close at hand!! Regards, Jonathan